Create SAML application with Onelogin
This guide outlines the steps to create and configure a SAML application in Onelogin, including setup, user assignments, and metadata submission.
Step 1: Create SAML application
- Click on + and choose adding a SAML Application.
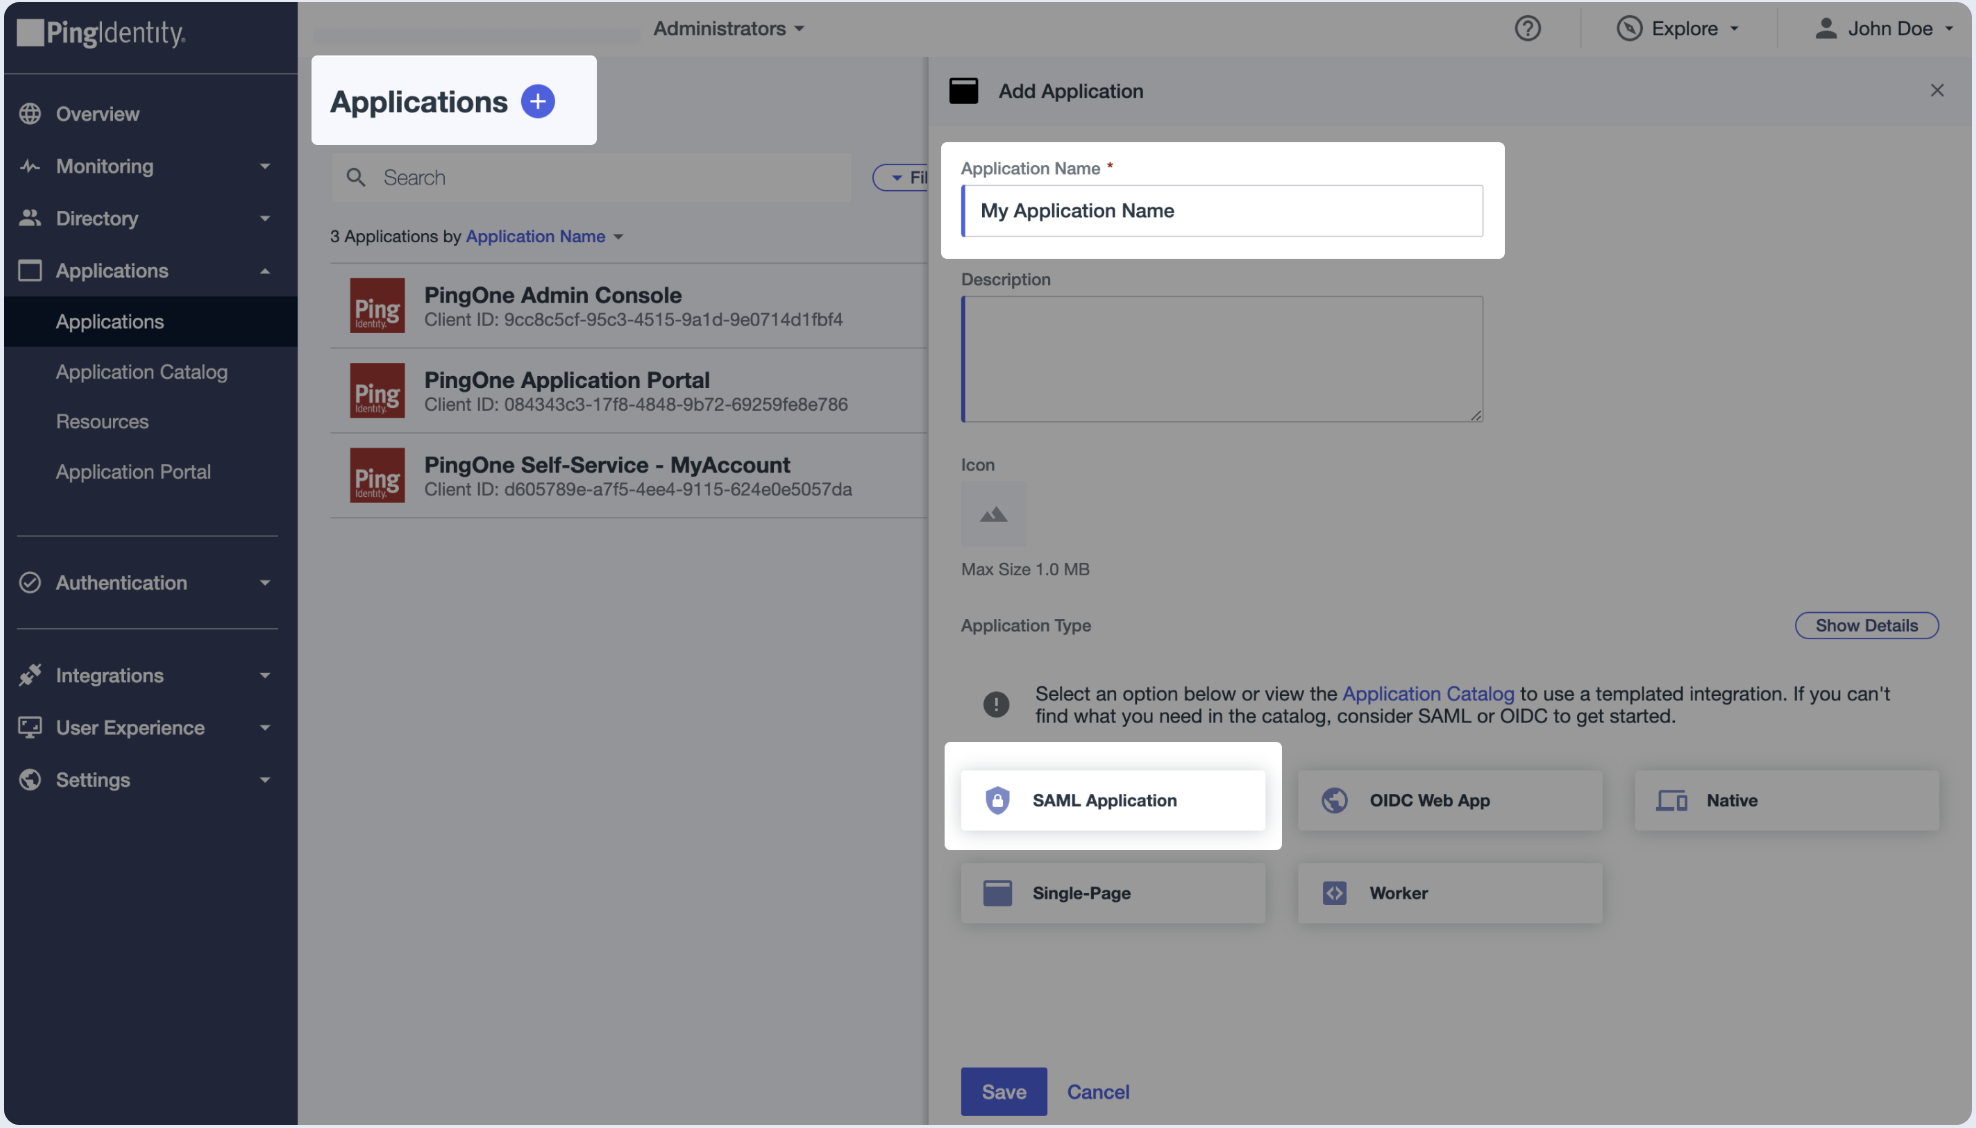
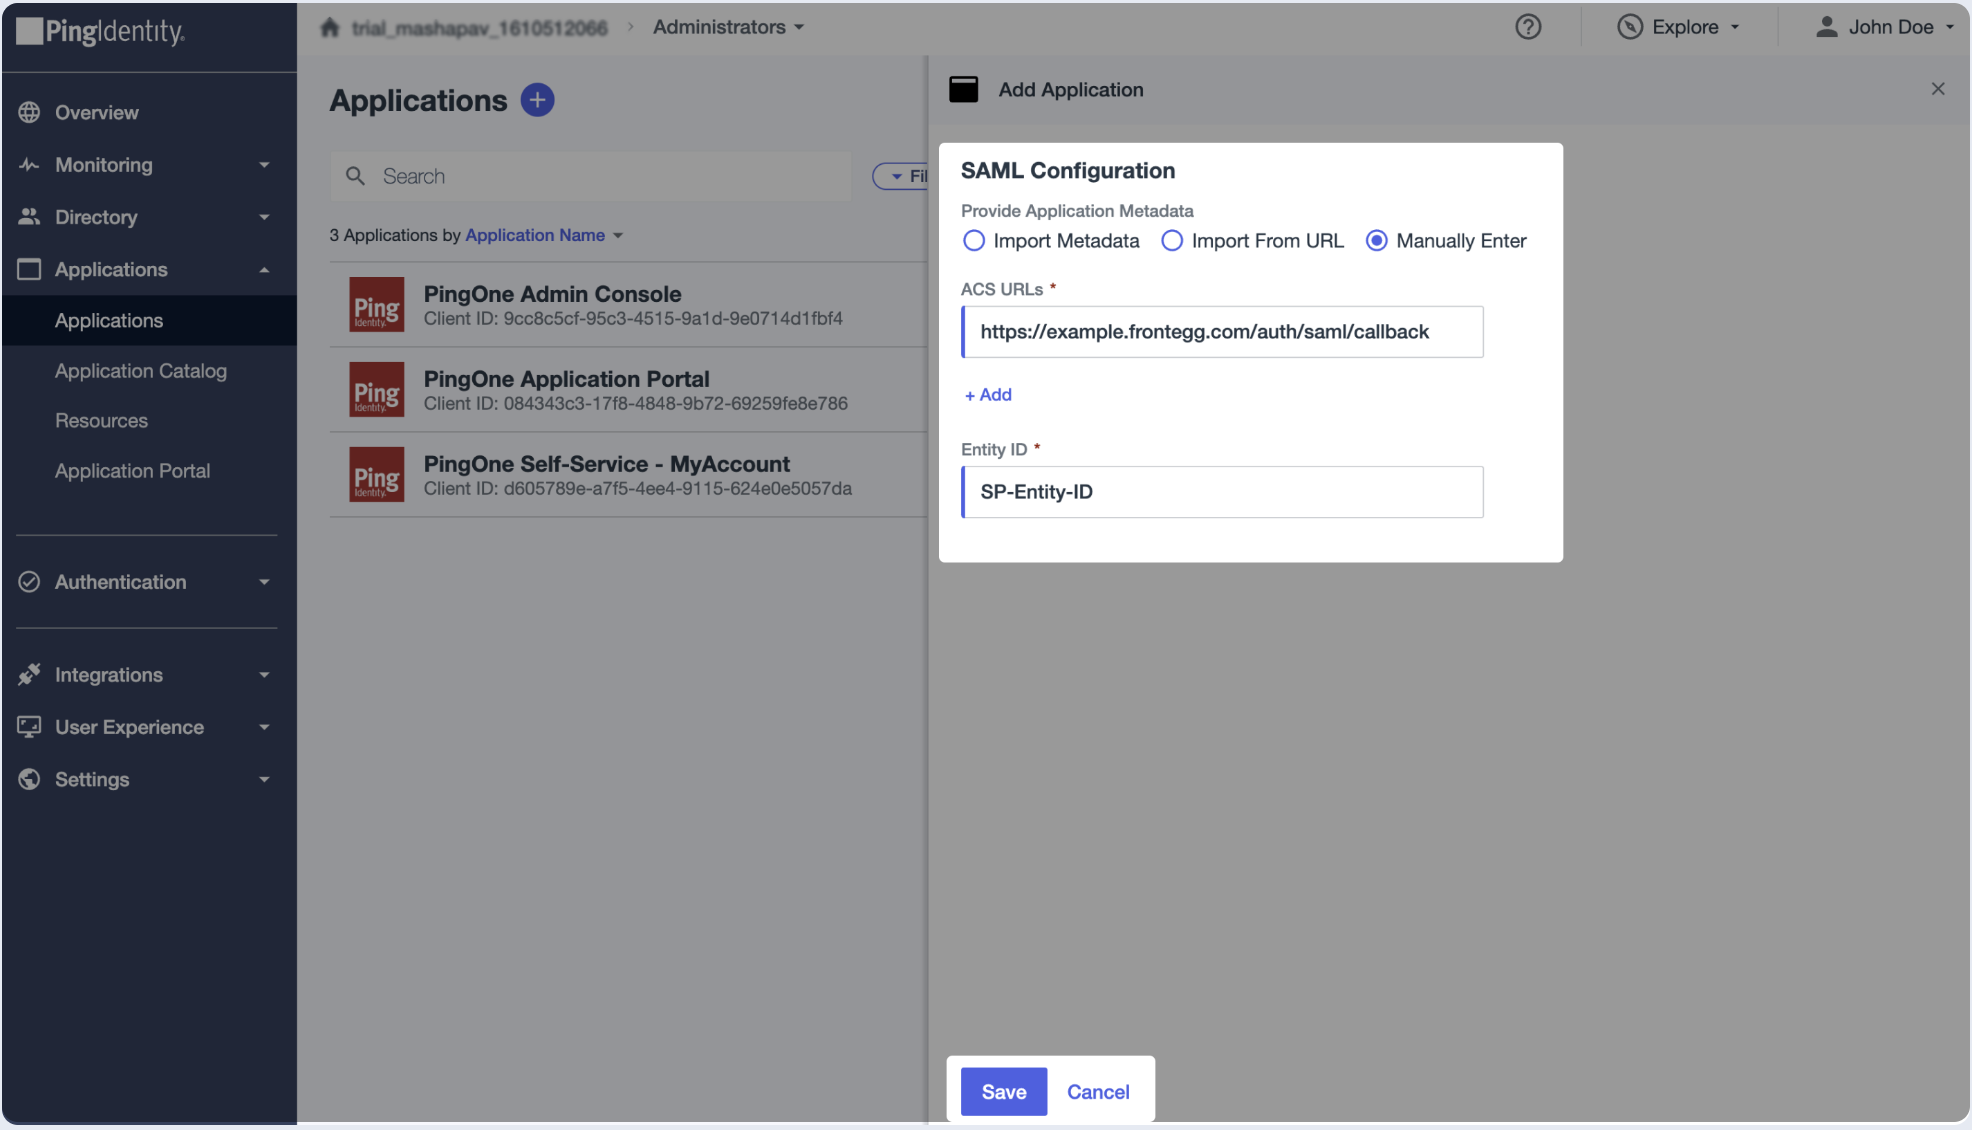
- Choose to Manually Enter Service Provider details.
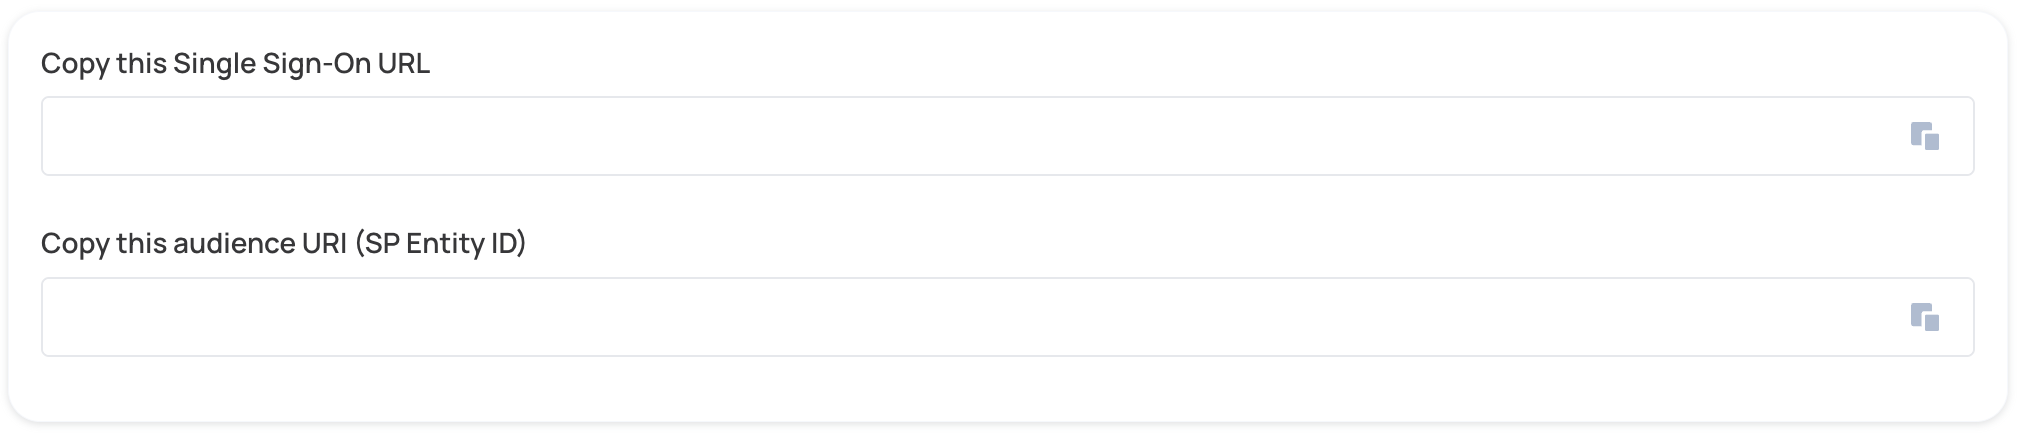
- Copy and paste the values into the relevant fields in the SAML Configuration section.
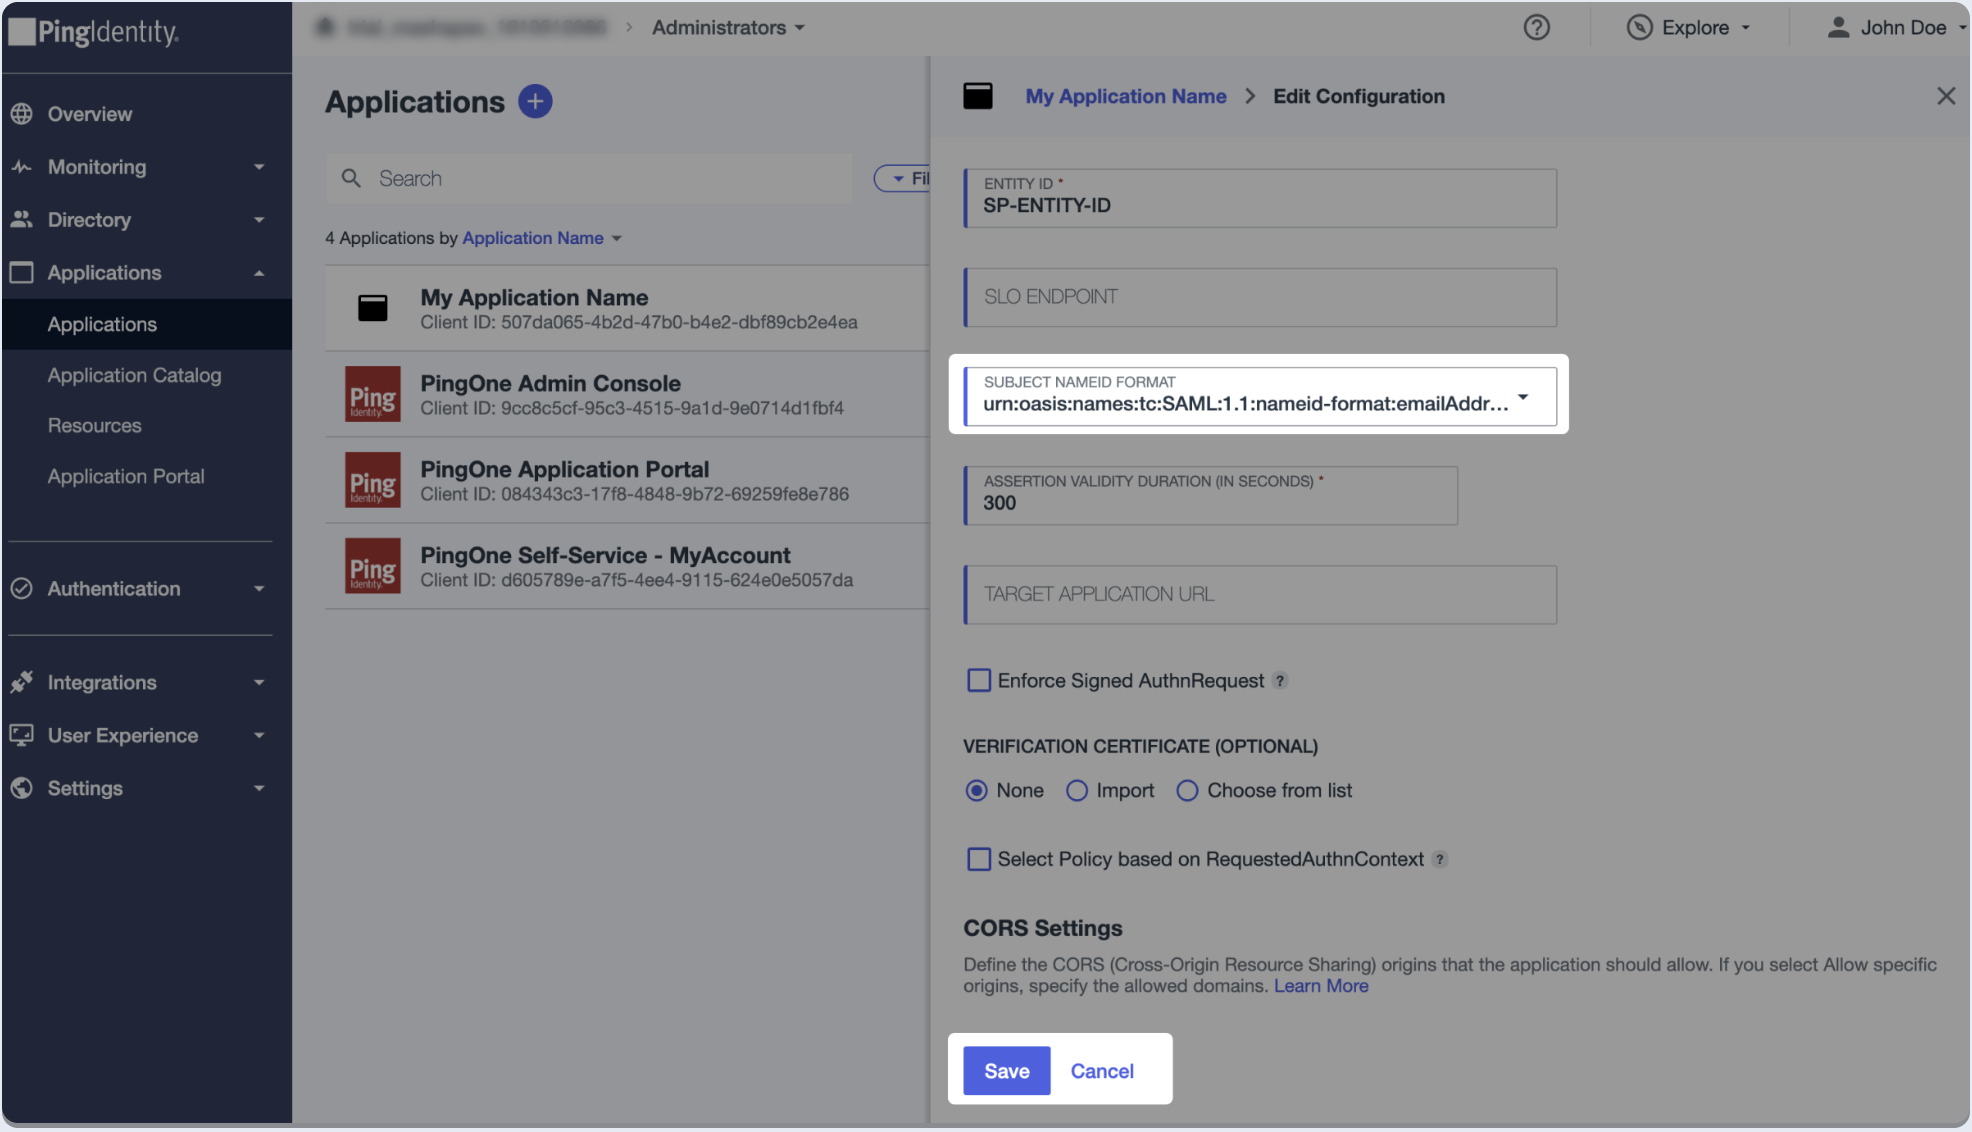
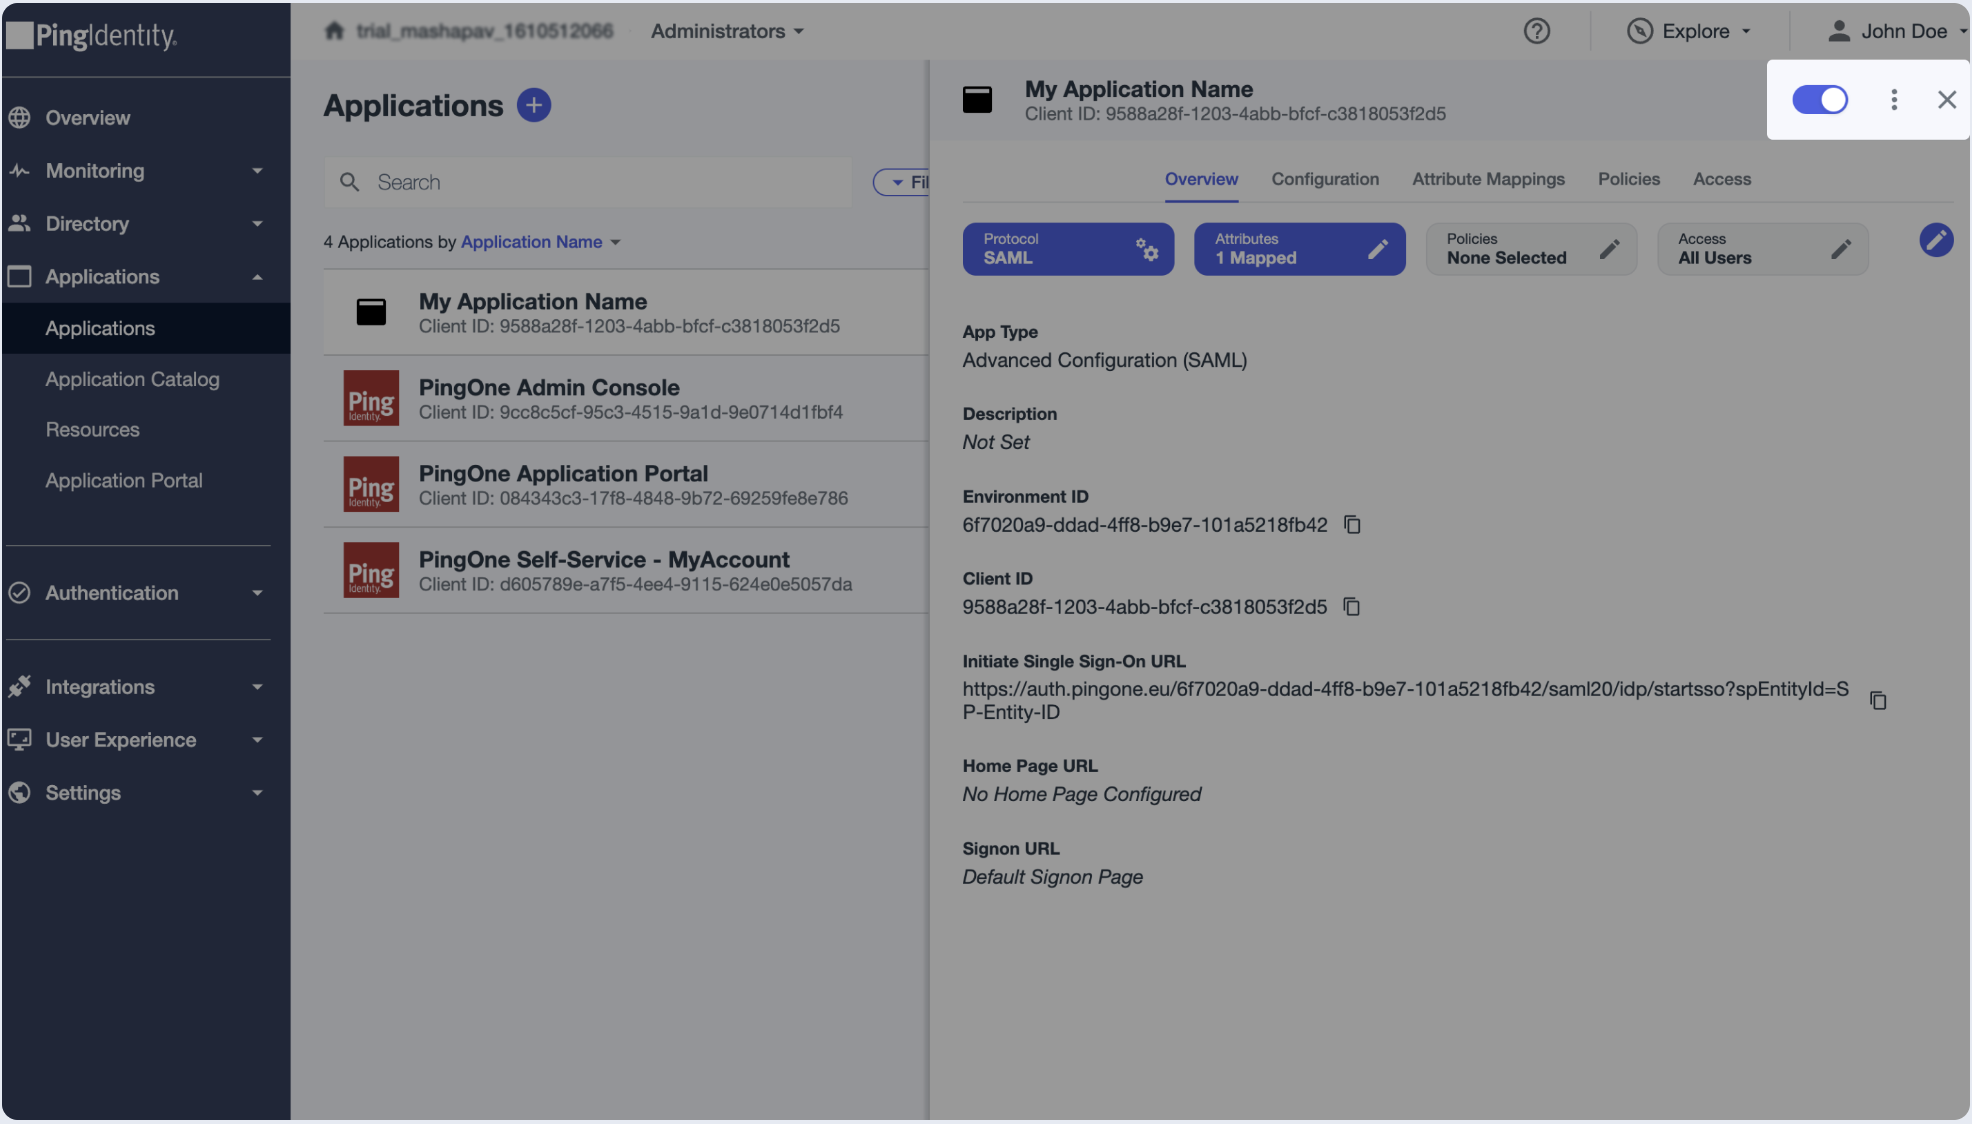
- Go to the Configuration tab and click on the pencil for editing. Scroll down and choose emailAddress to be passed as NameID.
- Enable the application.
Step 2: Fill attribute statements
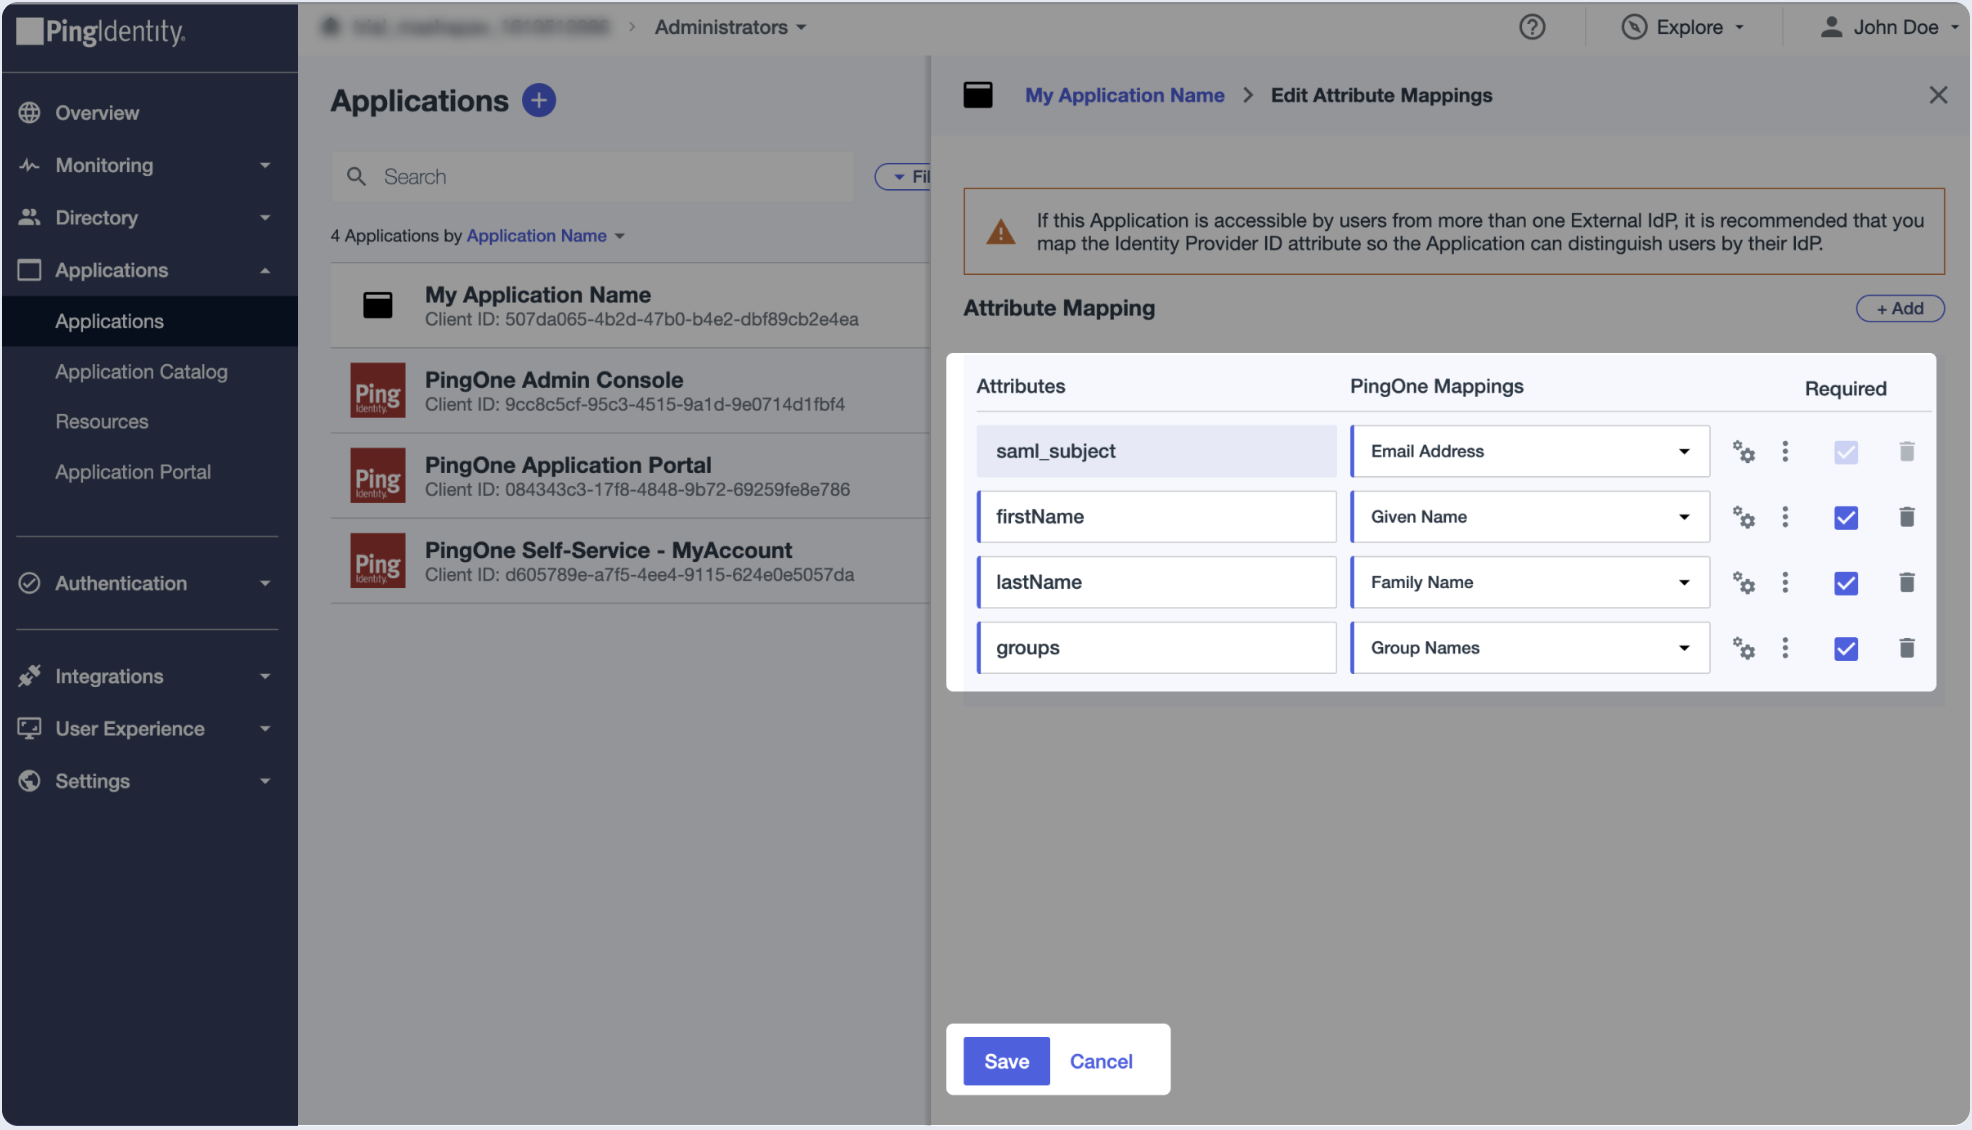
- Go to Attribute Mappings and click on the edit sign.
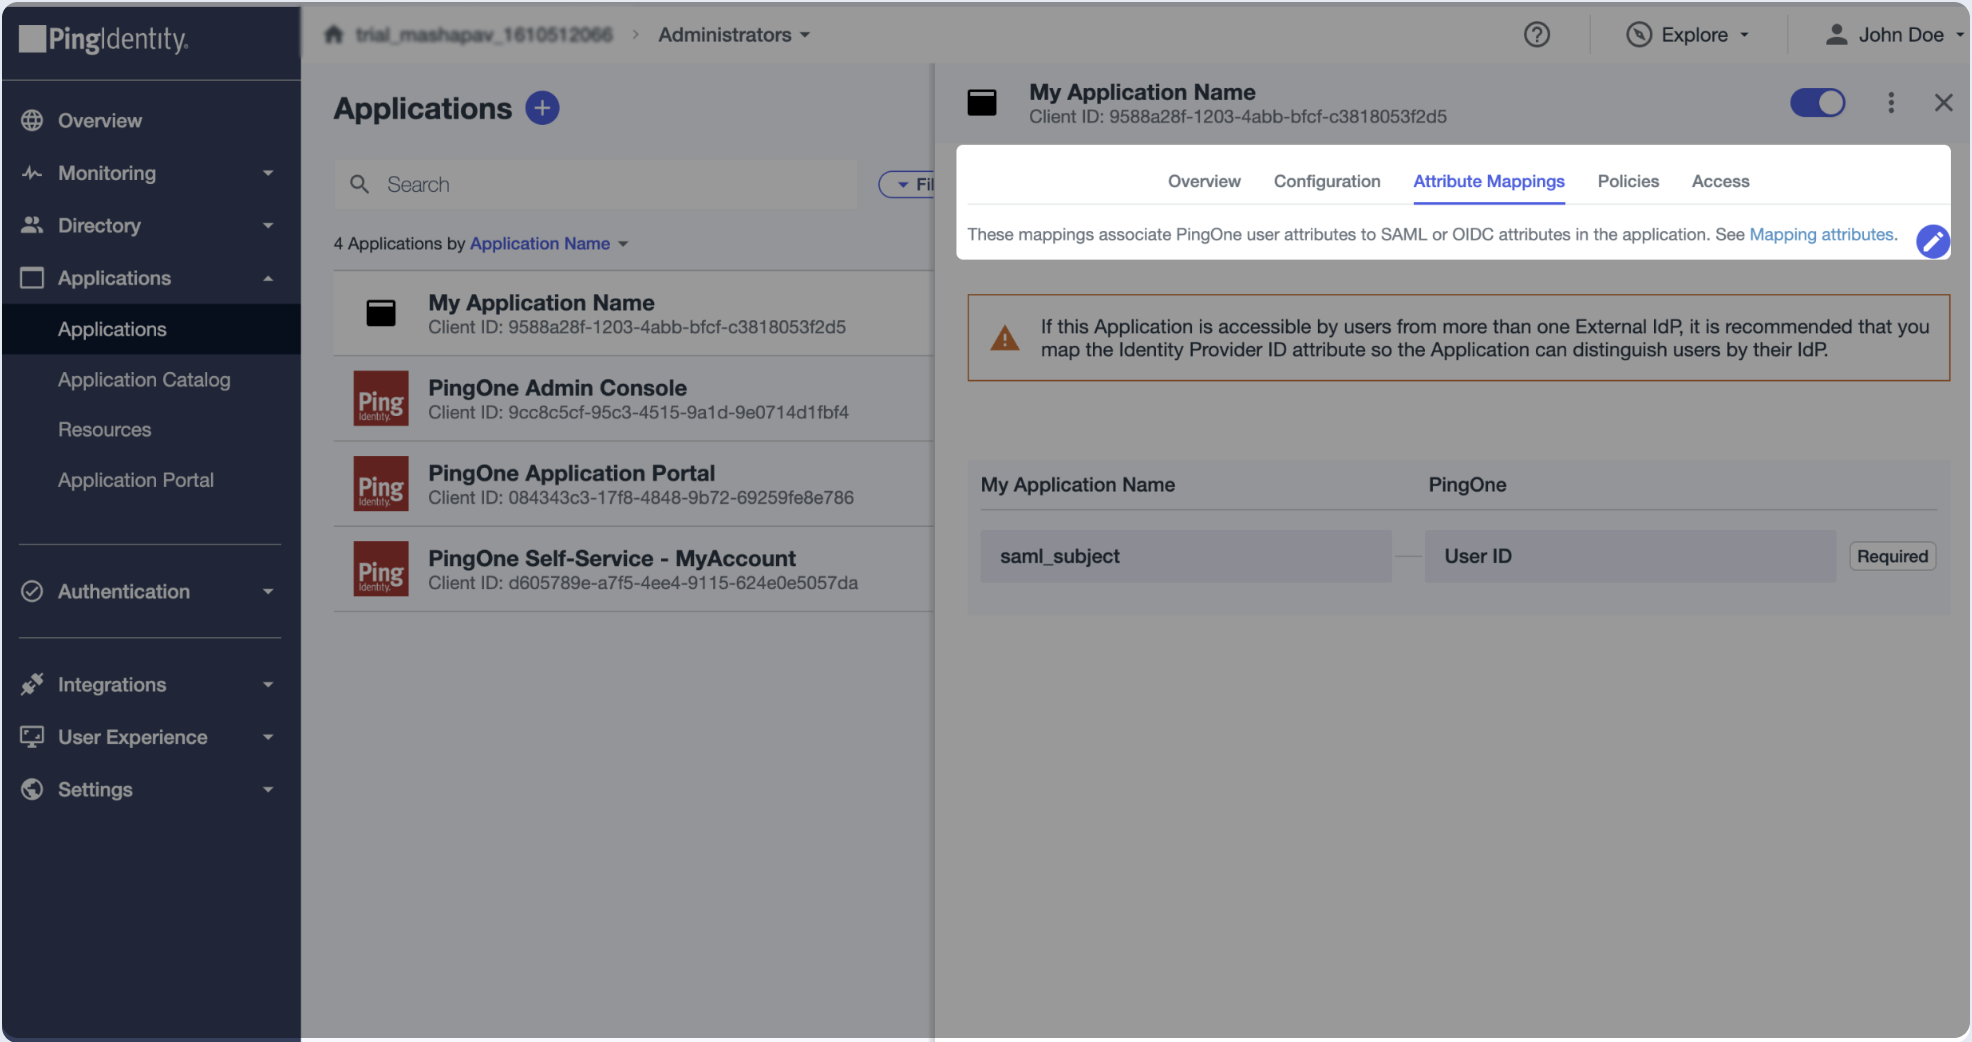
- The saml_subject attribute must be mapped to an email address in order for the NameID being passed as email. Additional attributes are optional.
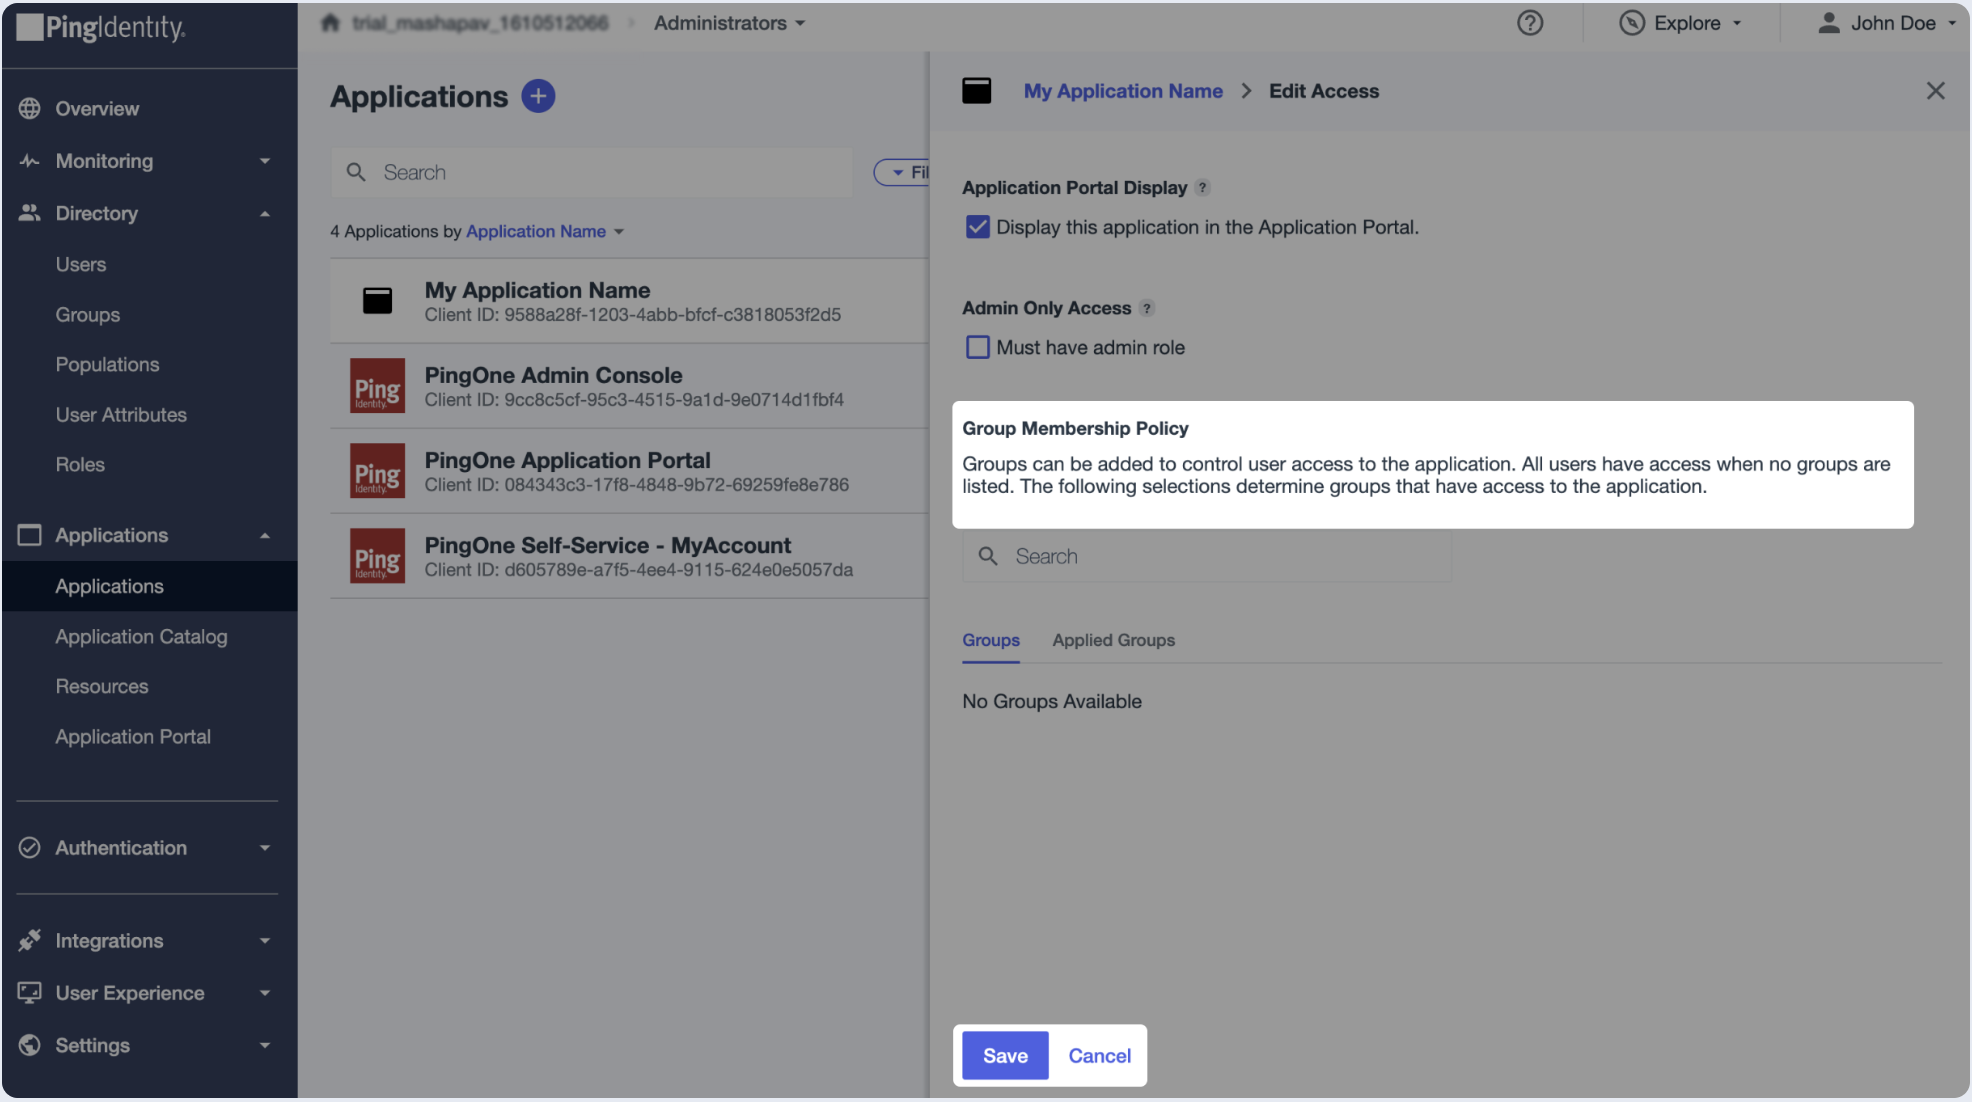
Step 3: Assign users
- Switch to Access section and click edit.
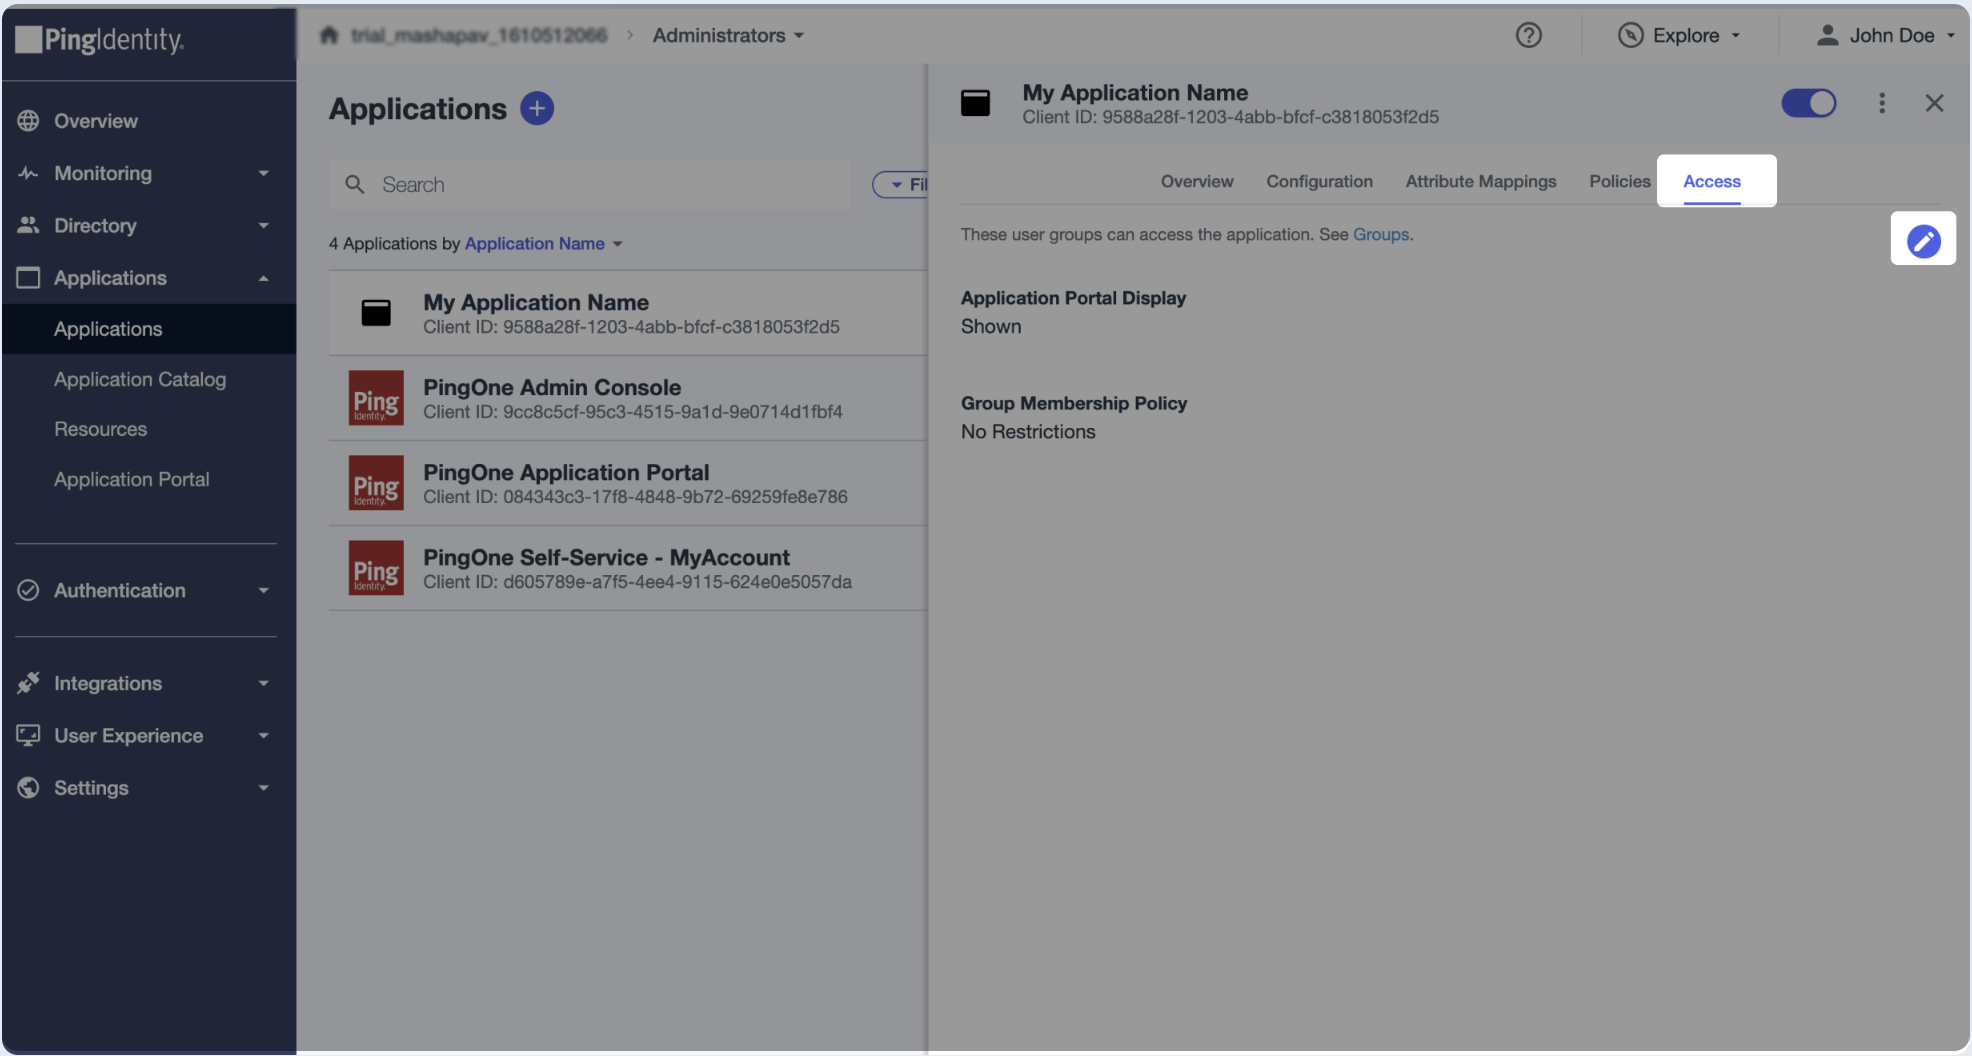
- Choose the user groups that will have access to this application.
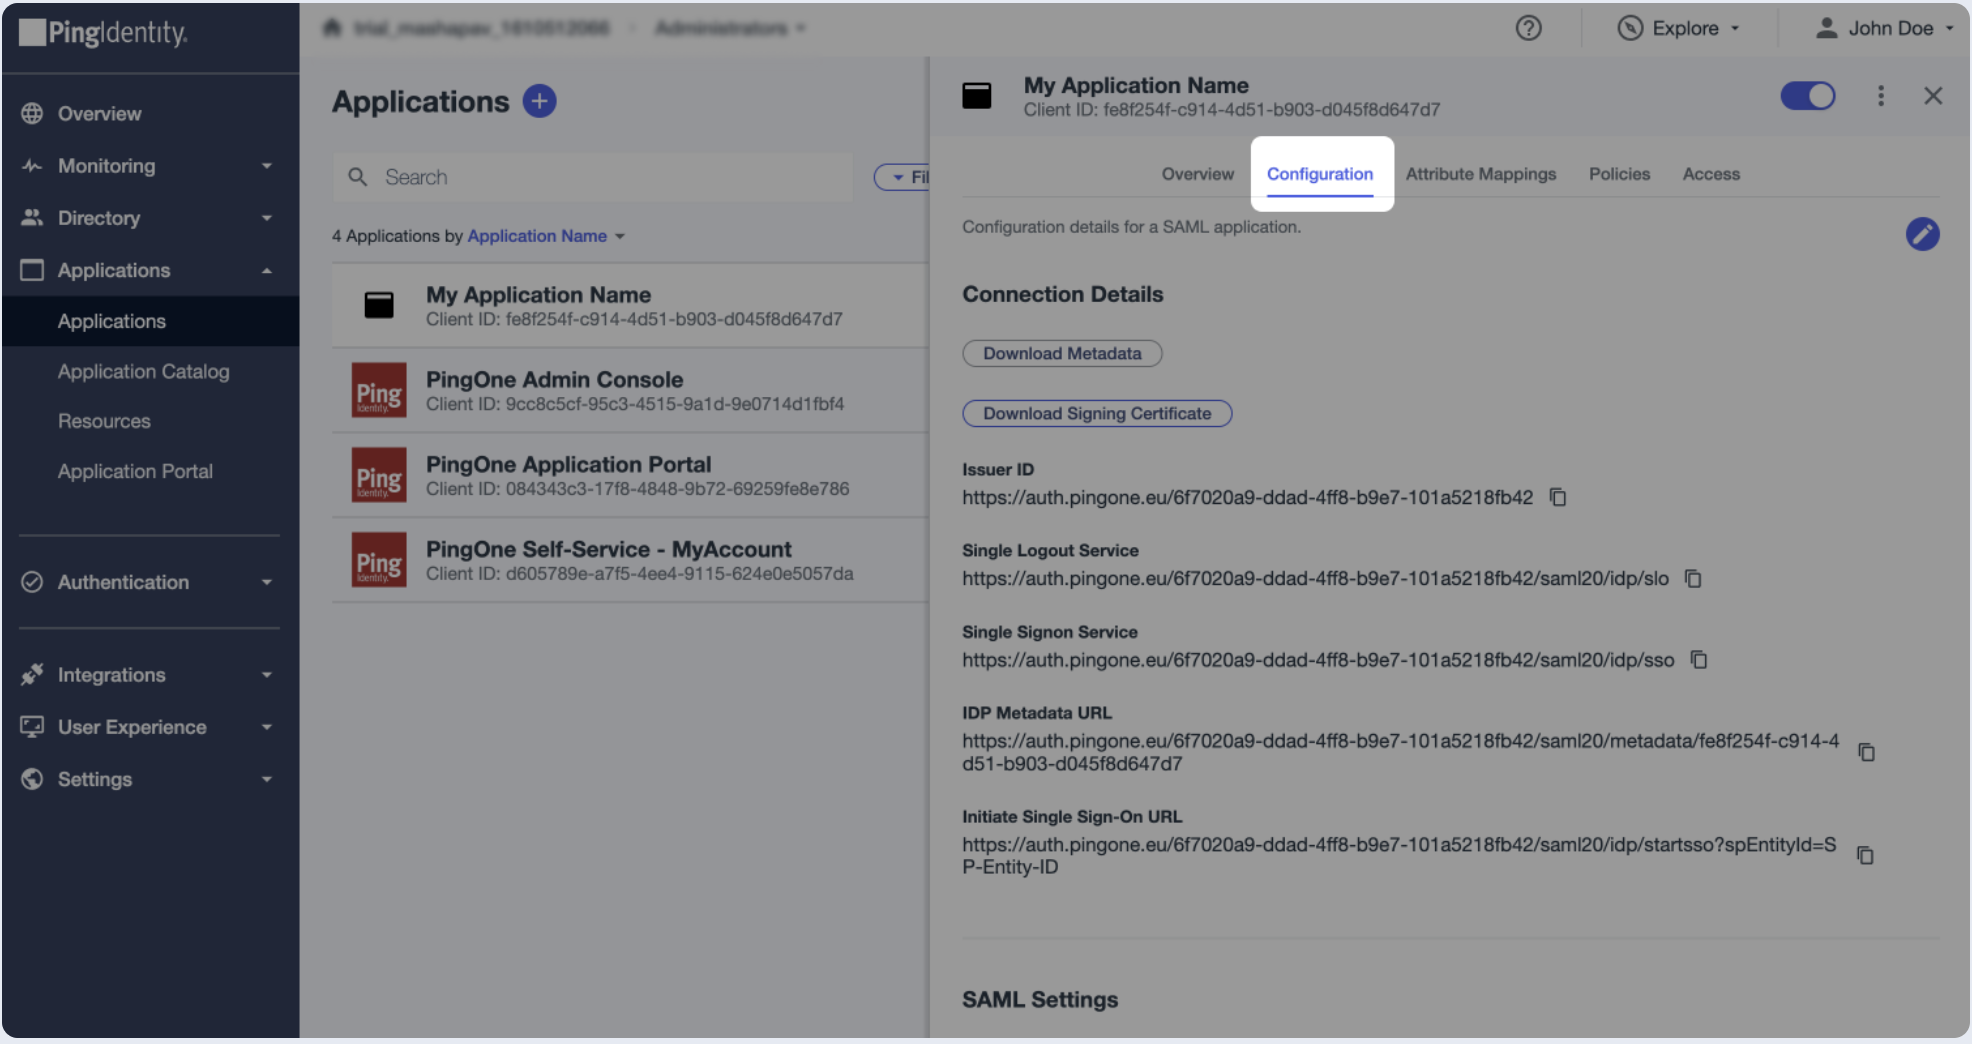
Step 4: Submit metadata
To complete the implementation of SAML SSO, you need to provide the application with your identity provider's metadata.
- Click on the Configuration tab of the SAML app you just created.
Automatic configuration
- Click on Download Metadata.
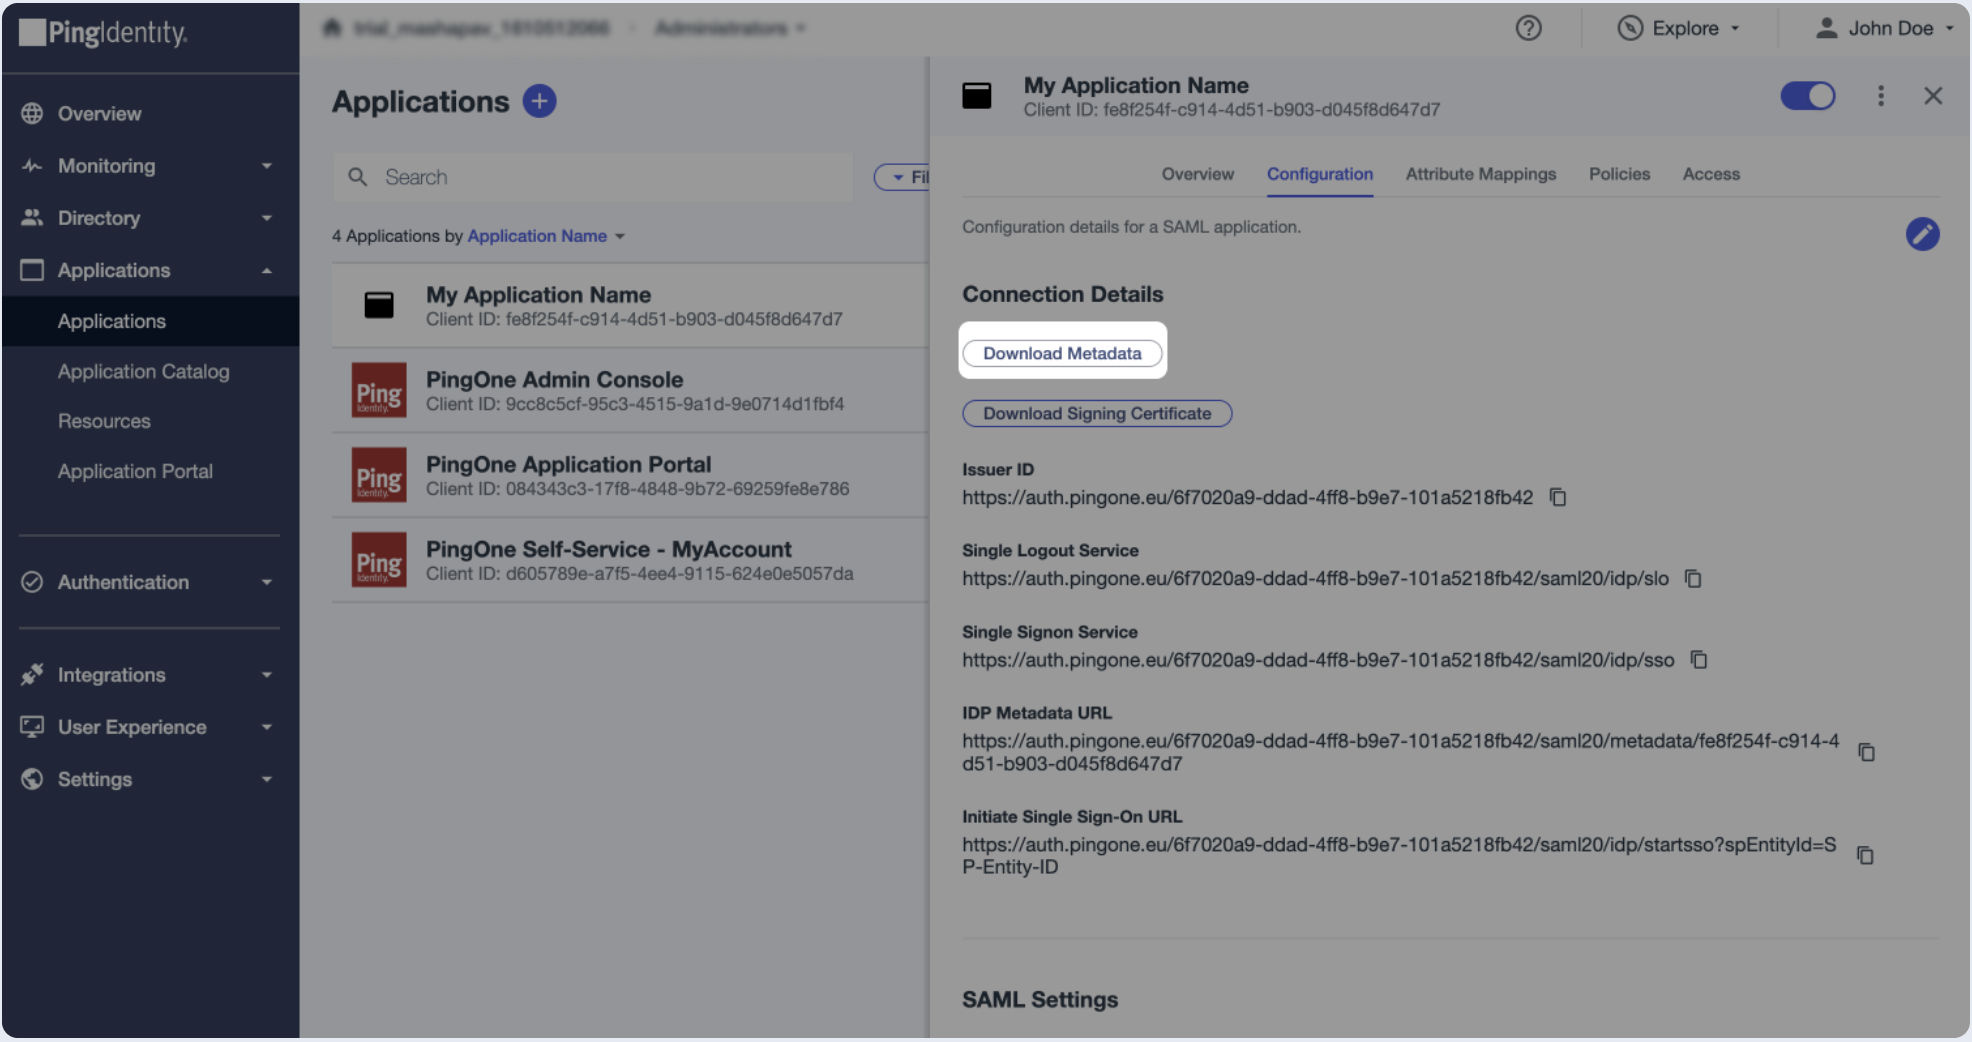
- Upload the file from the previous step.
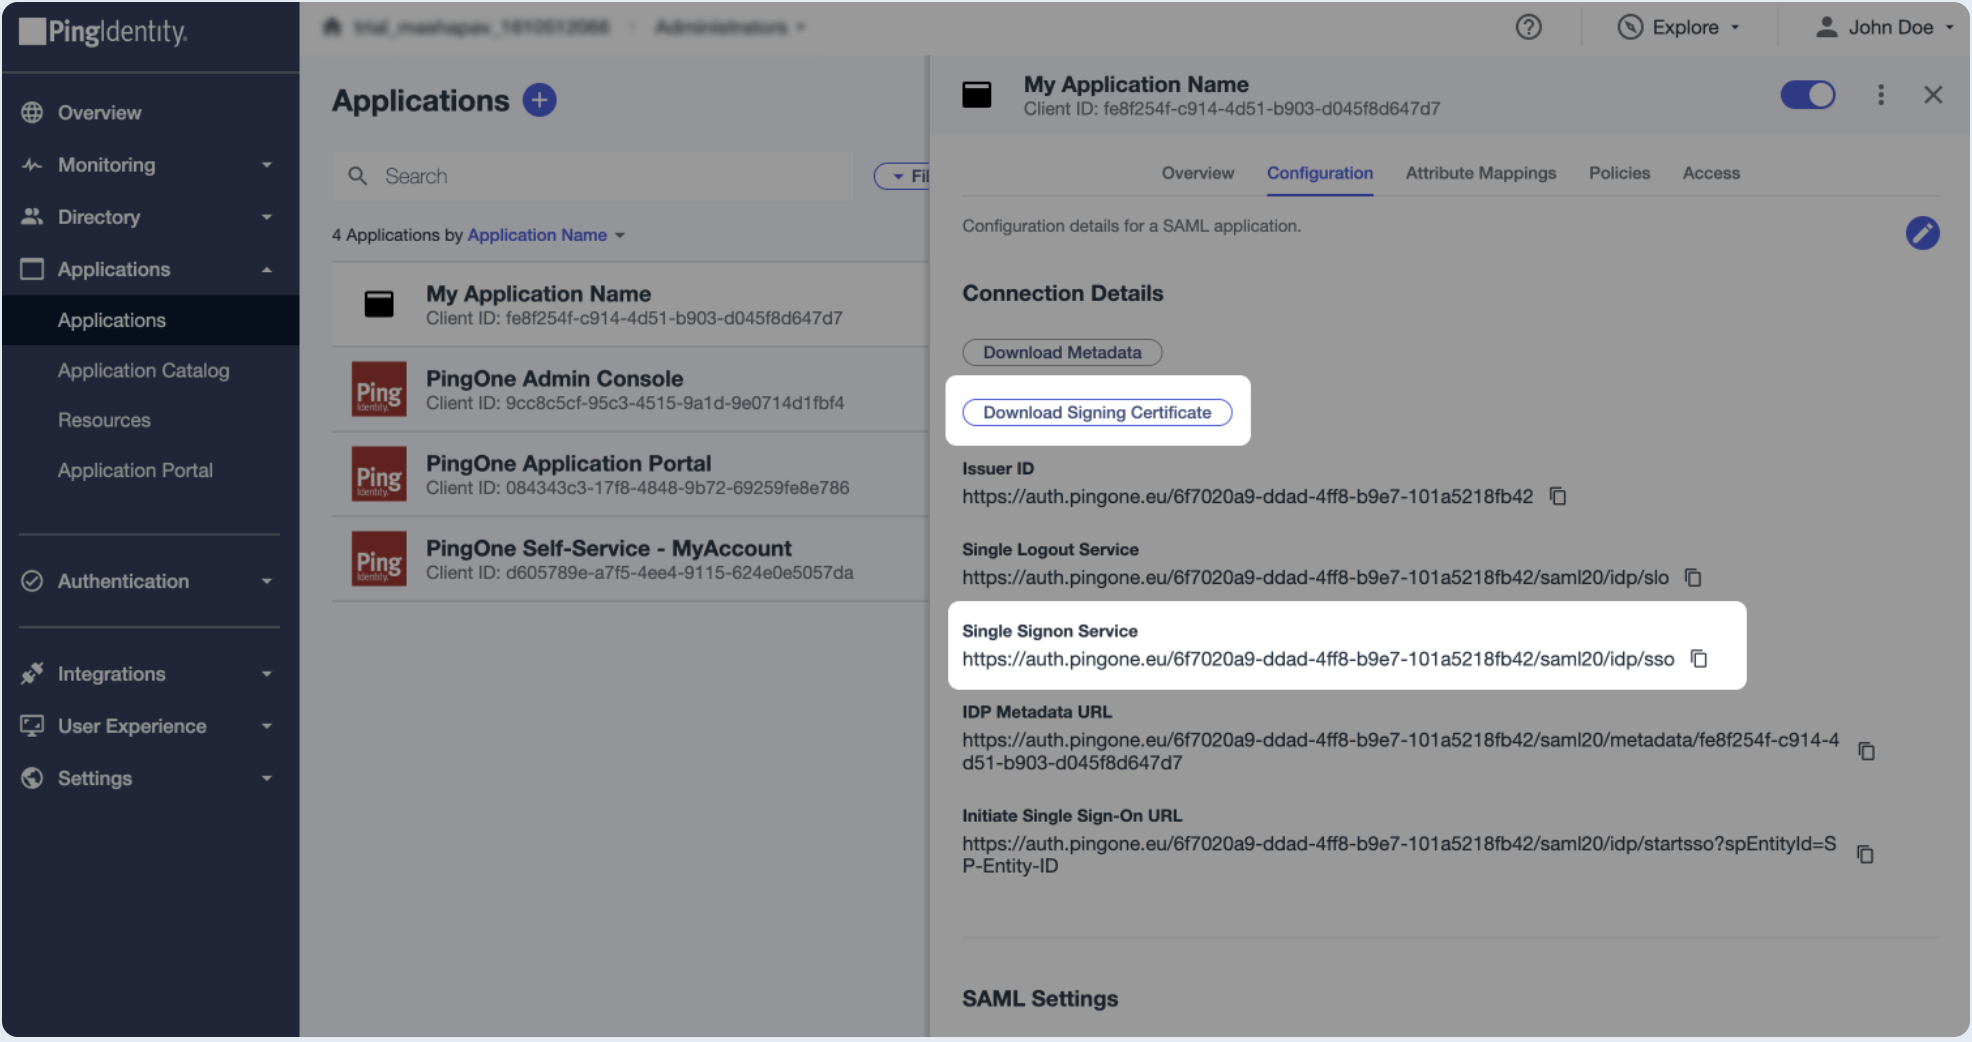
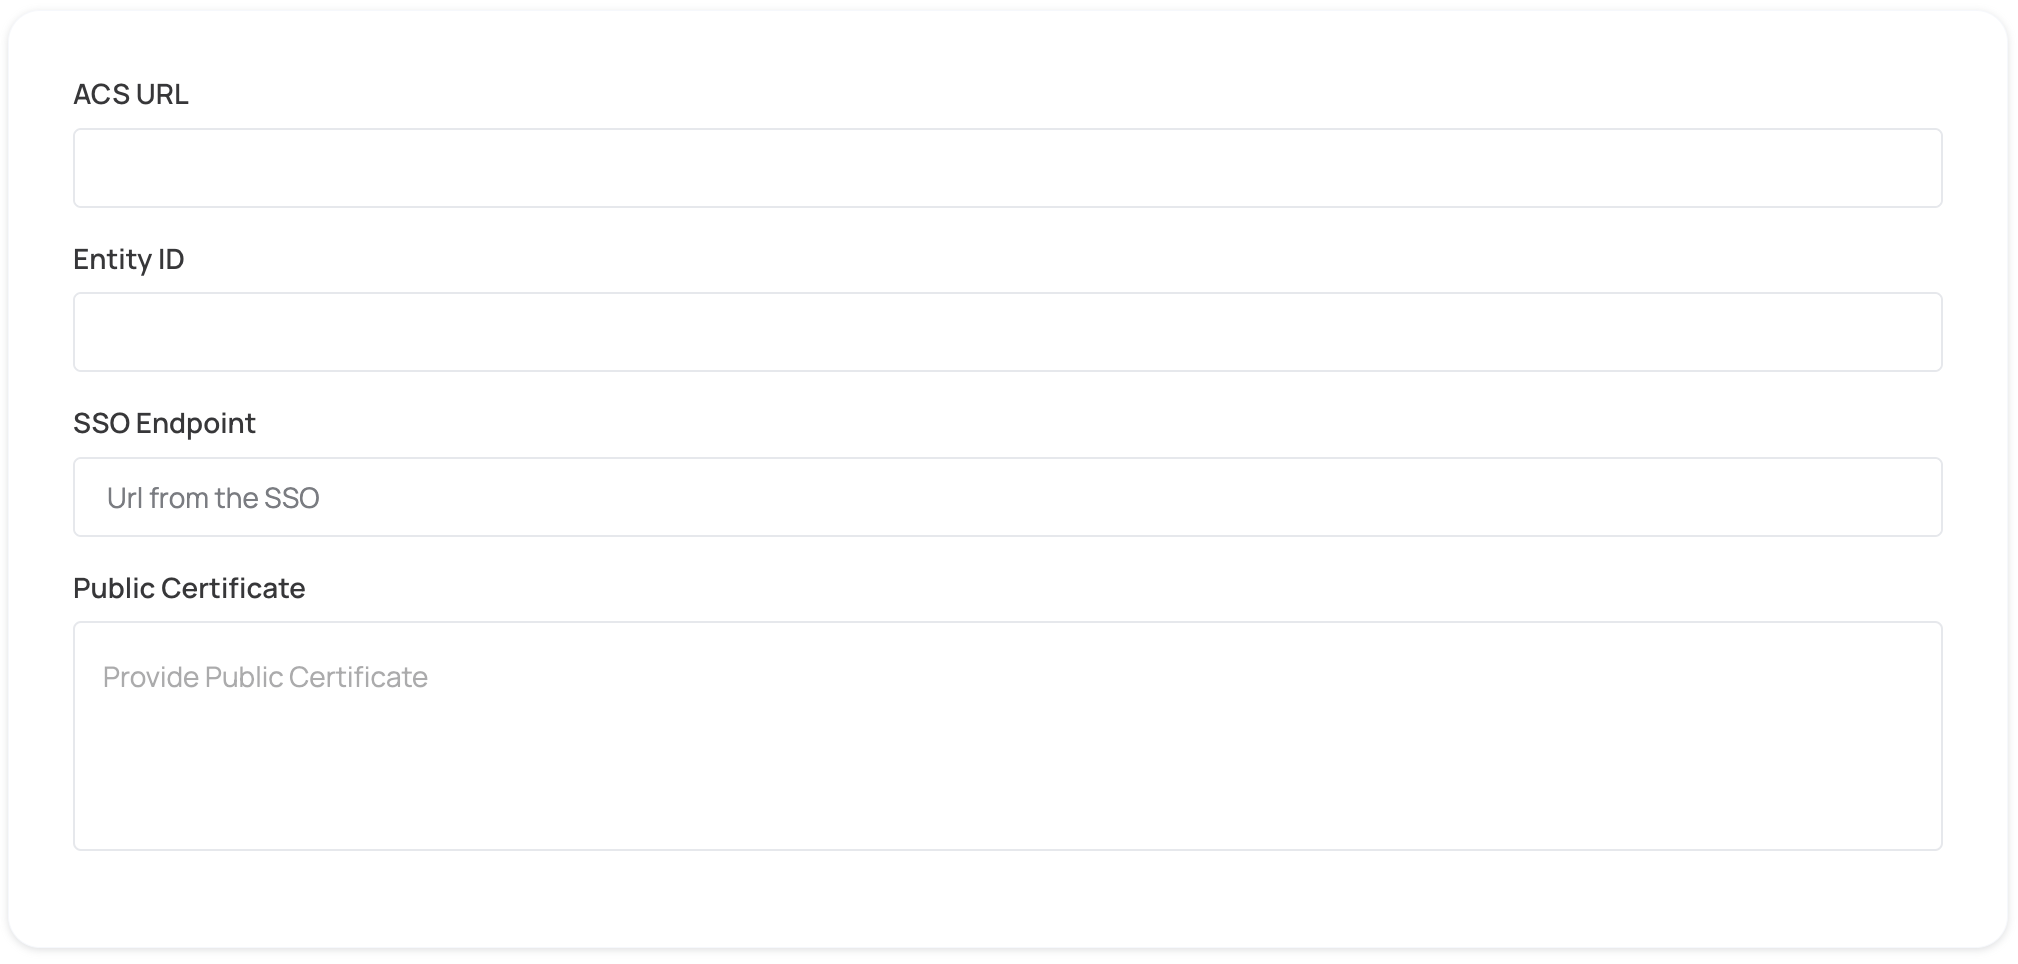
Manual configuration
- Click on Download Signing Certificate and choose the X.509 Certificate.
- Paste the content of the certificate file into the Public Certificate section.
- Copy the Single Signon Service URL and paste the value into the SSO Endpoint field.
Step 5: Proceed with domain claiming and role assignment
- Click on Proceed with domain claiming and role assignment to confirm the completion the configuration of the IDP form.
- Follow the instructions in the Self-service SAML configuration guide to complete this step and manage authorization.