Create SAML application with Onelogin
This guide outlines the steps to create and configure a SAML application in Onelogin, including setup, user assignments, and metadata submission.
Step 1: Create SAML application
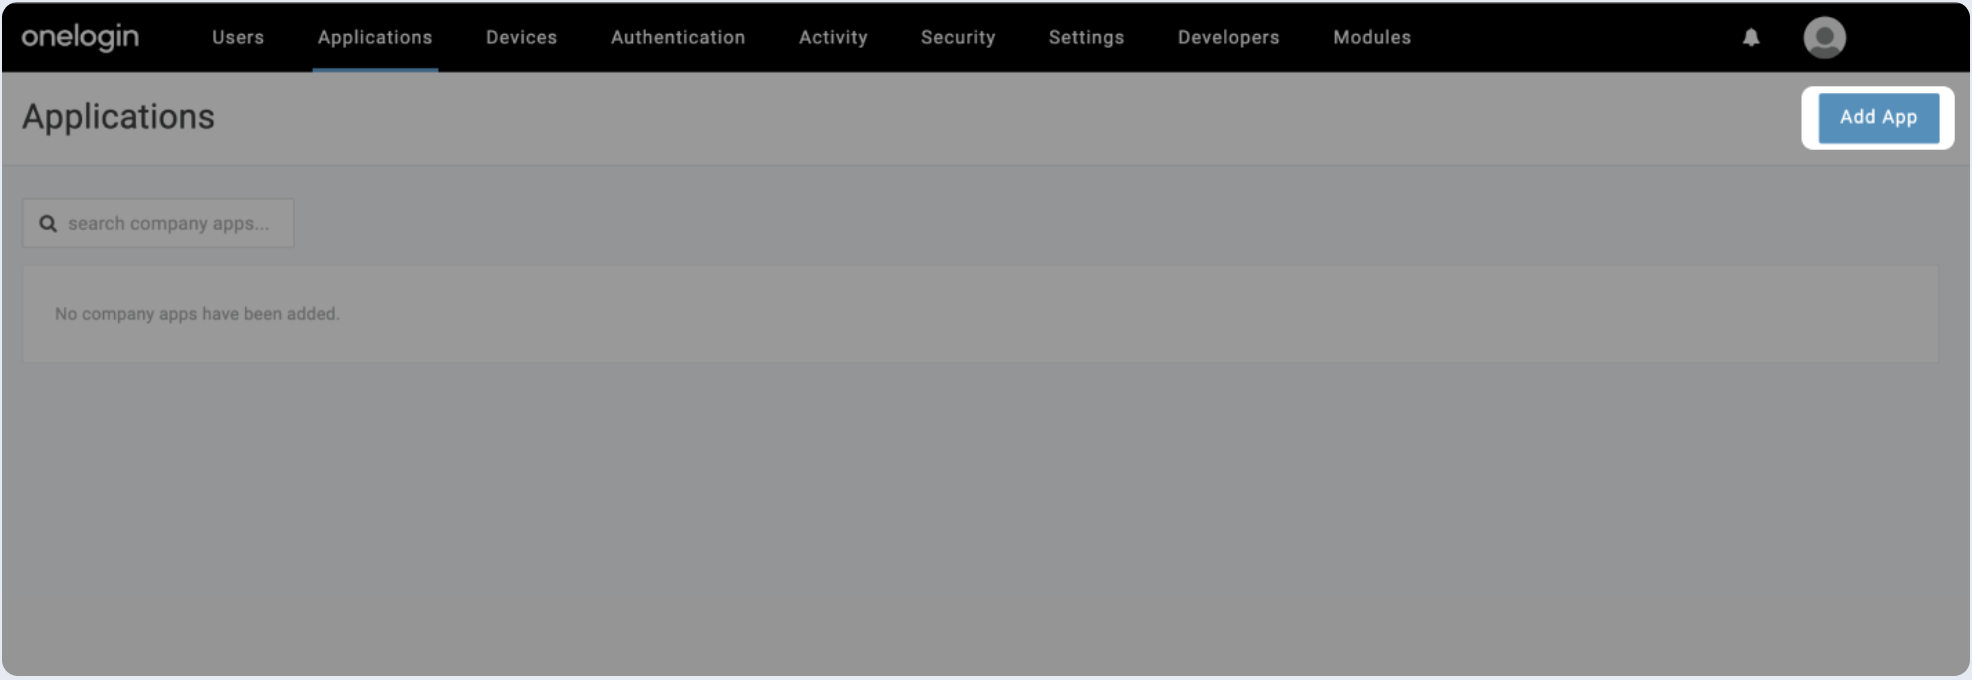
- Log in to your OneLogin application dashboard and click Applications on the top navigation and click Add App.
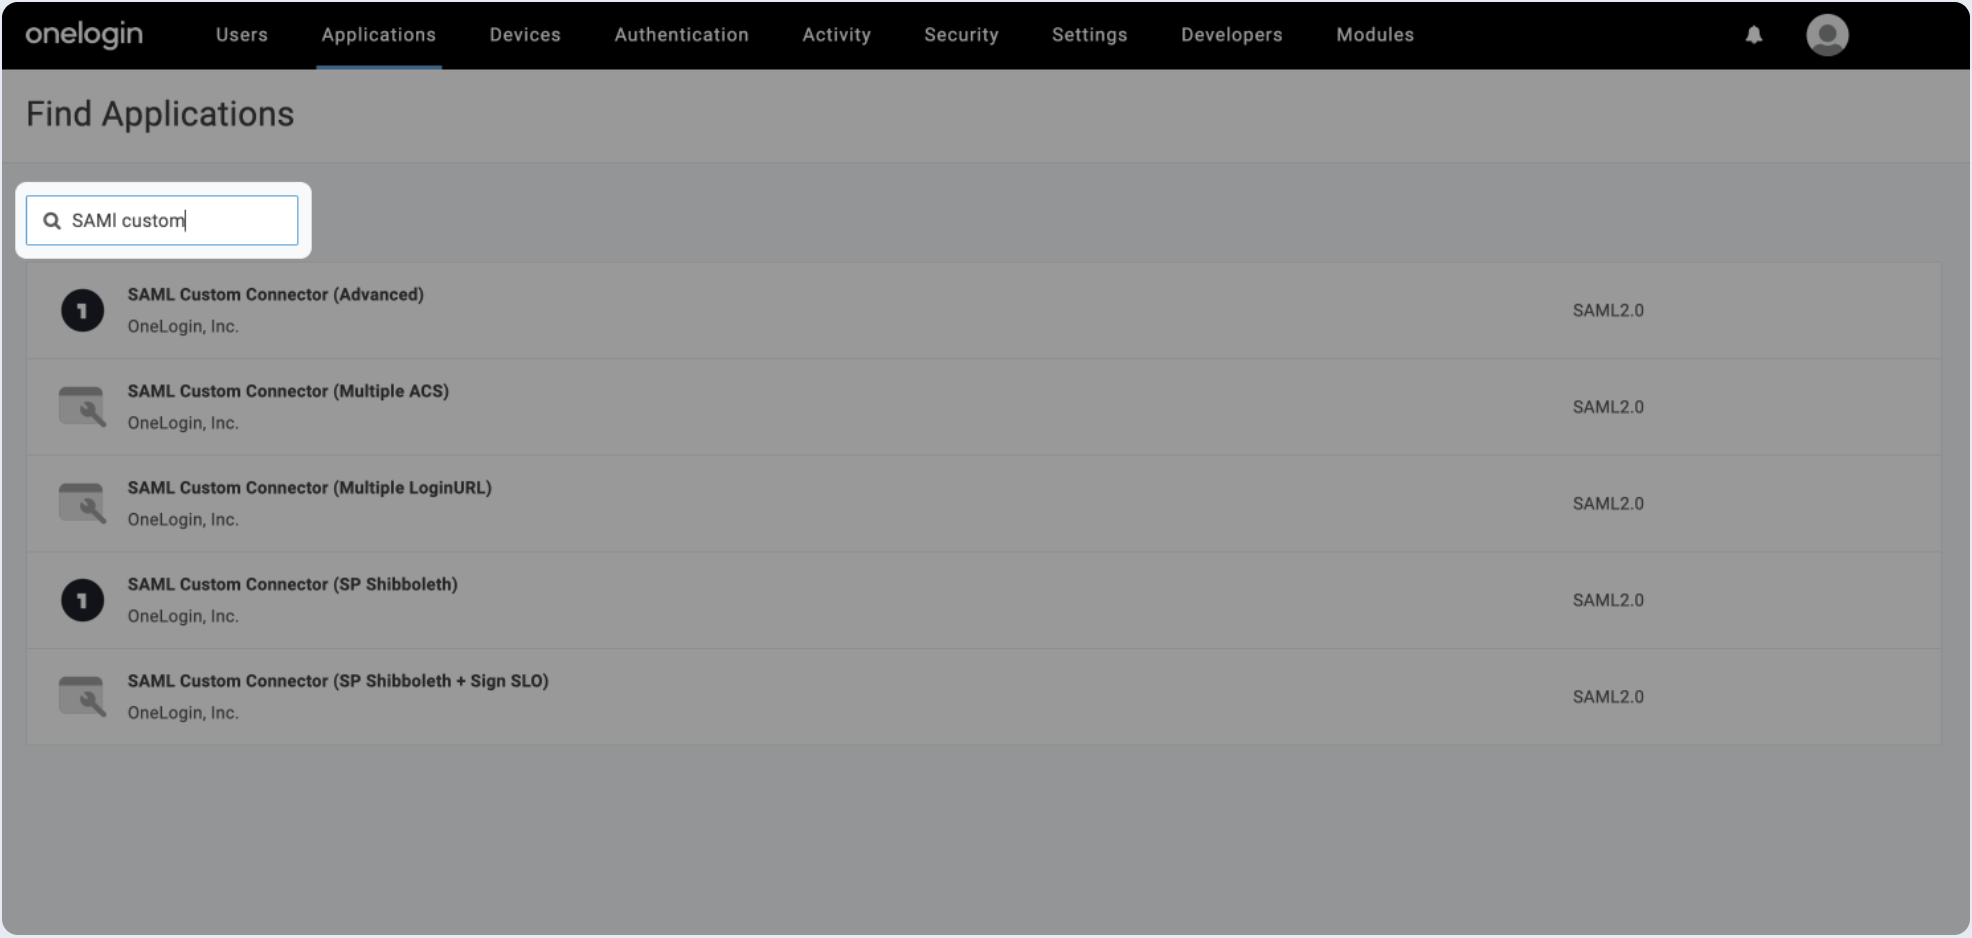
- Search for SAML custom and choose SAML Custom Connector.
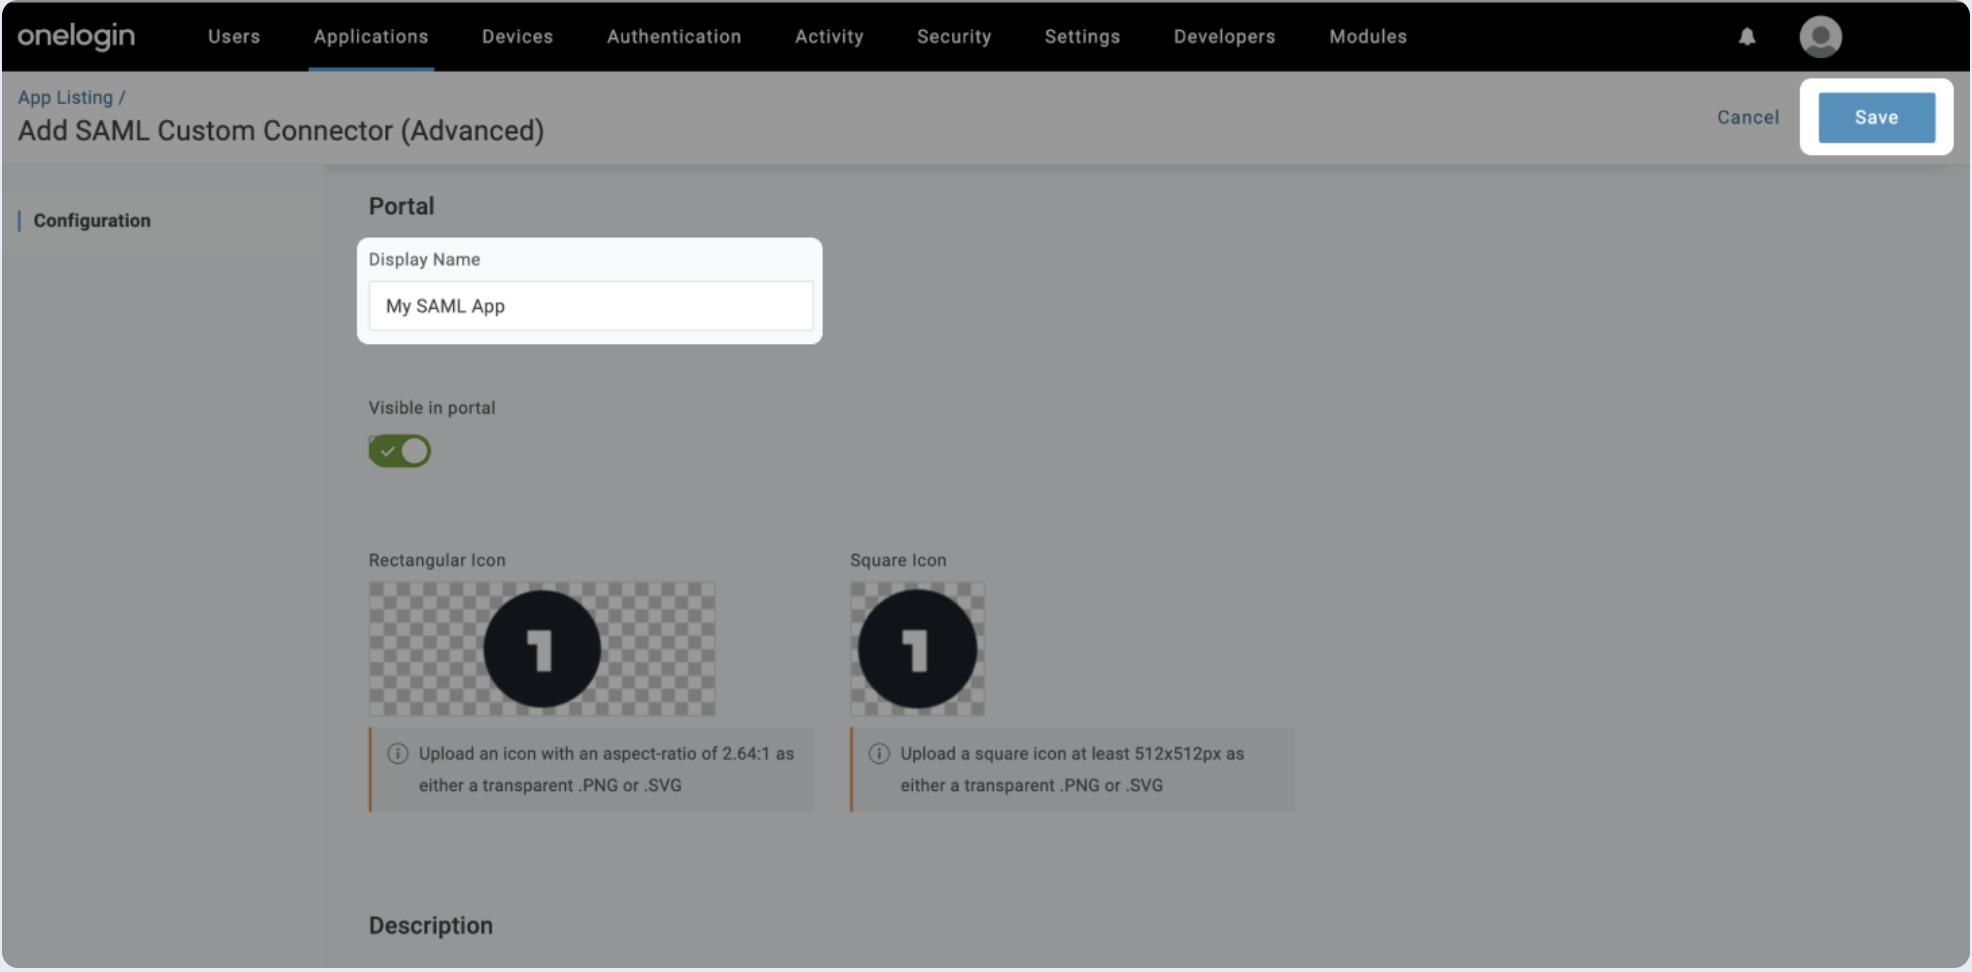
- Add a Display Name for your application and click Save.
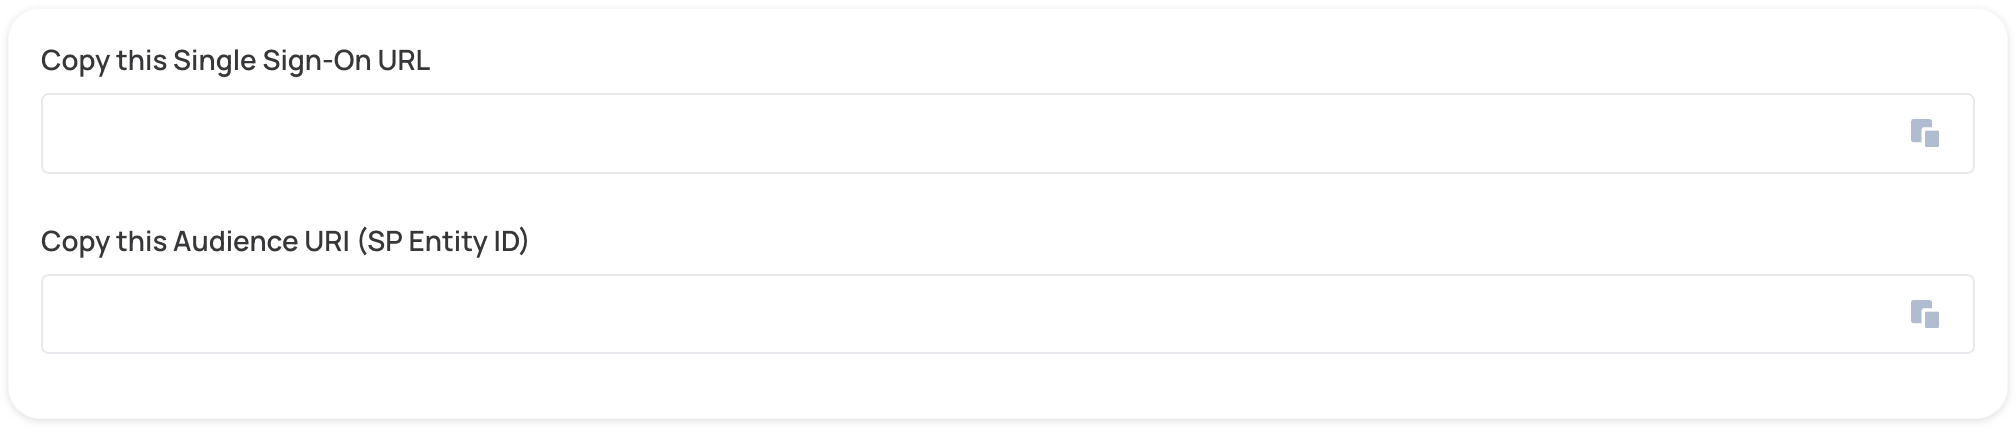
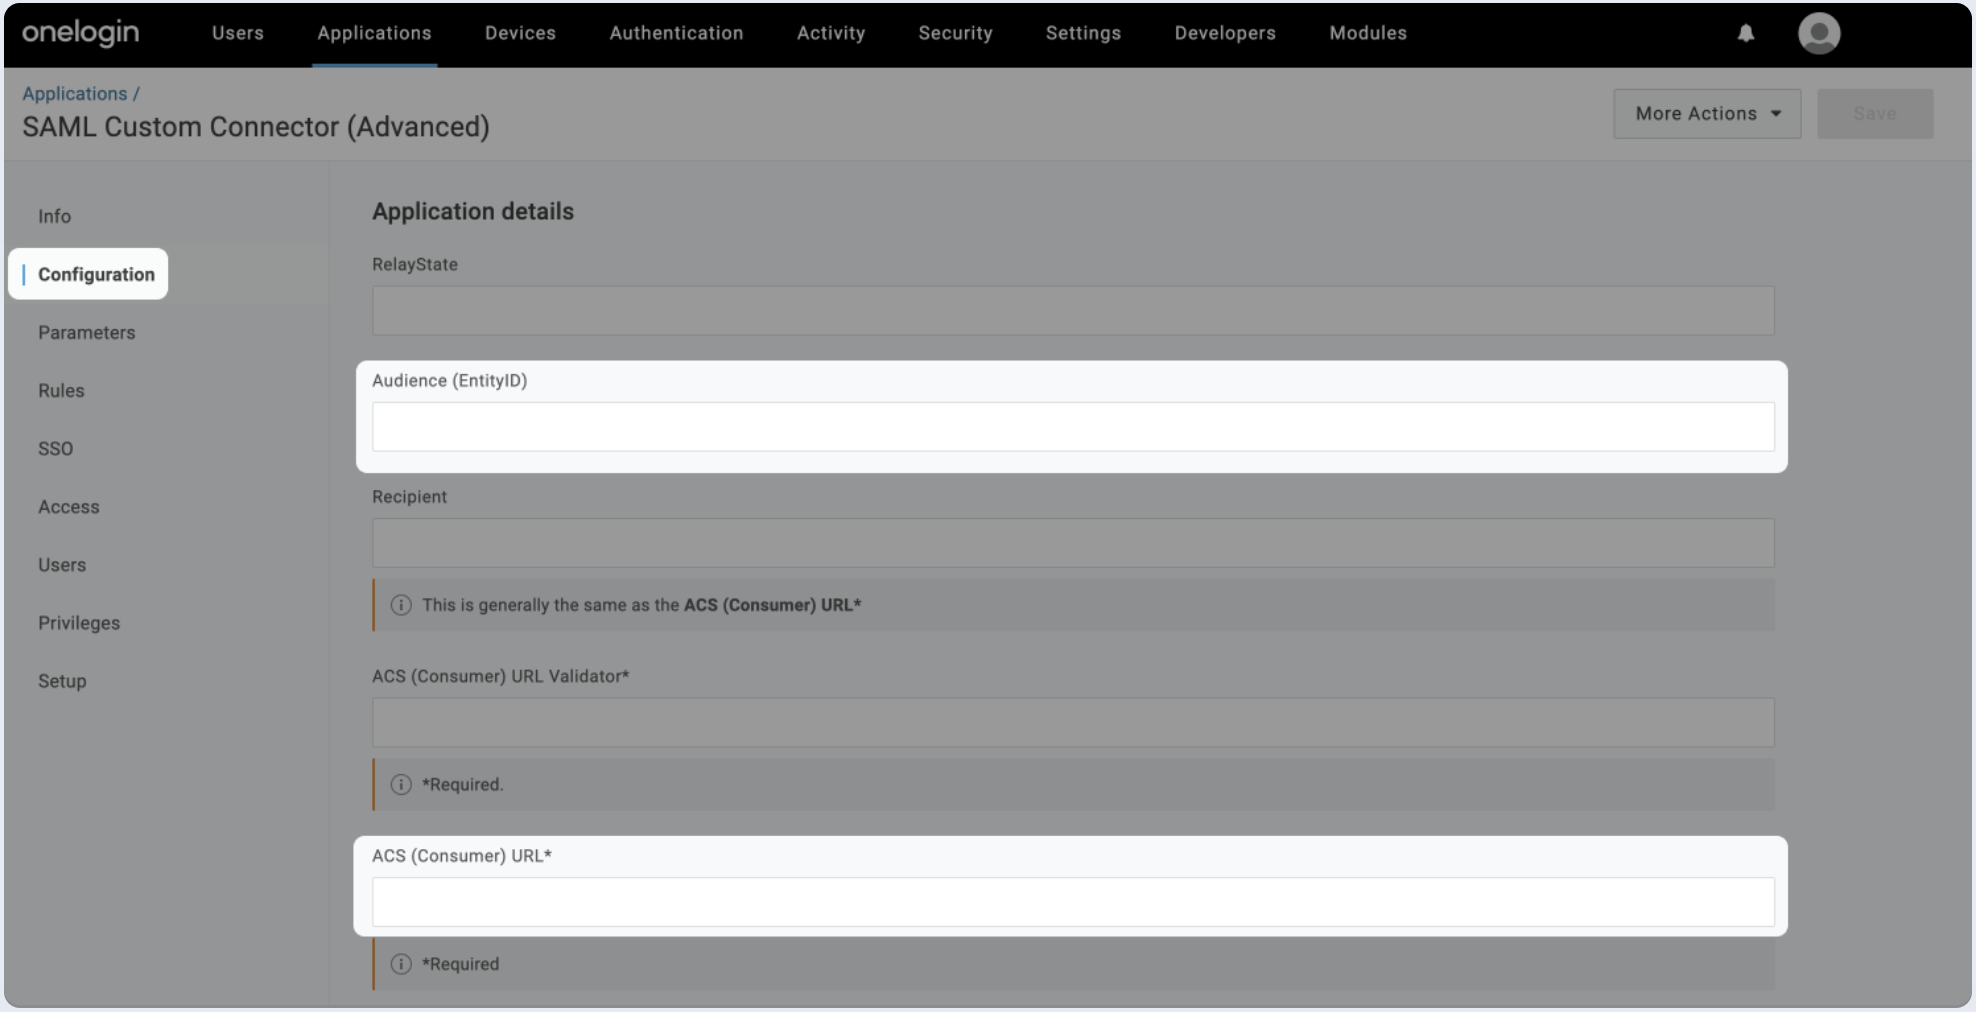
- Copy and paste the values into the relevant fields in the Configuration section.
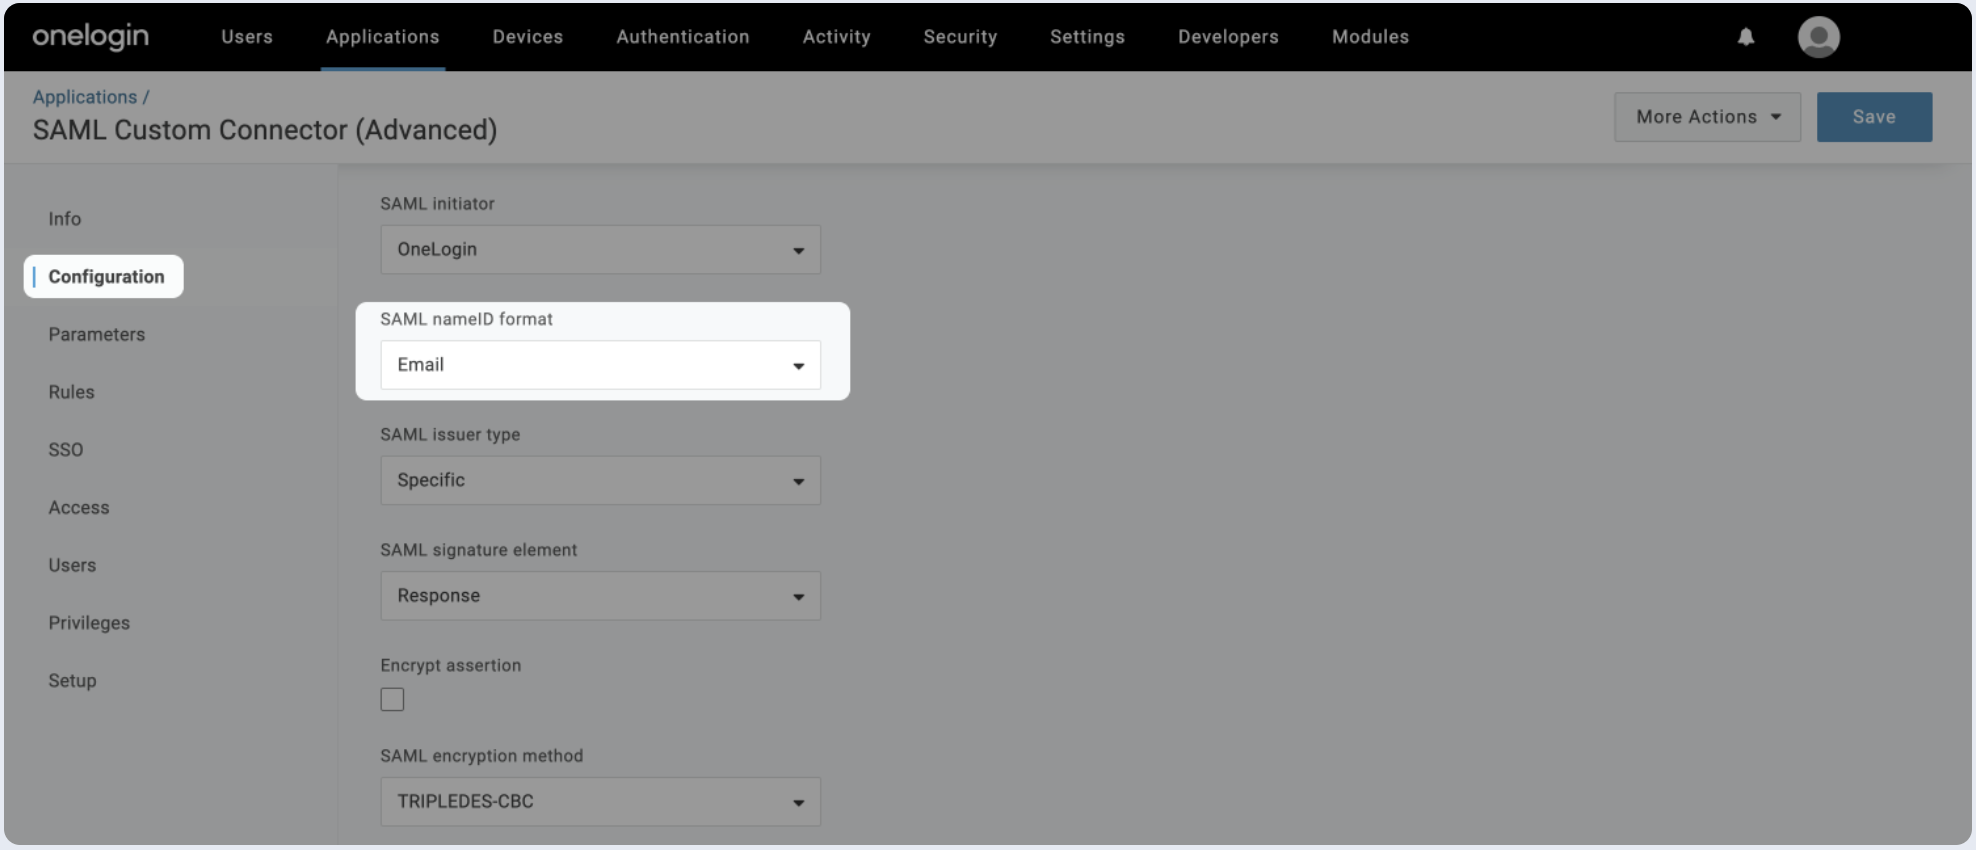
- Scroll down to SAML nameID format and make sure that Email is selected.
Step 2: Fill attribute statements (optional)
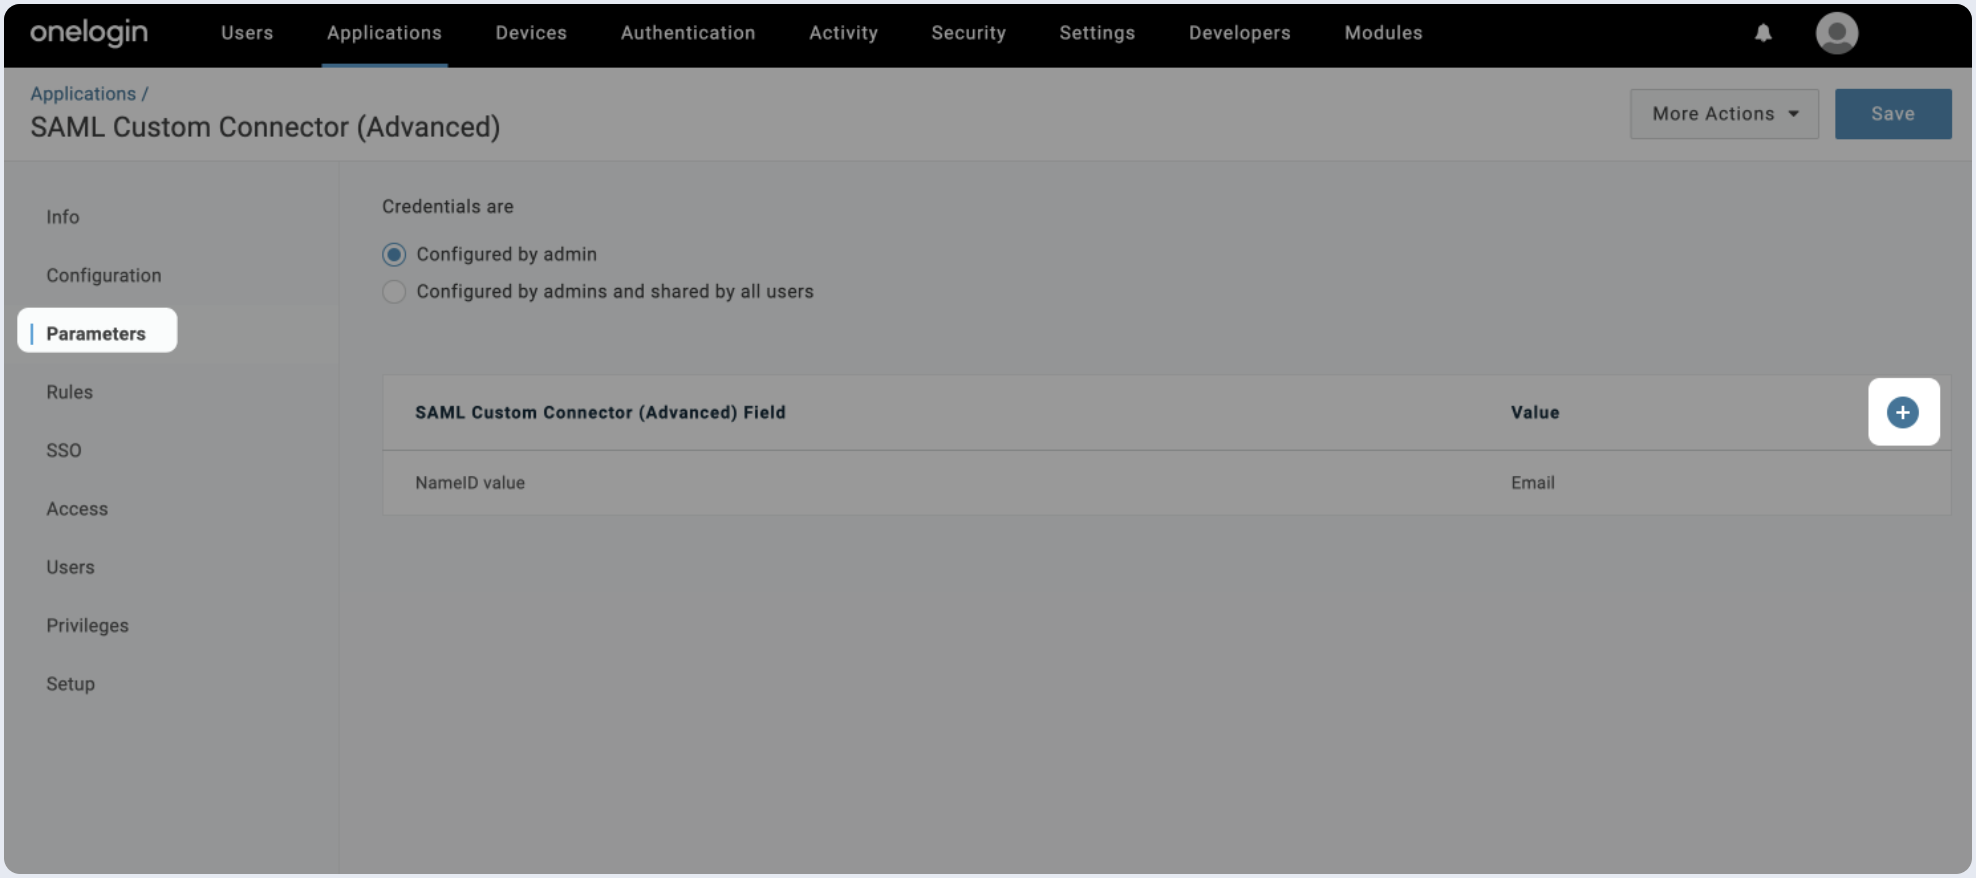
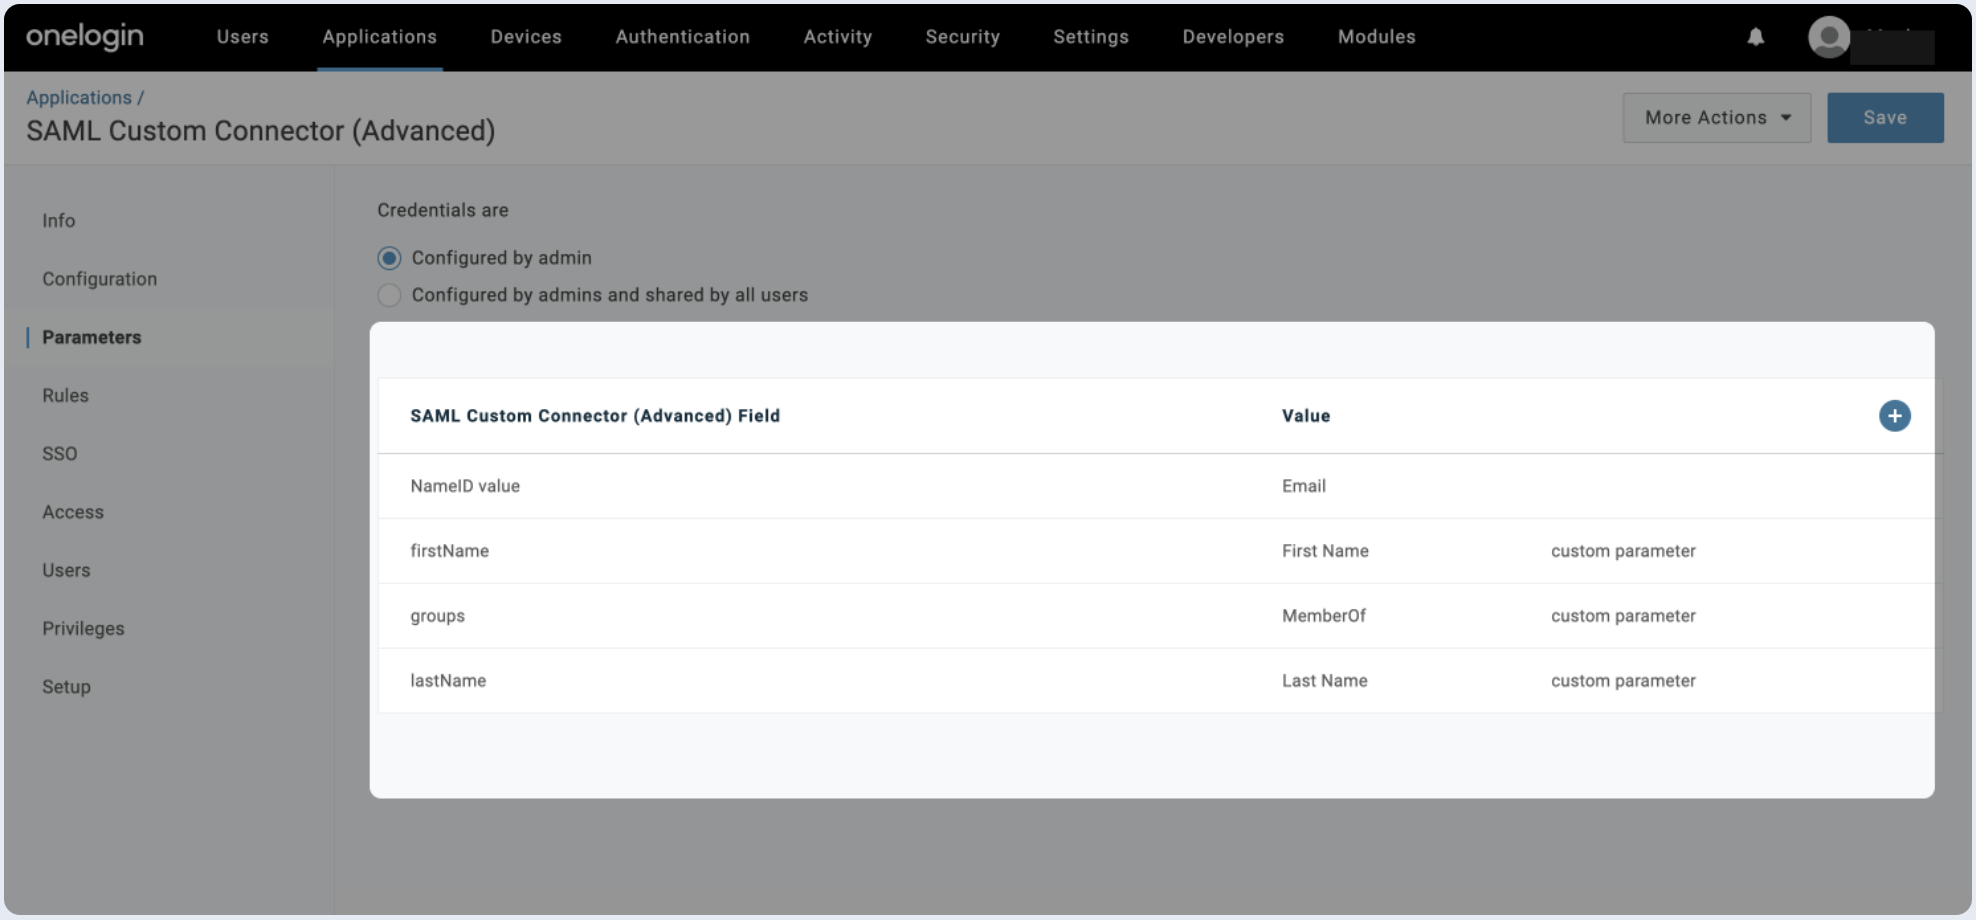
- Go to the Parameters (optional) section, and click on the + sign to add new attributes:
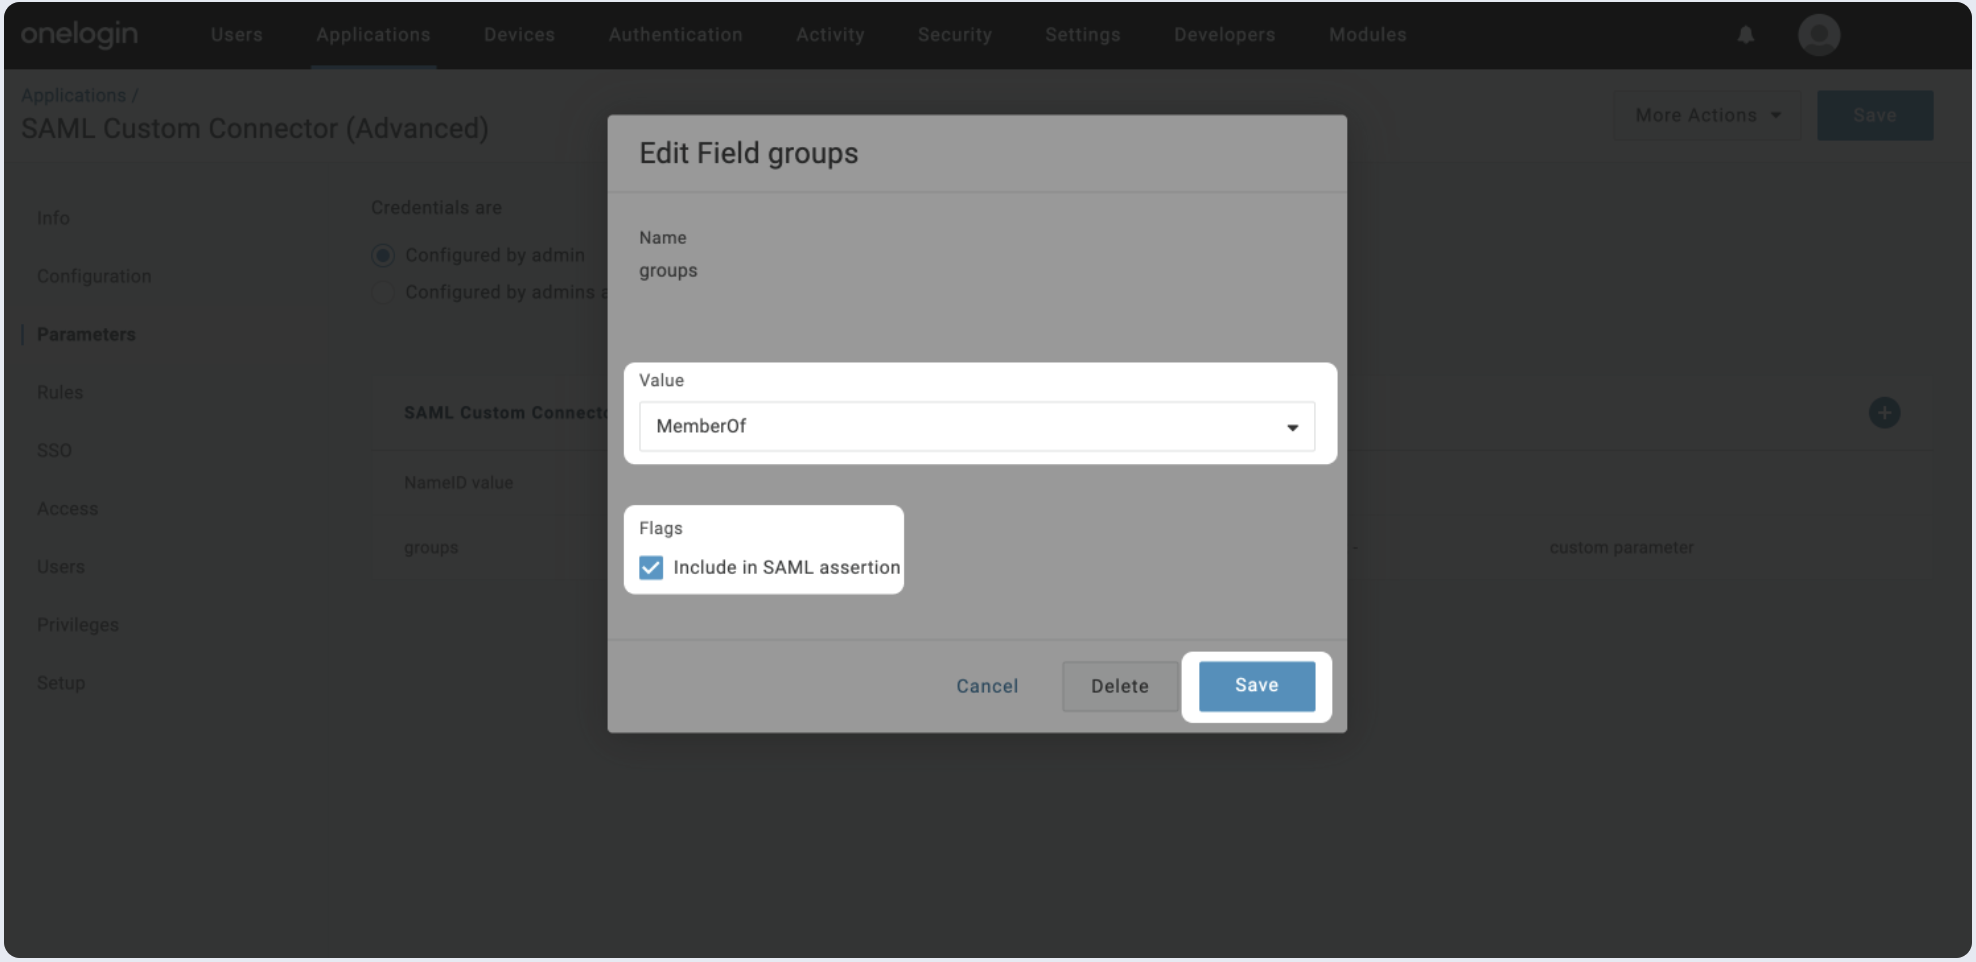
- A New Field modal will open up. The below example shows how to map user's memberOf attribute as groups in the saml response.
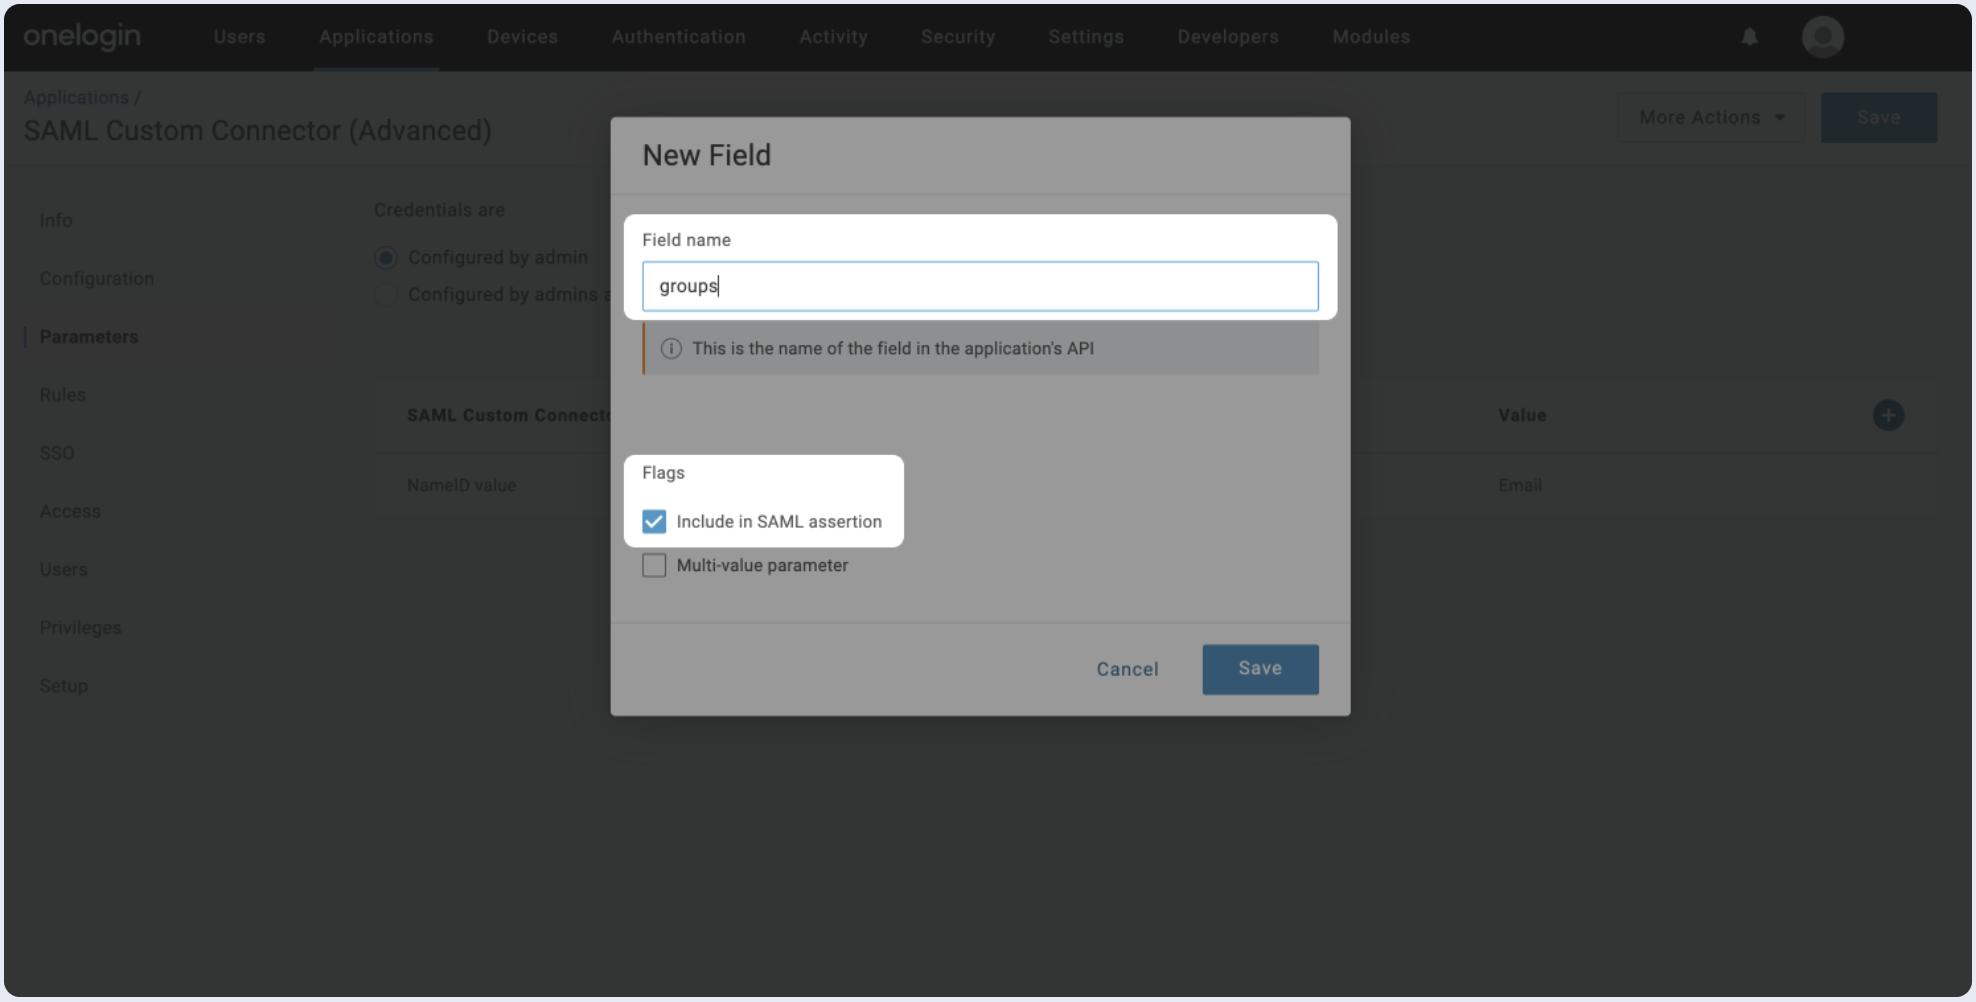
After adding the Field name and selecting the checkbox, click on Save. Select MemberOf under the Value dropdown and click Save.
Make sure that users who assigned to the SAML application, have their groups refrelected in member of field in user details.
- For adding additional attributes such as First Name and Last Name, repeat the steps and add them as firstName and lastName.
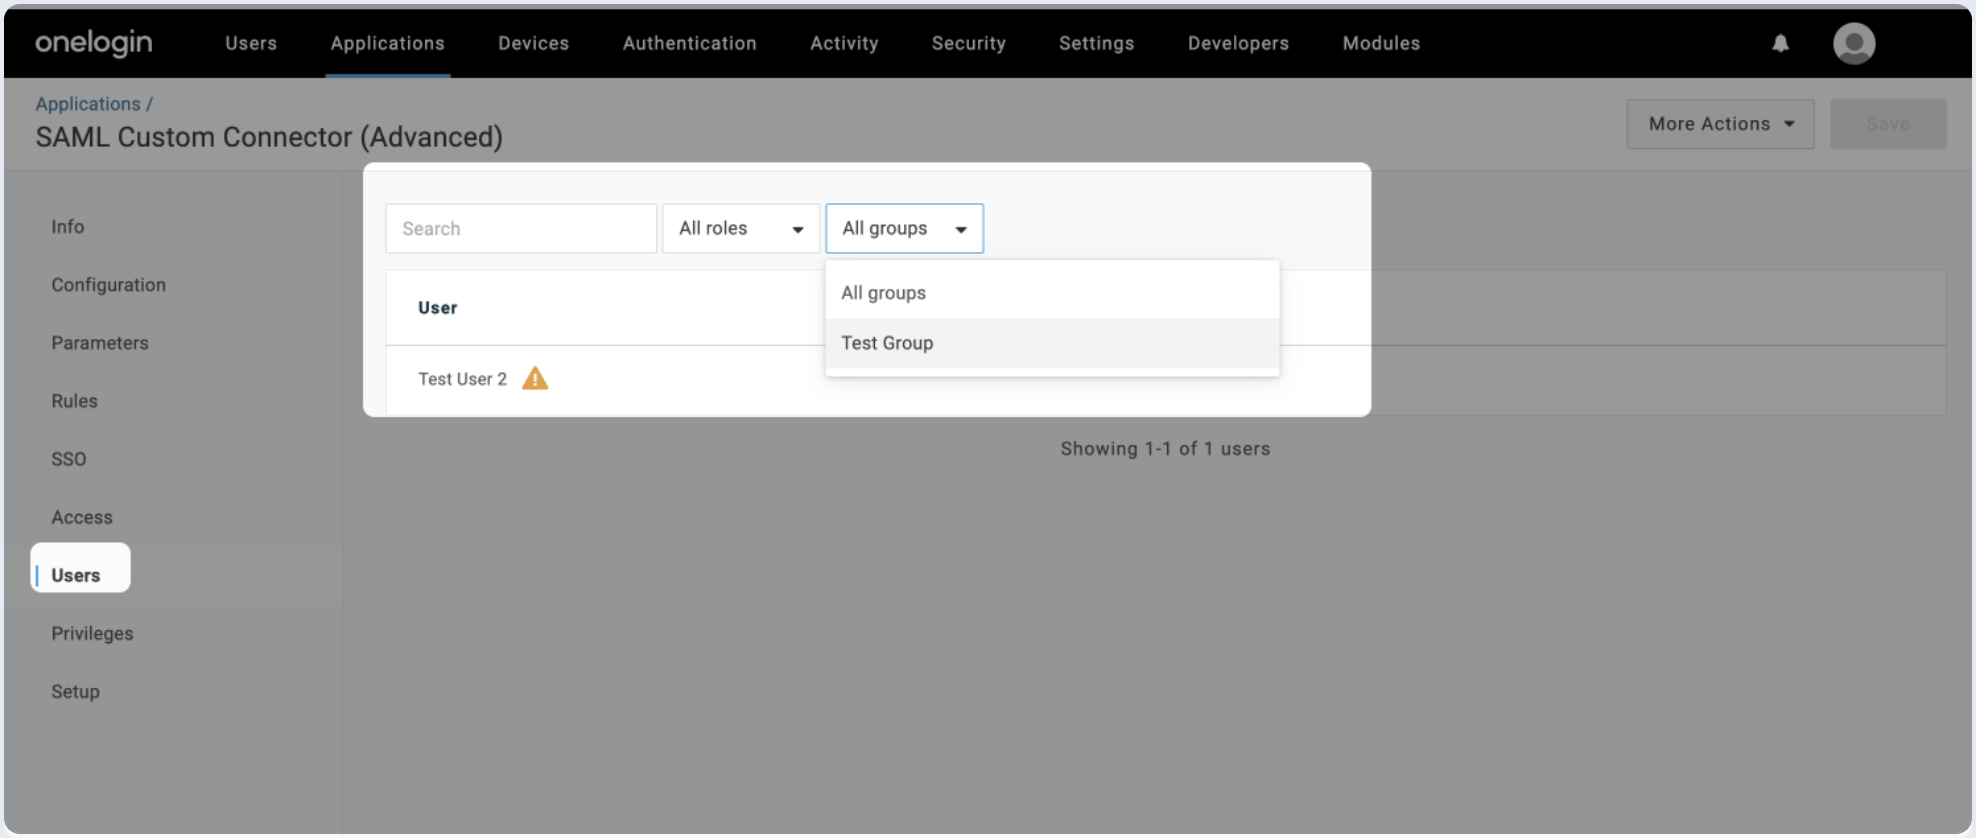
Step 3: Assign users
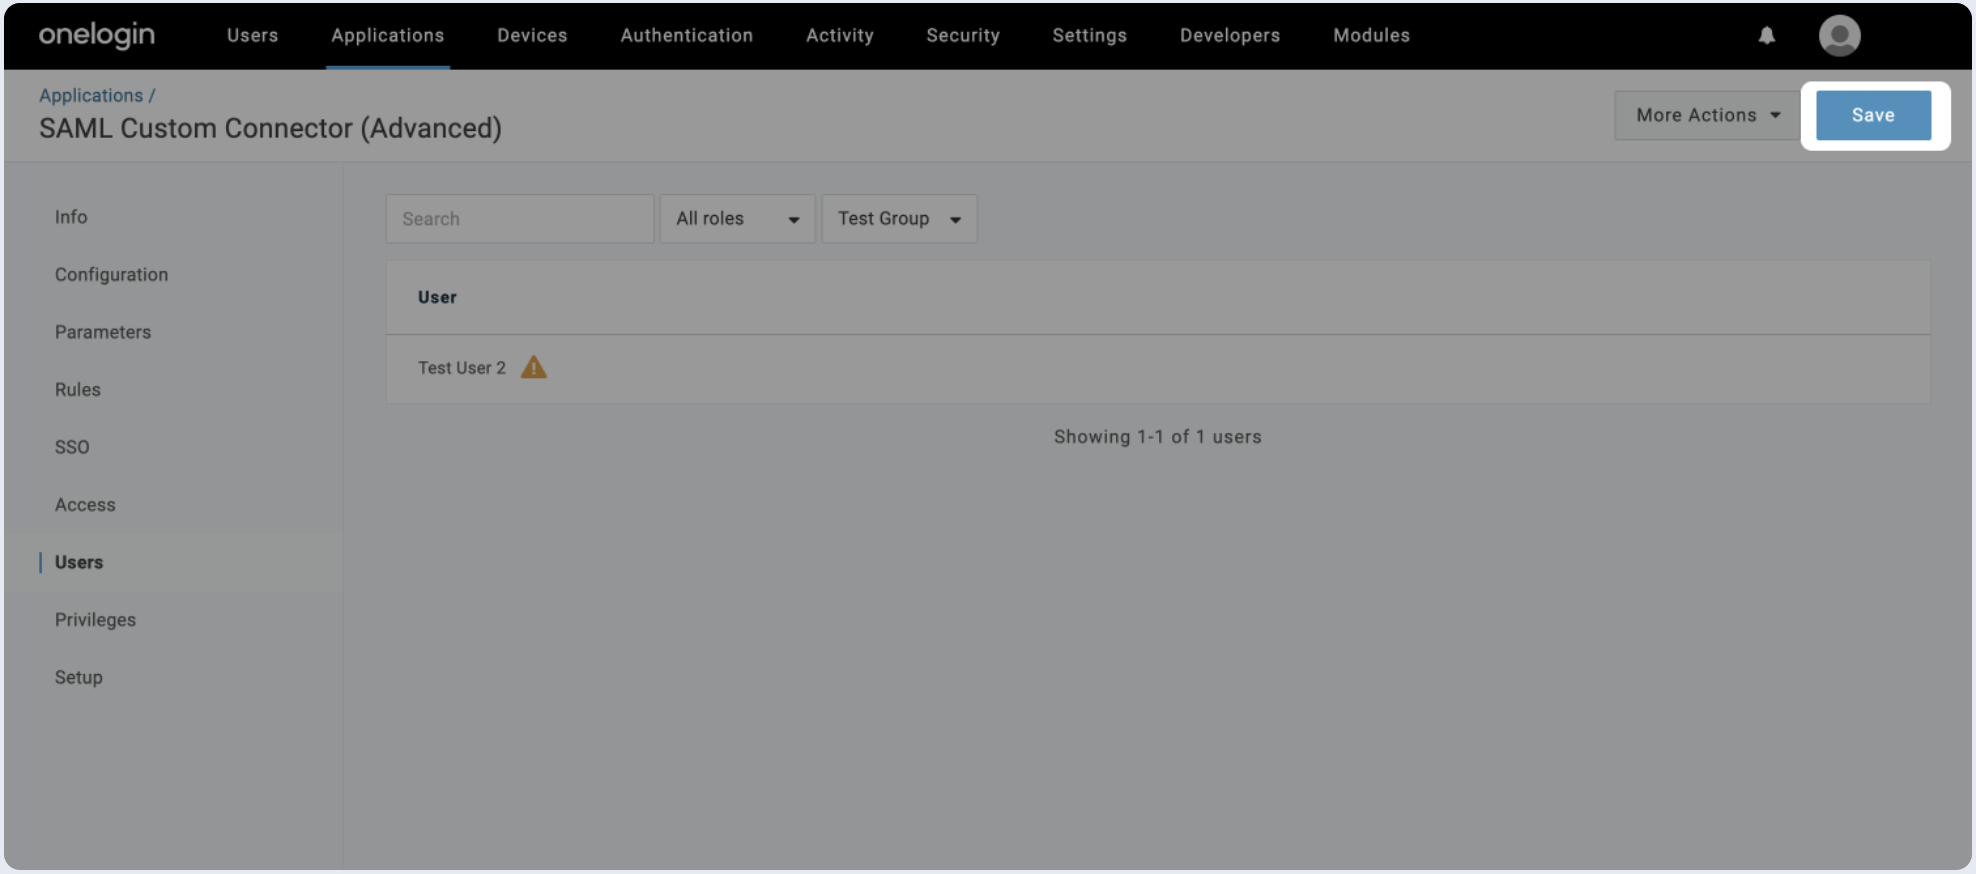
- Switch to the Users section, choose the user groups that you wish to assign to this application.
- After choosing the user groups, click on Save.
Step 4: Submit metadata
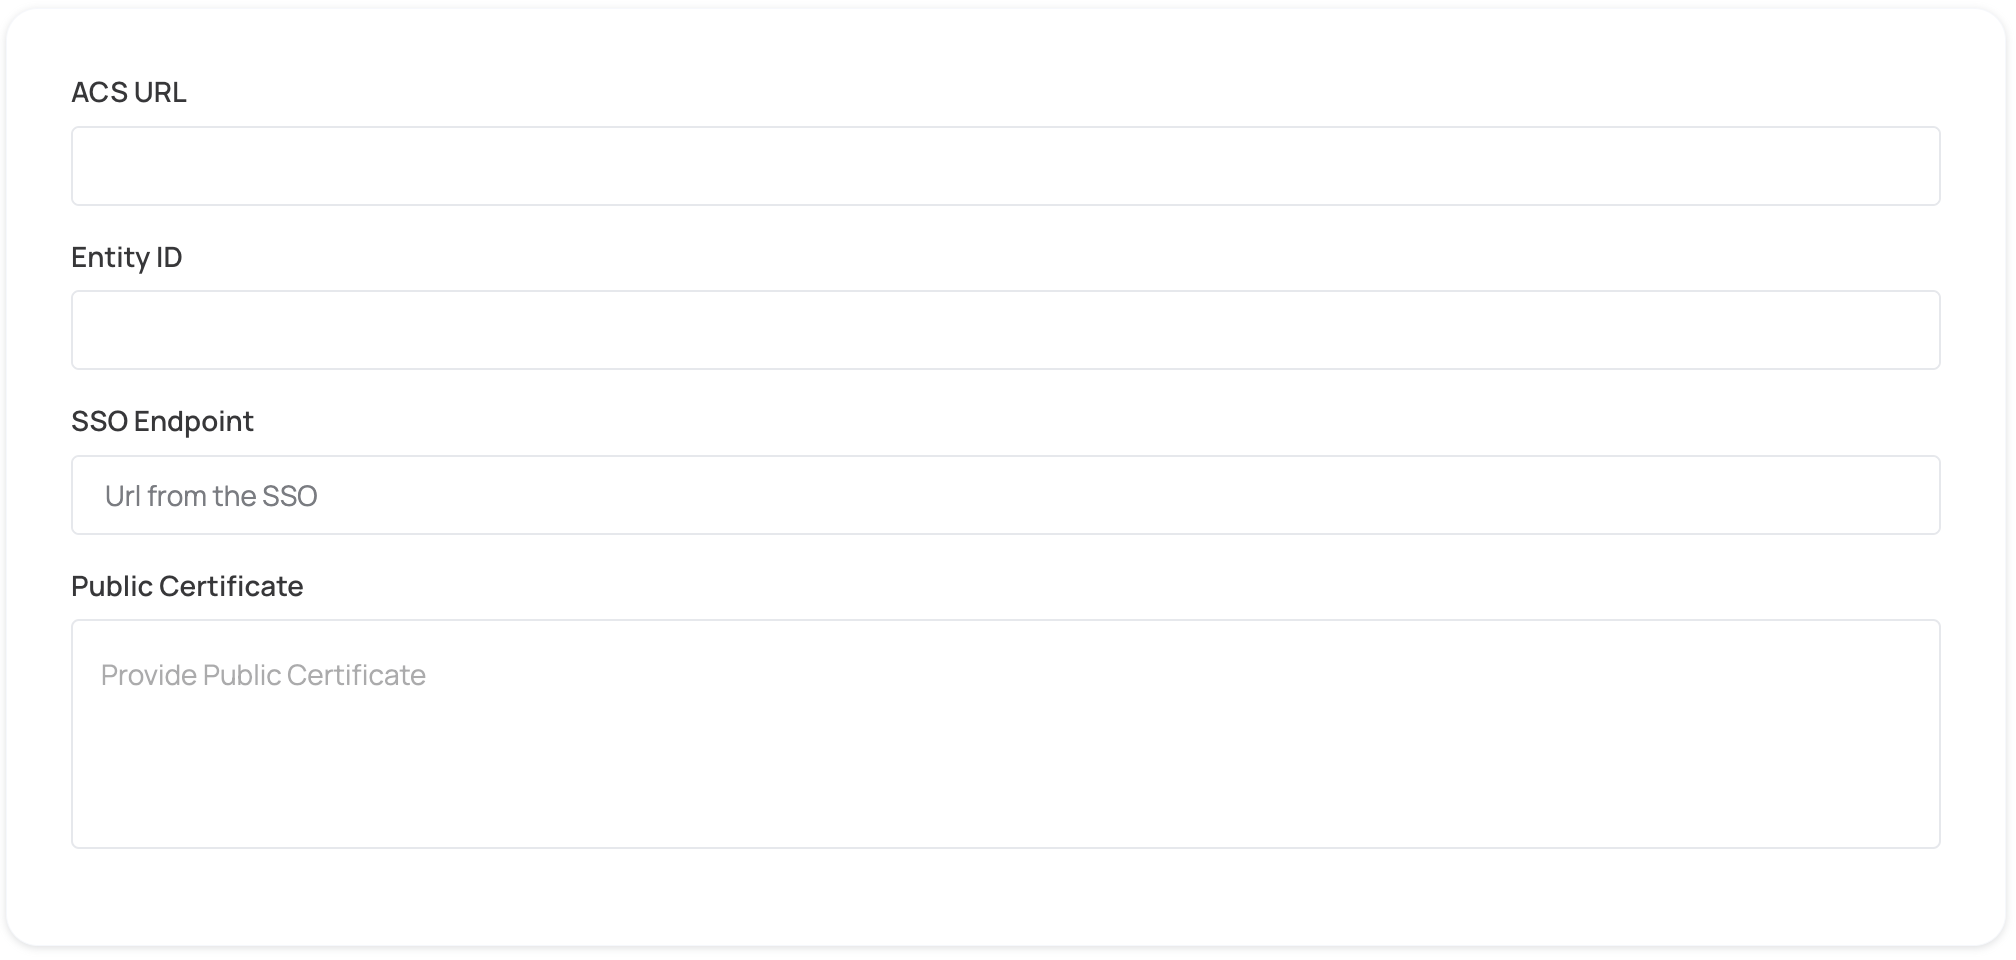
To complete the implementation of SAML SSO, you need to provide the application with your identity provider’s details.
Automatic configuration
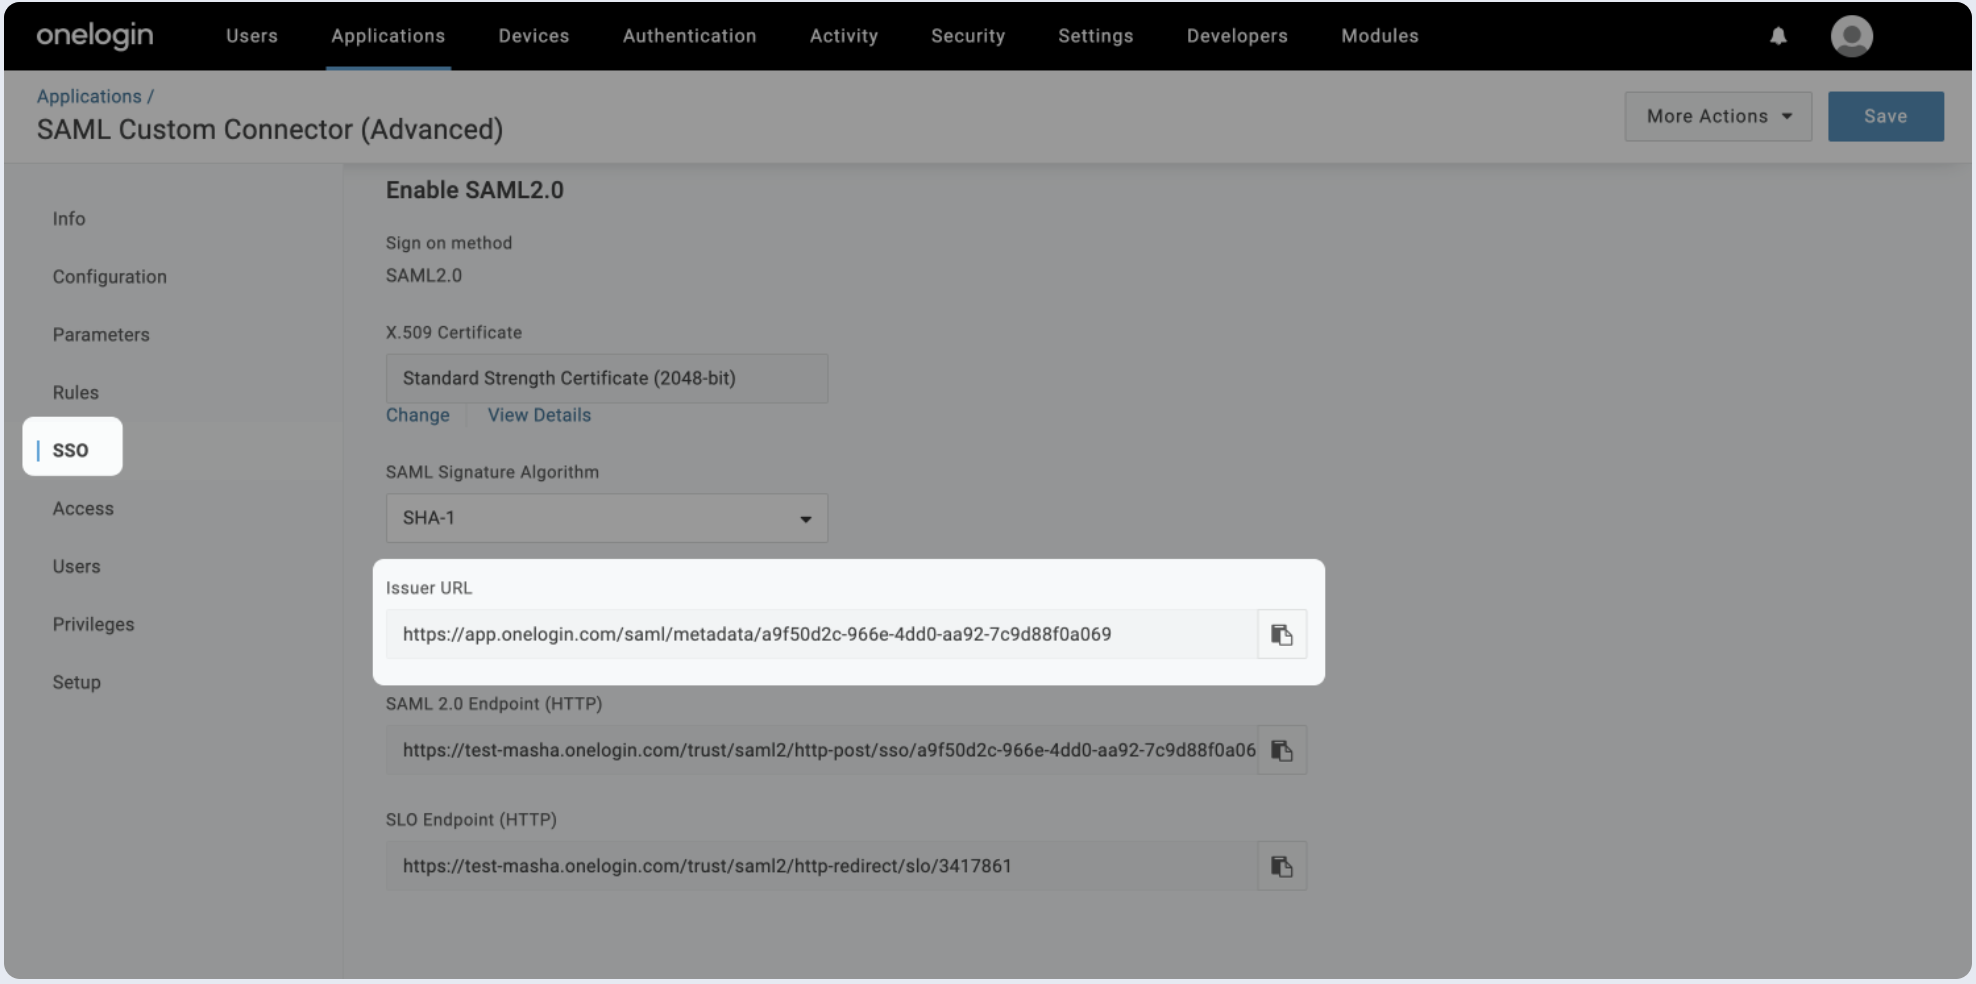
- Click on the SSO section of the SAML app you just created.
- Copy the Issuer URL and paste it below in the IdP Metadata URL field.

Manual configuration
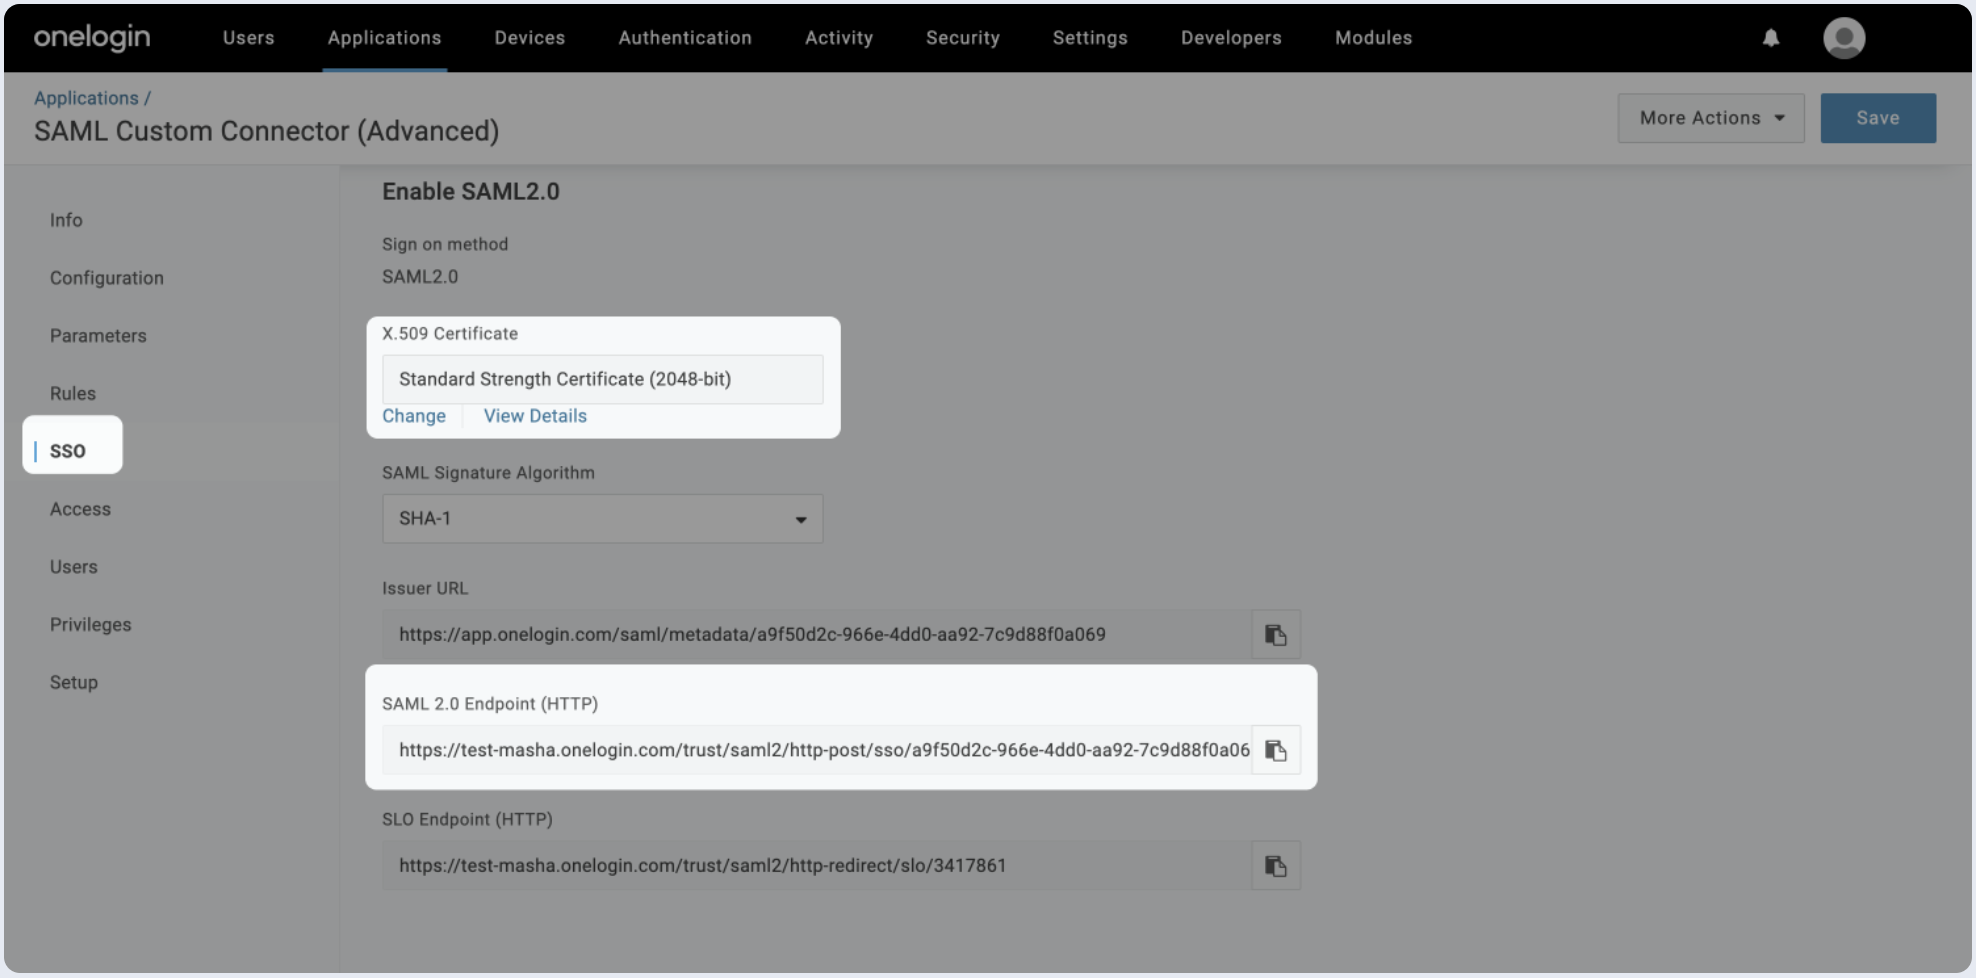
- Click on the SSO tab of the SAML app you just created.
- Click on View Details for the X.509 Certificate and paste the value below.
- Copy the value of the SAML 2.0 Endpoint and paste it in SSO Endpoint field below.
Step 5: Proceed with domain claiming and role assignment
- Click on Proceed with domain claiming and role assignment to confirm the completion the configuration of the IDP form.
- Follow the instructions in the Self-service SAML configuration guide to complete this step and manage authorization.