Create SAML application with Okta
This guide outlines the steps to create and configure a SAML application in Okta, including setup, user assignments, and metadata submission.
Step 1: Create SAML application
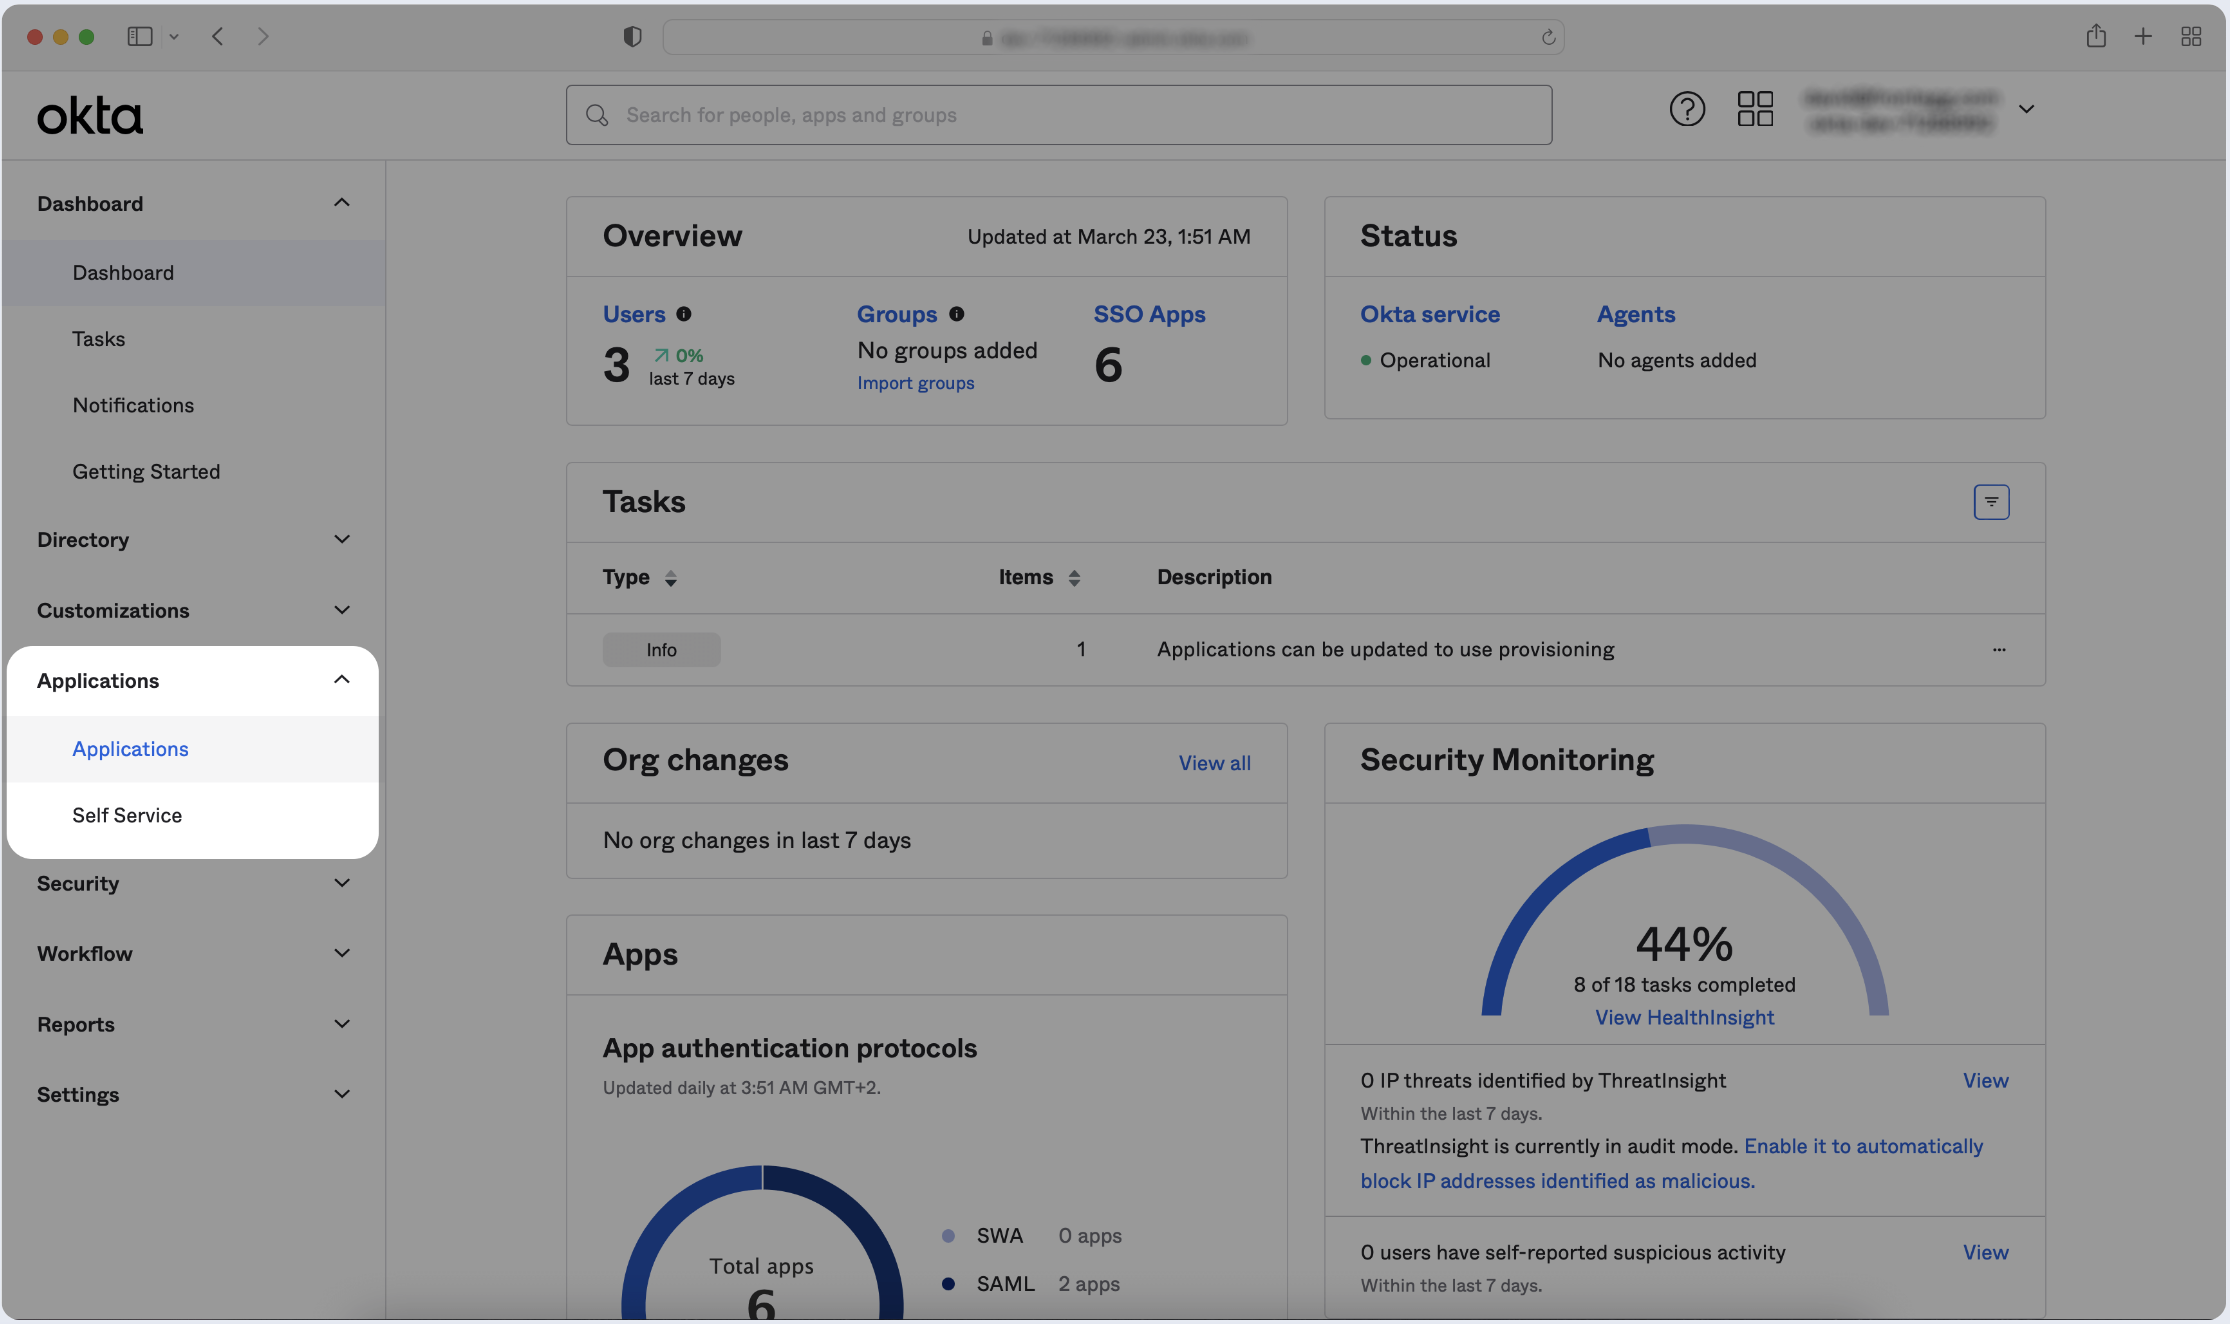
- Log in to your Okta Application Dashboard and click Applications in the sidebar.
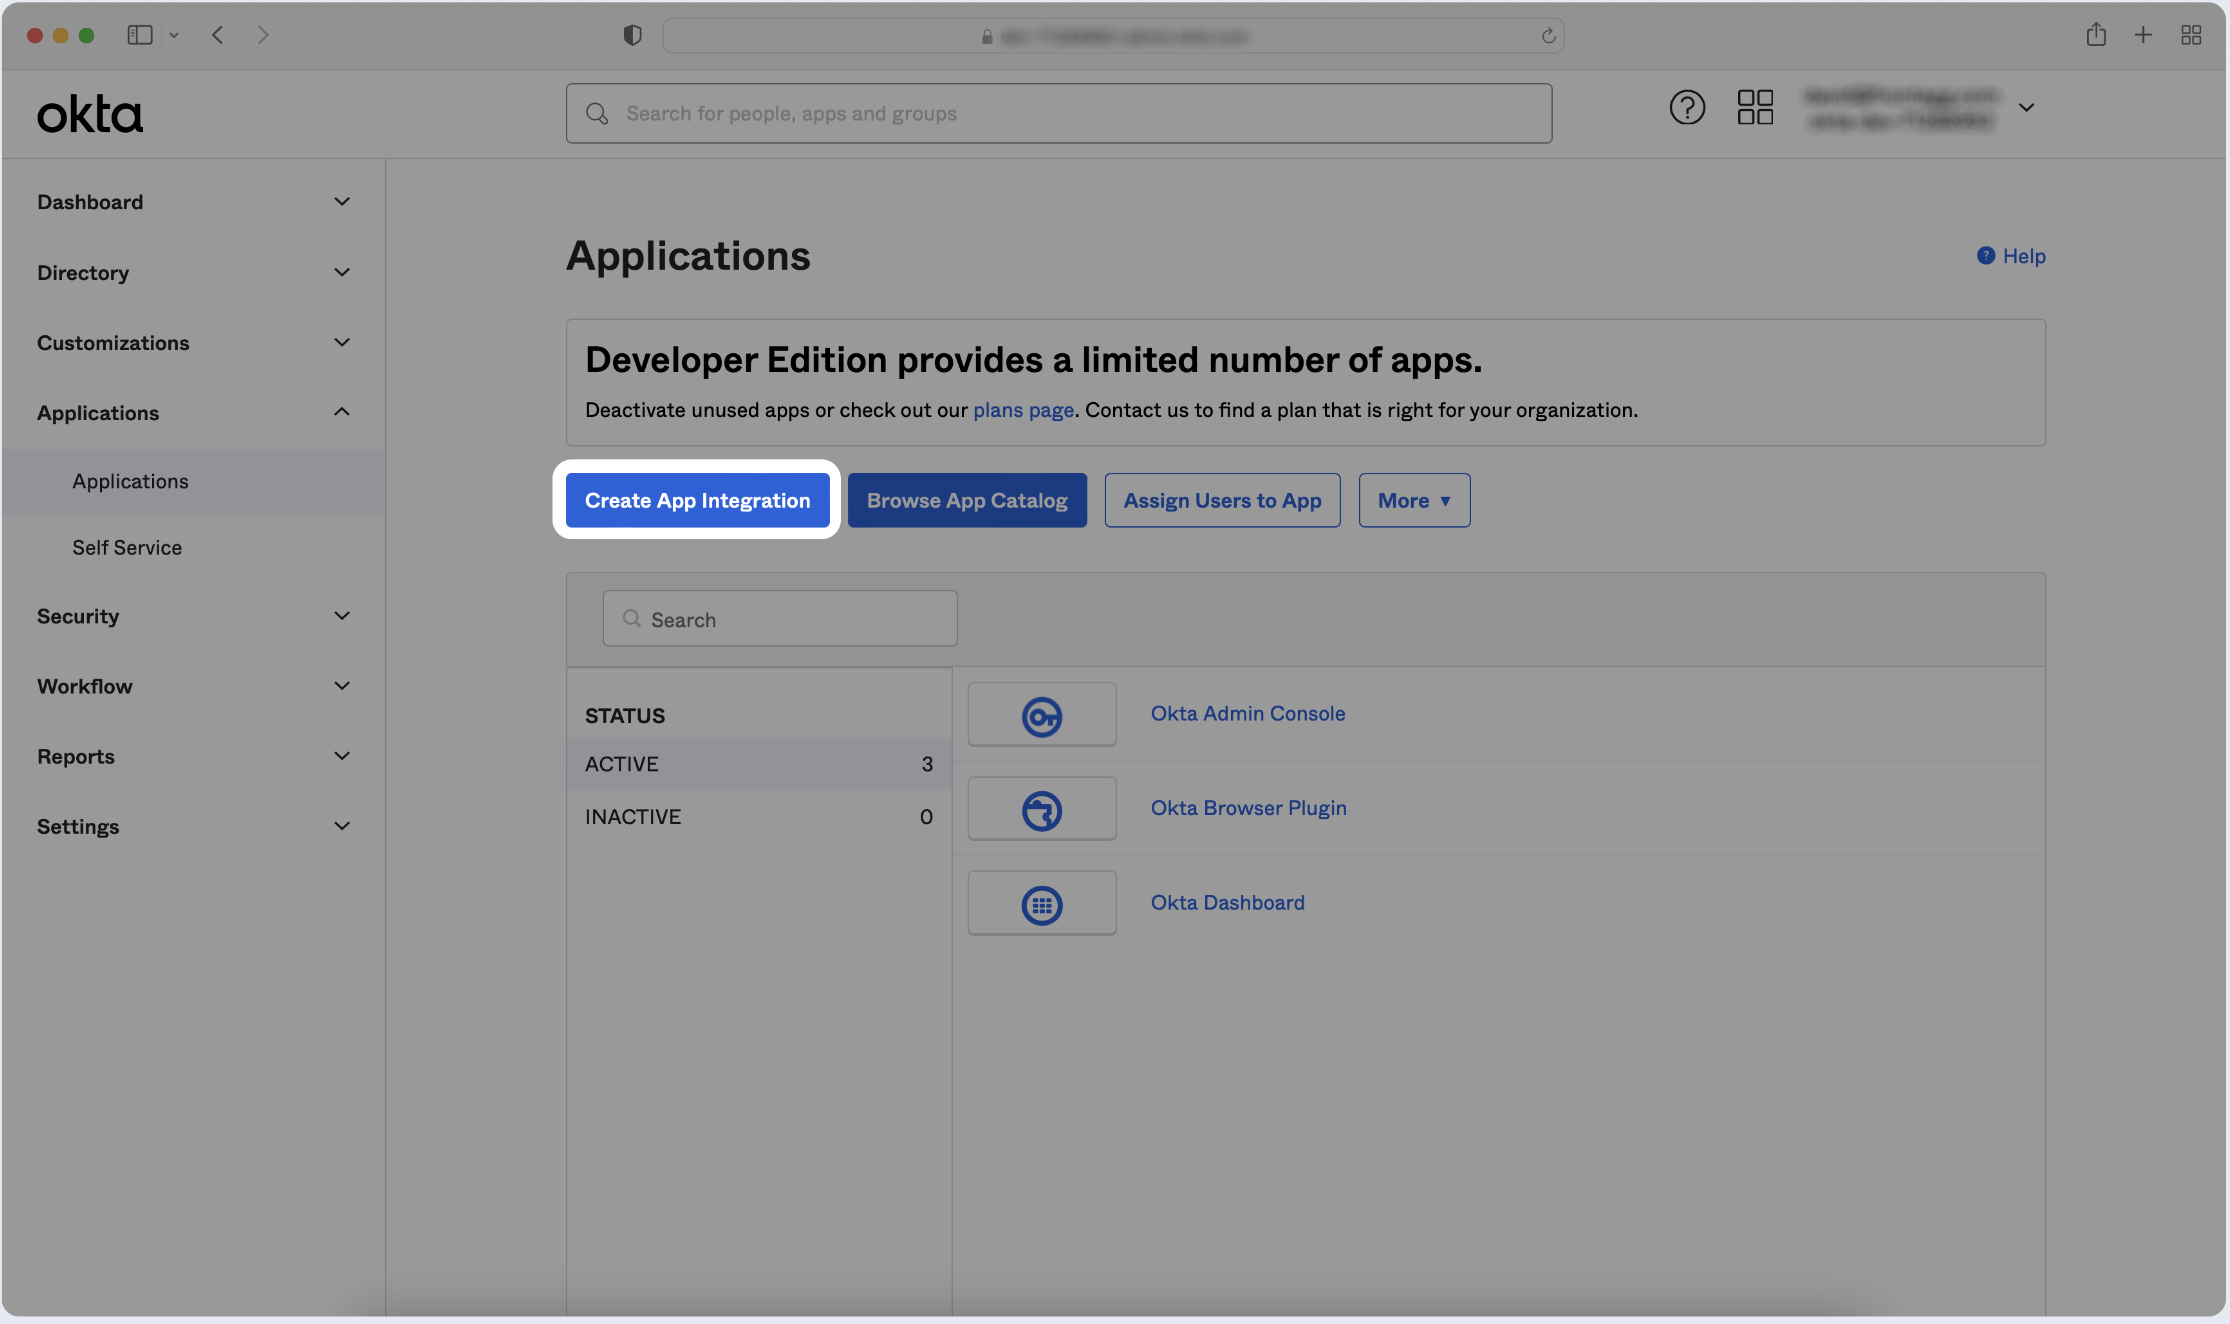
- Click Create App Integration.
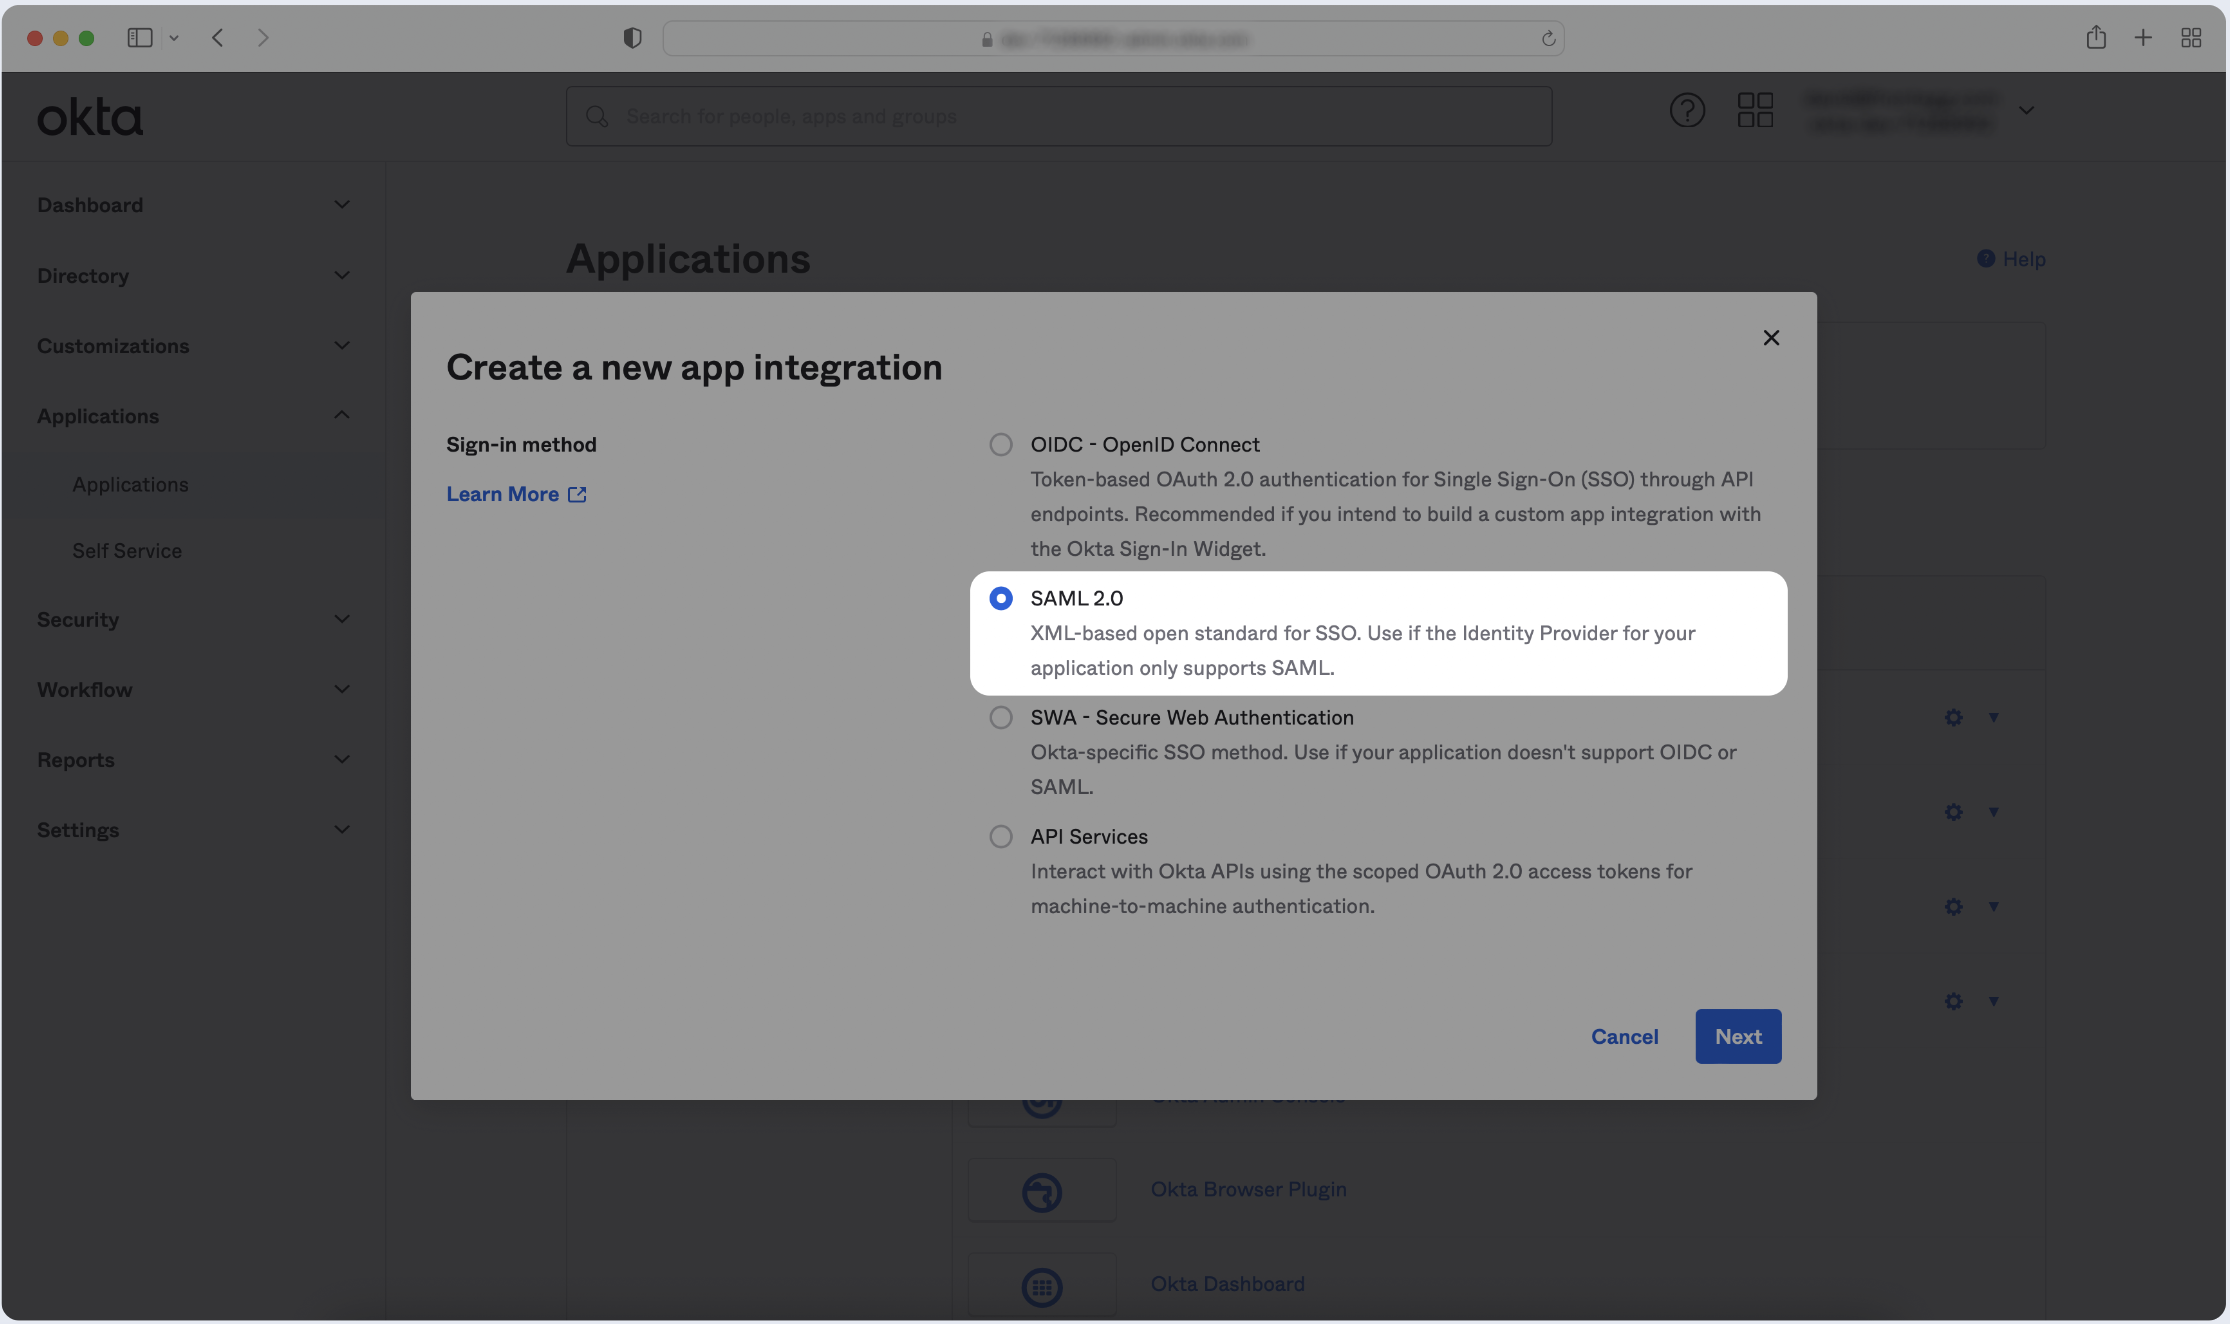
- Click Create New App and choose SAML 2.0 as the Sign-in method. Then, click Next.
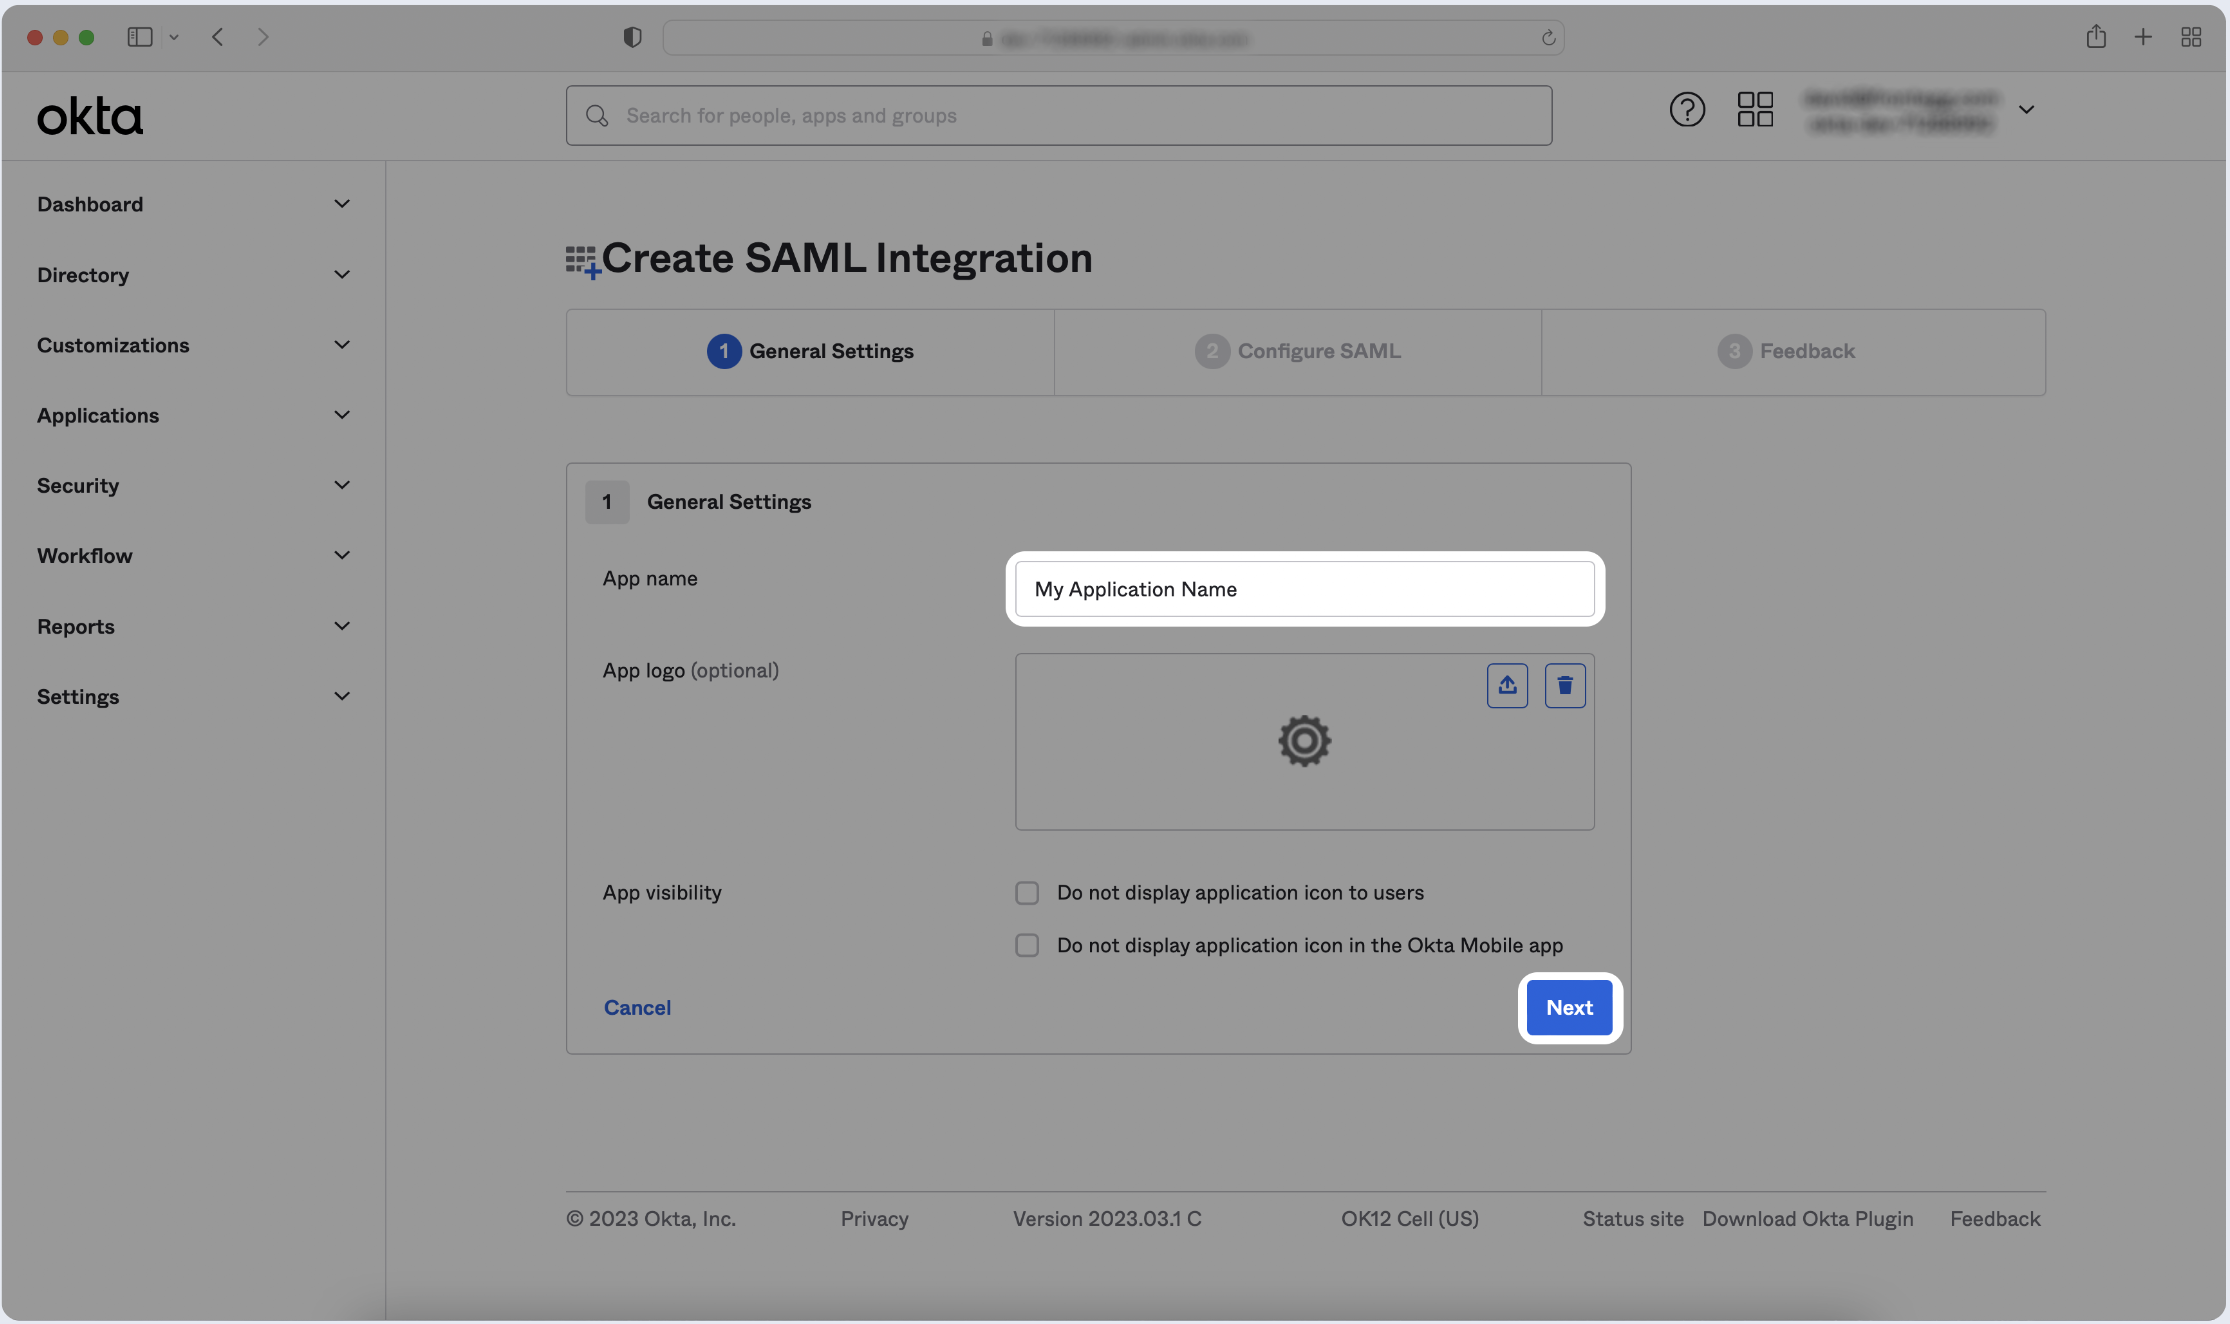
- Enter the name of your application, then click Next.
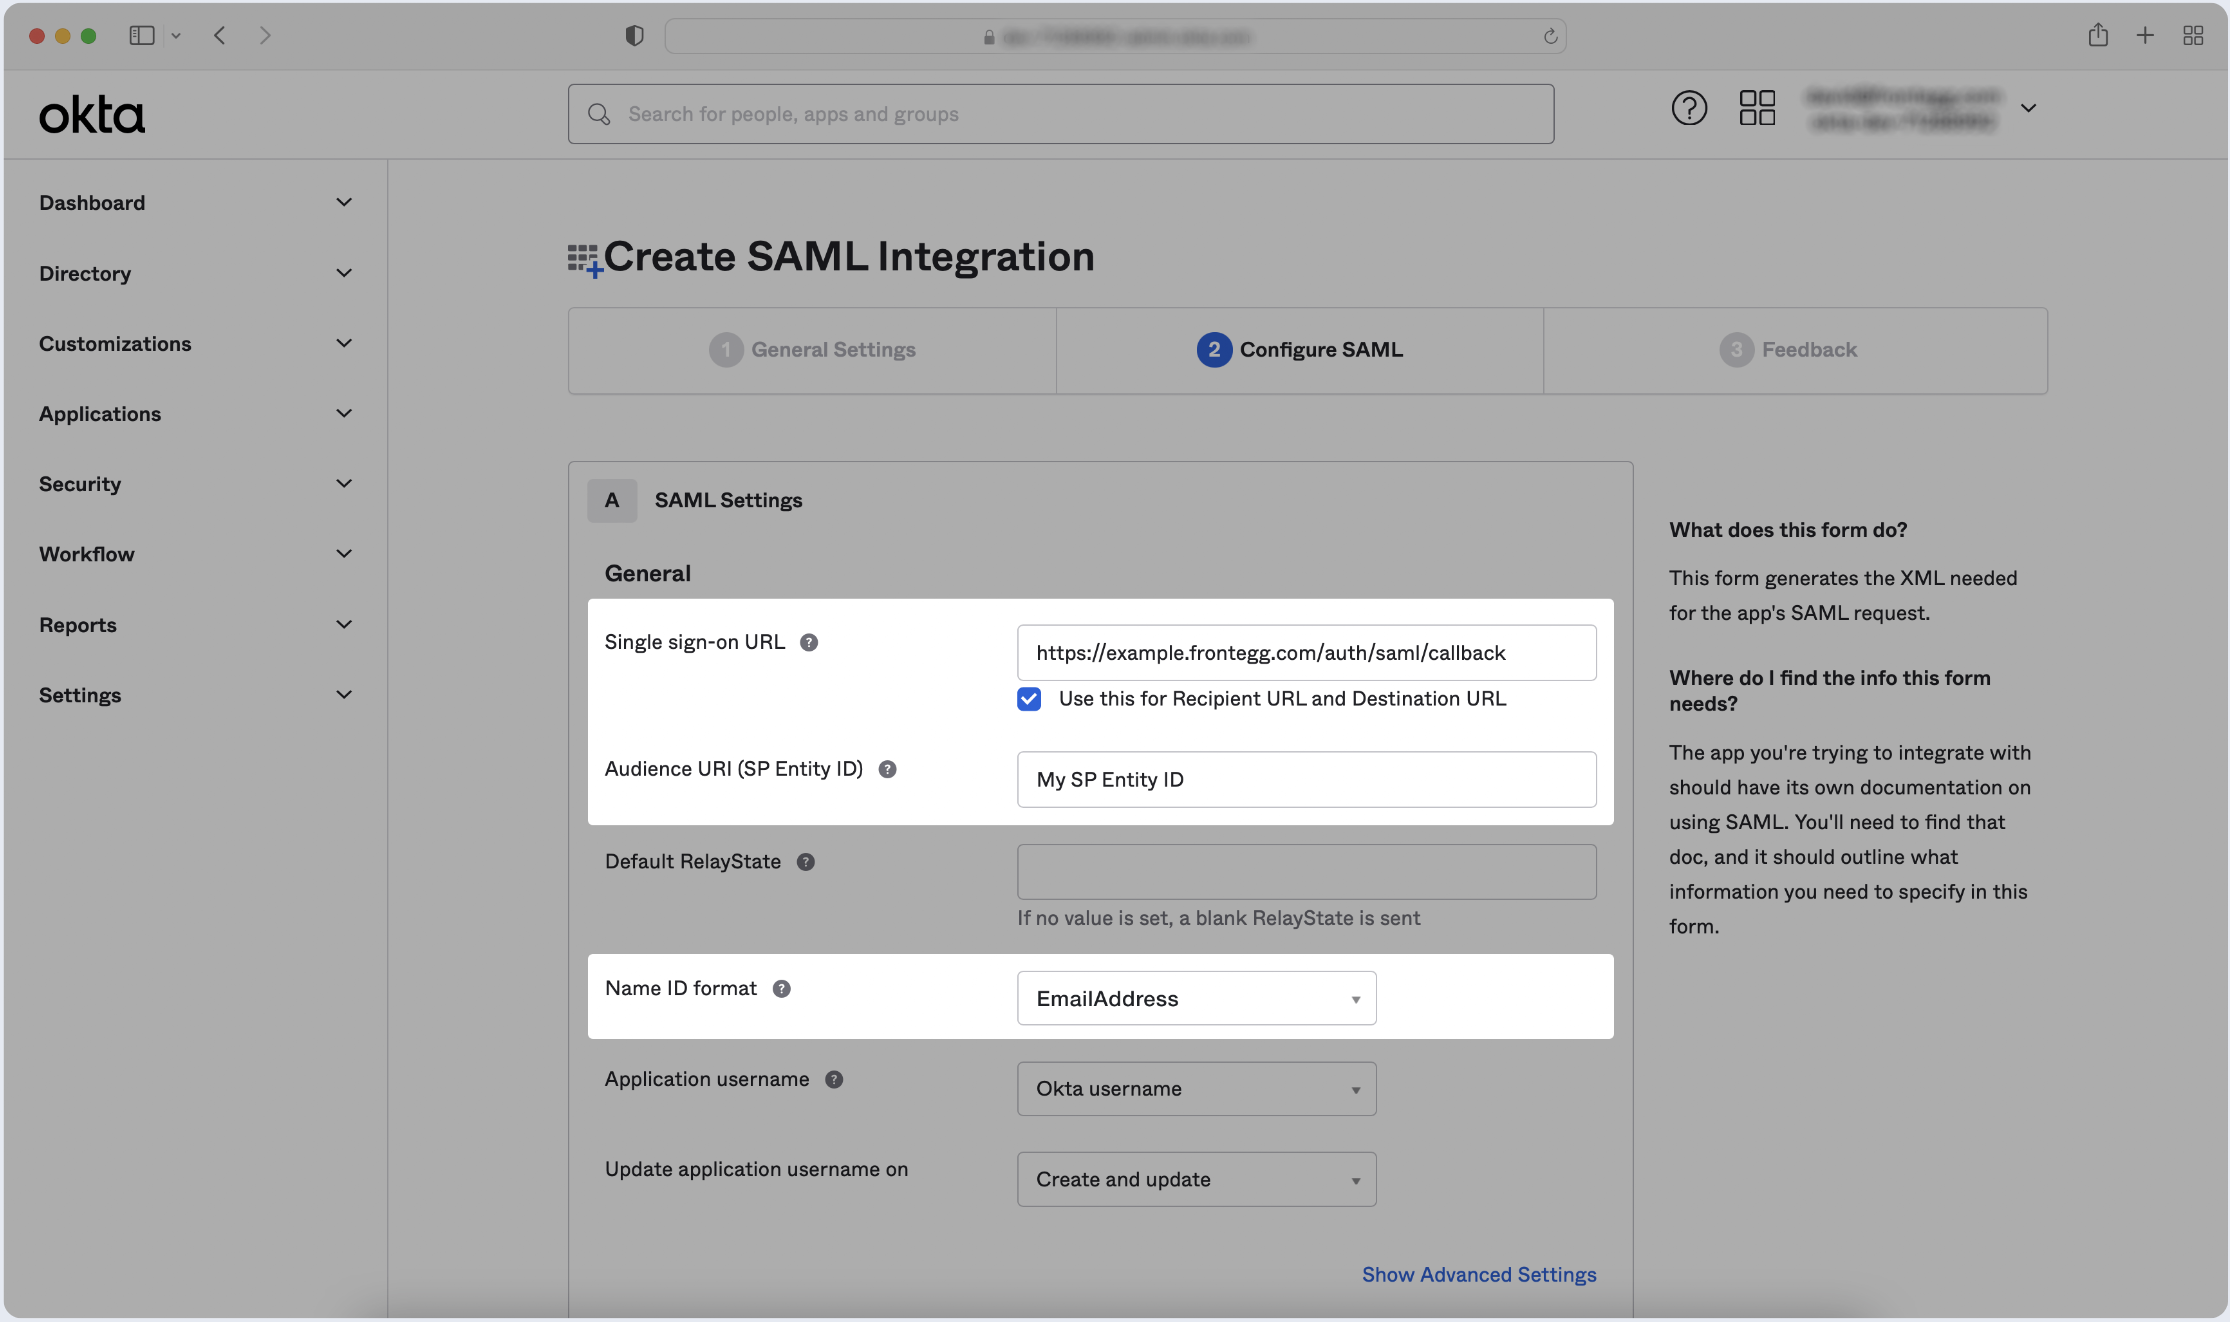
- Copy and paste the values into the relevant fields in the SAML Settings section.

Step 2: Fill attribute statements (optional)
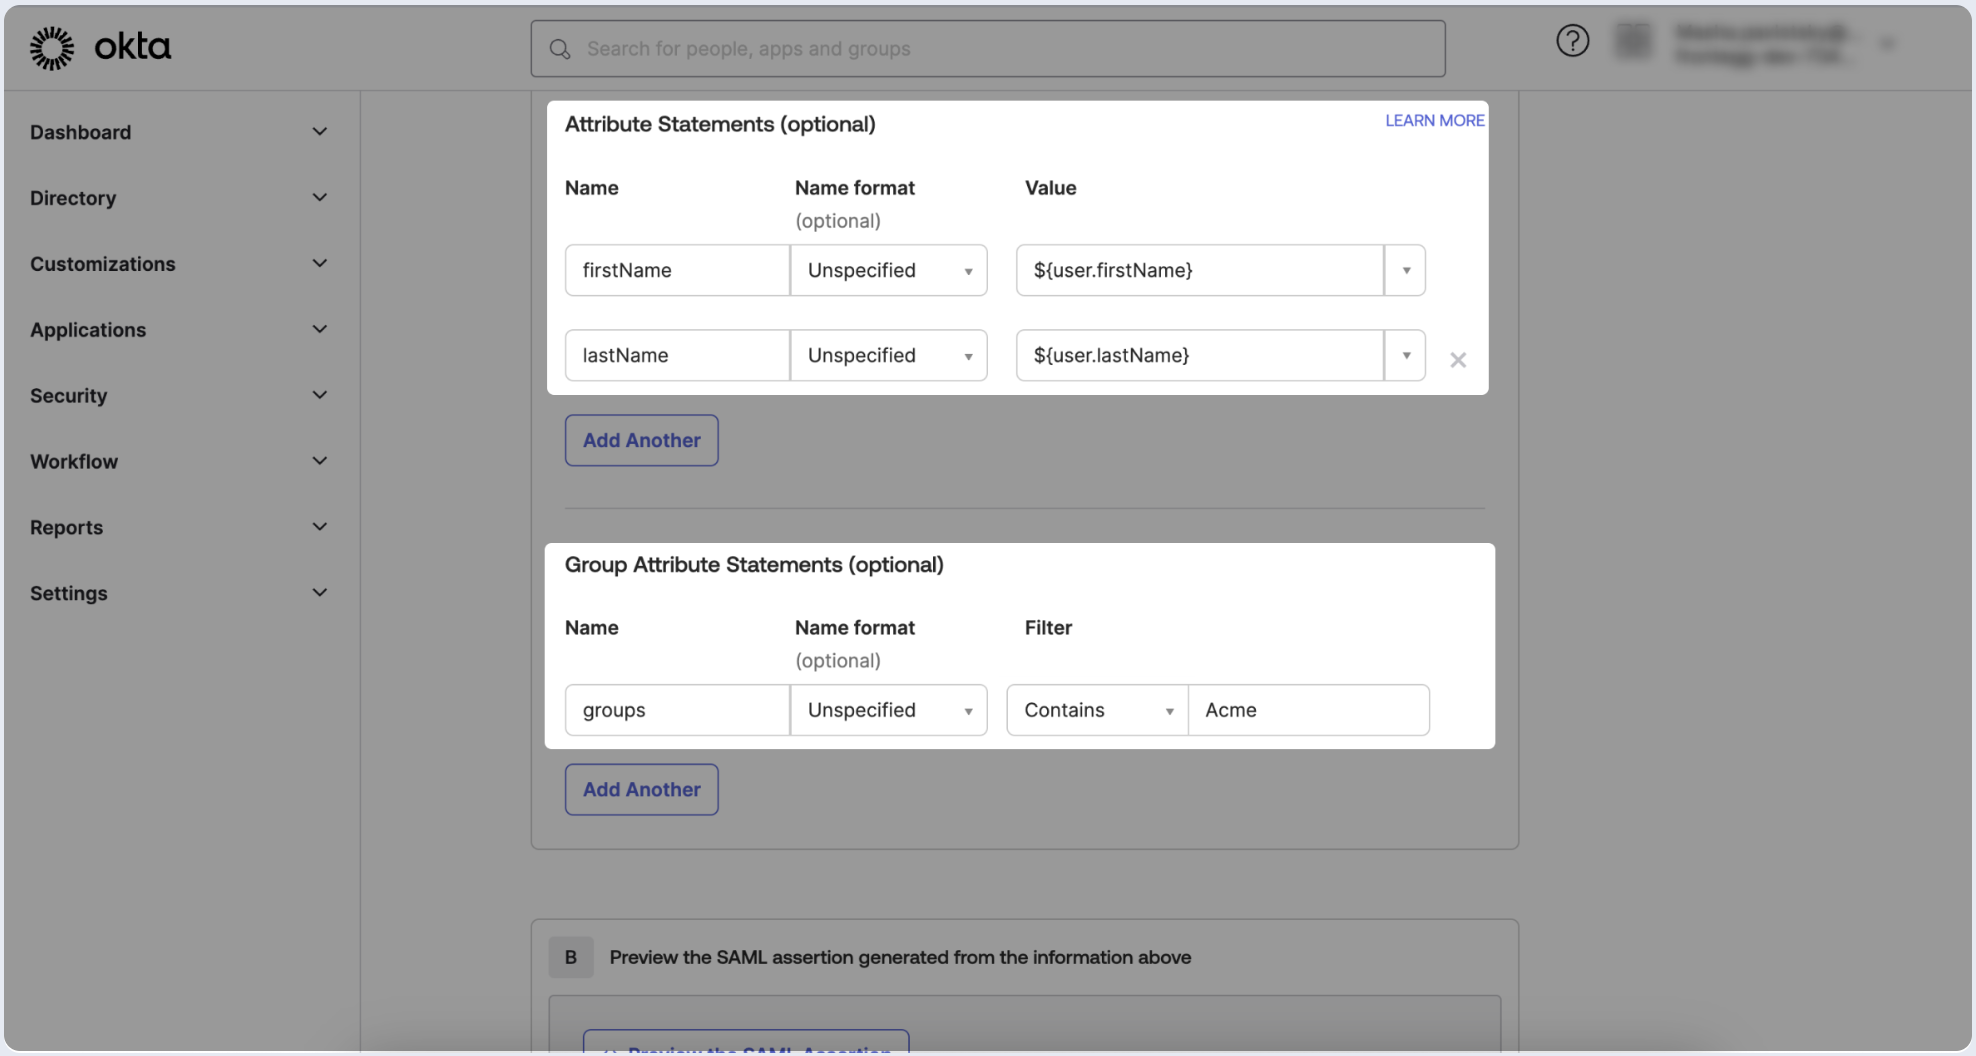
- Go Attribute Statements (optional) configuration in SAML Settings, fill in the following Attribute Statements and click Next:

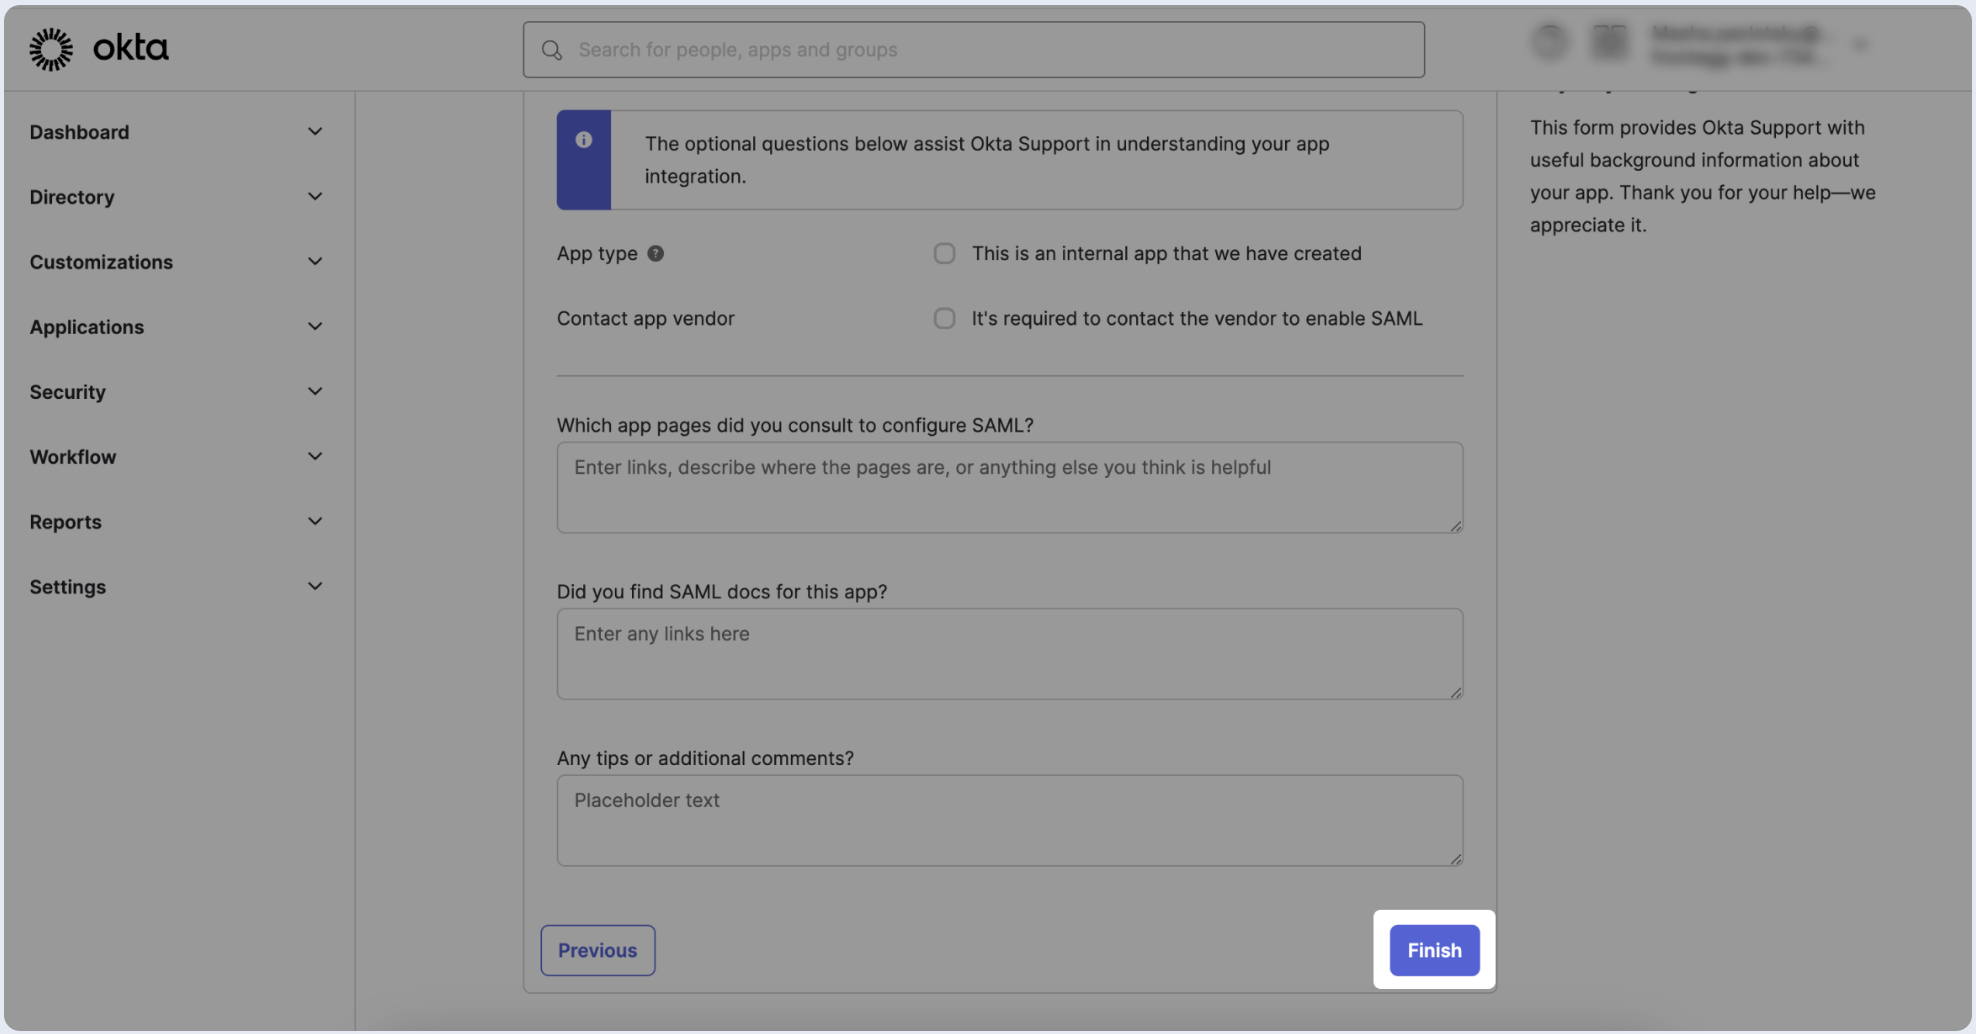
- To complete the app creation process, proceed to the next page and skip or fill out the survey. Click on Finish.
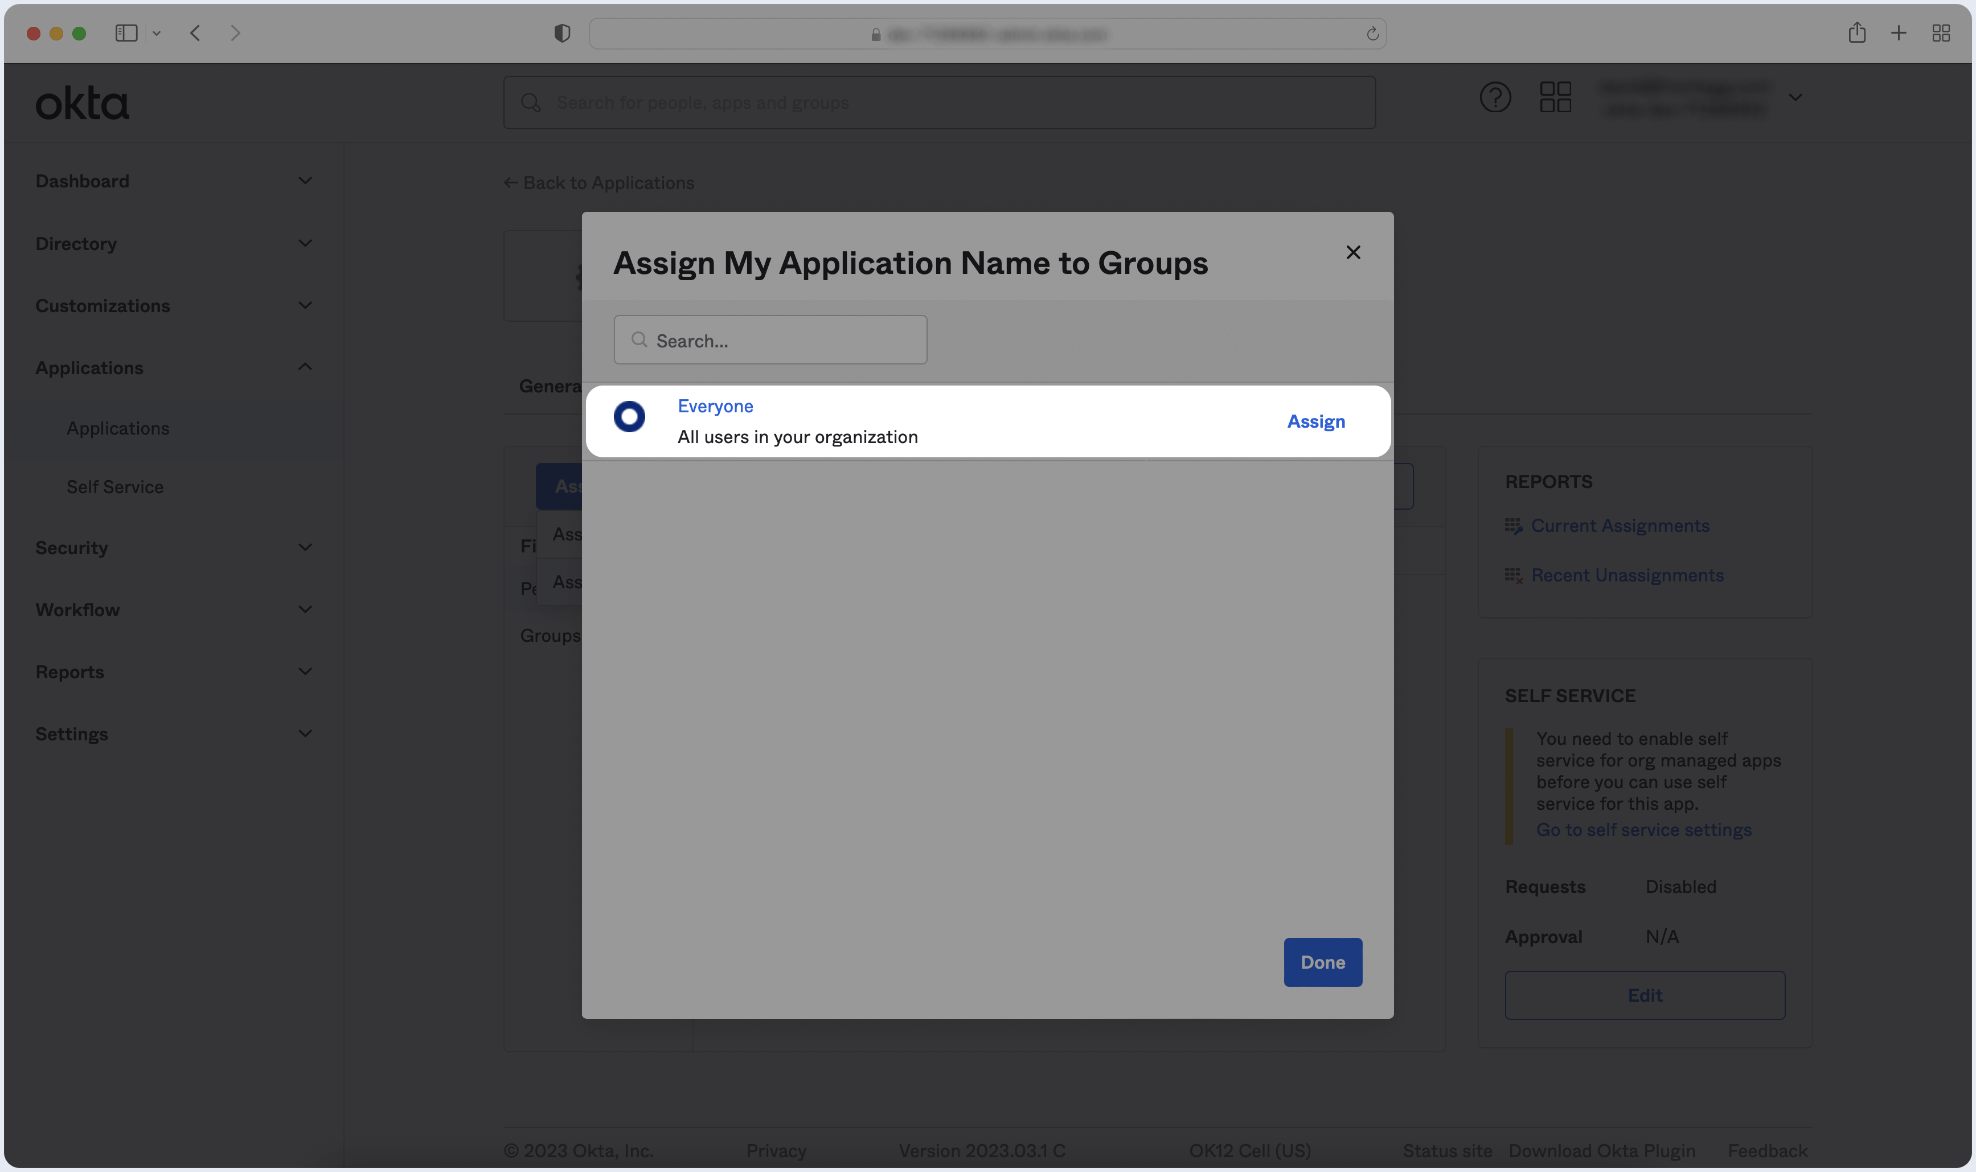
Step 3: Assign users
Define which groups should be allowed to log in via SAML SSO in Okta using the app you've created.
- Switch to the Assignments tab, click Assign, and choose Assign to Groups.
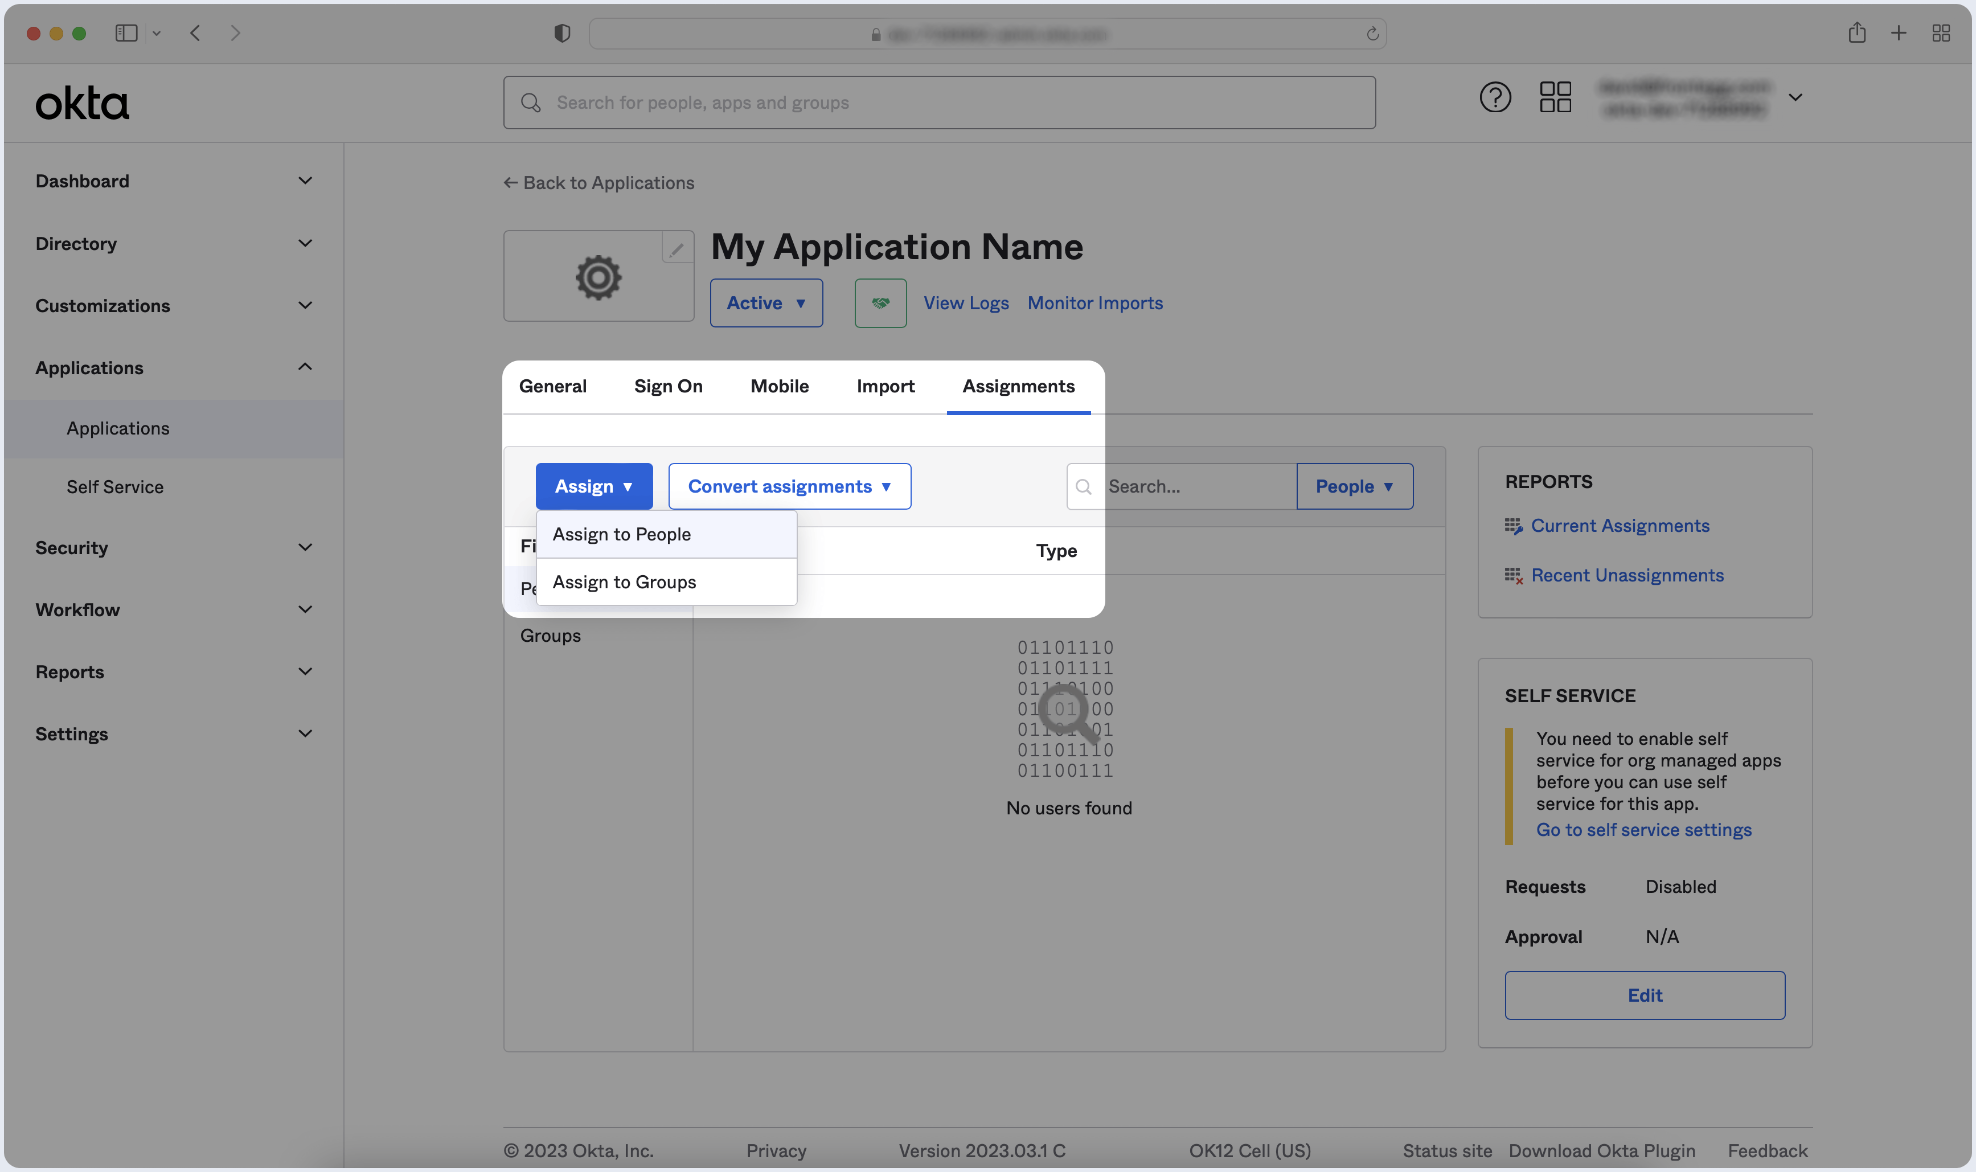
- Locate the specific group(s) you wish to assign to the app and click Assign next to each of them. Once finished, click Done.
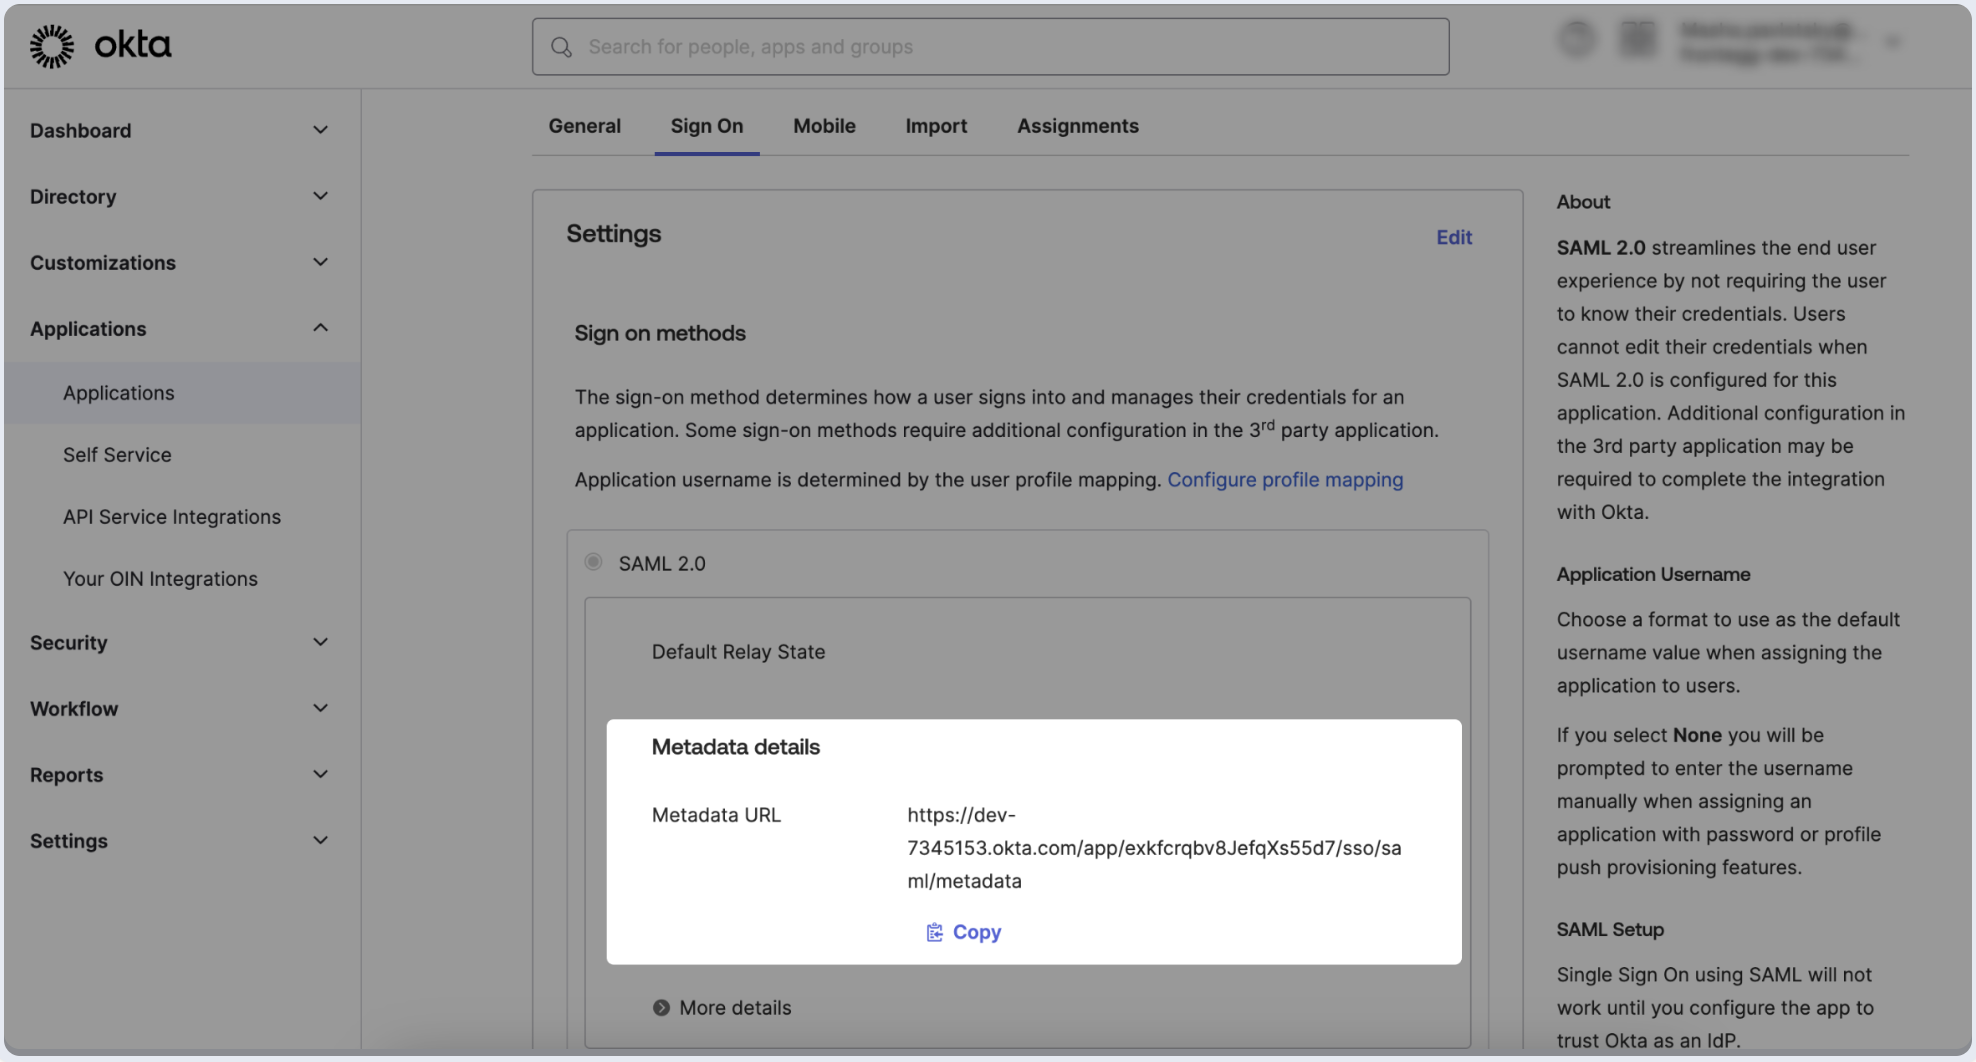
Step 4: Submit metadata
To complete the implementation of SAML SSO, you need to provide the application with your identity provider's metadata.
Automatic configuration
- Click on the Sign On tab of the SAML app you just created.
- Copy the Metadata URL and paste it below.

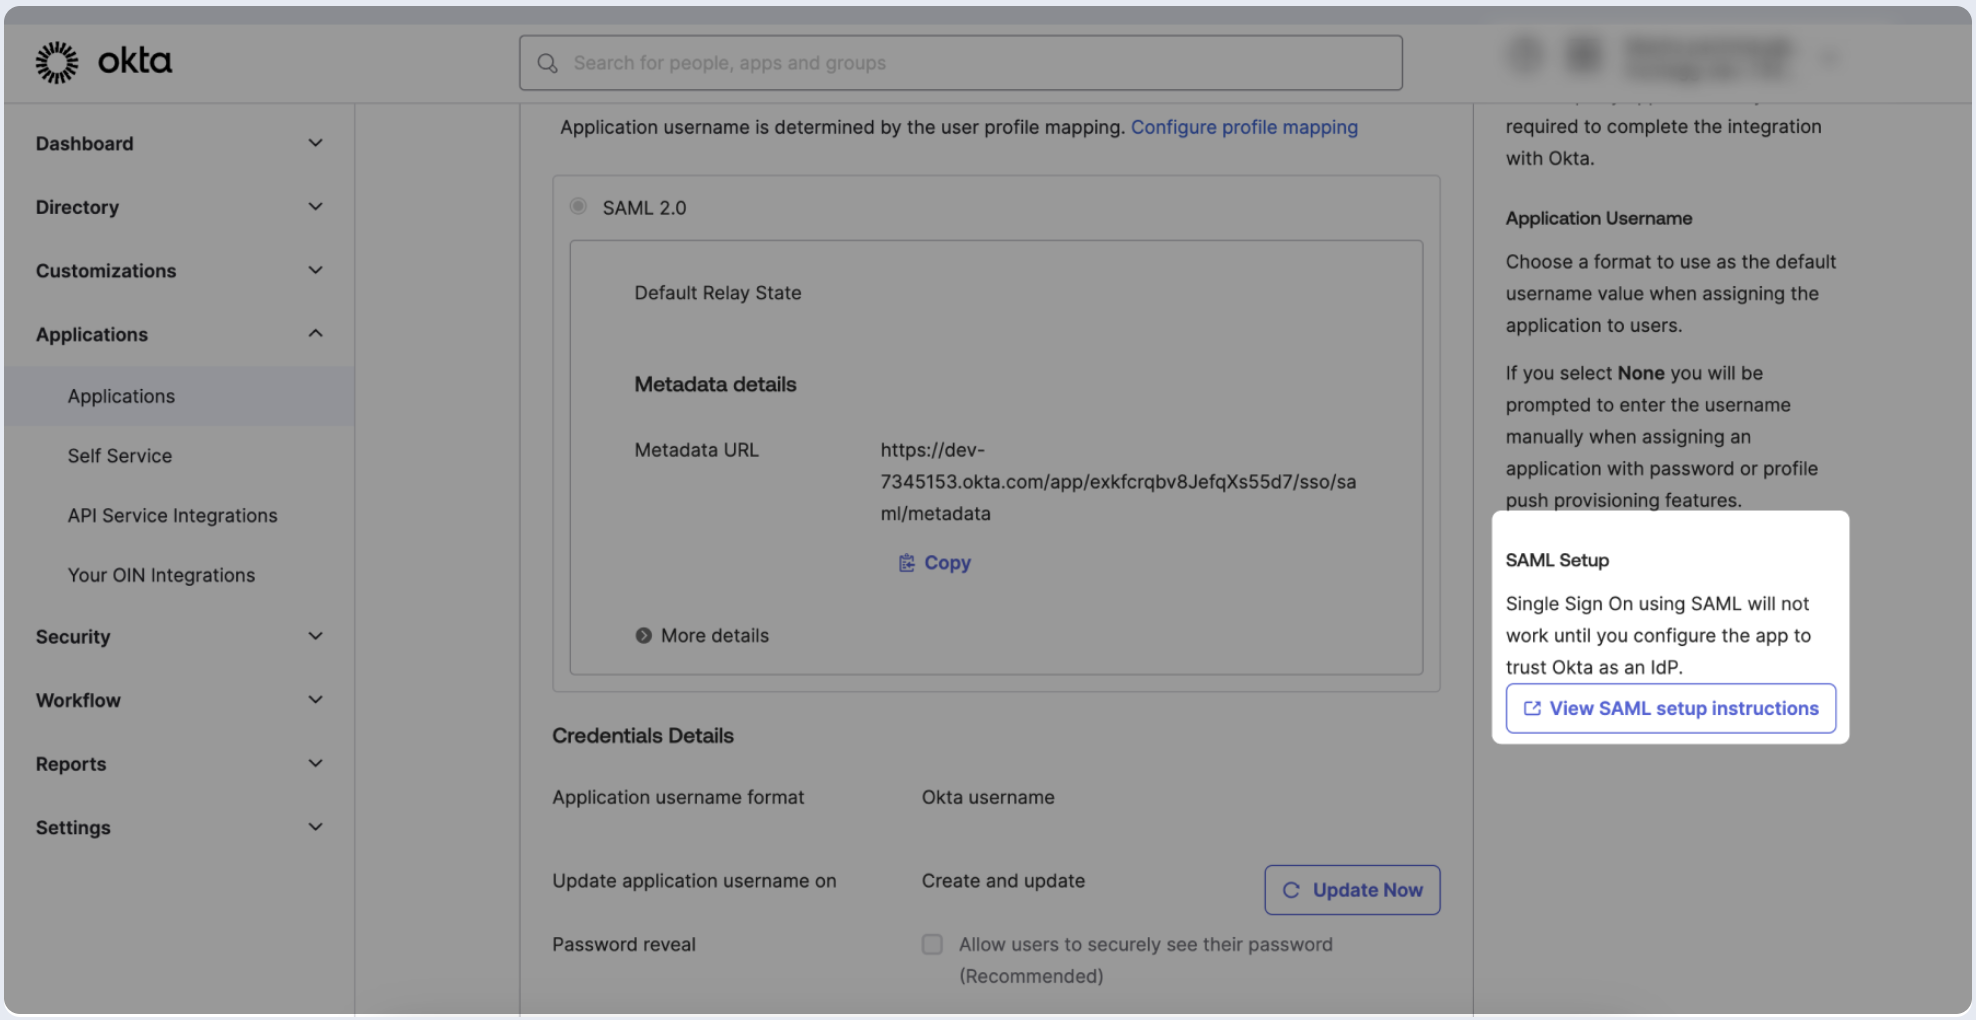
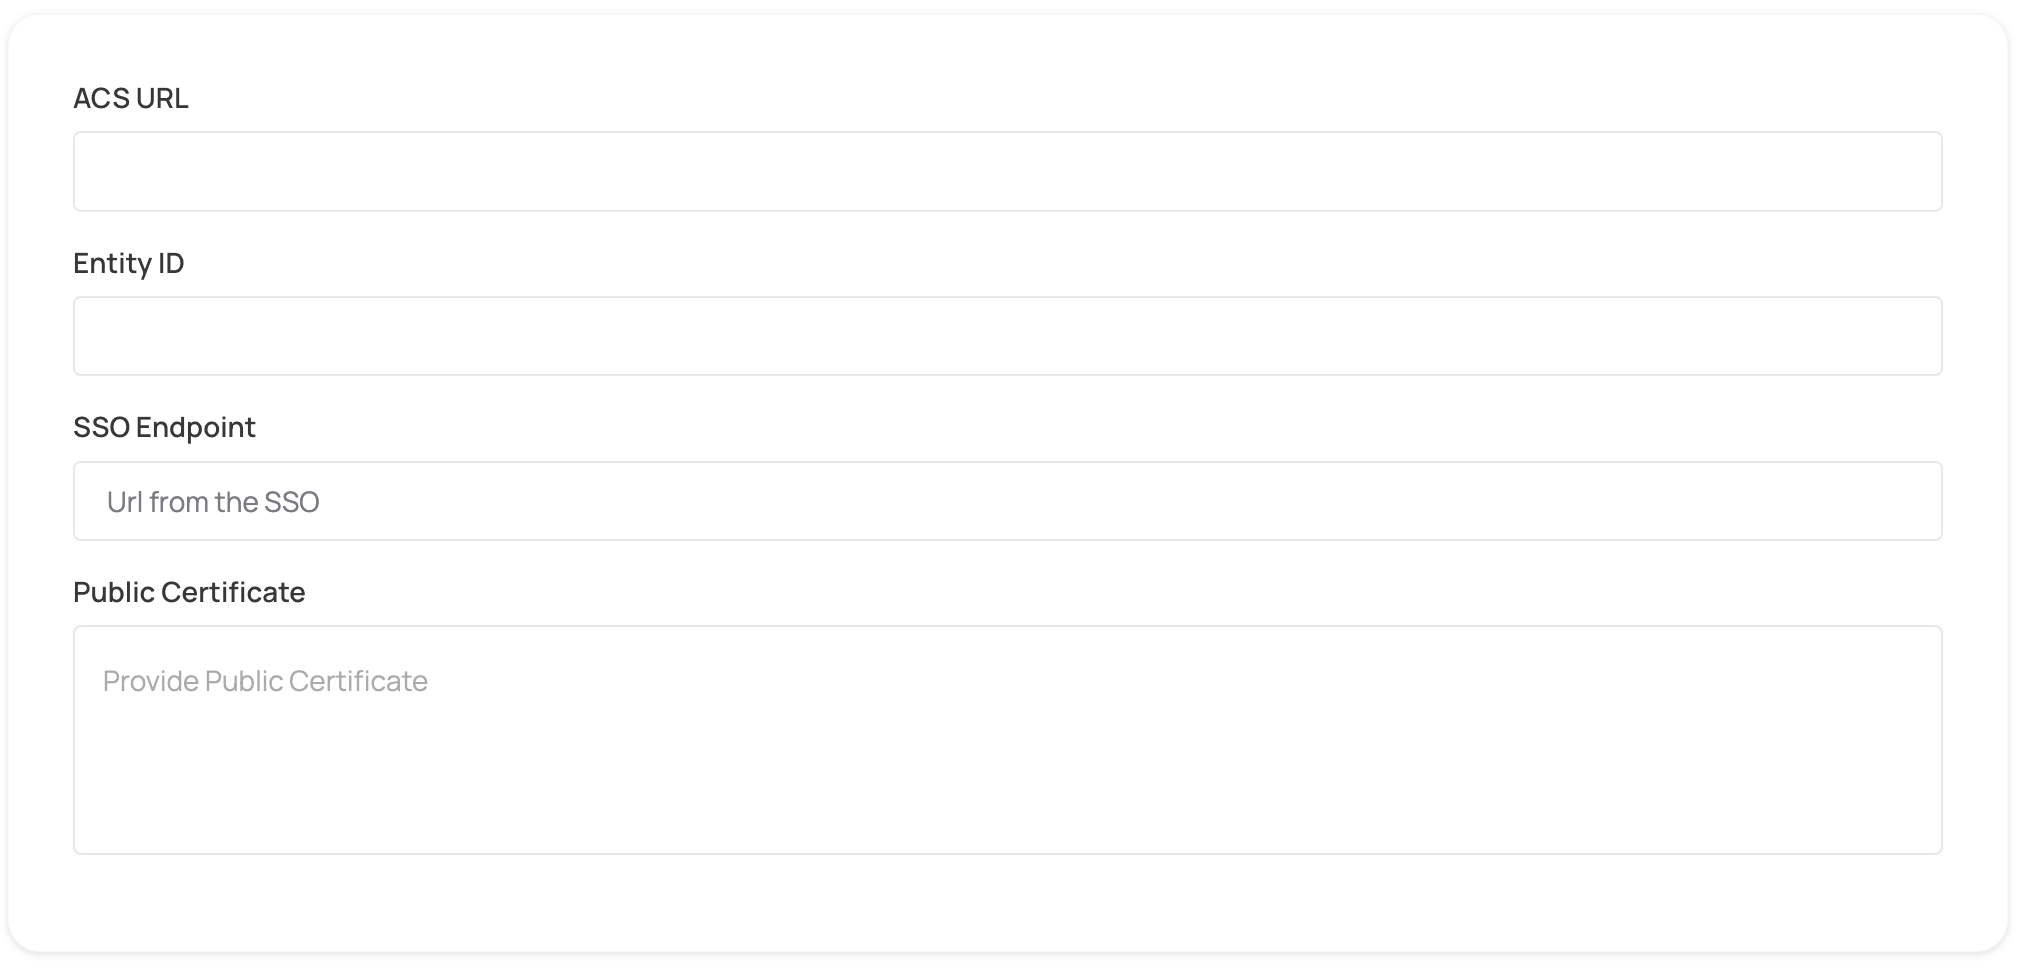
Manual configuration
- Click on the Sign On tab of the SAML app you just created.
- Click on View SAML setup instructions.
- Copy the value of the Identity Provider Single Sign-On URL and X.509 Certificate fields, and then paste them into the appropriate fields in the form below.
Step 5: Proceed with domain claiming and role assignment
- Click on Proceed with domain claiming and role assignment to confirm the completion the configuration of the IDP form.
- Follow the instructions in the Self-service SAML configuration guide to complete this step and manage authorization.