Create a custom SAML application
This guide outlines the steps to create and configure a custom SAML application.
Step 1: Upload Identity Provider metadata
Automatic configuration
- Copy the values from the form below into your IdP. For more detailed instructions, refer to the documentation provided by your Identity Provider.
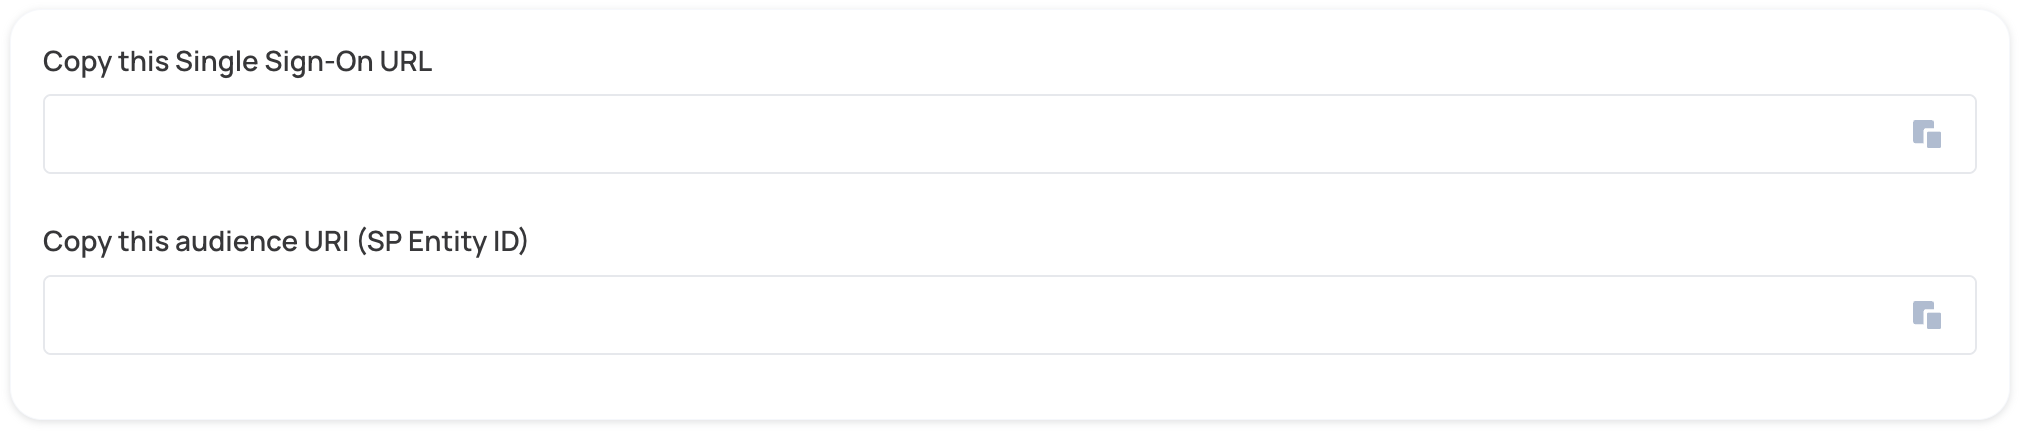
- Locate the Metadata URL of the SAML application and paste it under the IdP Metadata URL.

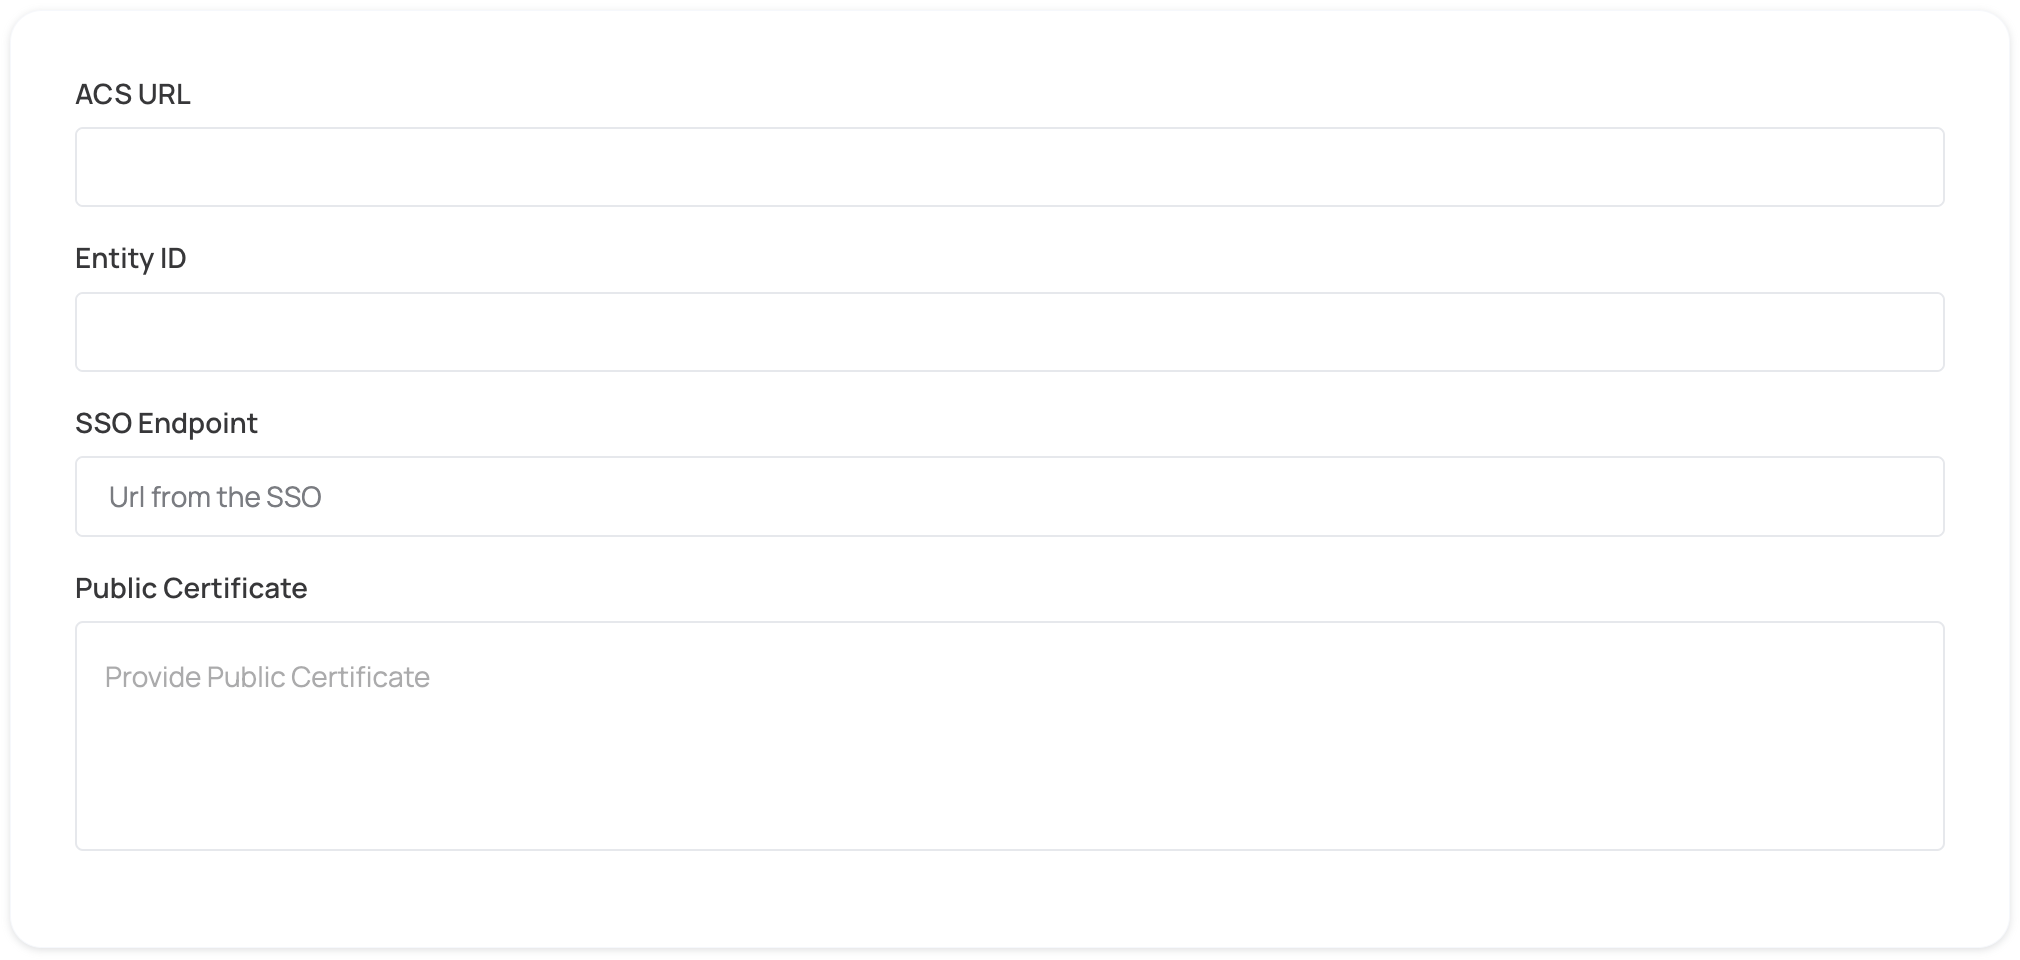
Manual configuration
- Fill the form below for manual SAML configuration. For more detailed instructions, refer to the documentation provided by your Identity Provider.
Step 2: Proceed with domain claiming and role assignment
- Click on Proceed with domain claiming and role assignment to confirm the completion the configuration of the IDP form.
- Follow the instructions in the Self-service SAML configuration guide to complete this step and manage authorization.