Create SAML application with Microsoft Entra ID (Azure)
This guide outlines the steps to create and configure a SAML application in icrosoft Entra ID (Azure), including setup, user assignments, and metadata submission.
Step 1: Create an enterprise app
- Go to Azure Portal, open the portal menu and select Enterprise applications.
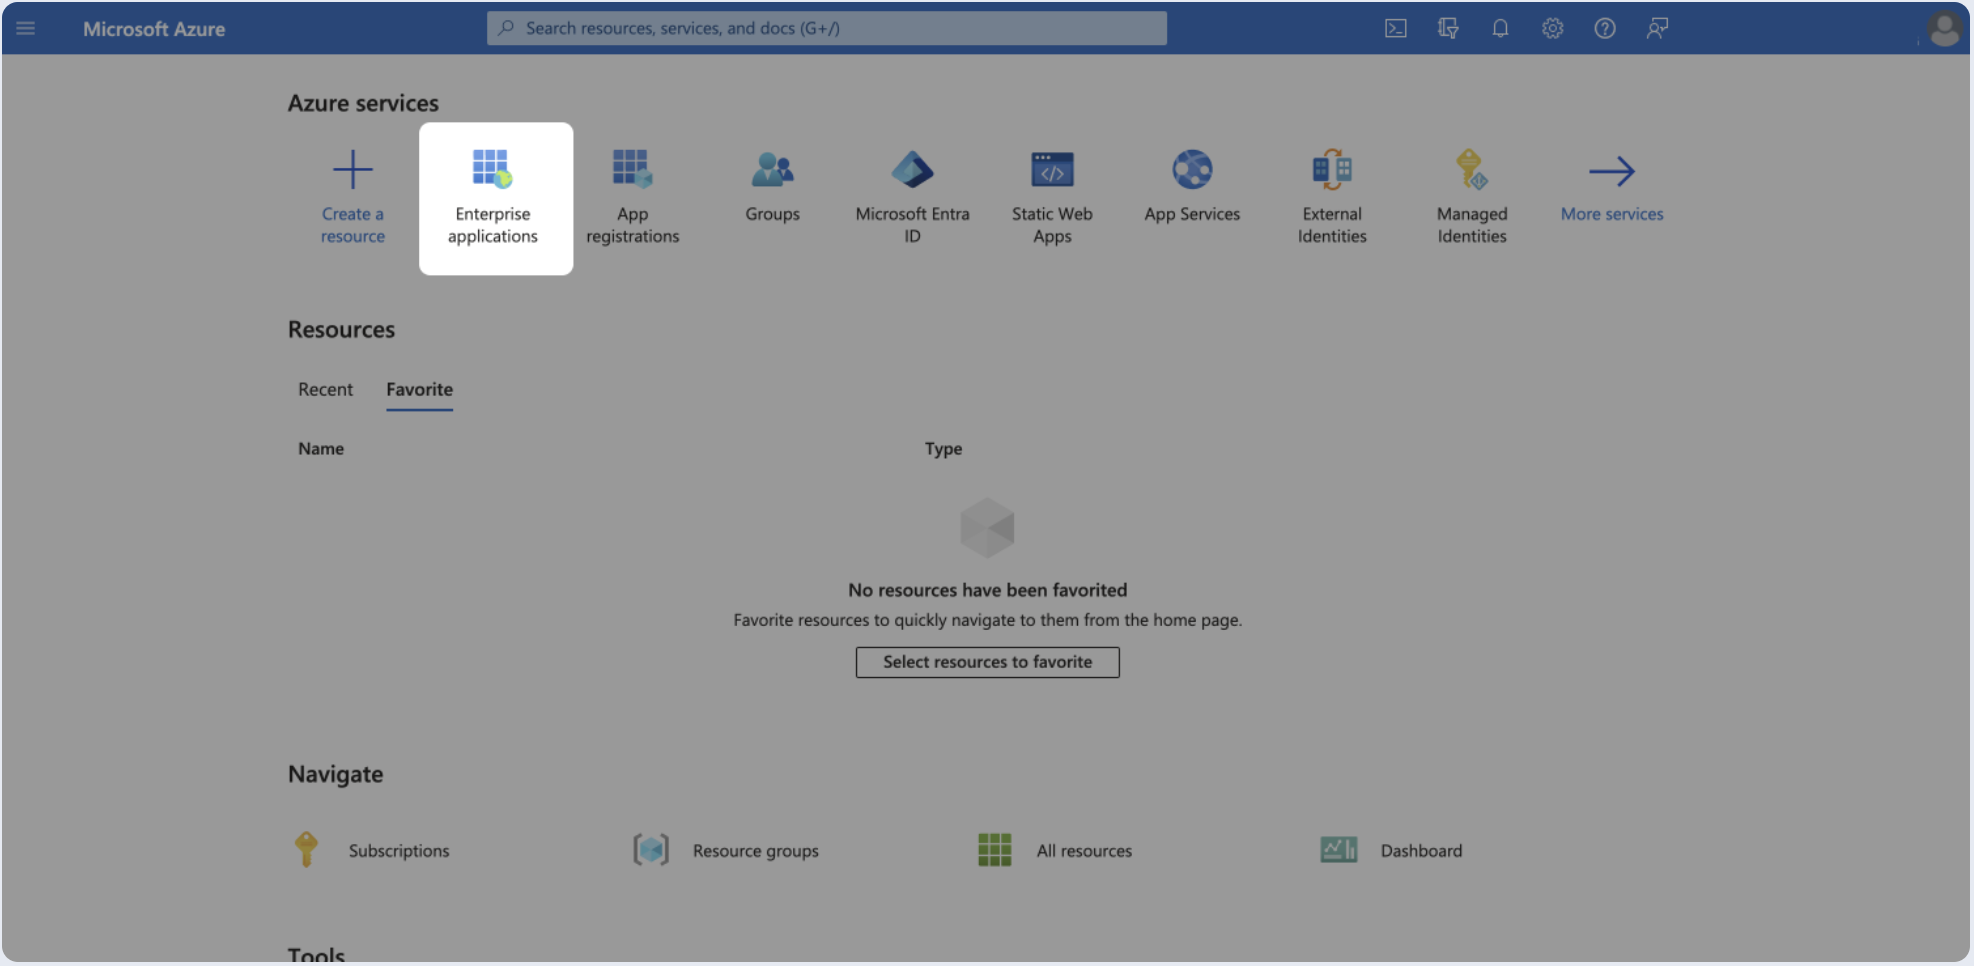
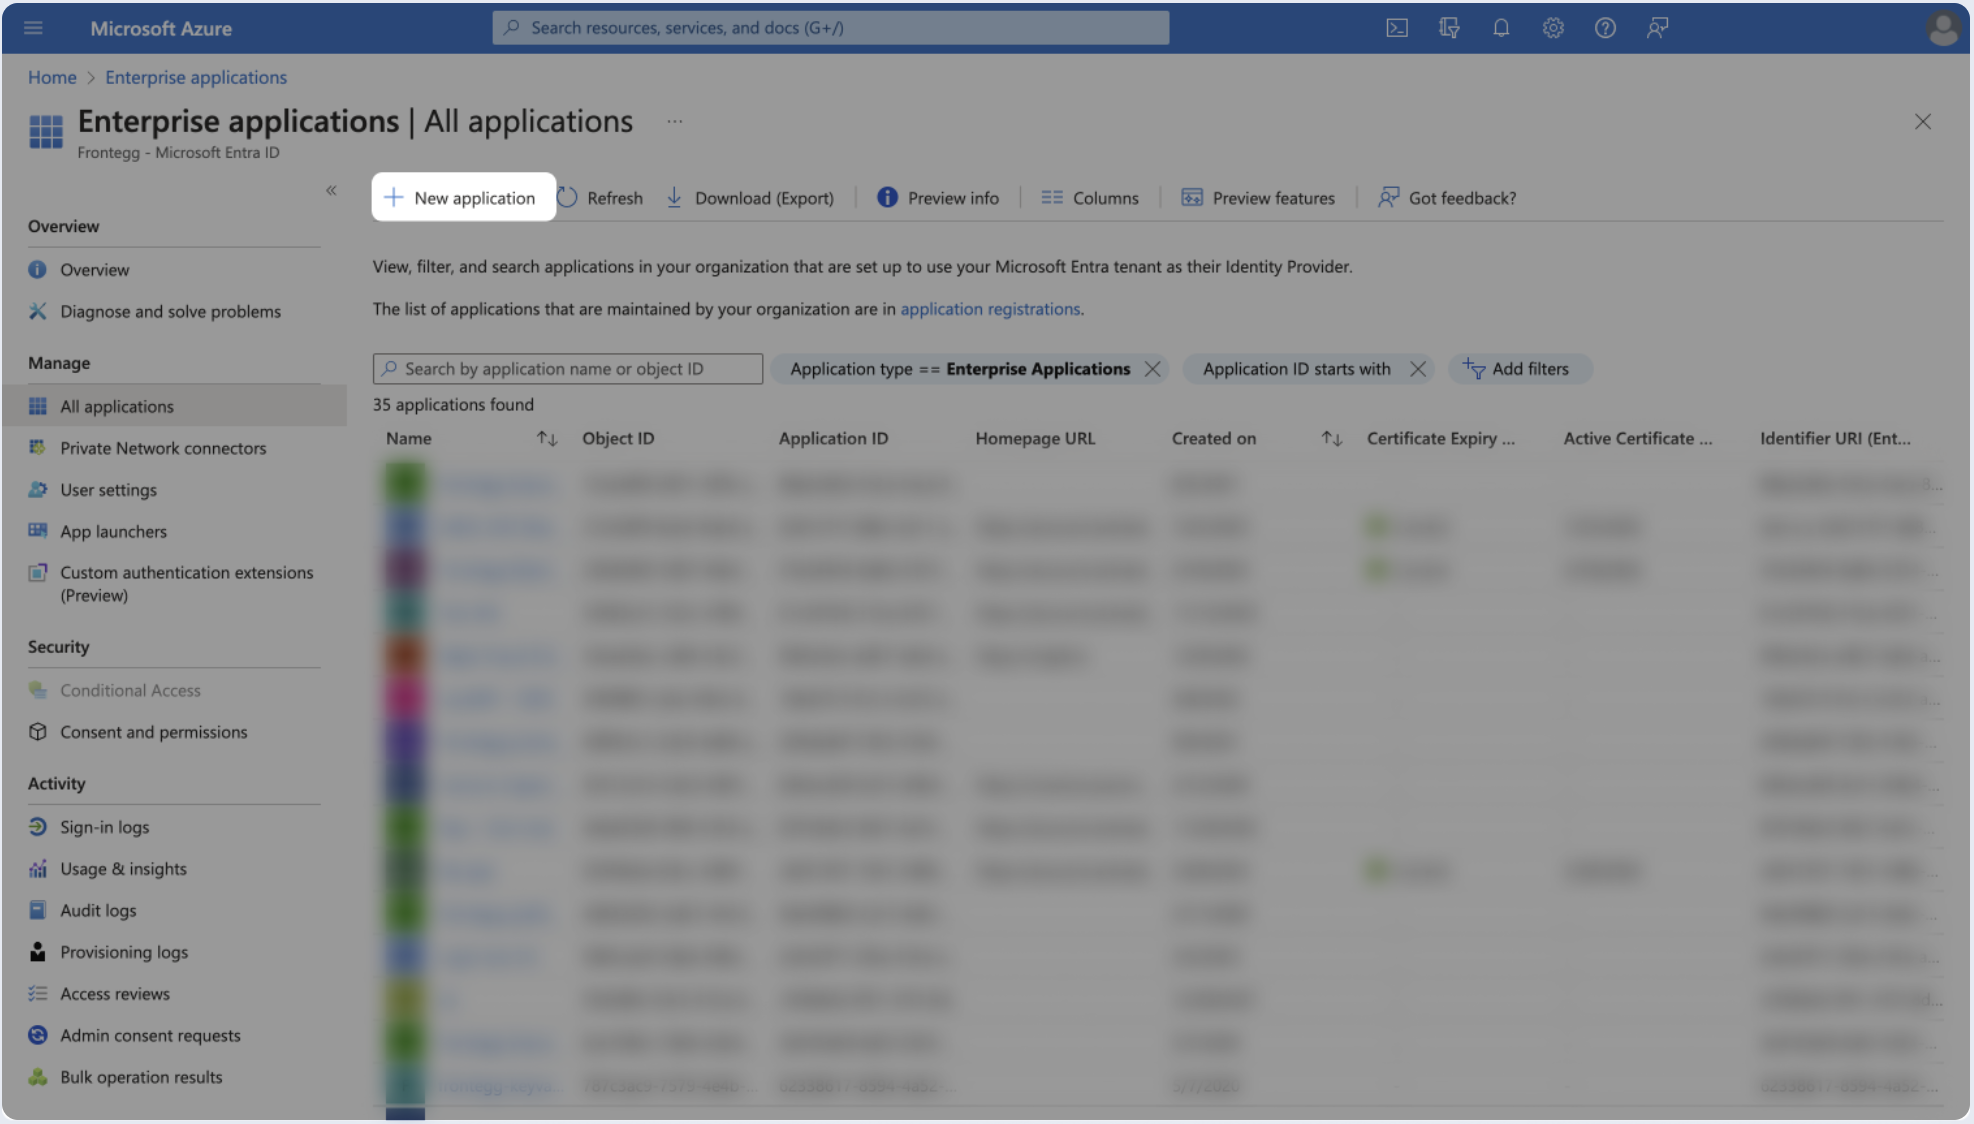
- Click New application.
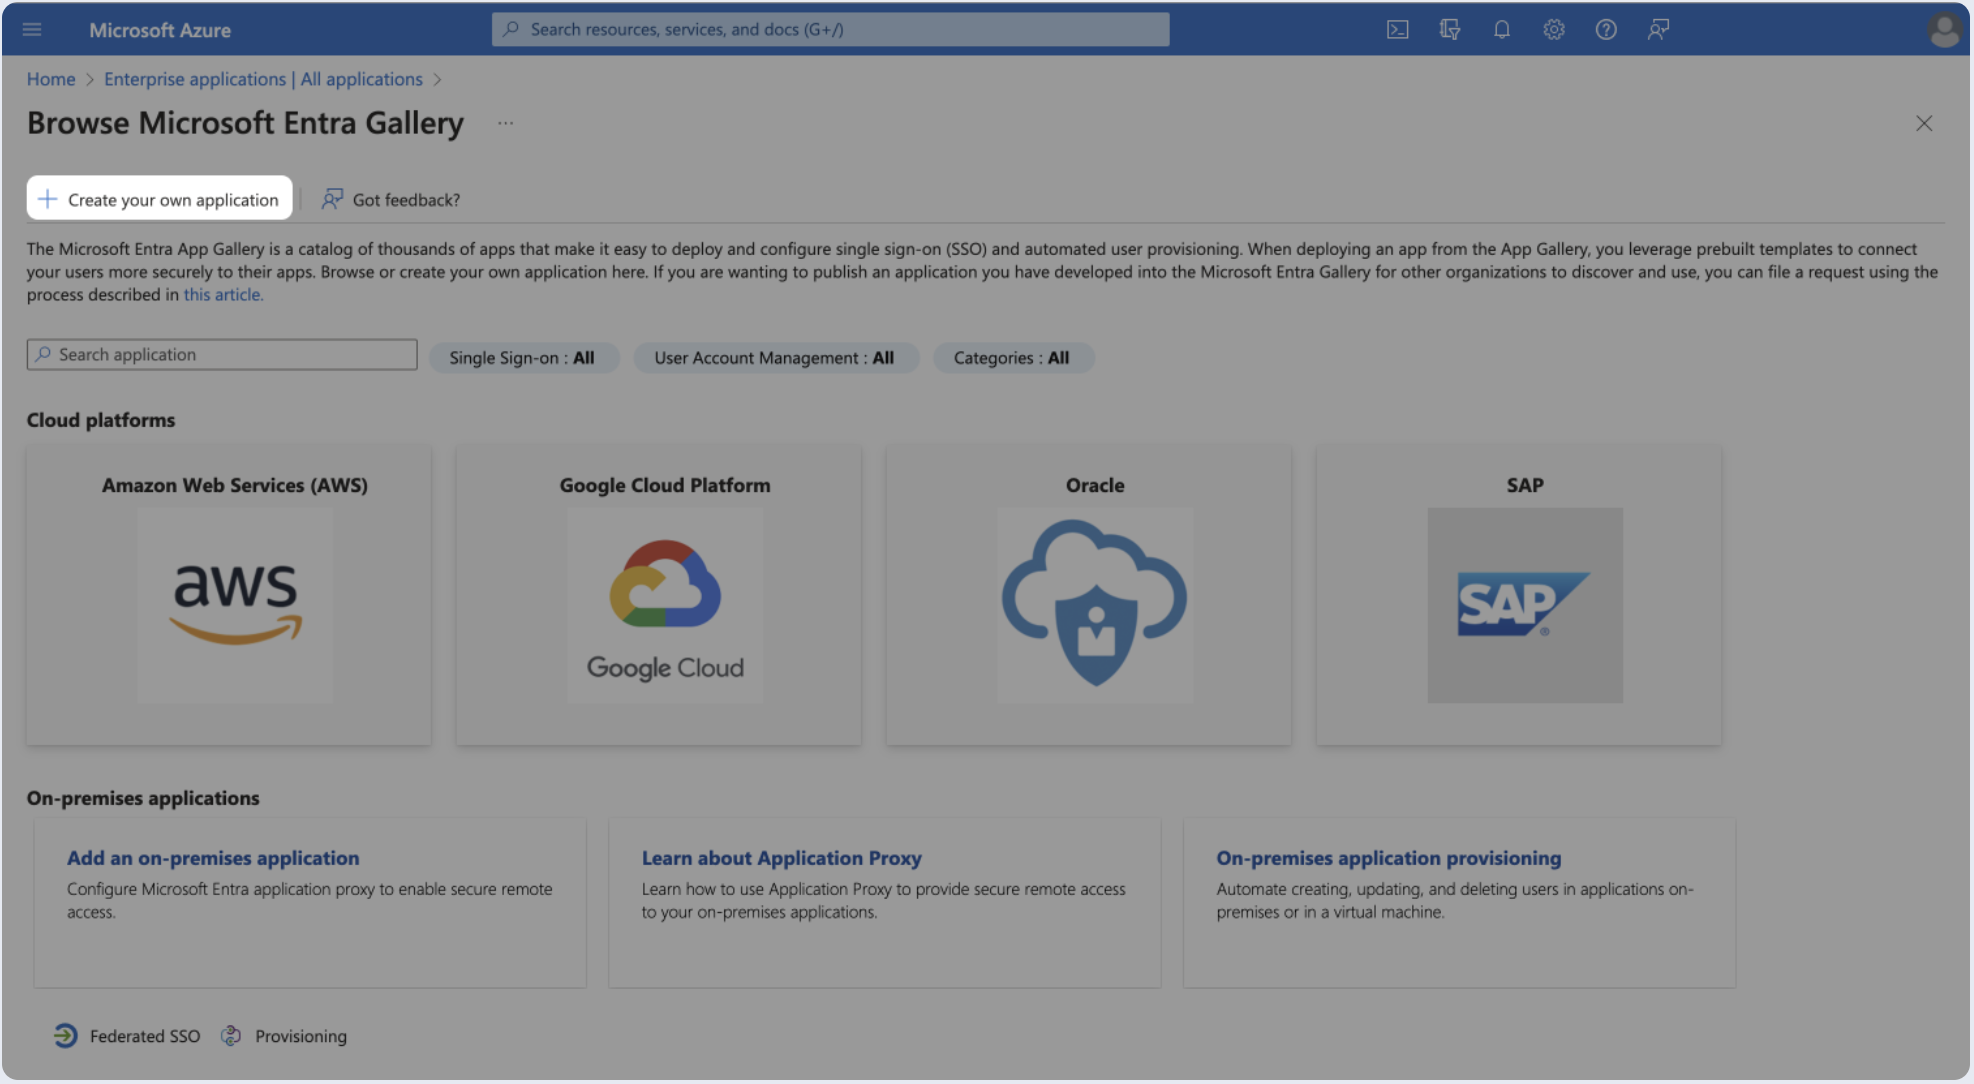
- Click Create your own application.
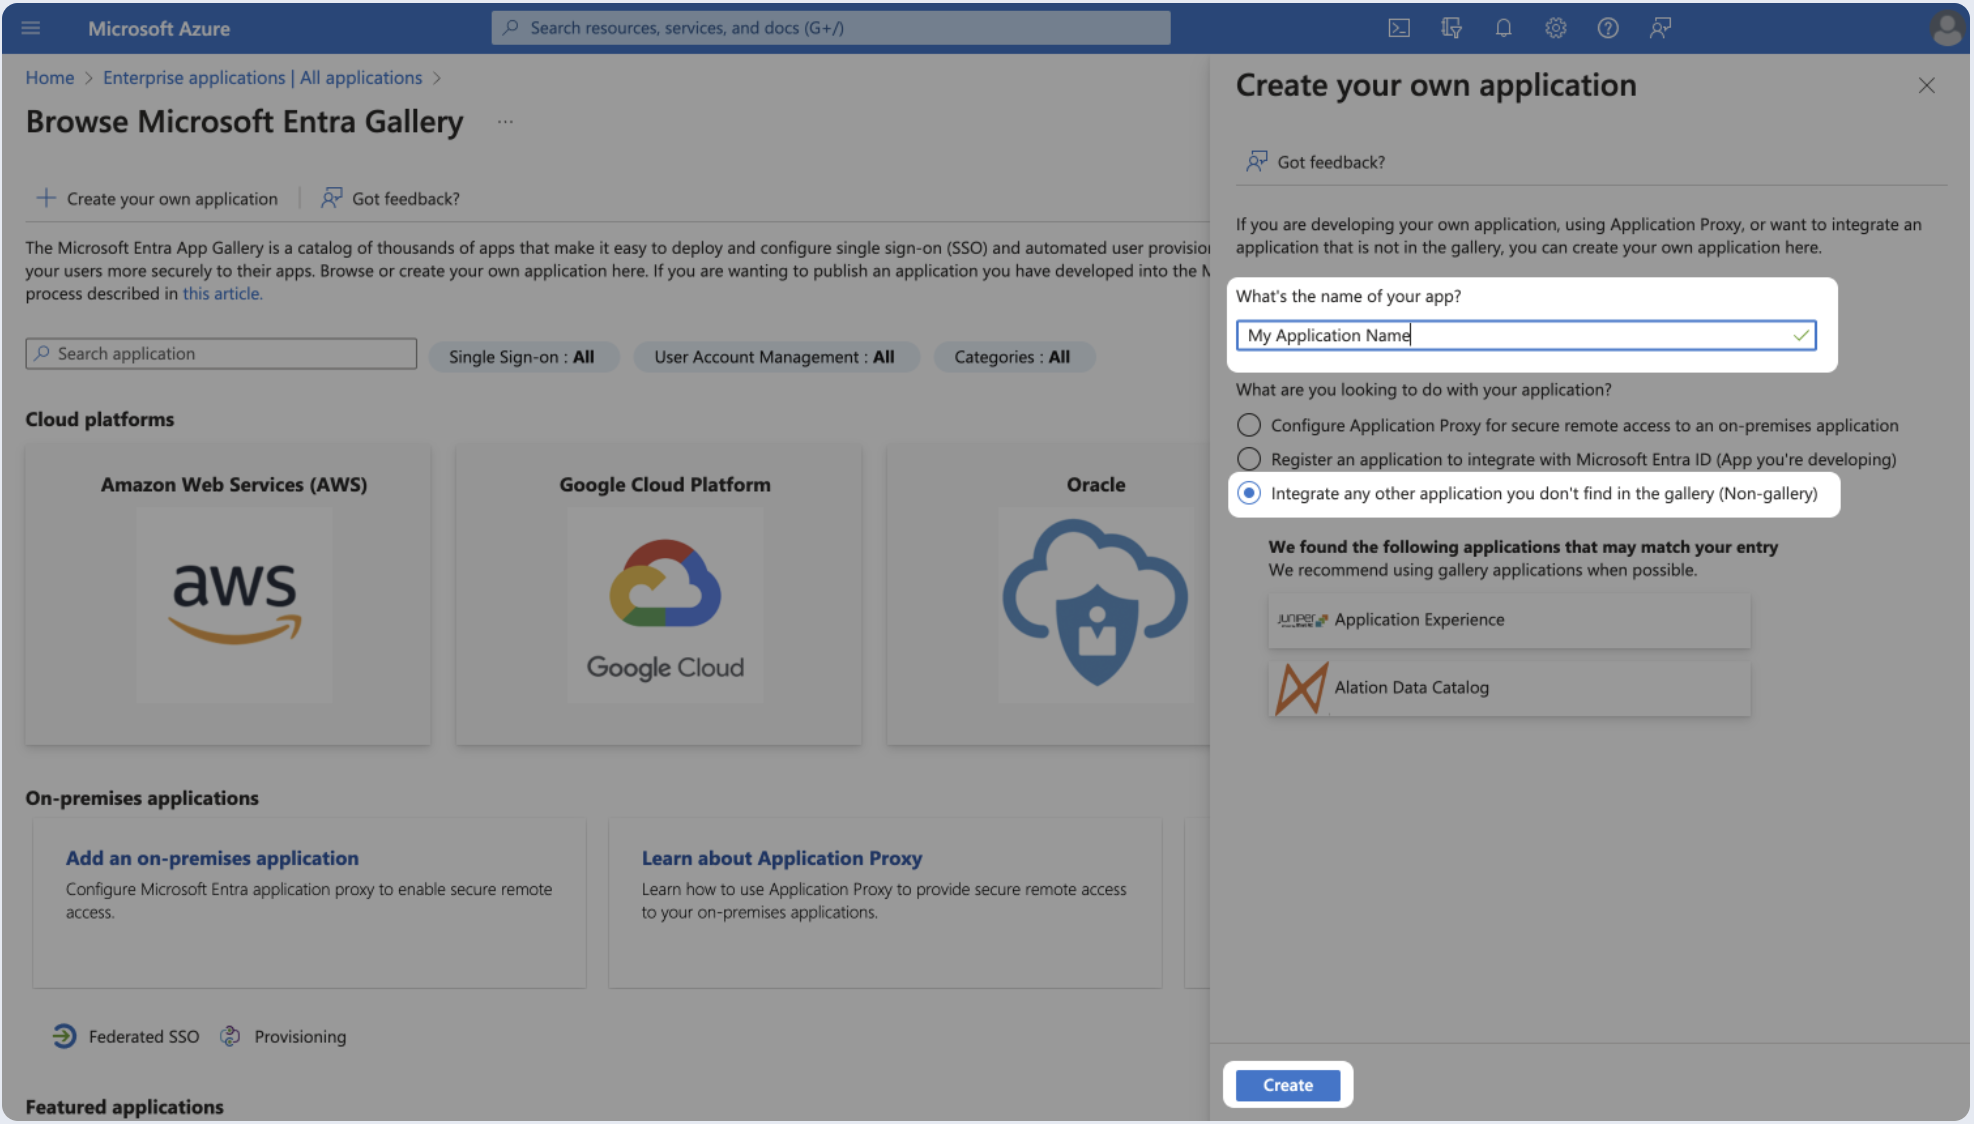
- Provide a name for your app, Select Integrate any other application you don't find in the gallery (Non-gallery), and click Create.
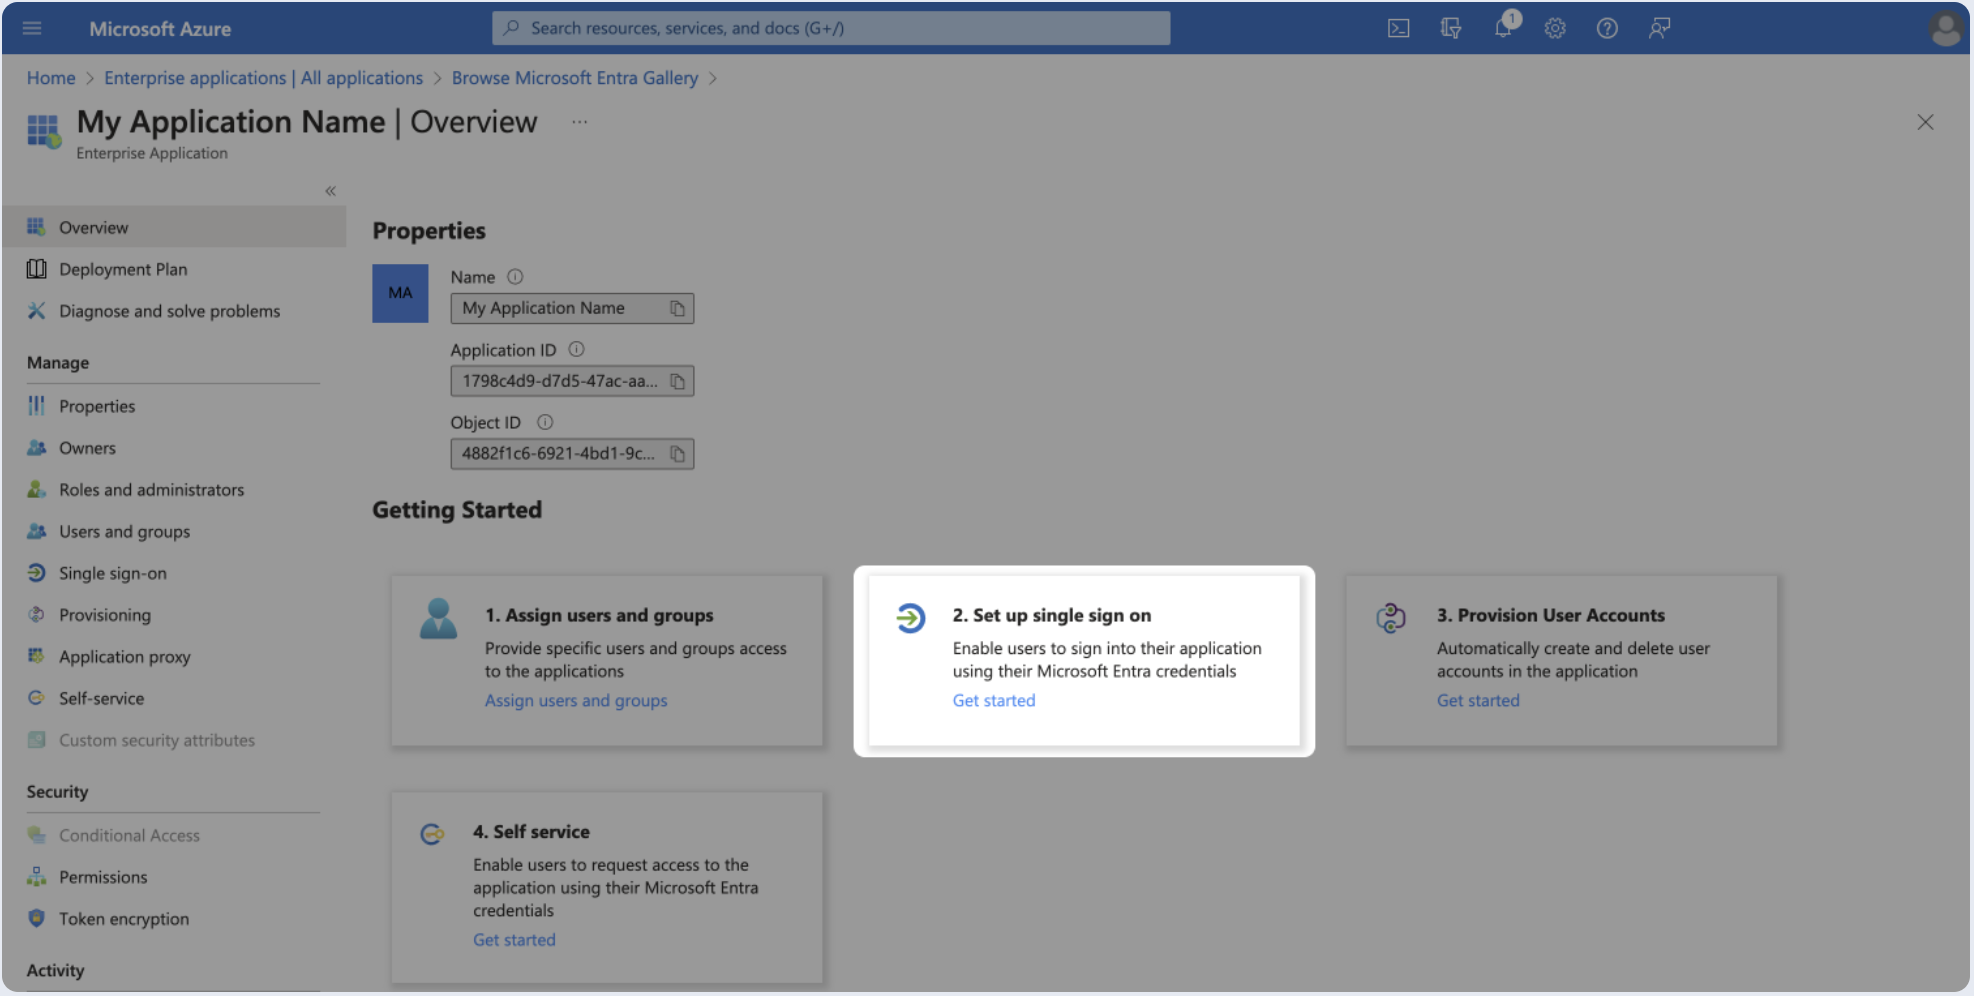
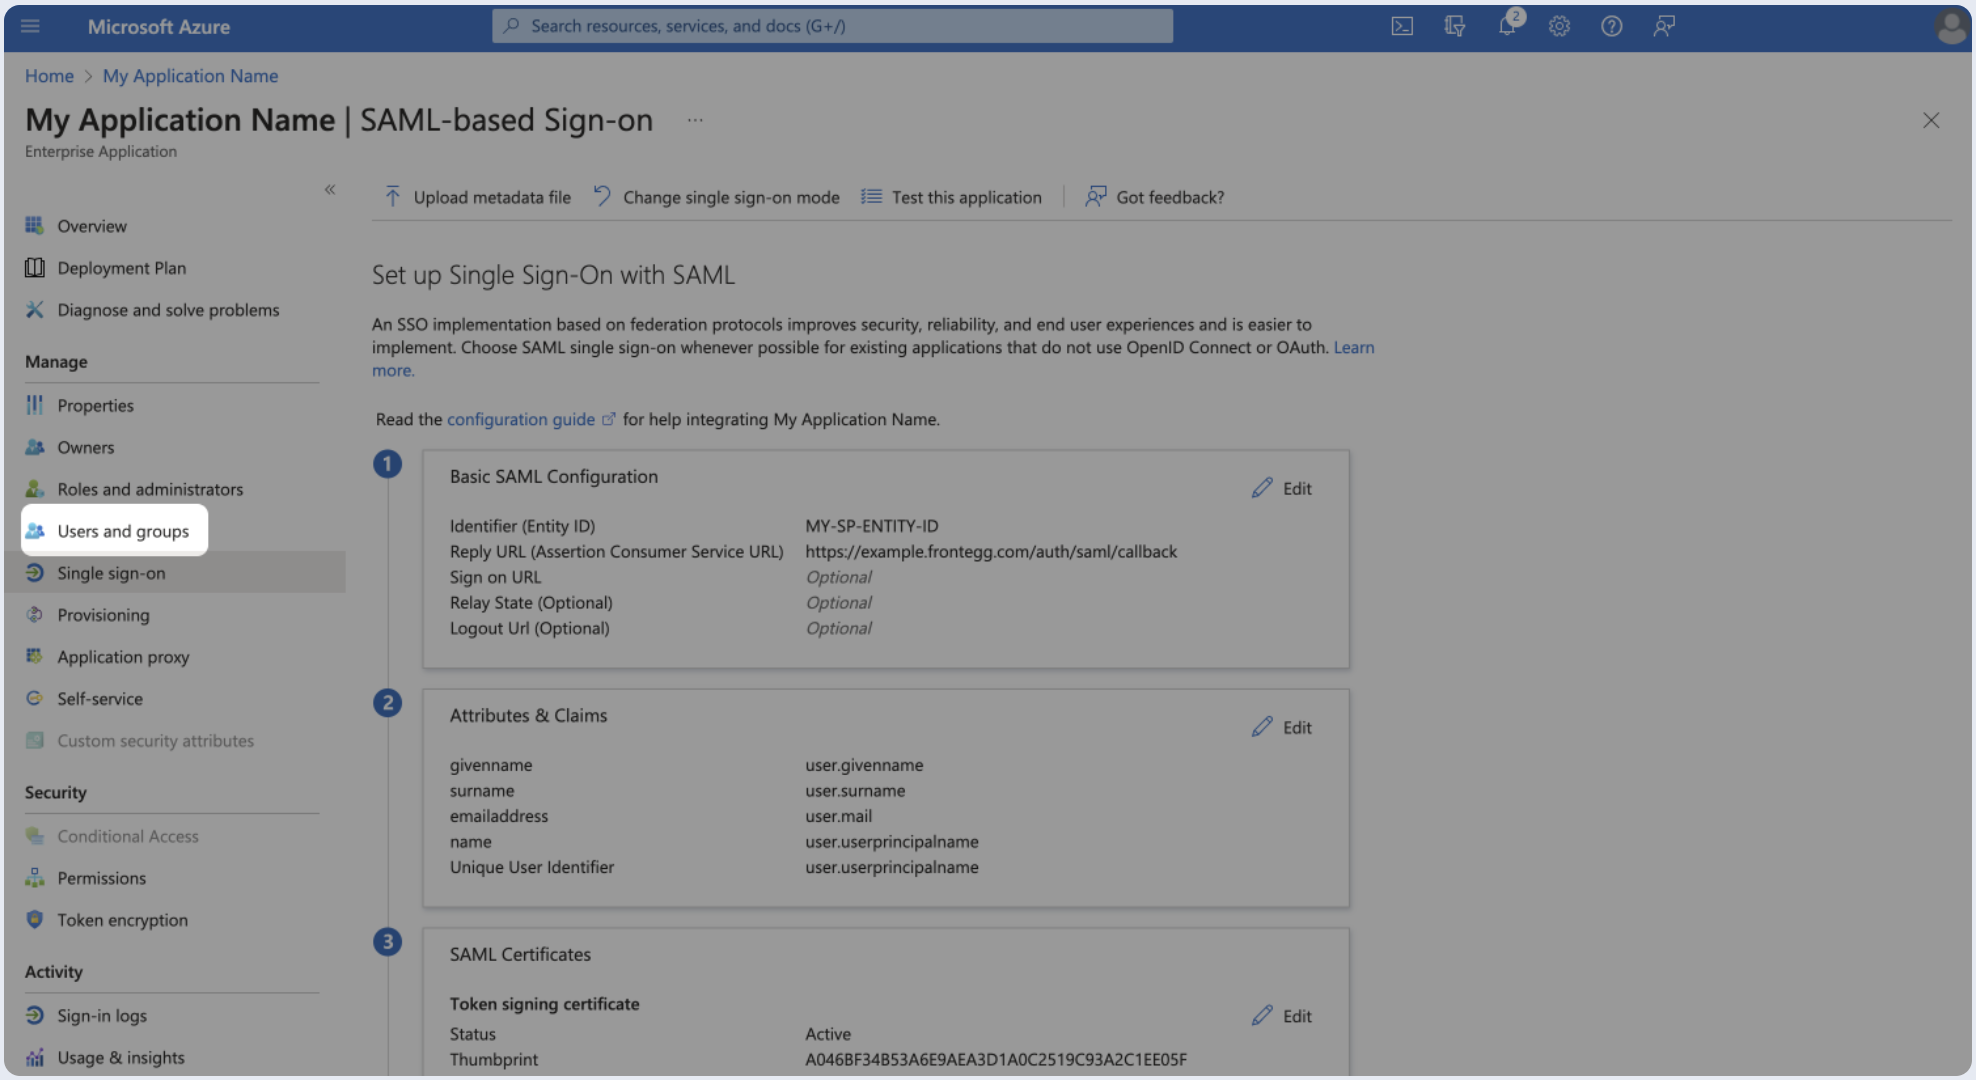
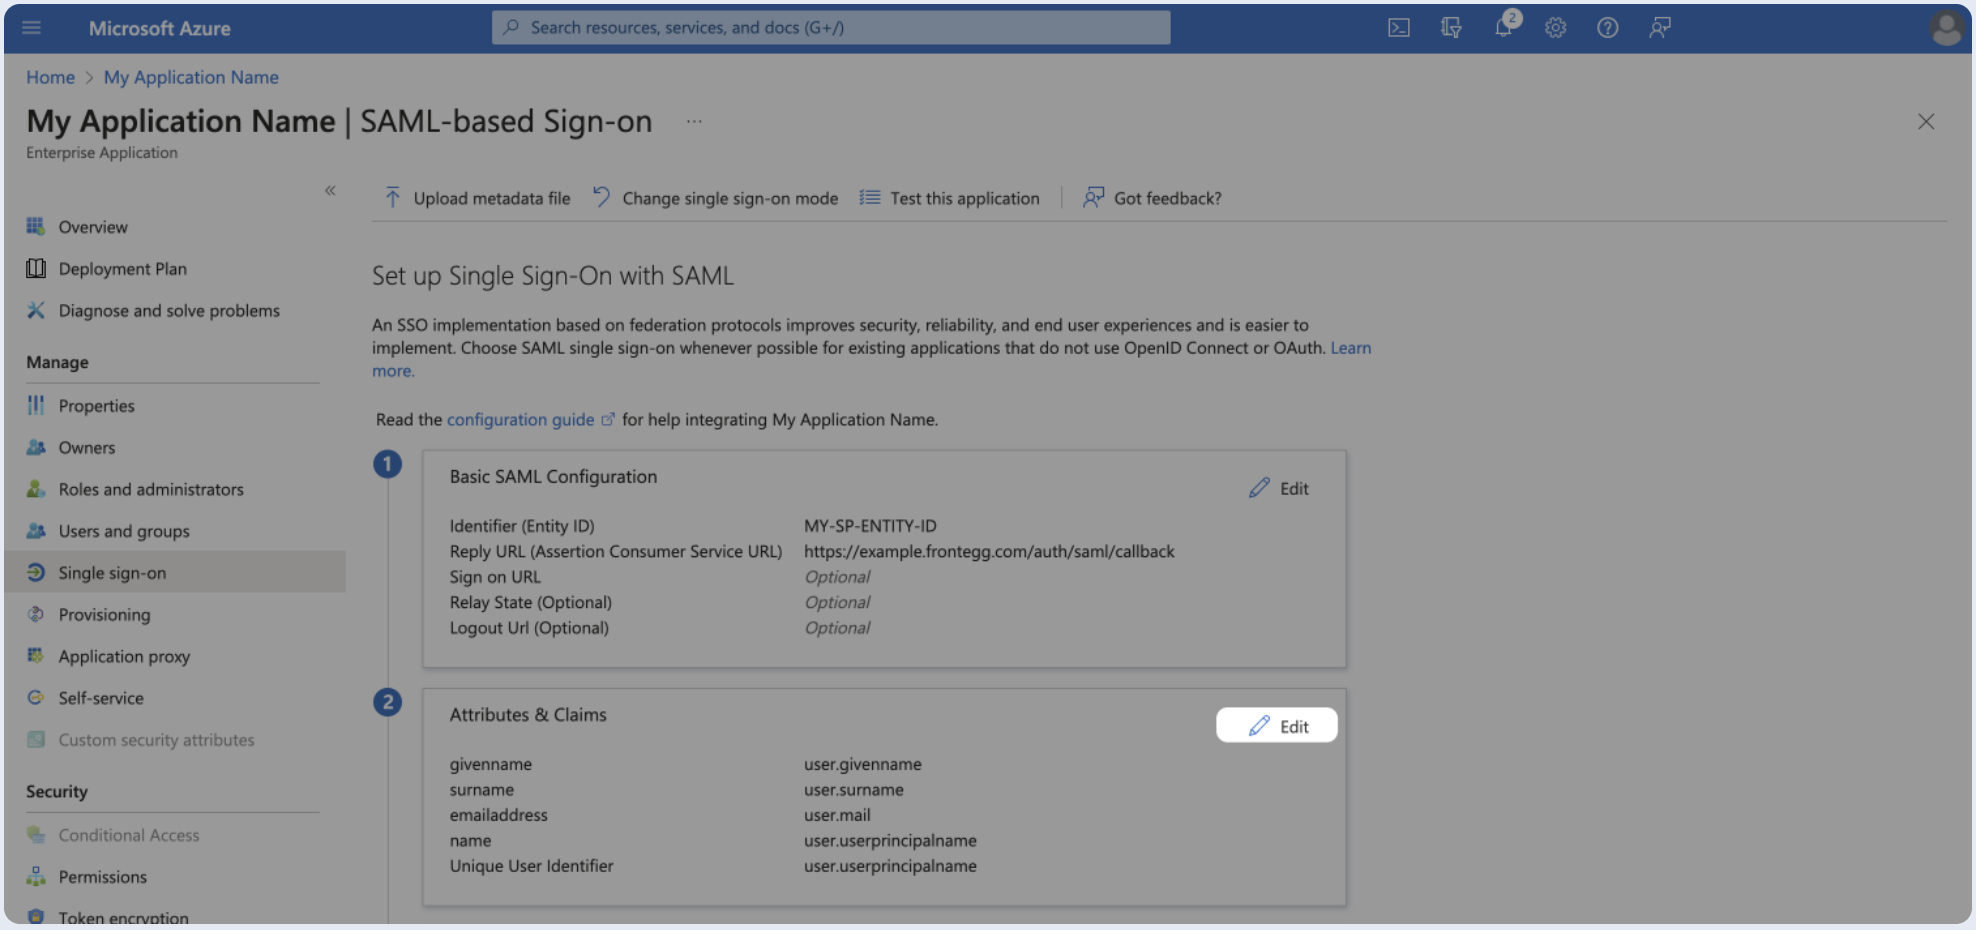
Step 2: Basic SAML configuration
- In the Overview page, select Set up single sign-on.
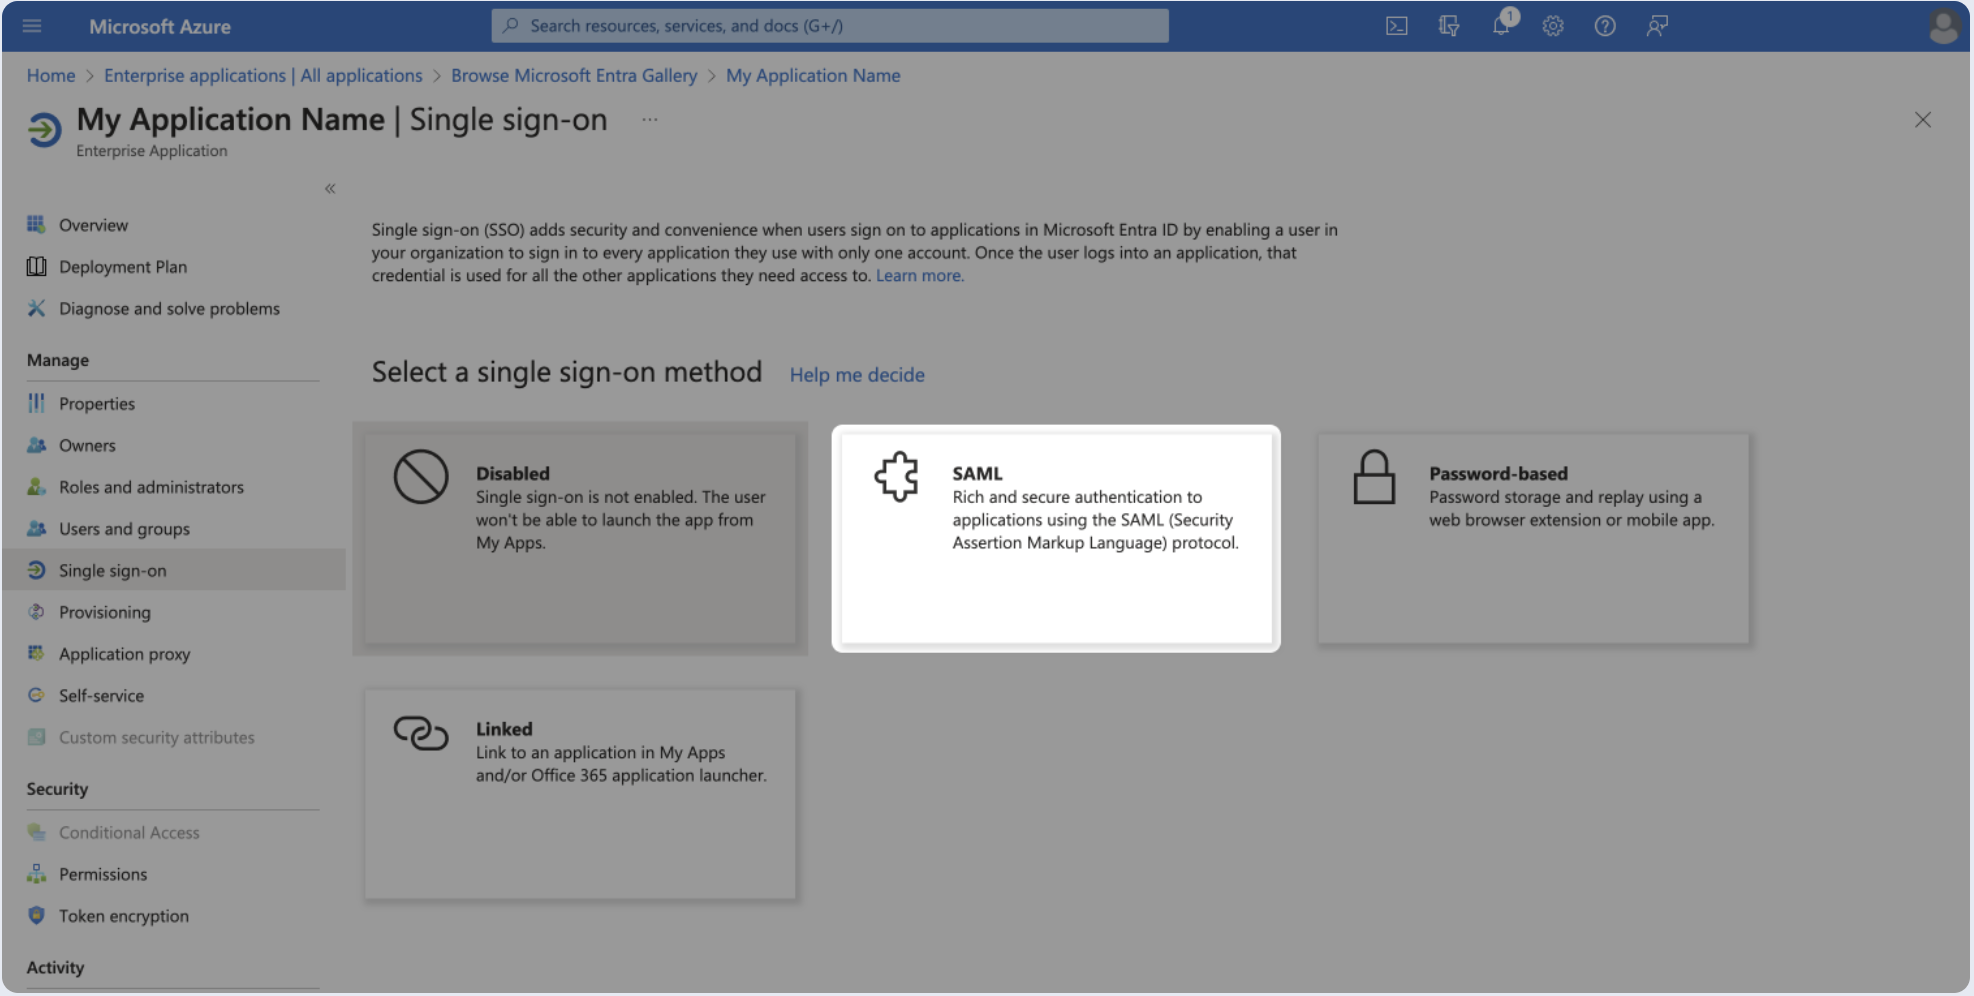
- Select SAML.
- Click Edit.
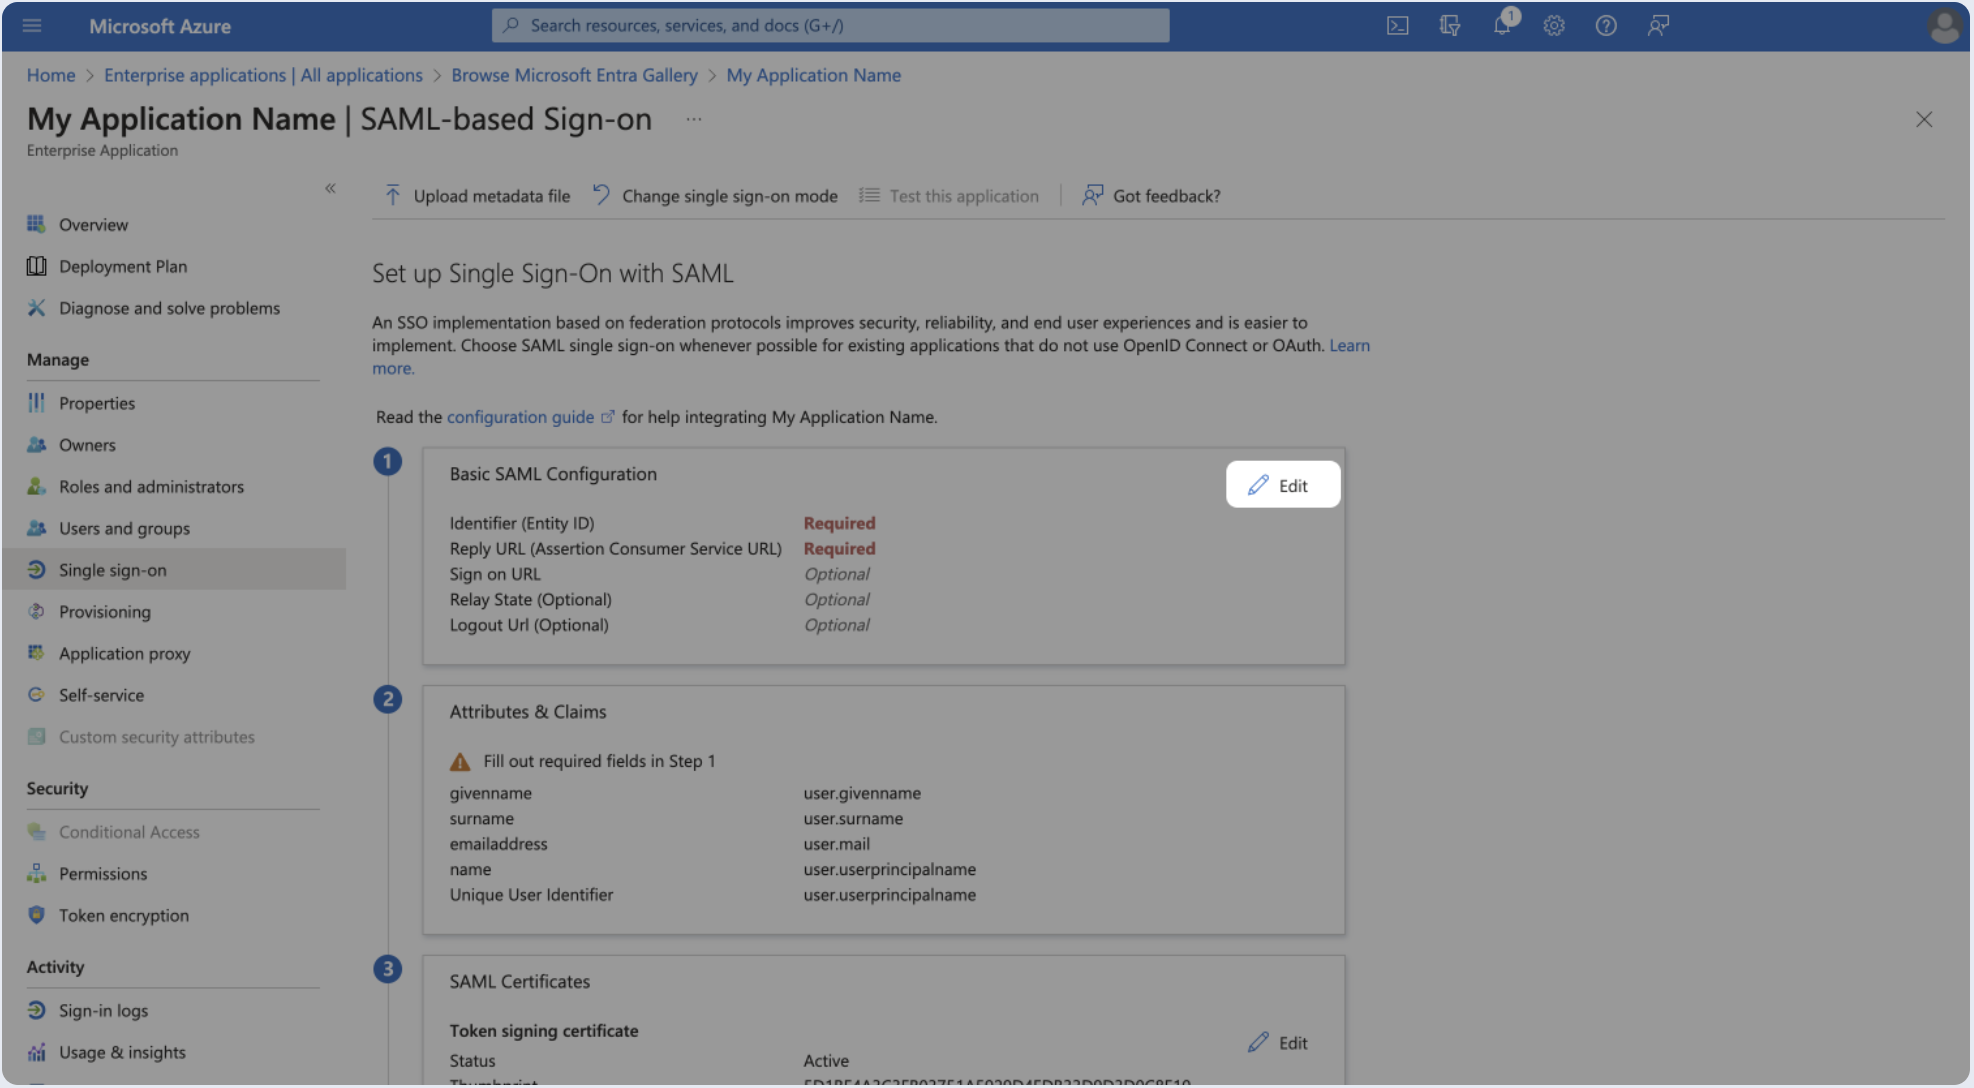
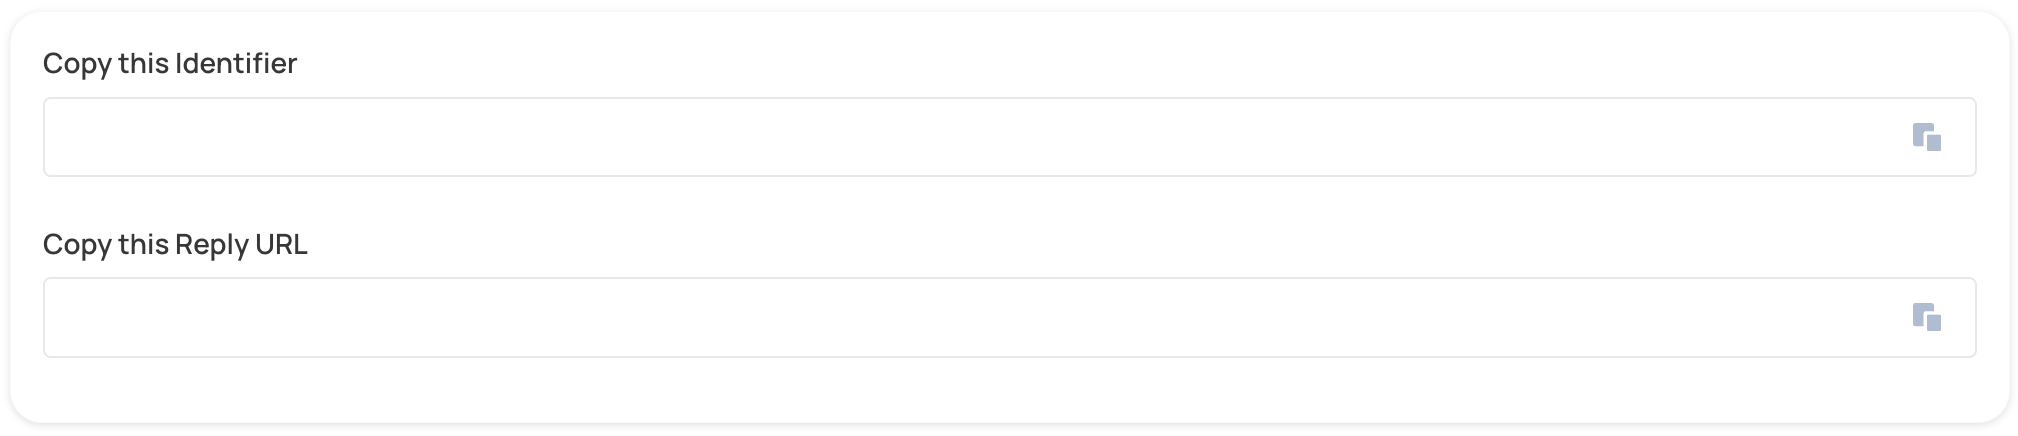
- Paste following values in the appropriate fields and click Save.

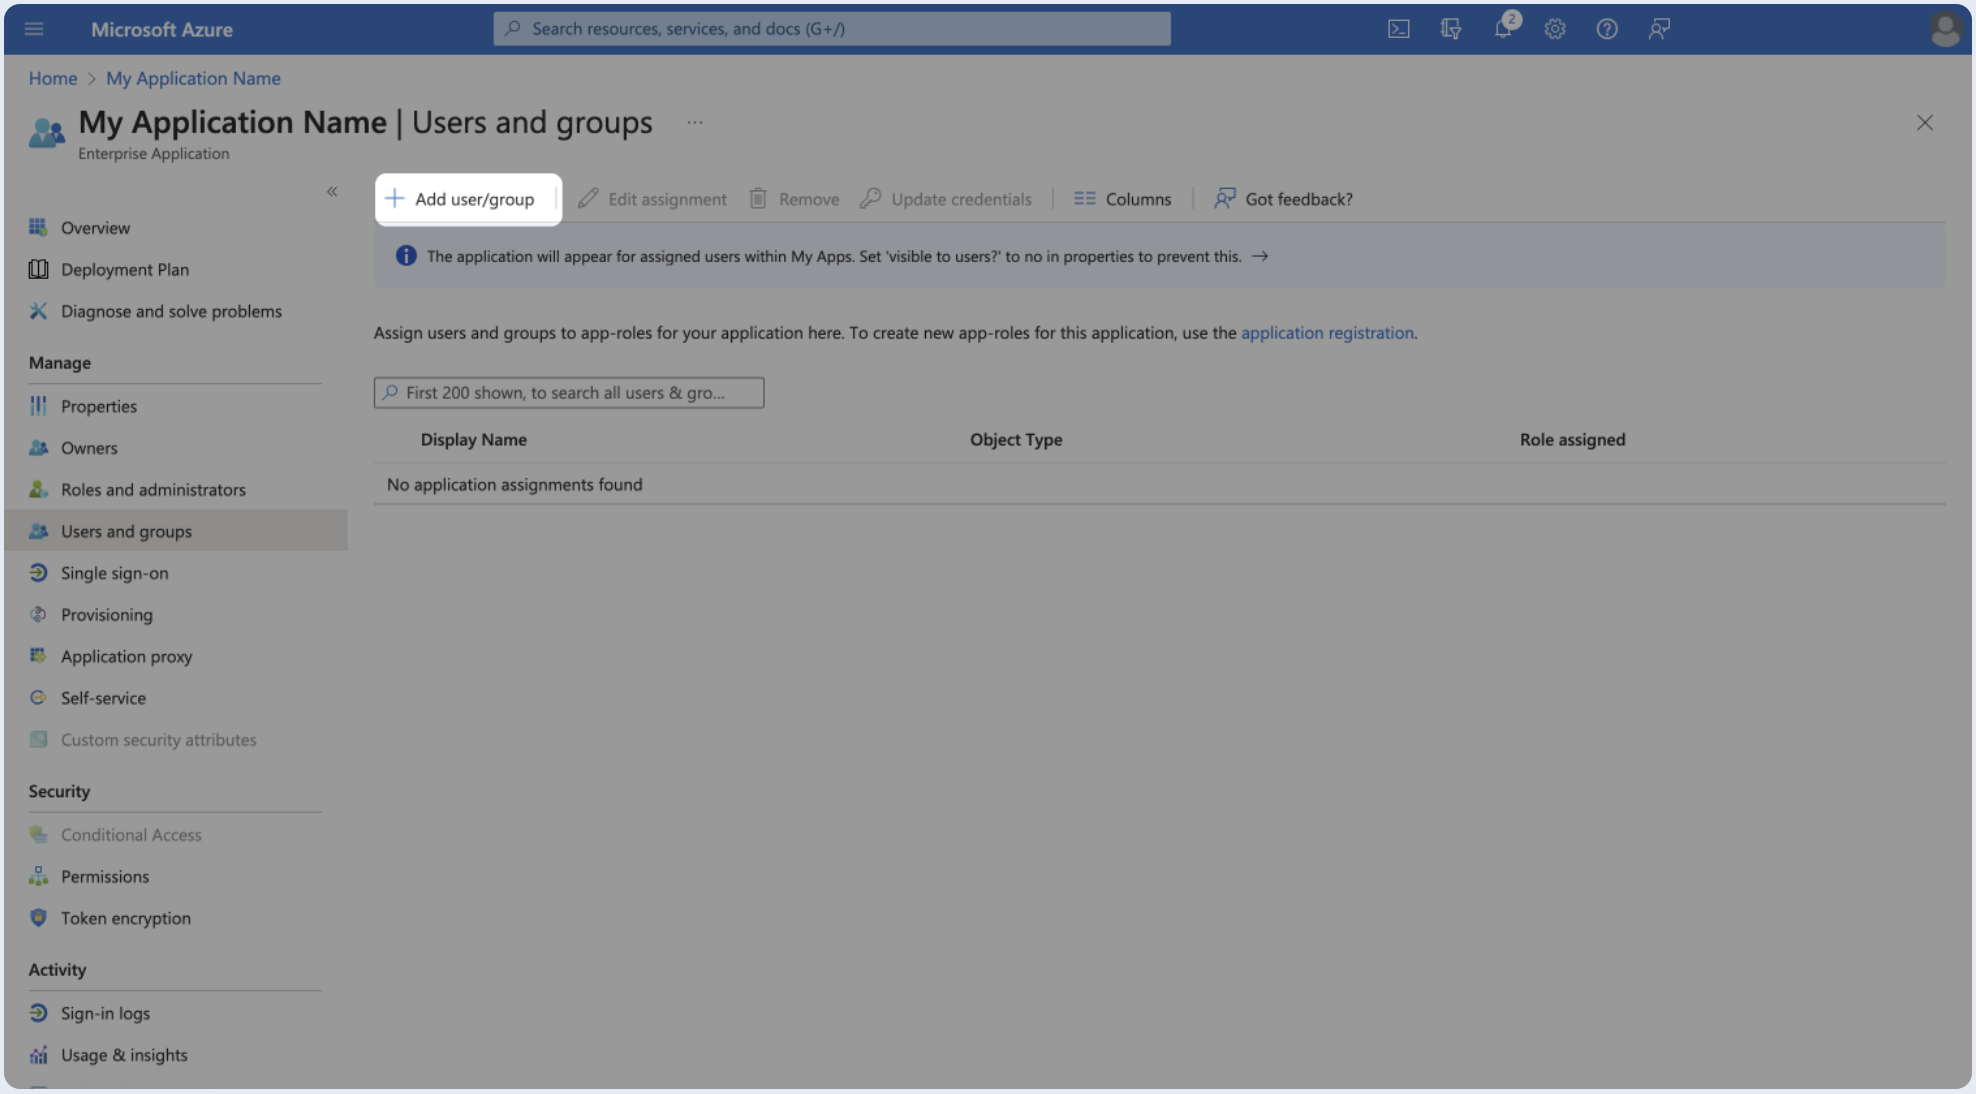
Step 3: Assign users
After creating the enterprise application, you should proceed to assign individual users or groups so that they can authenticate using SAML.
- Select Users and groups from the left menu.
- Click Add user/group.
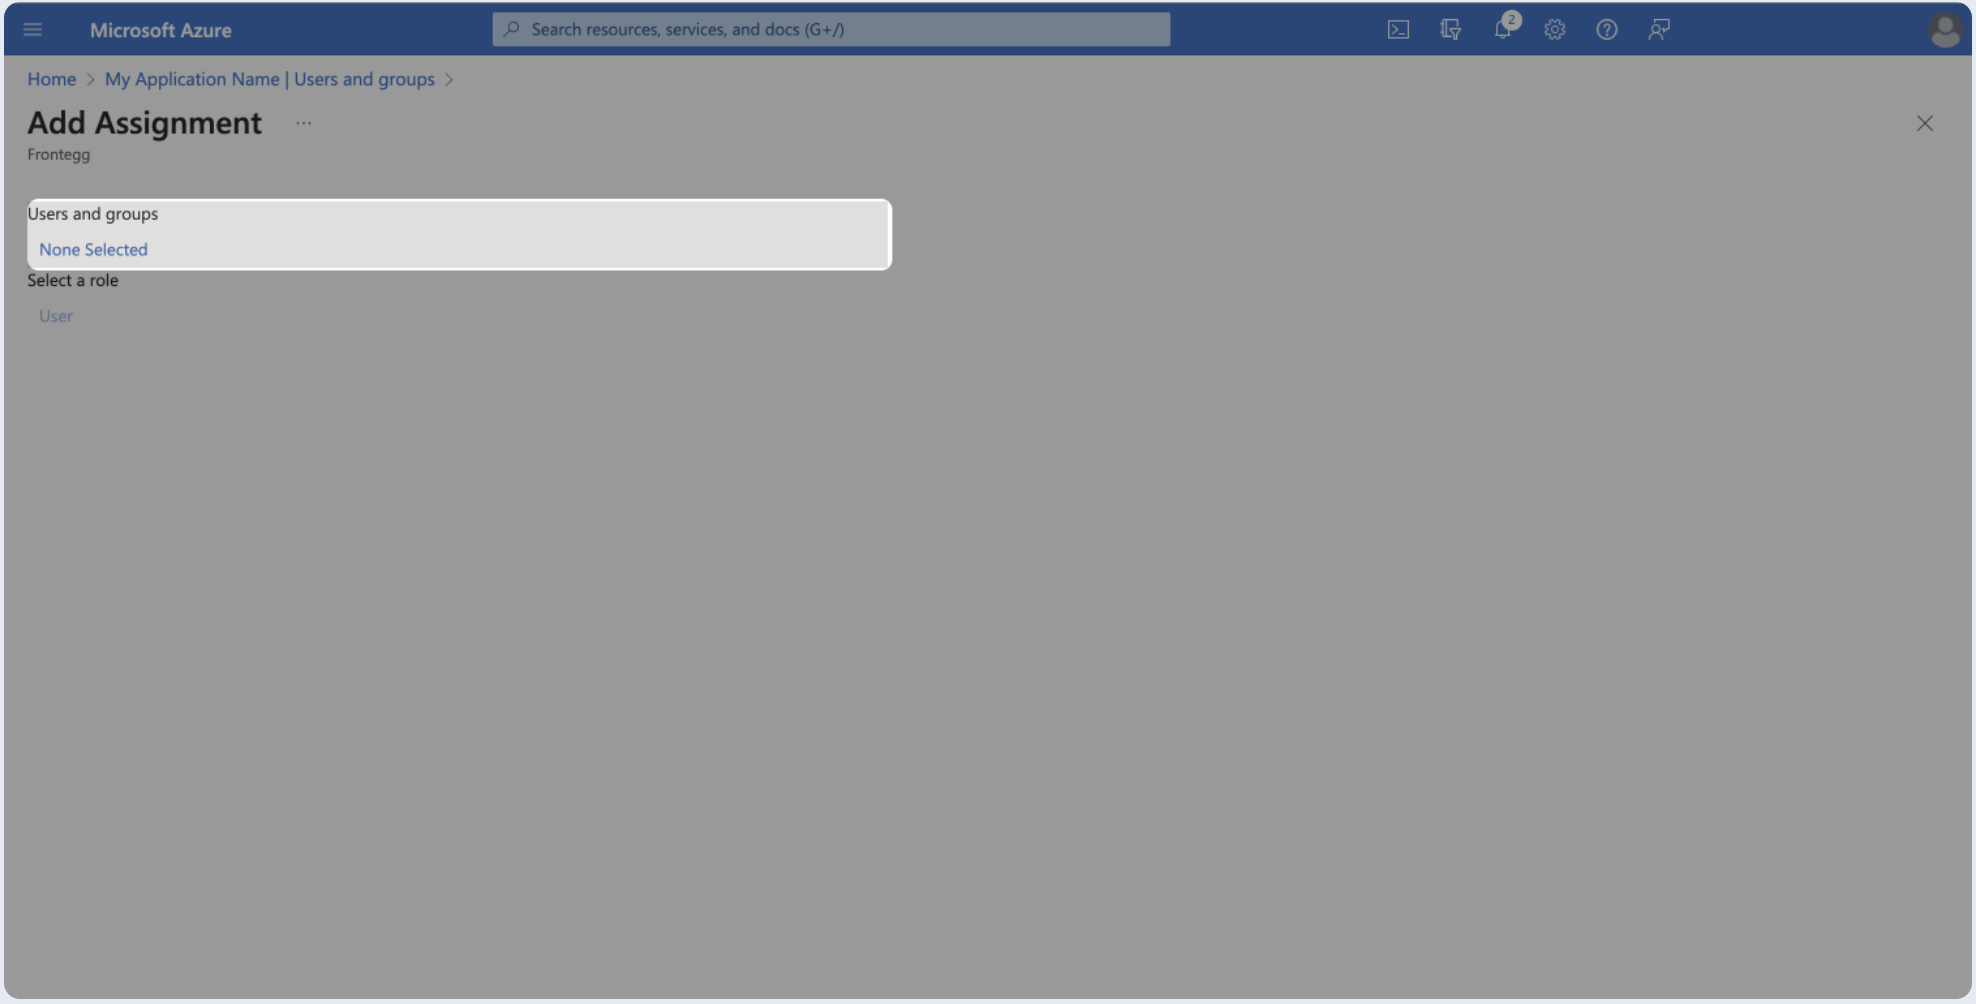
- Click None Selected.
- Search for the user or group you wish to add and click Select.
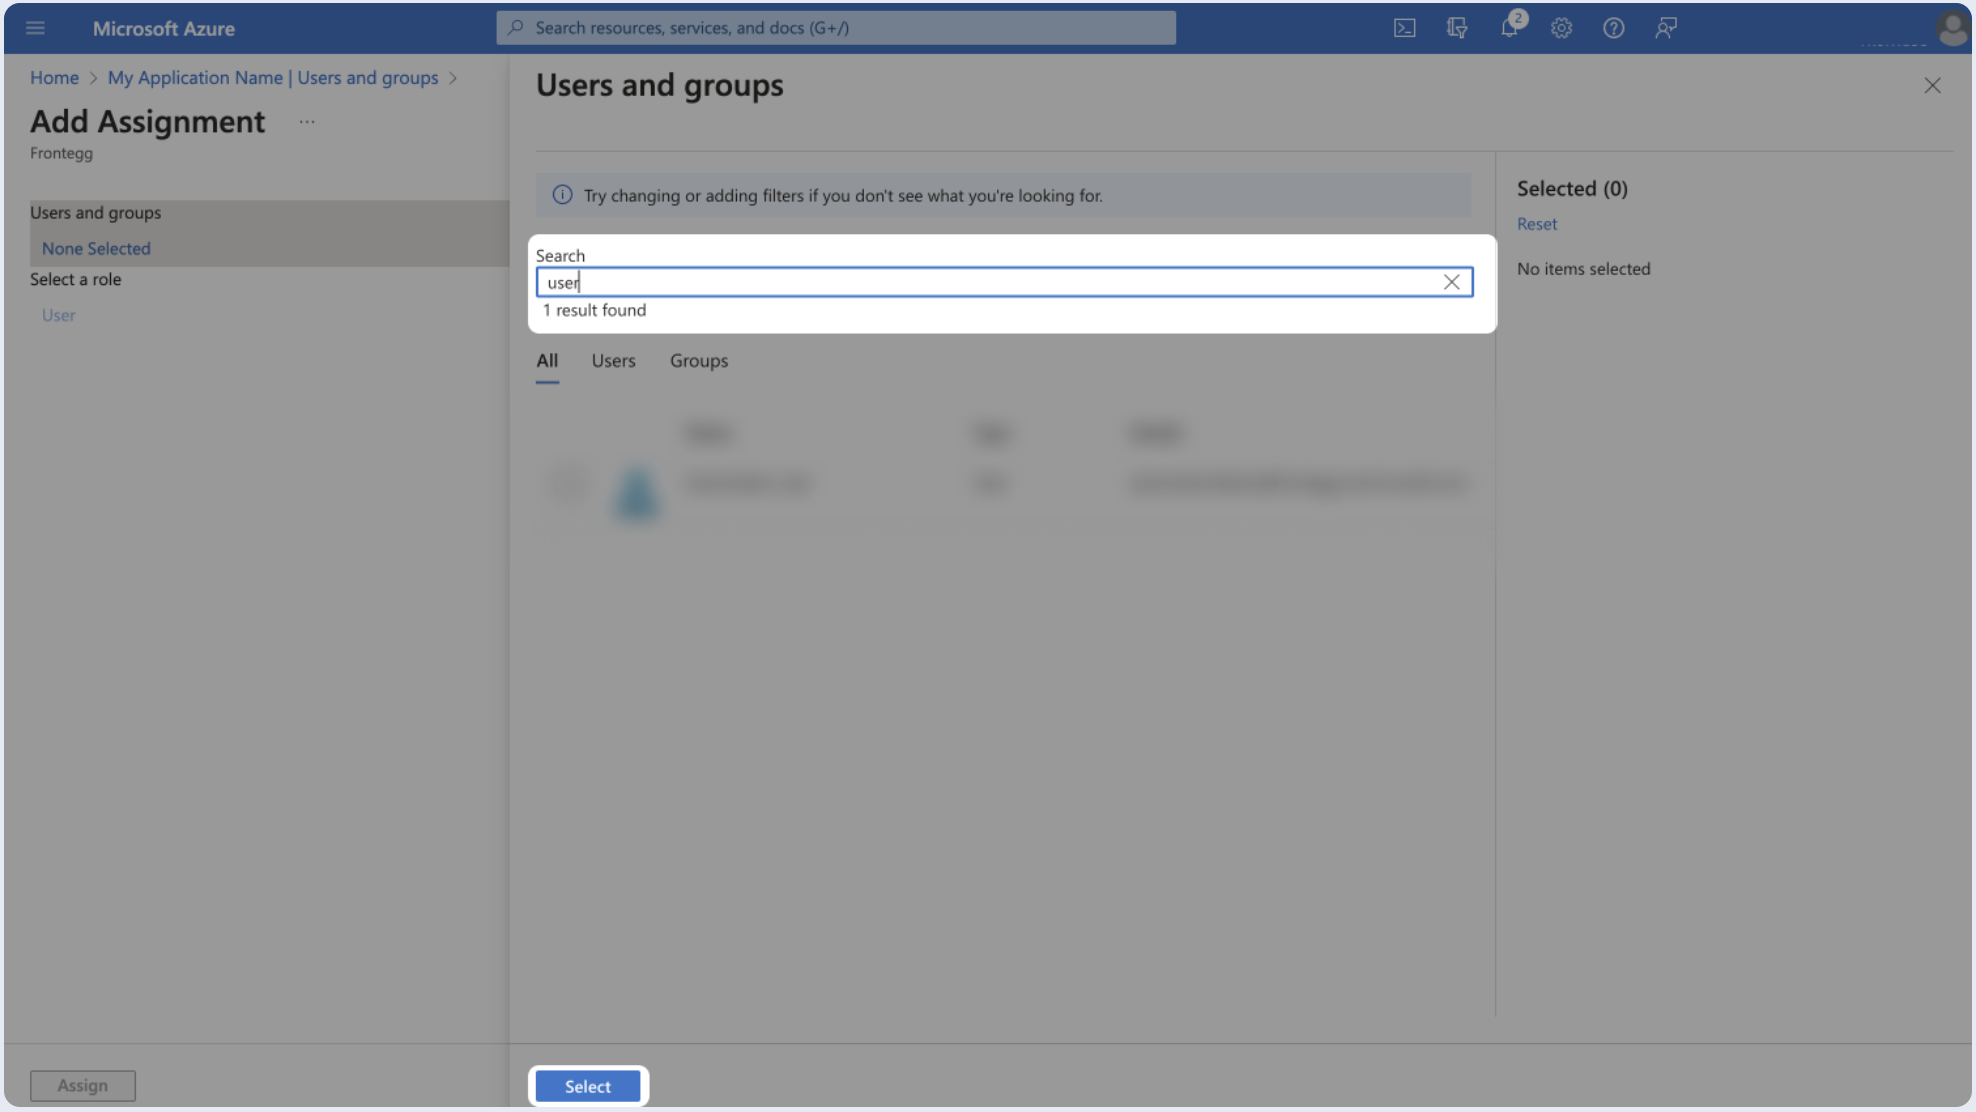
- Click Assign.

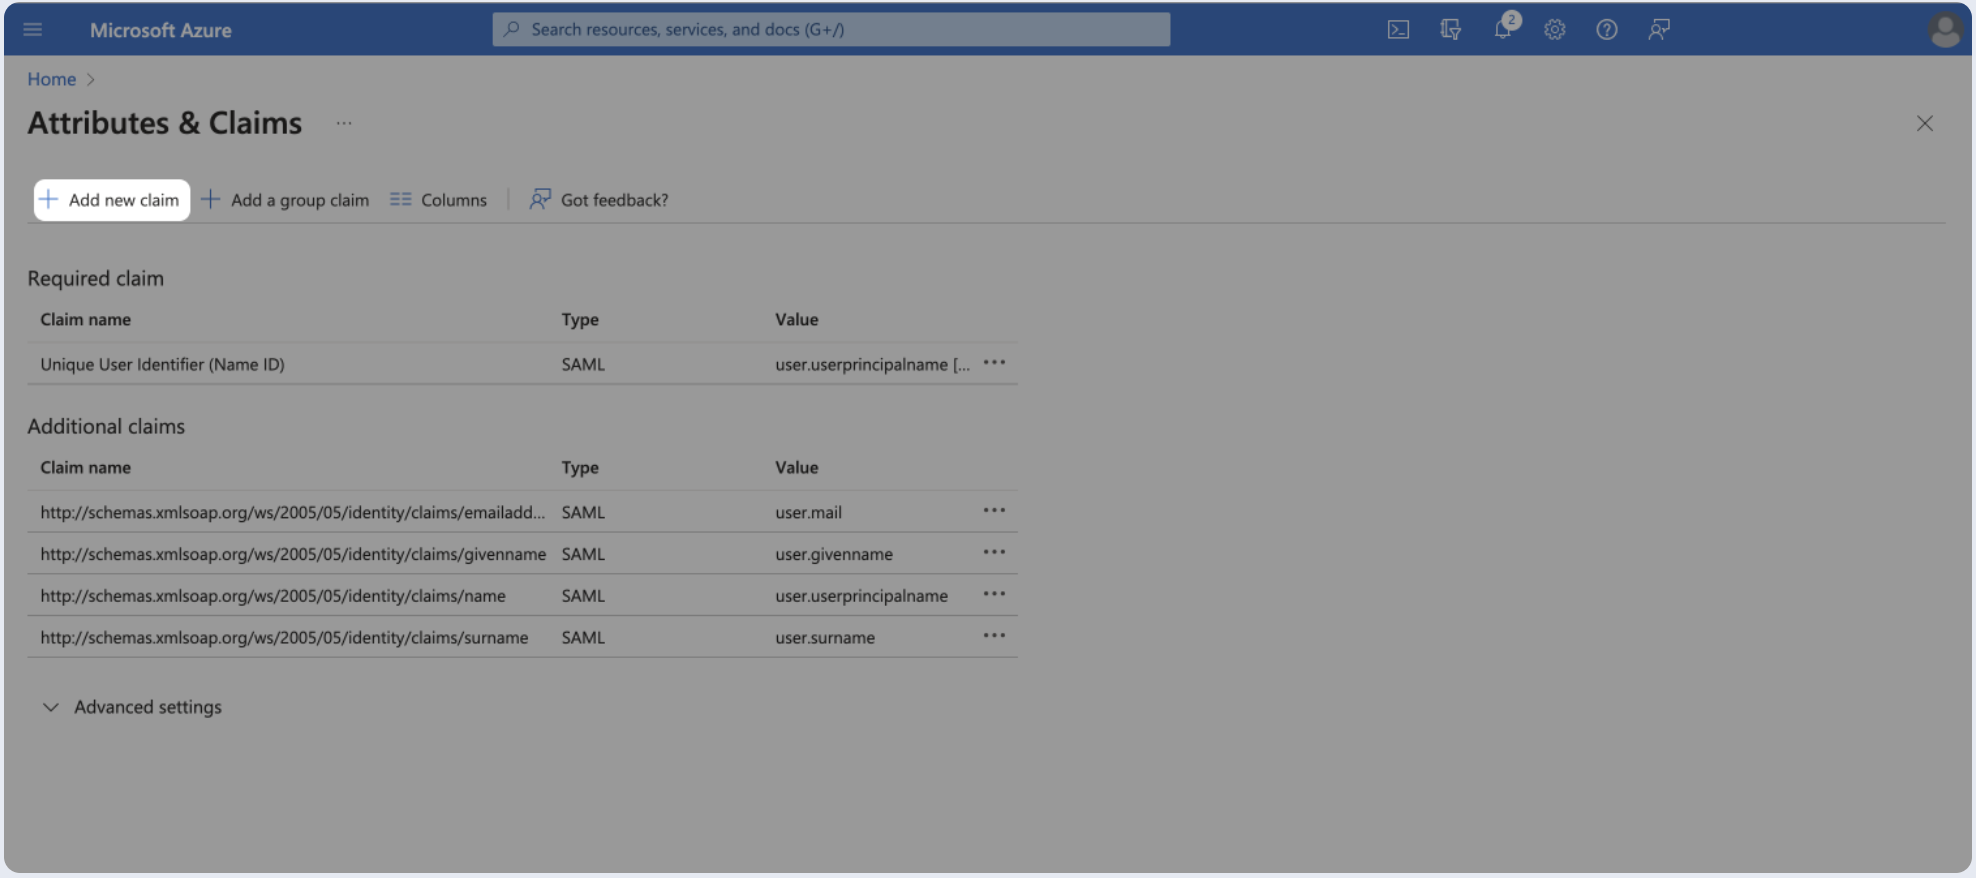
Step 4: Fill attribute statements (optional)
- Under Attributes & Claims (optional), click Edit.
- Map the following user attributes:

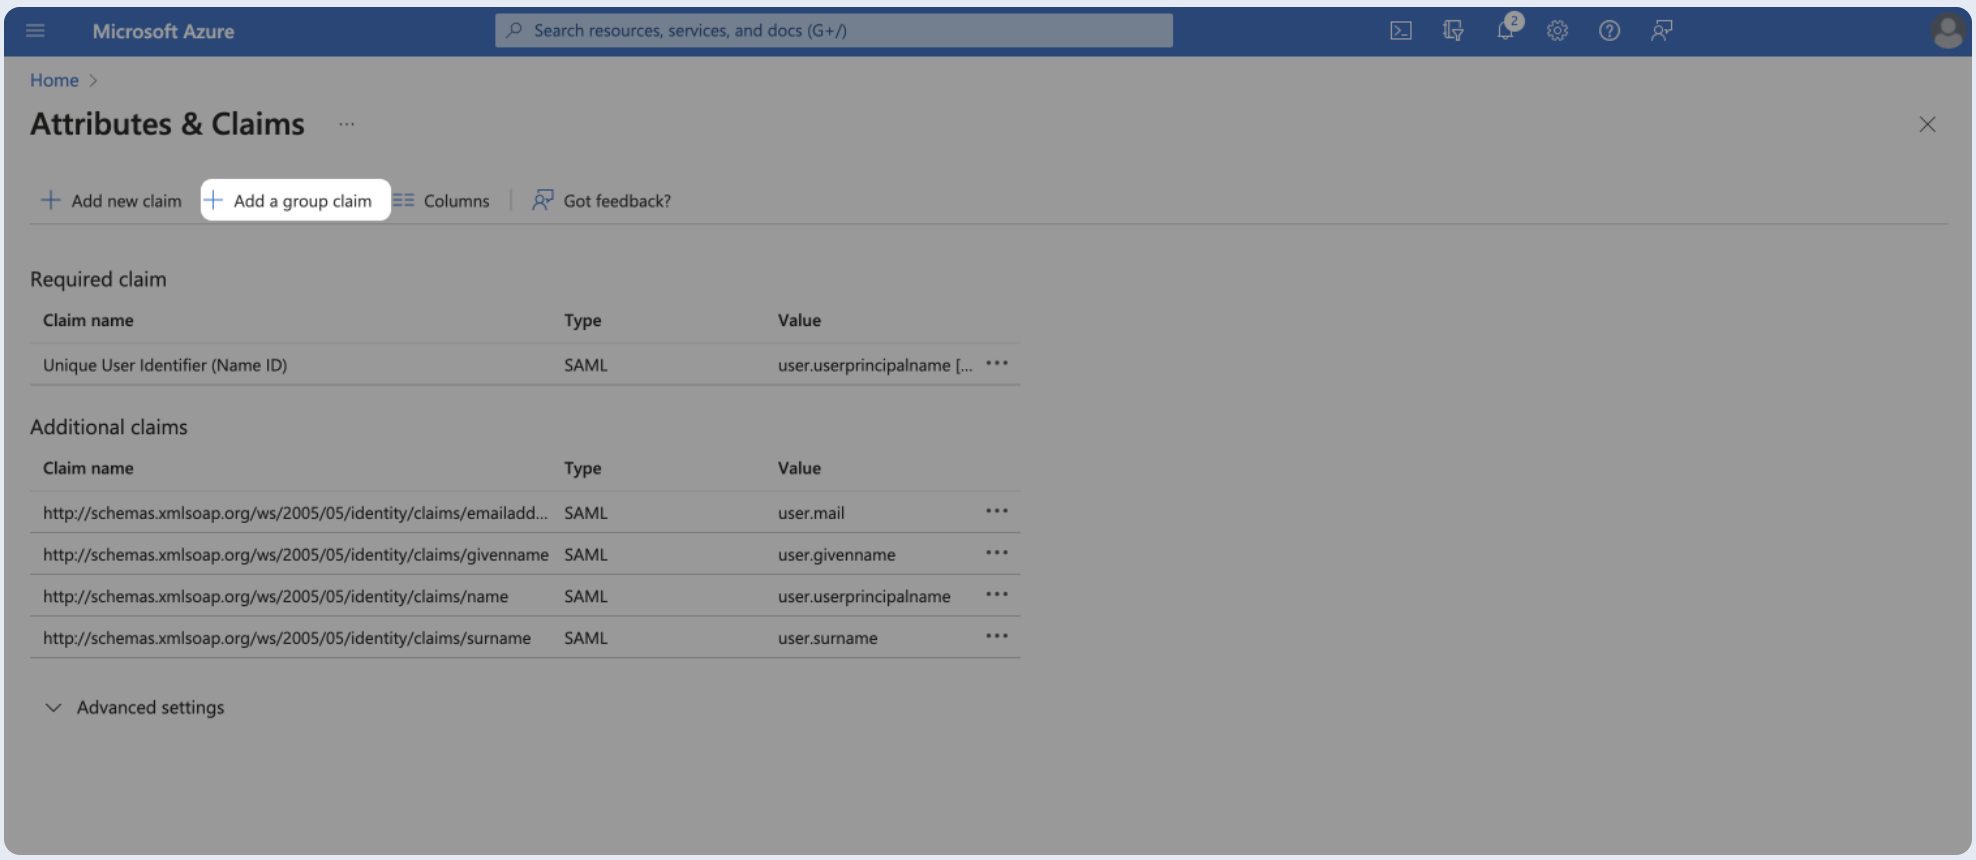
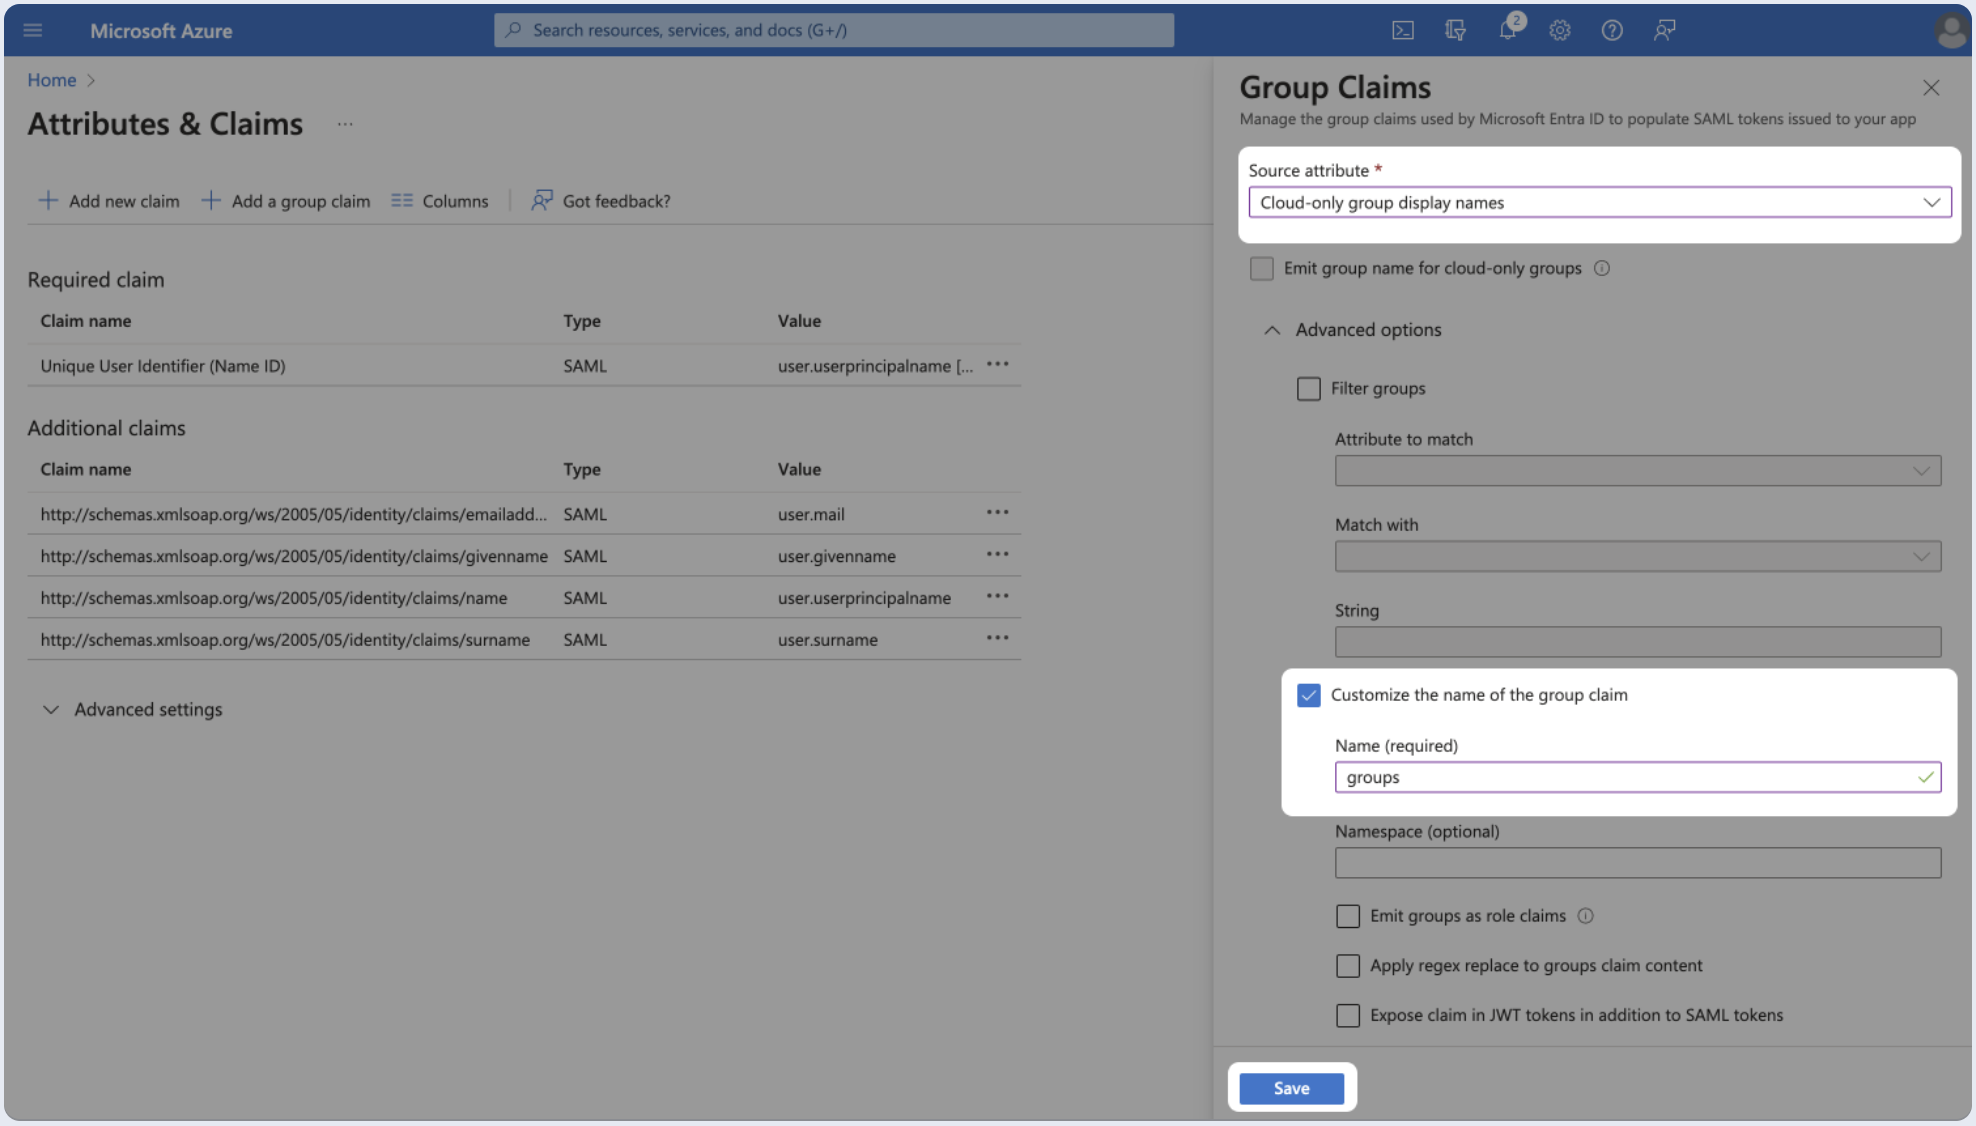
- Add a groups claim for passing user's groups.

- Choose whether the groups attribute will be transferred as an ID or as a name and edit the attribute name to be groups.
Groups limitations
Groups limitations
- Microsoft Entra sends group object IDs by default, not group names. Some group types may not have names available. It is recommended to map group IDs to roles instead of group names.
- In some cases user groups will be sent as a link, in that case, please review this article for extracting groups.
- When using groups to roles mapping, make sure to map the correct attribute type to application roles on the Manage Authorization step.
Step 5: Upload Identity Provider metadata
The final step for implementing SAML SSO requires sharing your identity provider's metadata with the application.
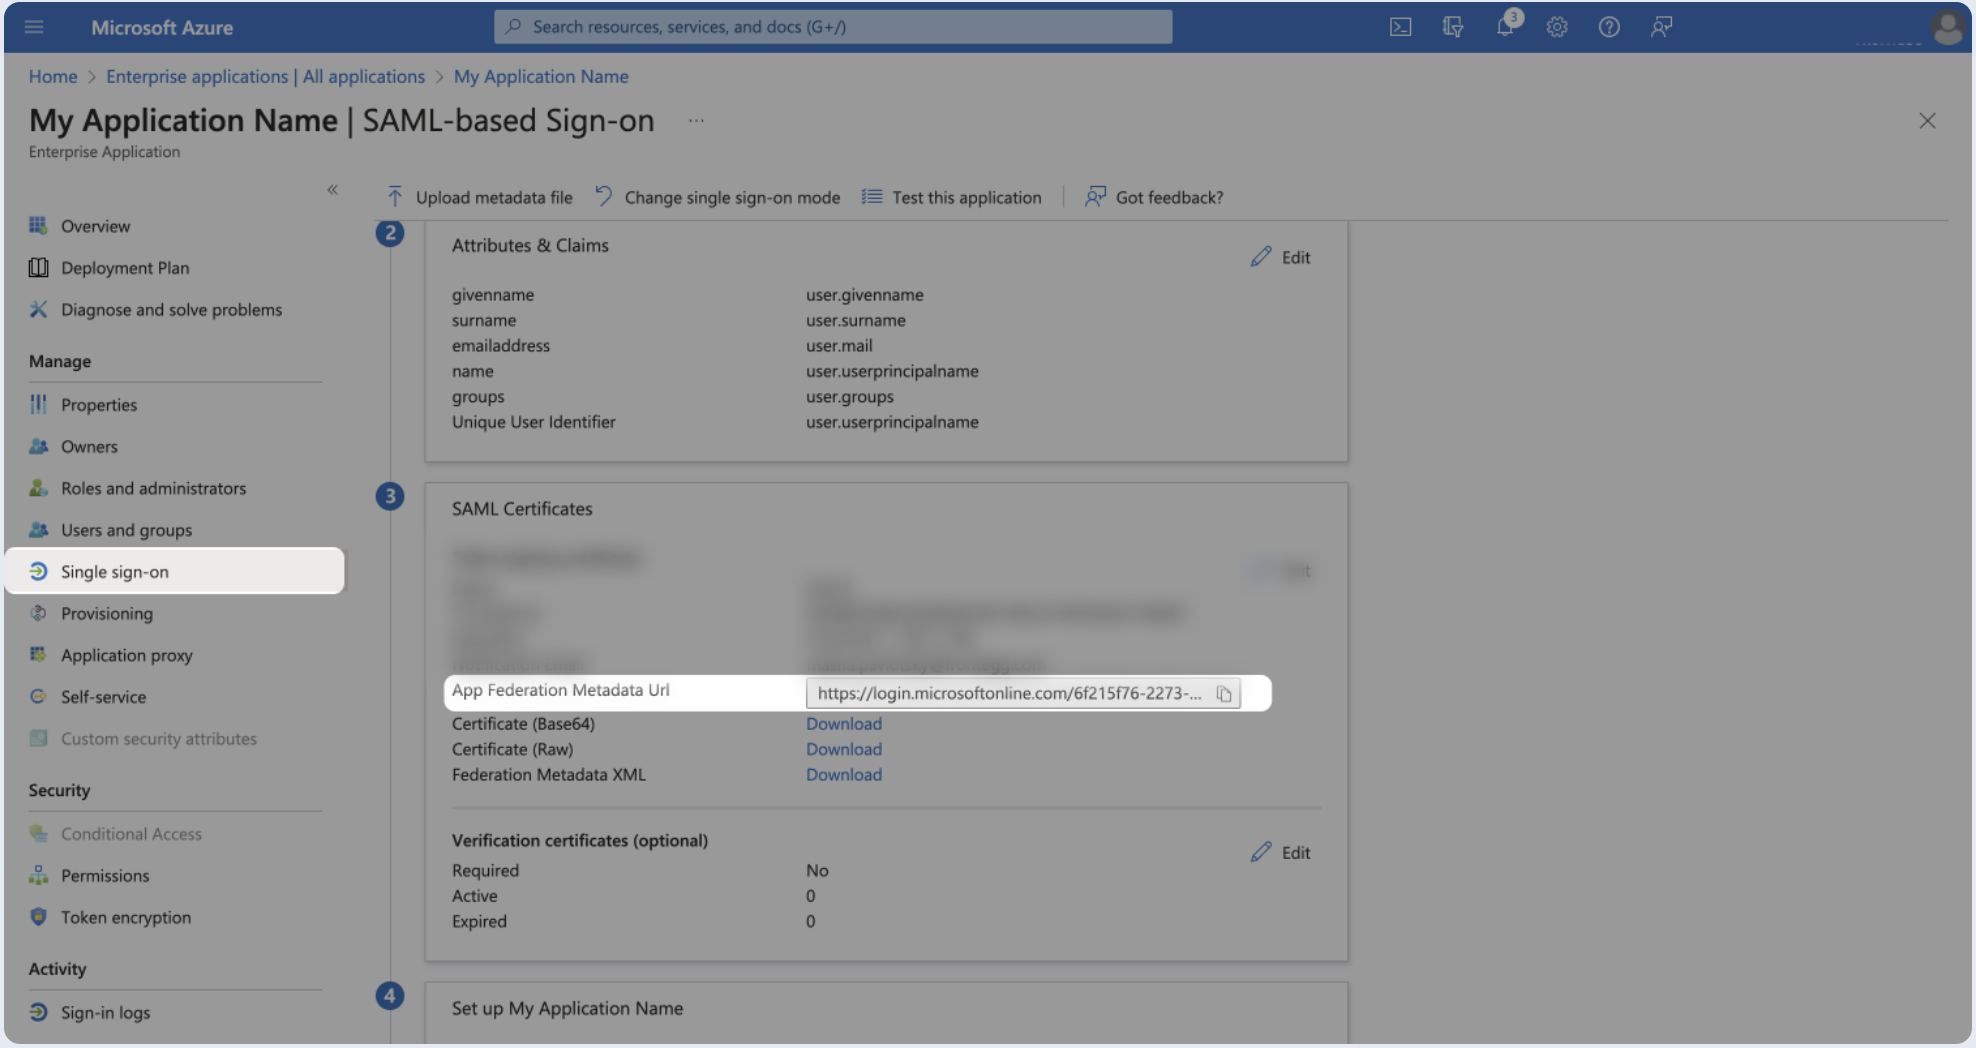
Automatic configuration
- Click on the Single sign-on from the left menu.
- Locate App Federation Metadata Url under SAML Signing Certificates.
- Select Copy to copy the link, then paste it below.

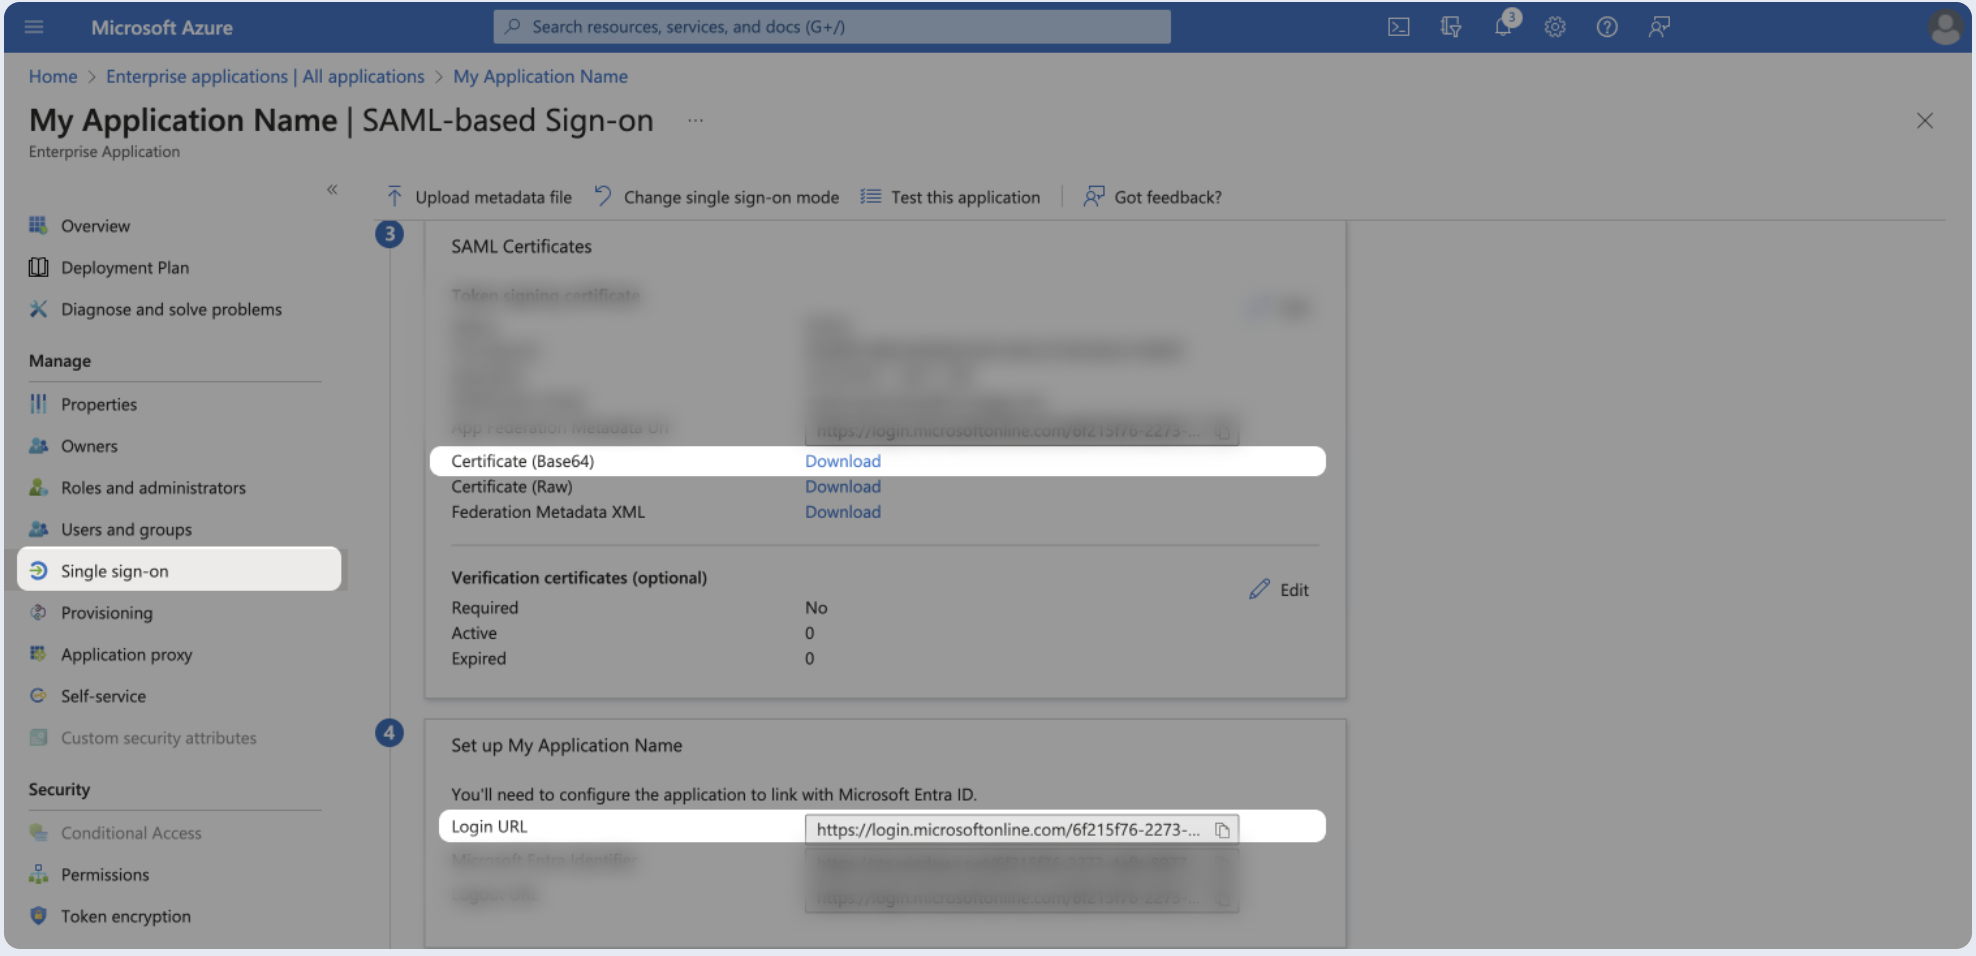
Manual configuration
- Click on the Single sign-on from the left menu.
- Download the certificate as Base64 and paste its content into the Public Certificate section.
- Copy the Login URL and paste it as the SSO Endpoint.
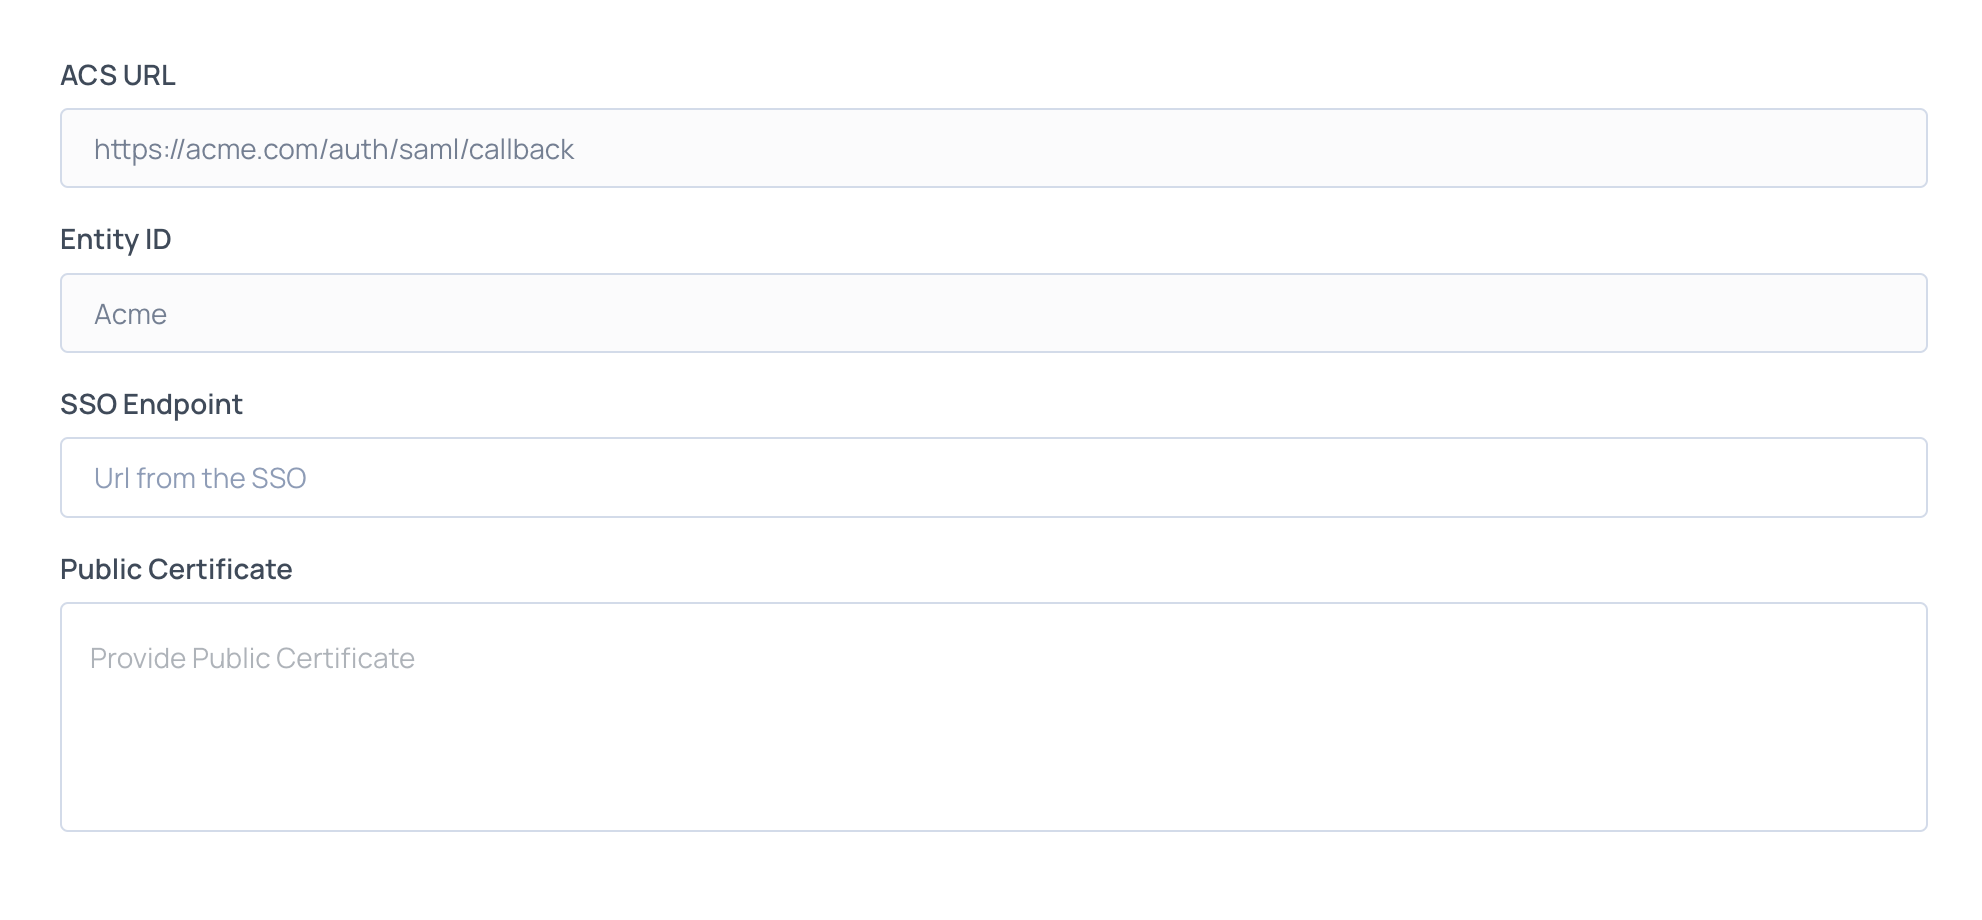
Example values
Example values
The value shown above is just an example. The actual value would be configured by the application manager on the service provider side.
Step 6: Proceed with domain claiming and role assignment
- Click on Proceed with domain claiming and role assignment to confirm the completion the configuration of the IDP form.
- Follow the instructions in the Self-service SAML configuration guide to complete this step and manage authorization.