Multi-factor authentication is comprised of setting up your desired MFA policy, as well as the required MFA methods you wish to be applied to your customers. This topic will guide you through configuring both.
Frontegg offers three MFA policy levels:
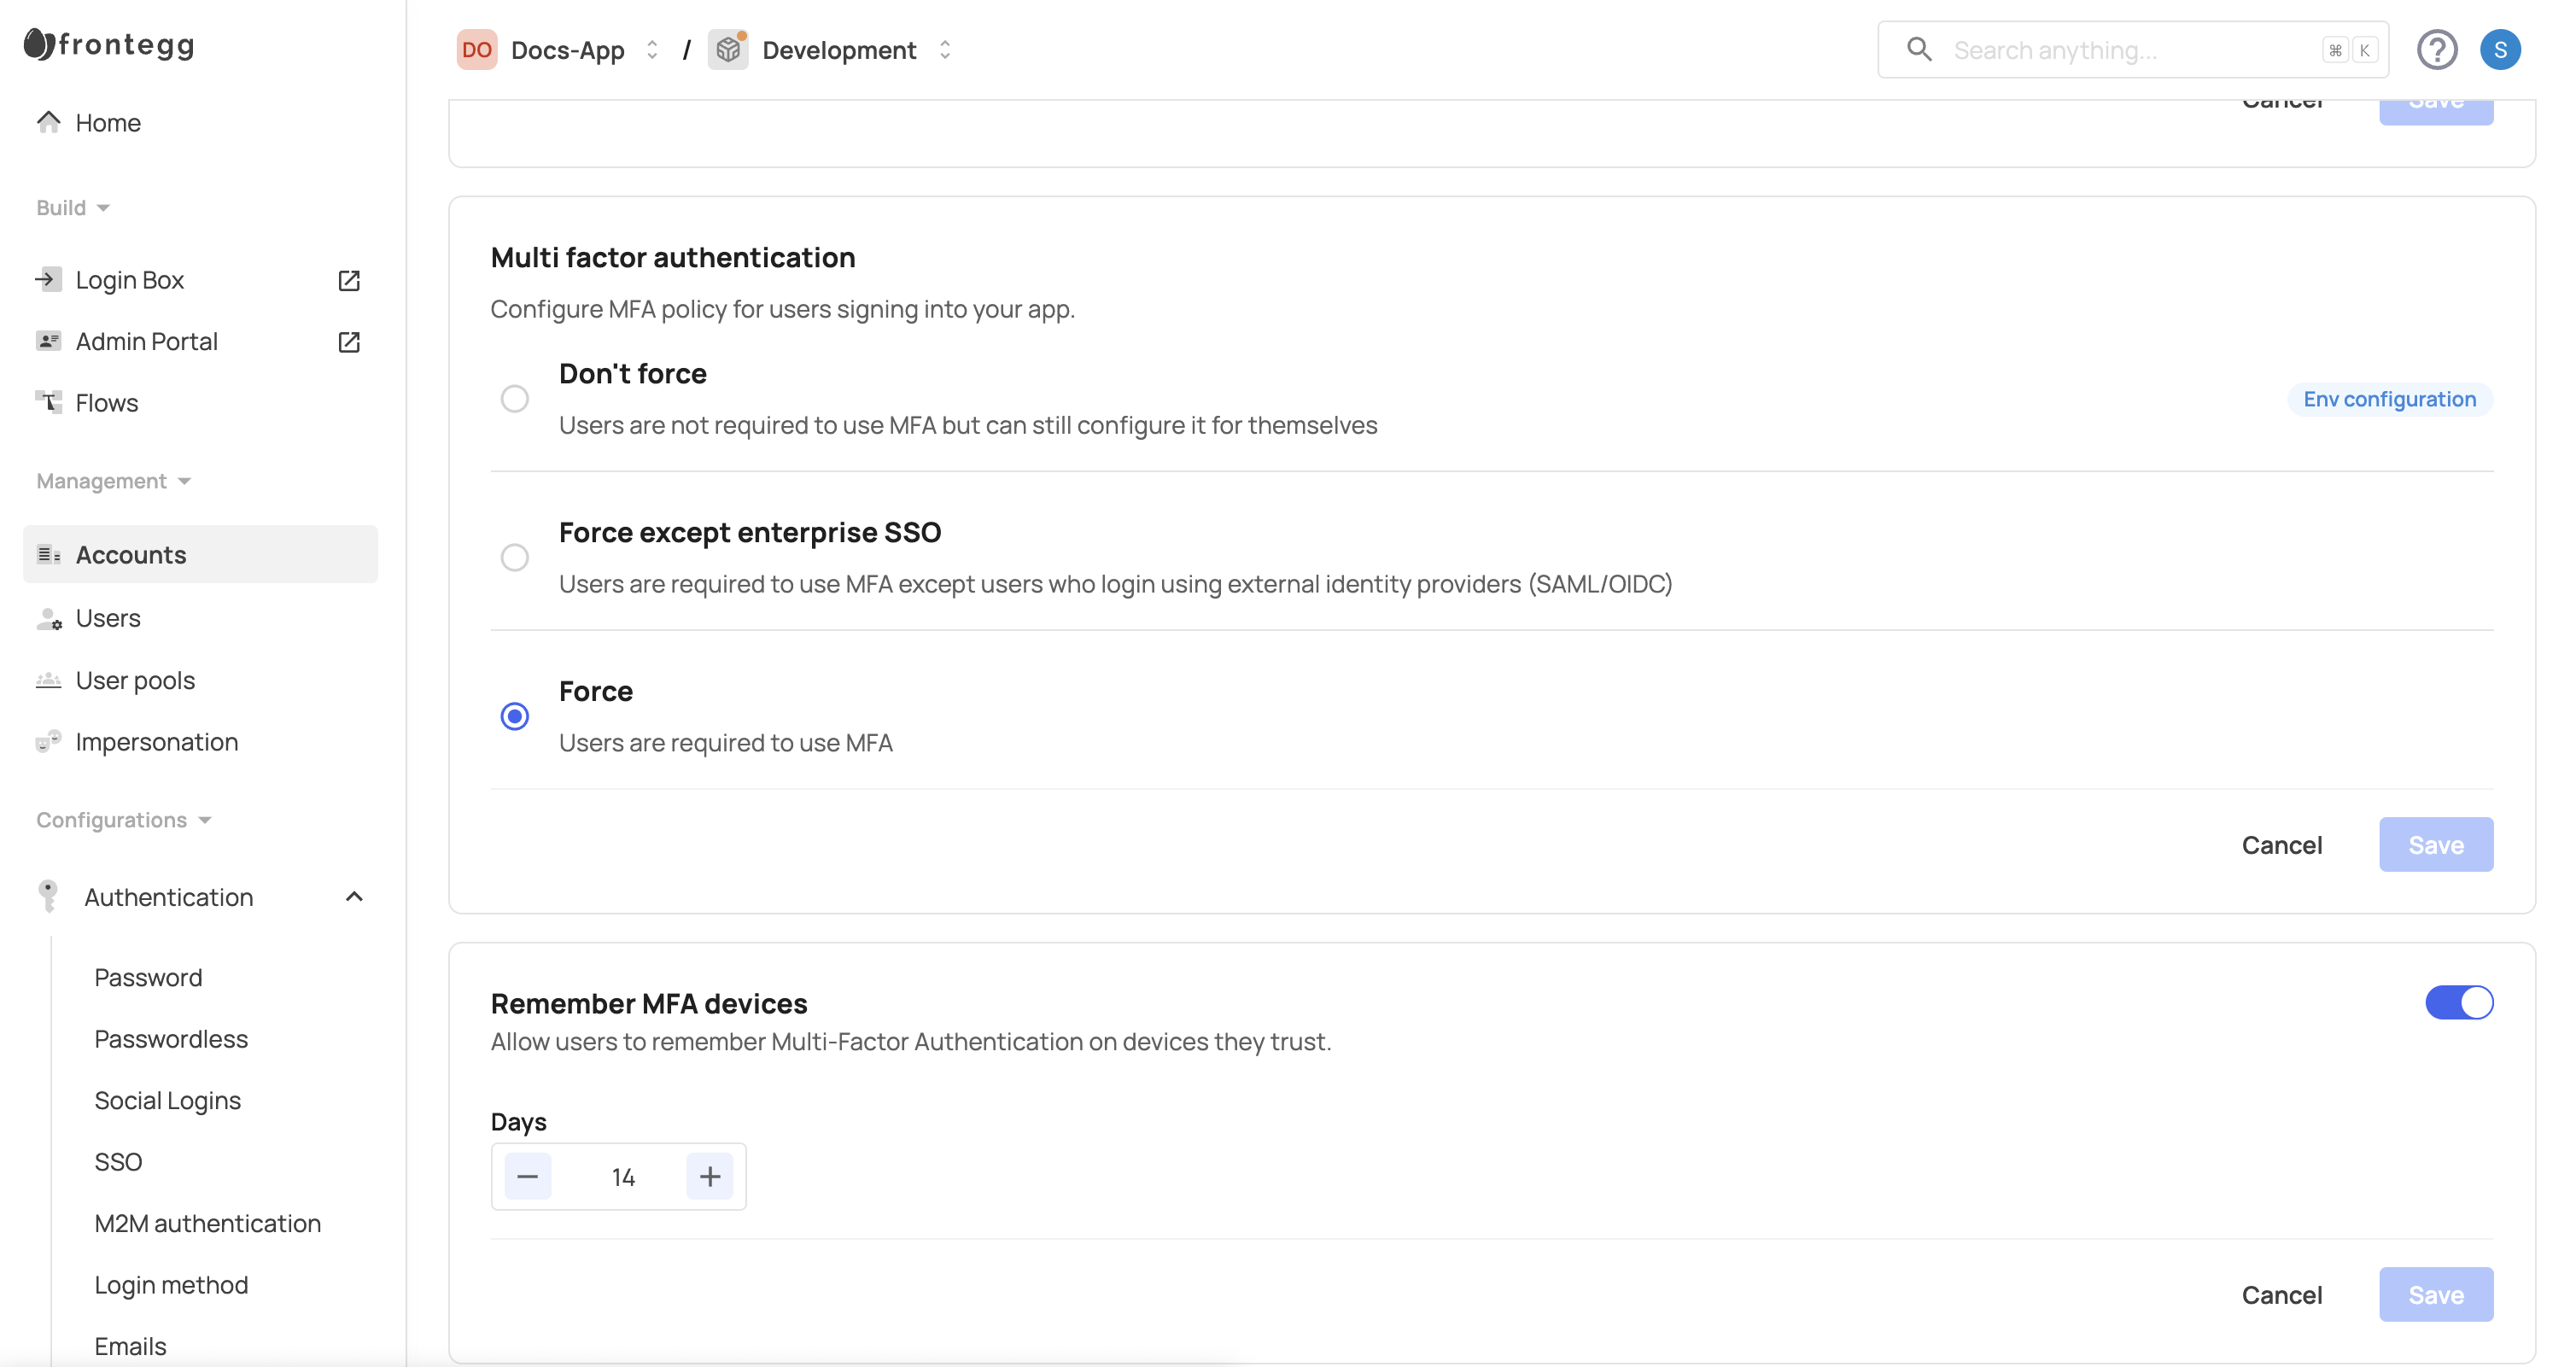
- Don’t force: MFA is optional. Users may choose to enable MFA in the self-service portal if this option is enabled.
- Force: All users must enable MFA upon account creation and cannot disable it.
- Force except enterprise SSO: All users must use MFA except those authenticating via enterprise SSO (SAML and OIDC) with external identity providers.
As a vendor, you set the initial MFA policy for your app, and this policy applies to all users. If you select the Force option, this requirement cannot be overridden by individual accounts within their self-service portal, nor can it be changed in the backoffice.
Configure MFA under [ENVIRONMENT] → Configurations → Security → MFA. If you have a single application, this is the only place you need to set your MFA policy and methods — no per-application steps apply.
You can further tailor MFA in two ways:
Per account: Customize MFA settings for individual accounts in the Frontegg portal (Management → Accounts → Security Policy tab) or in the self-service portal when the Security tab is enabled. Account admins with the appropriate permissions can enforce stricter MFA rules than the default you set. For more information, refer to the Managing Accounts guide.
Per application (multiple applications only): If you manage more than one application in the same environment, you can configure MFA separately for each application using the App overview or Configuration tab on the MFA page. See MFA per application.
Multi-account approach to MFA
Multi-account approach to MFA
If a user belongs to multiple accounts and only one enforces MFA, the user will be required to use MFA when signing into the application where that account's policy applies, as Frontegg applies the strictest rule per user within the same application.
| Scenario | Description | First Login | Subsequent Logins |
|---|---|---|---|
| MFA forced, with self-service portal | Users must set up MFA at first login and cannot disable it. They can configure additional MFA methods through the self-service portal. | Required to set up MFA. | Can choose from configured MFA methods. |
| MFA not forced, with self-service portal | Users can log in with a single authentication step but may opt to set up MFA. They can configure additional methods via the self-service portal. | Optional MFA setup. | Can choose from configured MFA methods if set up. |
| MFA forced, without self-service portal | Users must set up MFA at first login. No additional methods can be configured unless a custom UI or self-service portal is used. | Required to set up MFA. | Limited to the single MFA method initially configured. |
| MFA not forced, without self-service portal | Users log in with just their primary authentication method. MFA setup is unavailable without the self-service portal or custom UI. | No MFA setup required. | Limited to the single MFA method initially configured, if any. |
To set or update the MFA policy, follow these steps:
- Open the Frontegg portal.
- Navigate to [ENVIRONMENT] → Configurations → Security → MFA.
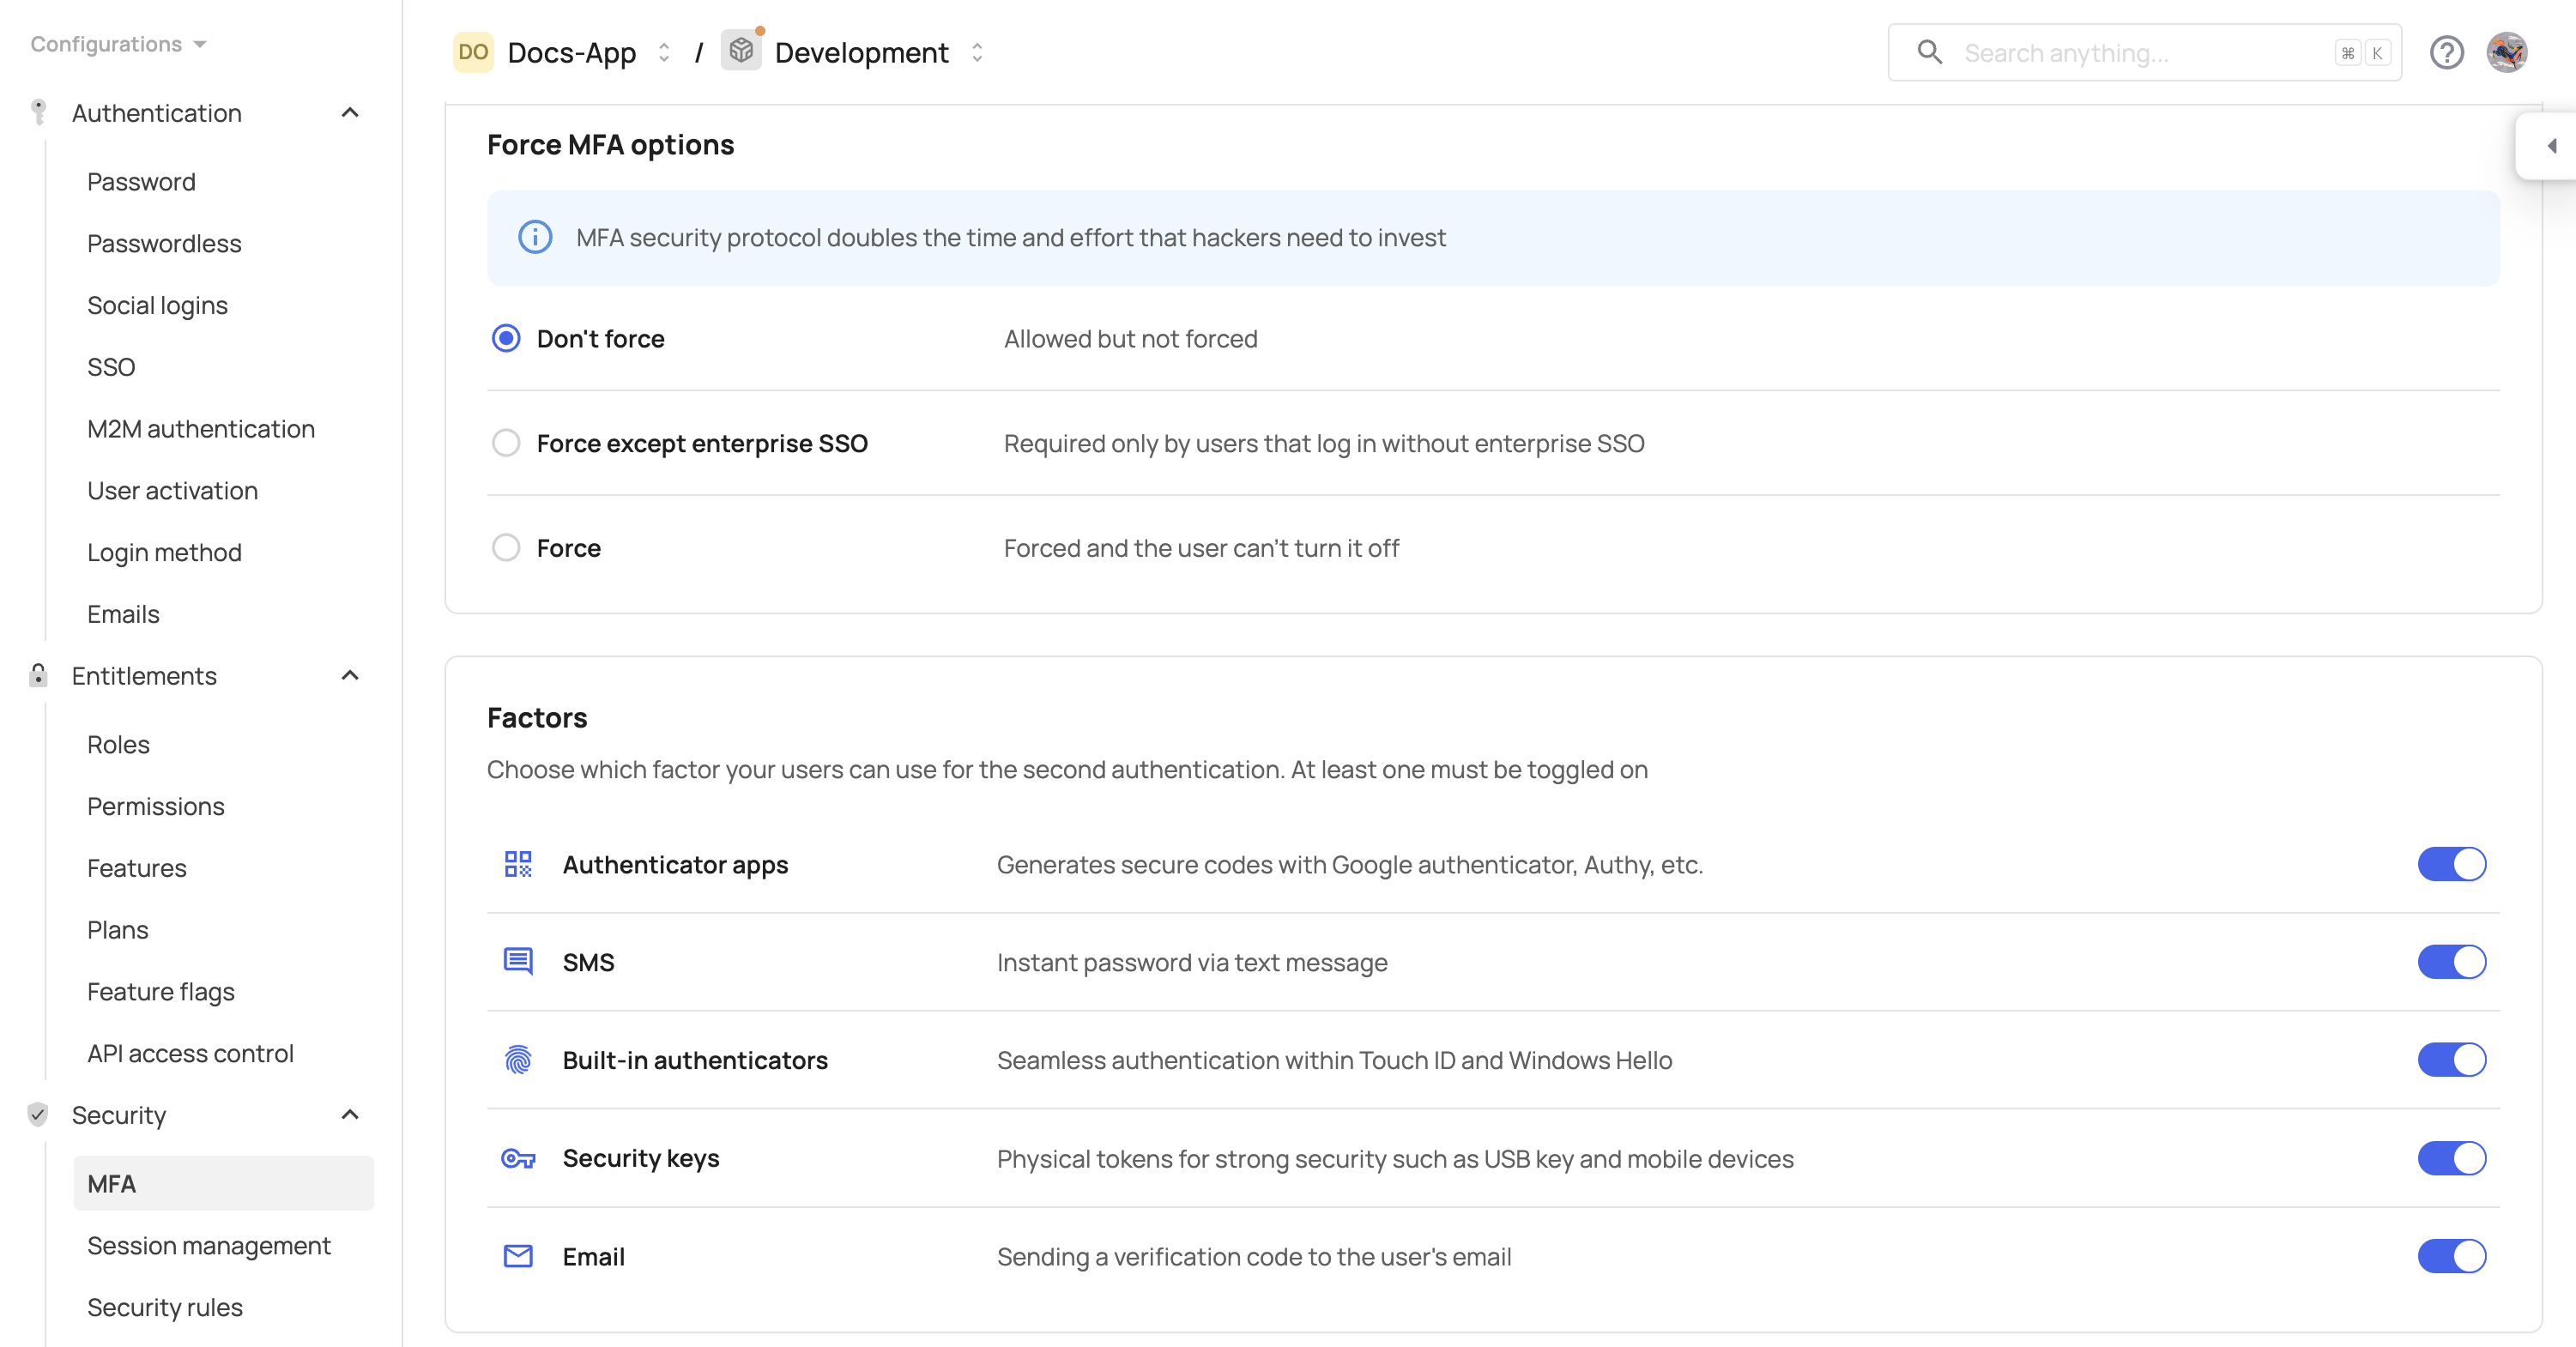
- Select a policy: Force, Don’t Force, or Force Except Enterprise SSO and then click Save.
Please note that this sets the MFA policy for your application. To customize MFA per account, refer to Setting MFA policy for specific accounts. If you manage multiple applications, see MFA per application.
Frontegg offers 5 types of MFA methods: authenticator apps, SMS, built-in authenticators, security keys, and email. Note that to set a built-in authenticator method, your users must first set one of the other methods before setting the built-in option (see note).
- Open the Frontegg portal.
- Navigate to [ENVIRONMENT] → Configurations → Security → MFA.
- Enable the desired MFA methods for users: Authenticator Apps, SMS, Security Keys (WebAuthn), Built-in Authenticators (WebAuthn) and then click Save.
If you manage multiple applications, open the Configuration tab and select the application from the Application dropdown before saving. To review all applications at a glance, use the App overview tab. See MFA per application.
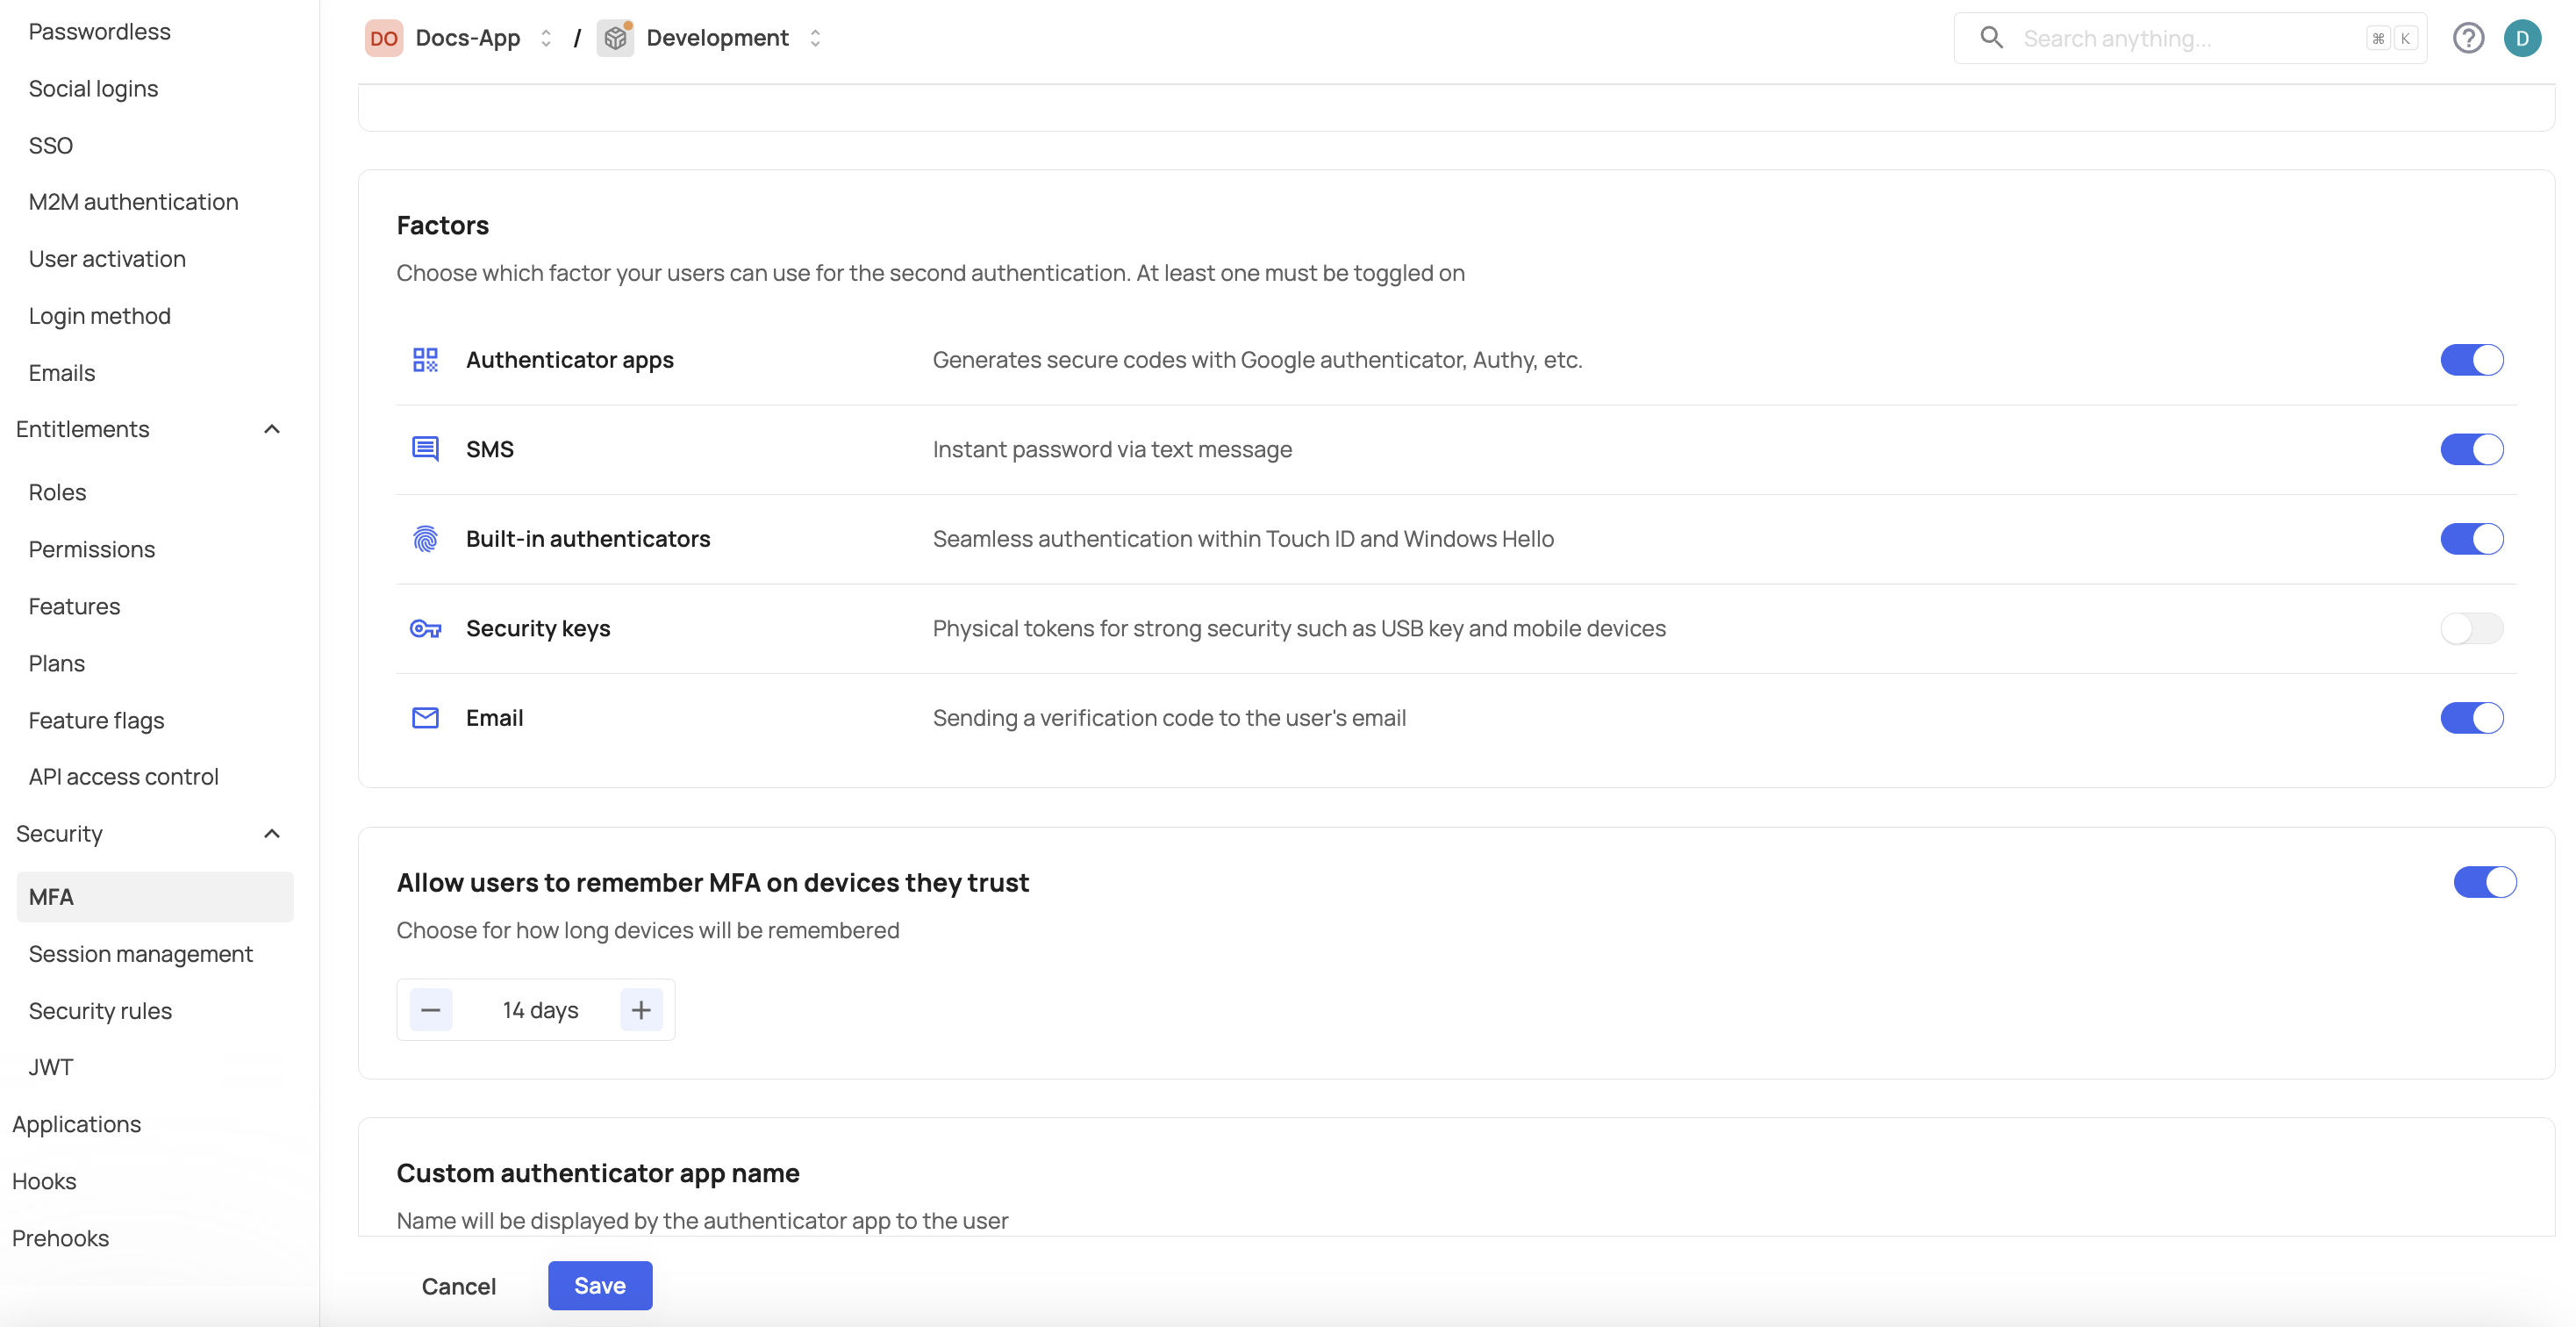
Here's a bit about how each of them works:
Authenticator apps - Users can implement MFA with any of the standard authenticator apps on the market like Google Authenticator, Authy, LastPass Authenticator, MS Authenticator, Duo, etc. During enrollment, they can scan a QR code or set up manually by copying the key — useful when the authenticator app is on the same device. They will need to open their authenticator app on their phone, find the relevant 6-digit code, and enter it in your login.
SMS - Users can choose to use SMS as their second factor of authentication. This method involves getting an SMS with a code, and entering the code to authenticate.
Built-in authenticators (WebAuthn) - As the name suggests, these authentication methods are built-in to the same device you're using to access an app and usually use biometrics. Touch ID and Windows Hello are examples of built-in authenticators. Note that because WebAuthn methods are usually domain-specific, using them requires the configuration of a custom domain.
Security keys (WebAuthn) - Security keys, or cross-platform authenticators, are devices that can be used for authentication on-the-go. Common examples of security keys are Yubikeys or mobile devices.
Email MFA For users who may not have access to other forms of MFA, such as mobile apps or authenticator apps, etc., email MFA provides a convenient alternative that is easy to use and widely accessible. Users will be able to choose email code verification as part of their login process, and that password will be sent to their verified email address.
Prerequisites
Prerequisites
MFA with email in embedded self-service is available for these versions:
@frontegg/react@7.2.2
@frontegg/angular@7.8.2
@frontegg/vue@4.2.2
@frontegg/nextjs@9.2.0
@frontegg/js@7.38.0
For stricter MFA control, you can manage the MFA policy for each account separately. To apply this, do the following:
- Open the Frontegg portal.
- Navigate to [ENVIRONMENT] → Management → Accounts.
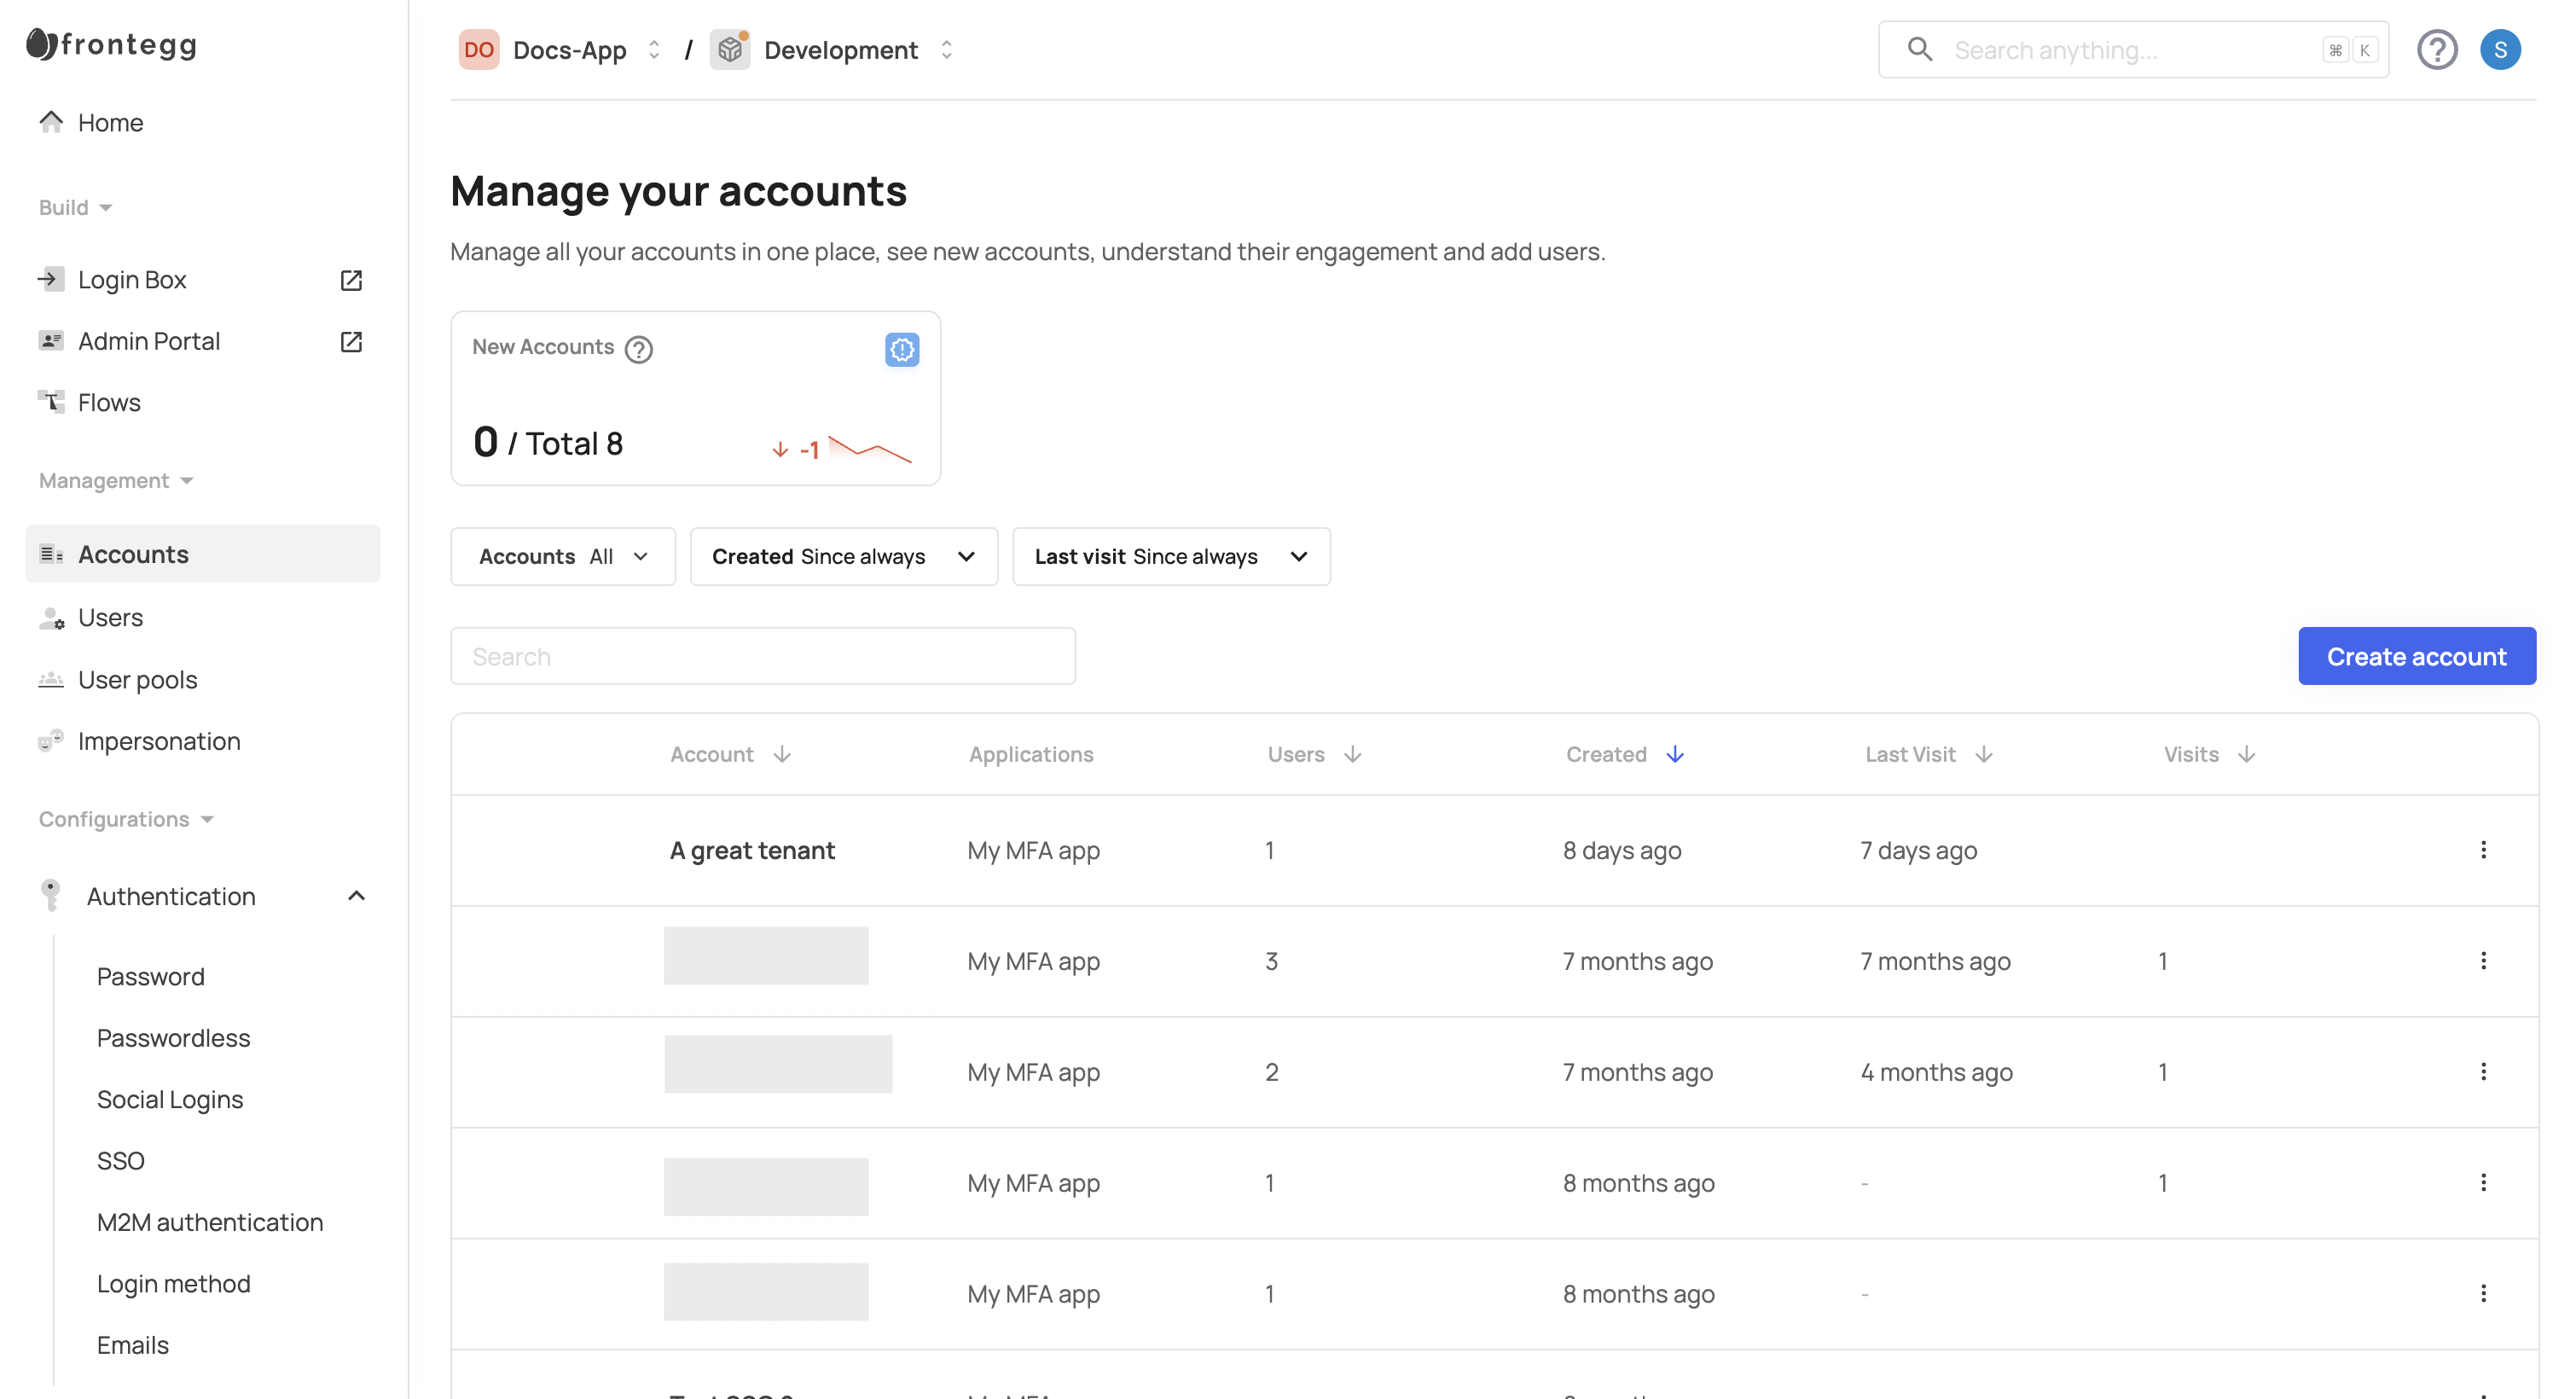
- Choose the desired account and click on it.
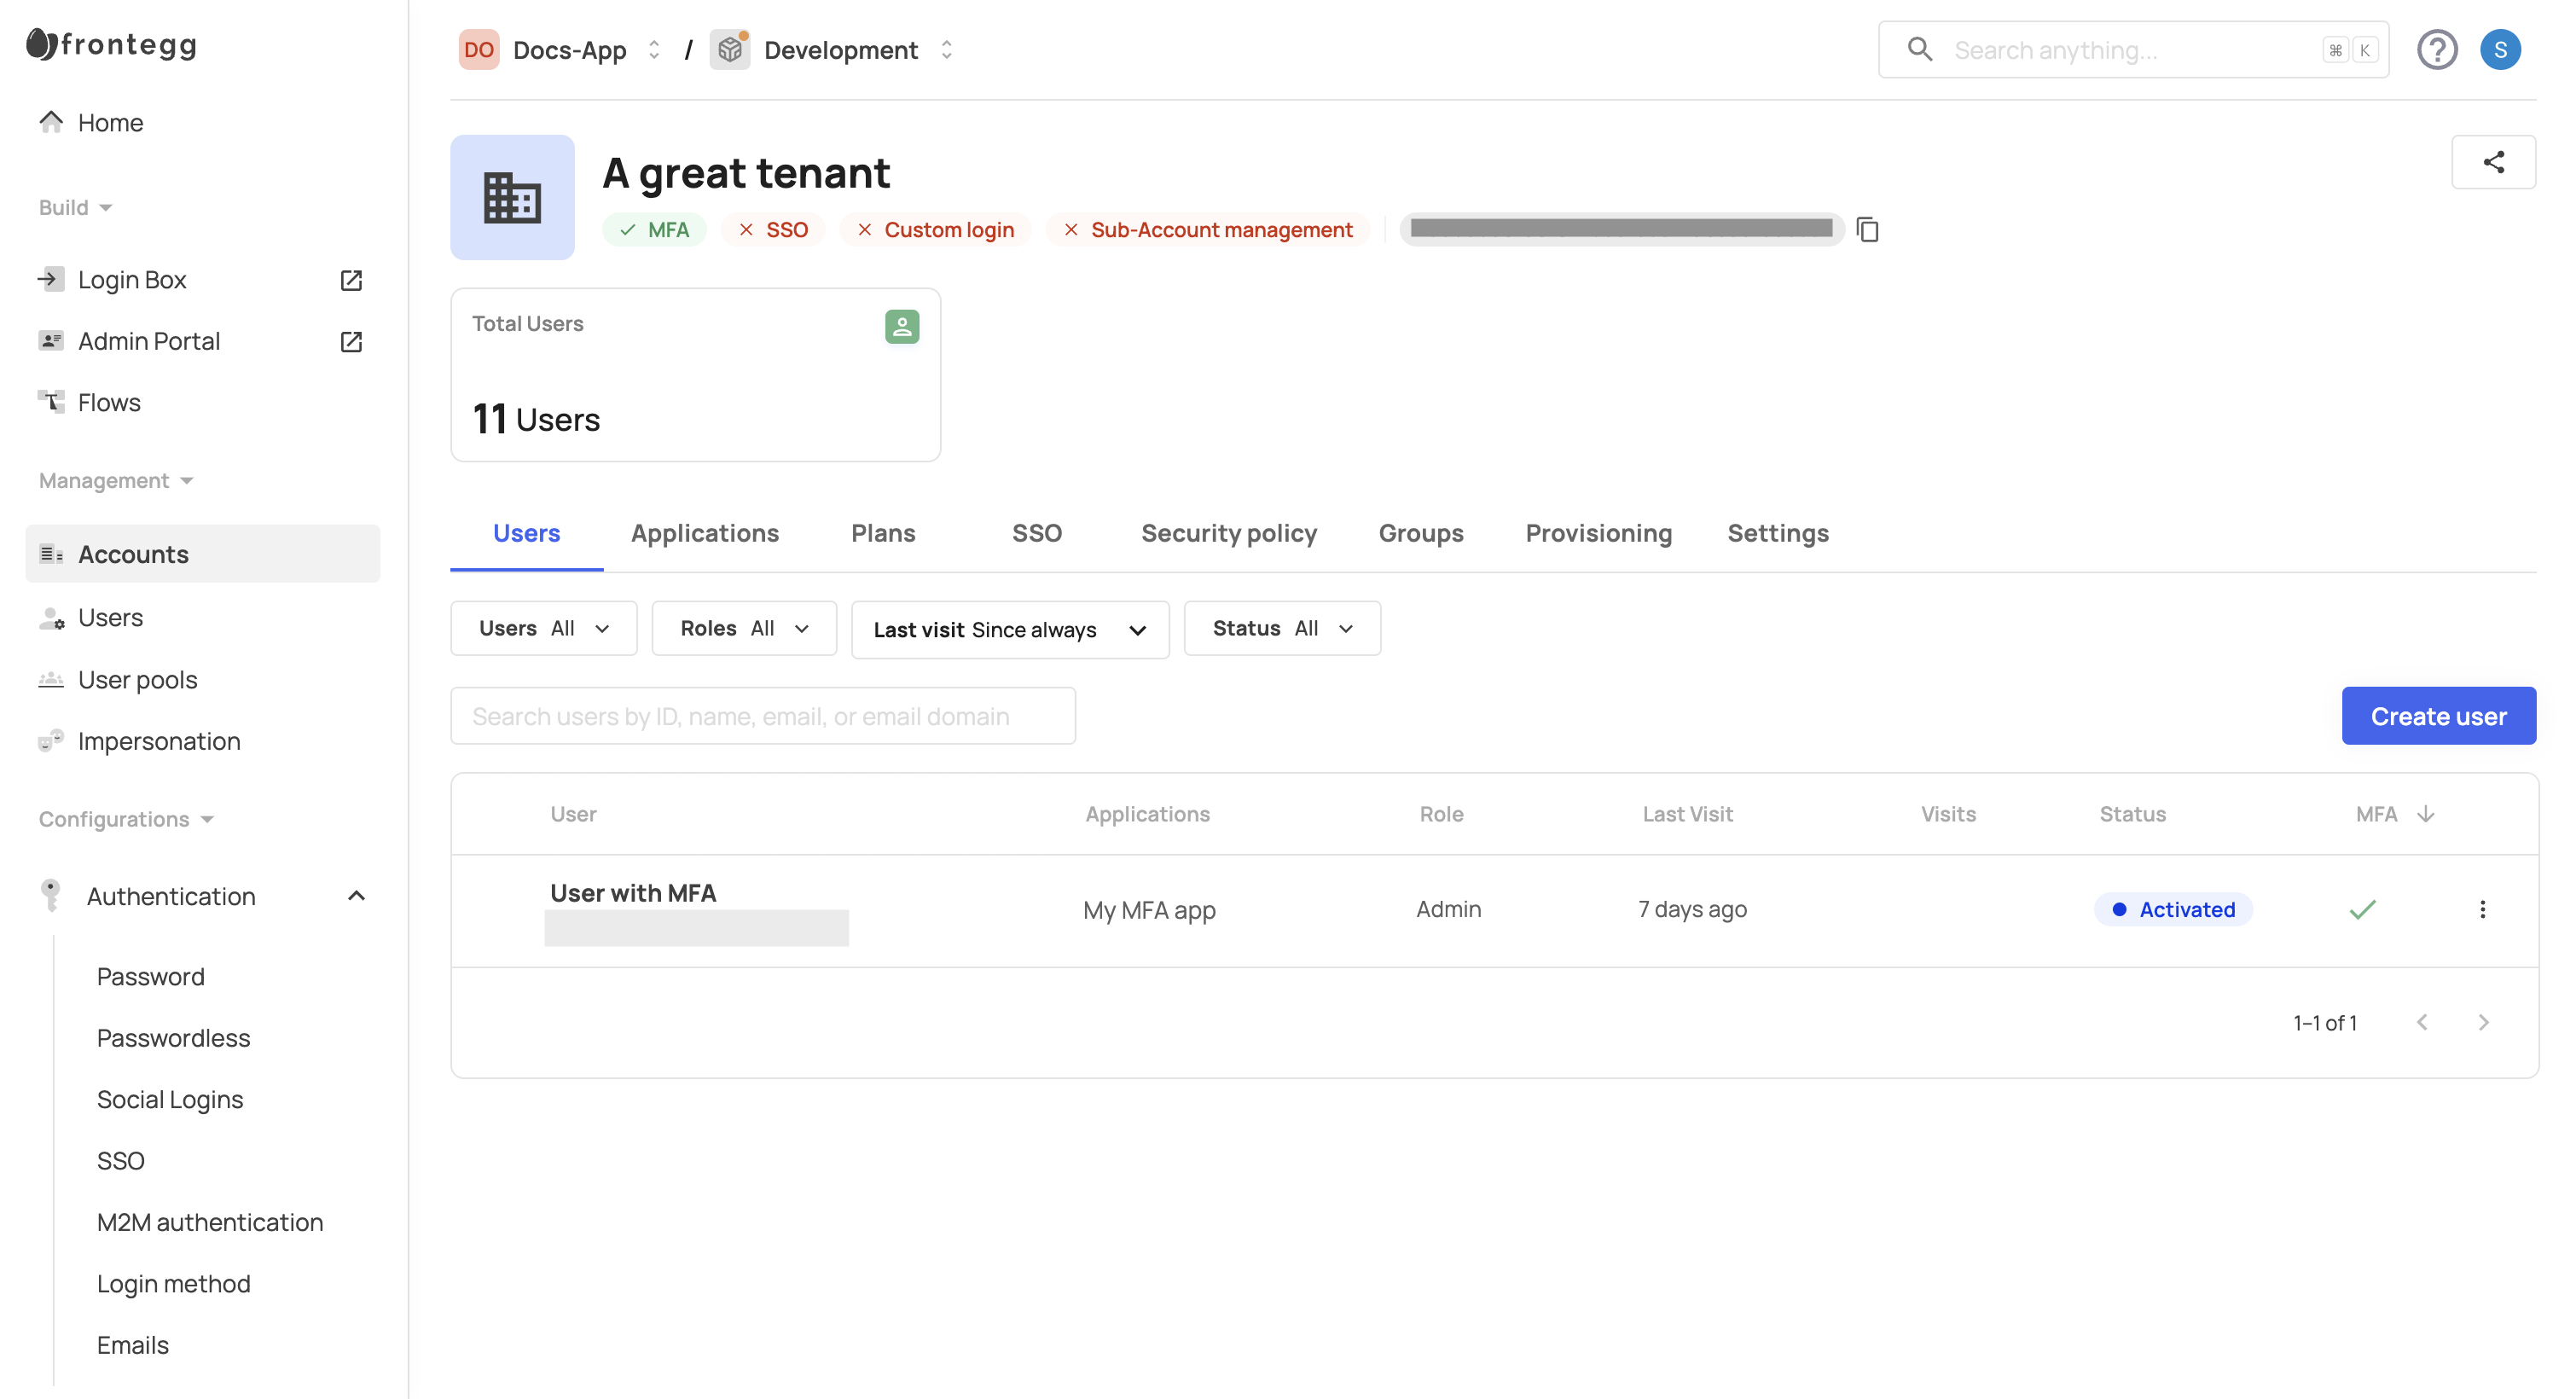
- Select the Security Policy tab from the menu.
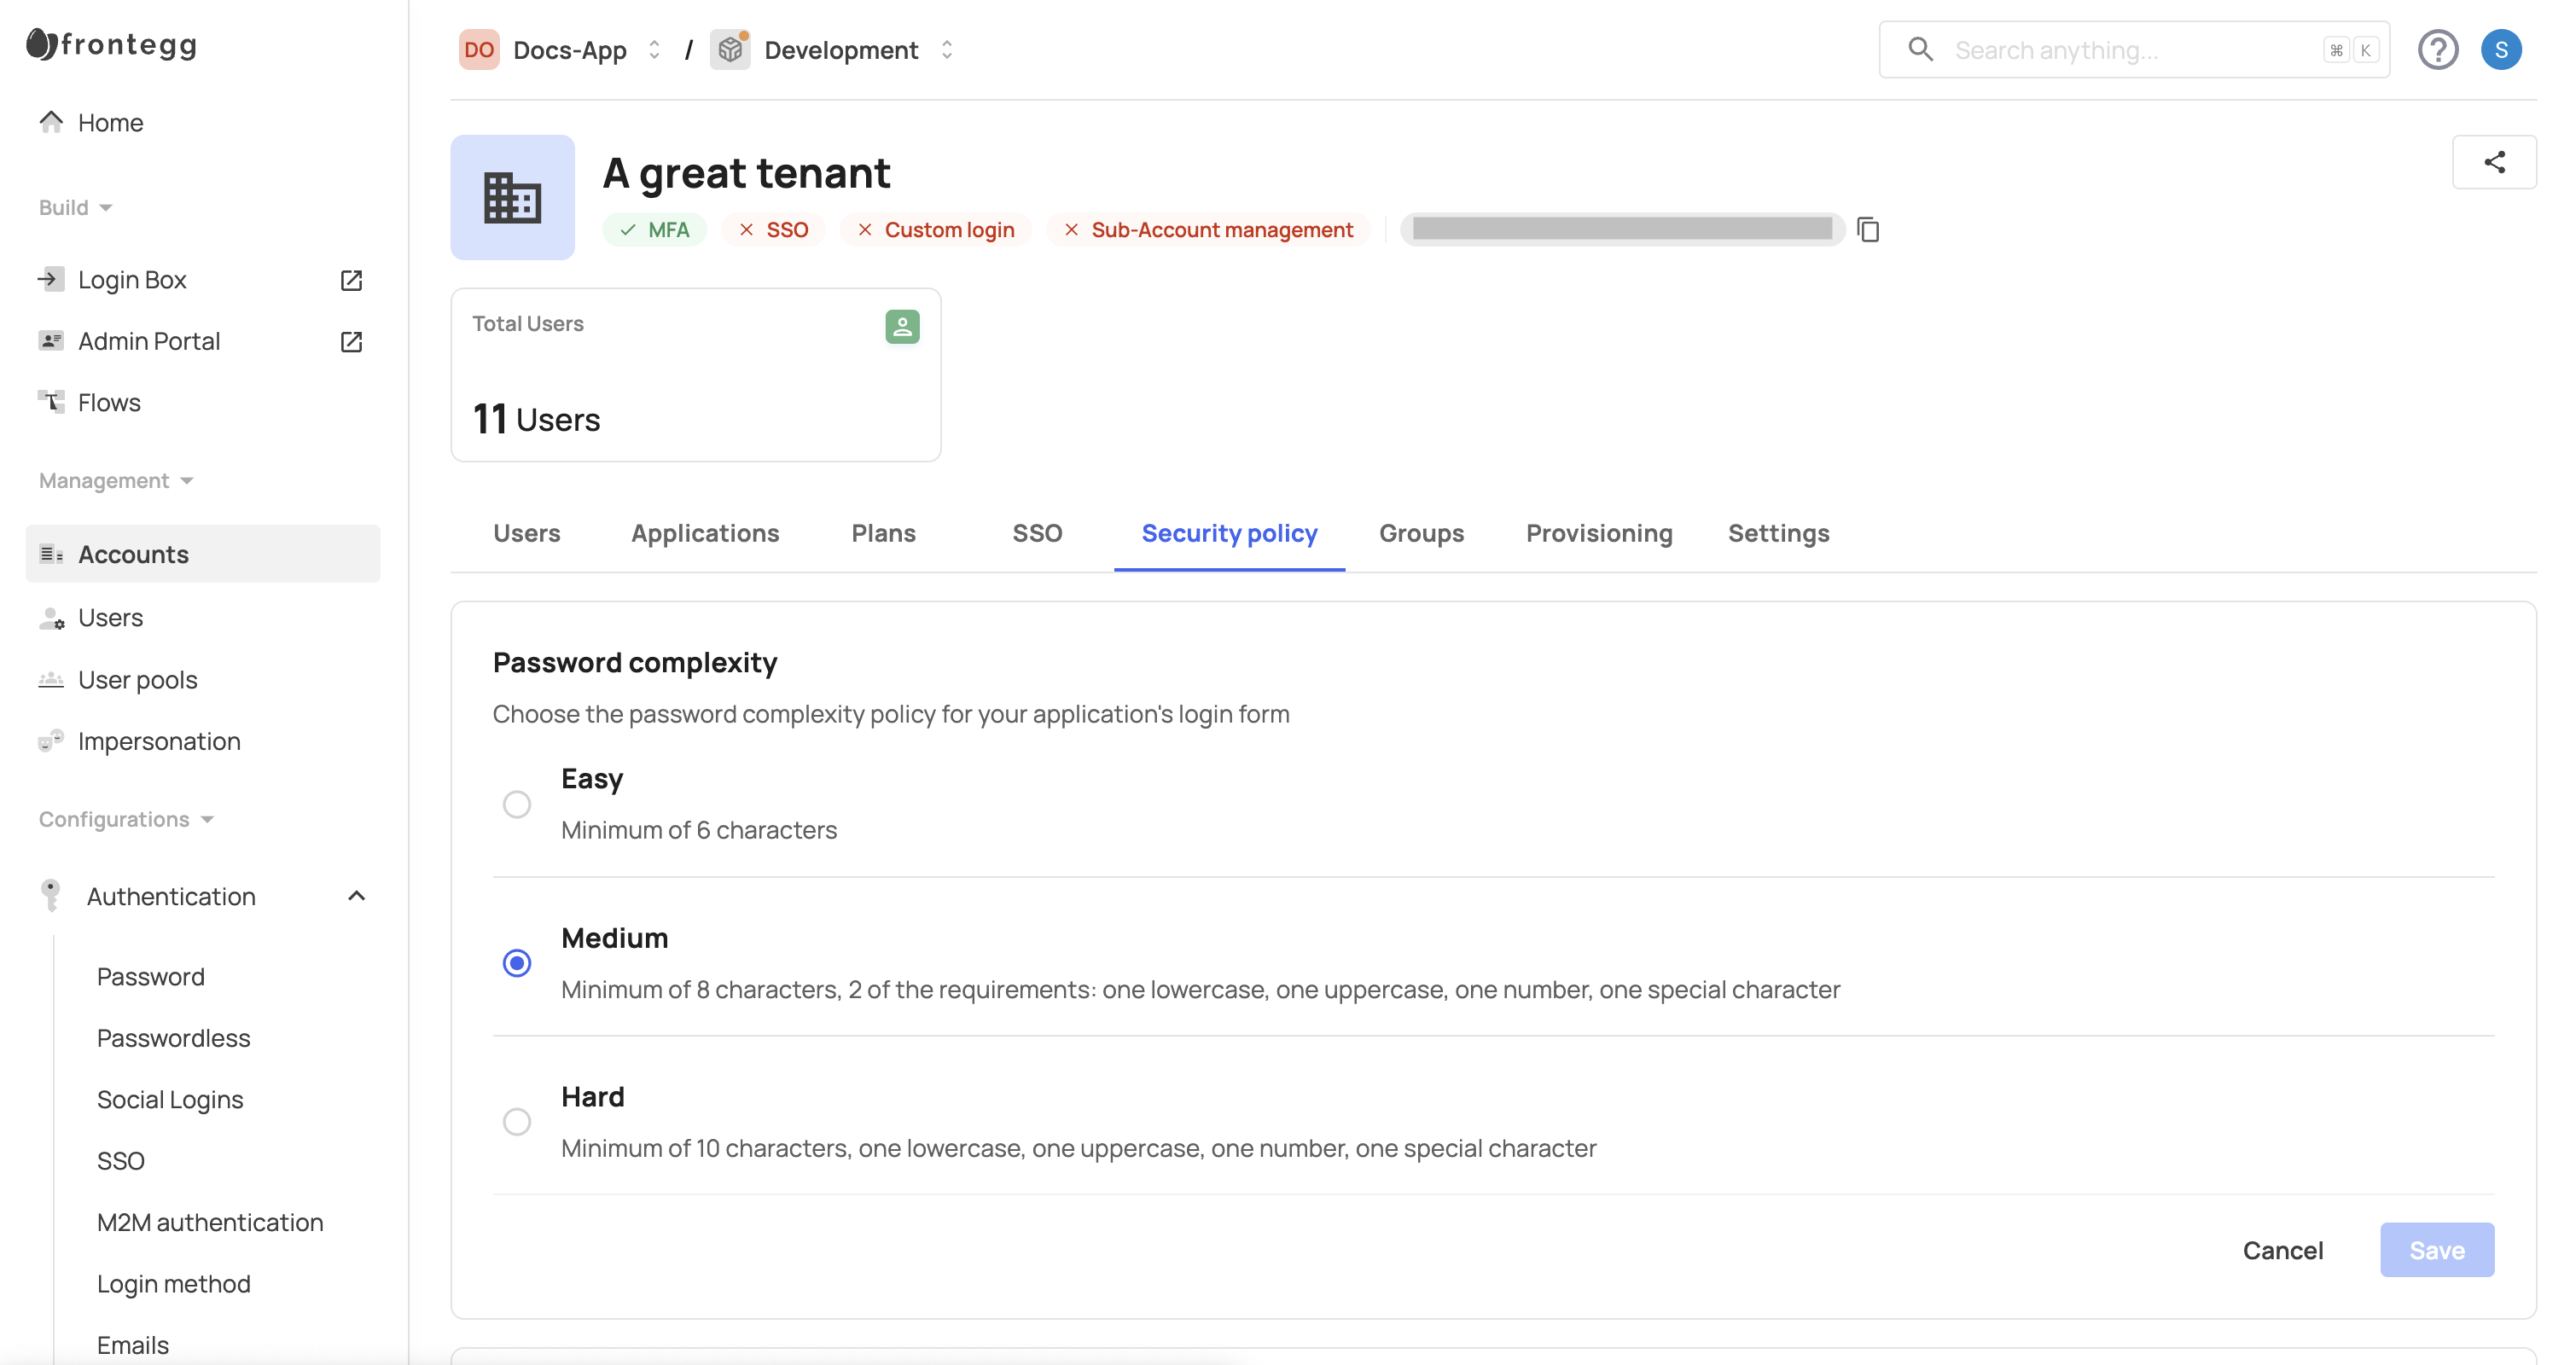
If the account has multiple applications assigned, select the application from the Application dropdown. With a single application, this step is not required.
Set the MFA policy according to your needs and click Save.
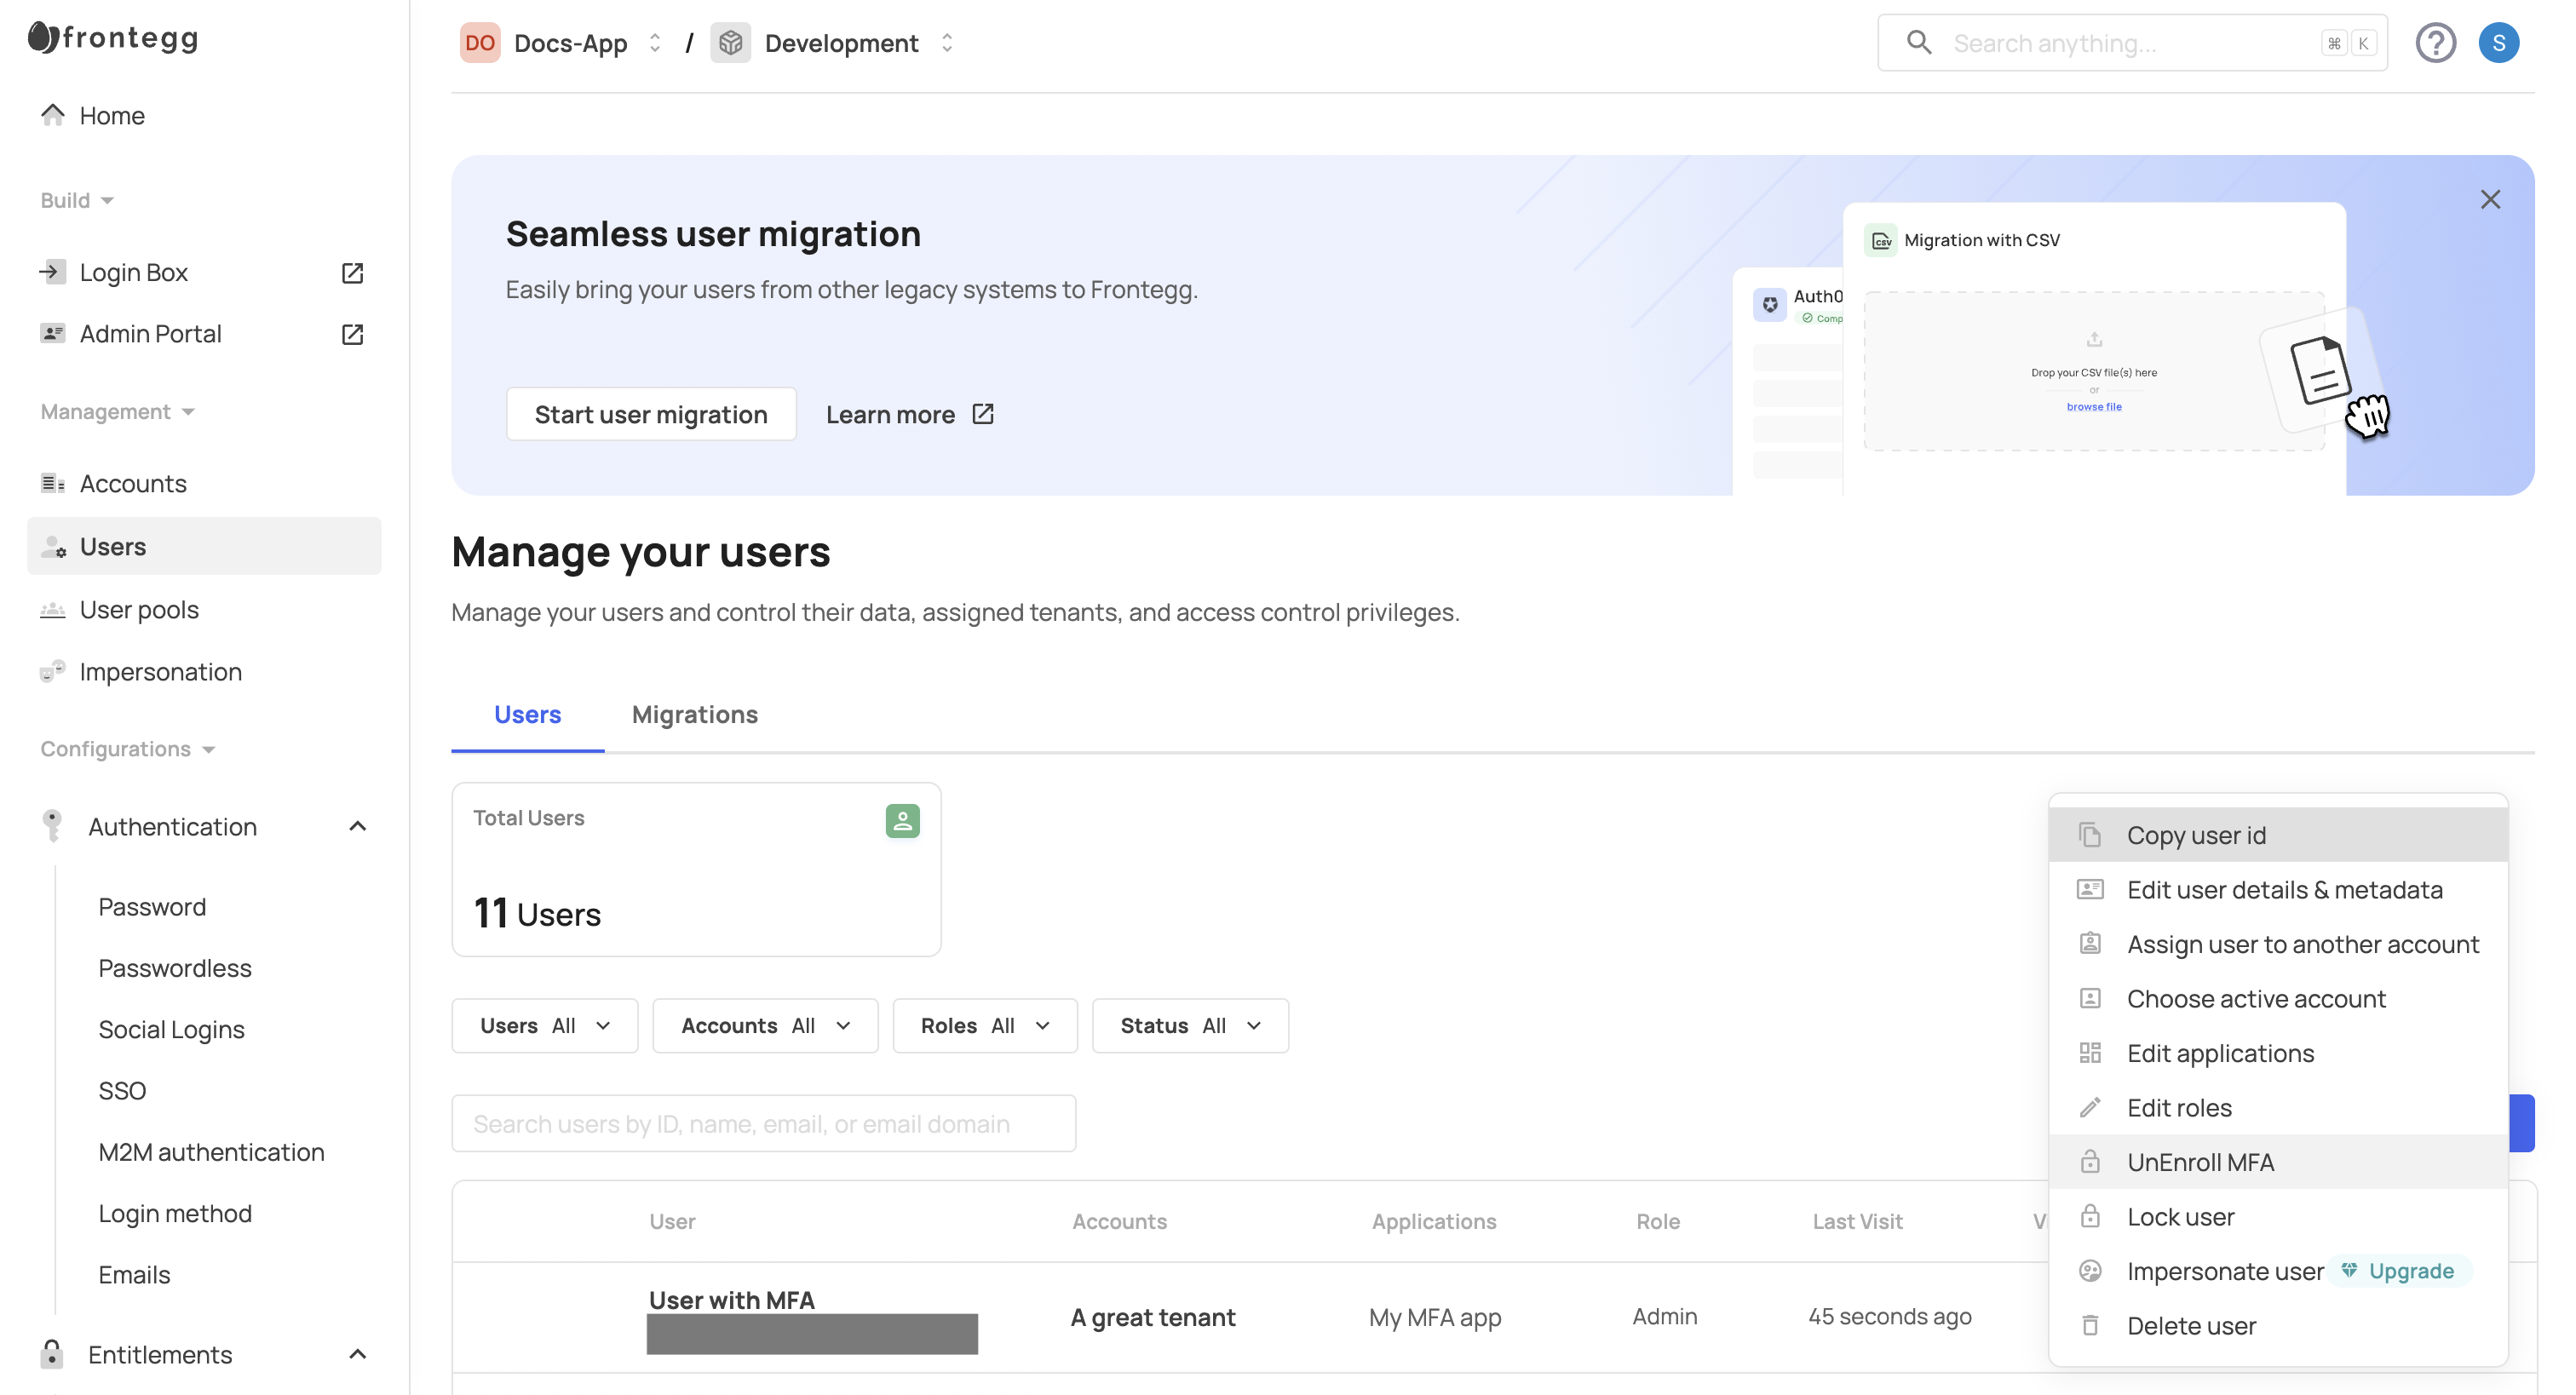
When users set up MFA, they receive a recovery code to temporarily bypass MFA if needed. If they forget the code or cannot pass MFA, you can unenroll them from MFA in the [ENVIRONMENT] → Management → Users tab in the Frontegg portal.
Frontegg can remember and pre-select a user's most recently used MFA method on subsequent logins. Users with multiple enrolled methods no longer need to manually select a method on every login.
Enable this behavior with the rememberLastMfaFactor field:
- Embedded integrations — configure it in the
themeOptionsobject. See Advanced customization. - Hosted integrations — configure it in
metadataOverridesthrough the Frontegg API. See Advanced customization.
Imagine needing to go through two steps of authentication every time you log in. That would be frustrating, right?
While MFA significantly increases security, you also want to keep the user experience frictionless. Adaptive MFA bridges this gap by only requiring MFA when a login attempt appears risky. How do we determine if a login or signup is risky? Through a series of security engines that monitor authentication requests for suspicious activity.
- A user logs in with their usual login method (password, passwordless, etc.), and their credentials are correct.
- The system checks the login attempt for potential threats such as bots, impossible travel, new device, breached password, and more.
- If the login isn’t risky, the user continues into the app; if enrolled in MFA, they pass through it first.
- If the login is risky, the system enforces the strictest action based on security settings.
In short, when a user is enrolled in MFA and chooses to remember a device, they won't have to go through MFA on that device for subsequent logins in the same application. Remembered devices do not carry over to other applications. However, if the login is risky, MFA will be triggered (unless a stricter action, such as blocking the login or locking the user, is selected).
If a login attempt is recognized as risky and the user isn't enrolled in MFA, a one-time code is sent to the user’s email for verification. Once completed, they’re allowed into the app.
If a passwordless method (like a magic link or one-time code) is used for the first factor and the user isn’t enrolled in MFA, the user will be blocked from logging in to prevent using the same method for both authentication factors.
You can use Frontegg Security Rules to customize your app's response to various threats. For example, you might allow logins from new devices but block those from suspected bots.
For details on configuring these rules, visit Security Rules.