User account admins can control access to login and signup by specifying which IP addresses, domains, or countries are permitted or blocked.
After embedding the self-service portal, your users can enable an allowlist to permit only specific IPs or a denylist to block certain IPs while allowing all others. Account admins can also configure country allowlists or denylists for sign-up and login access.
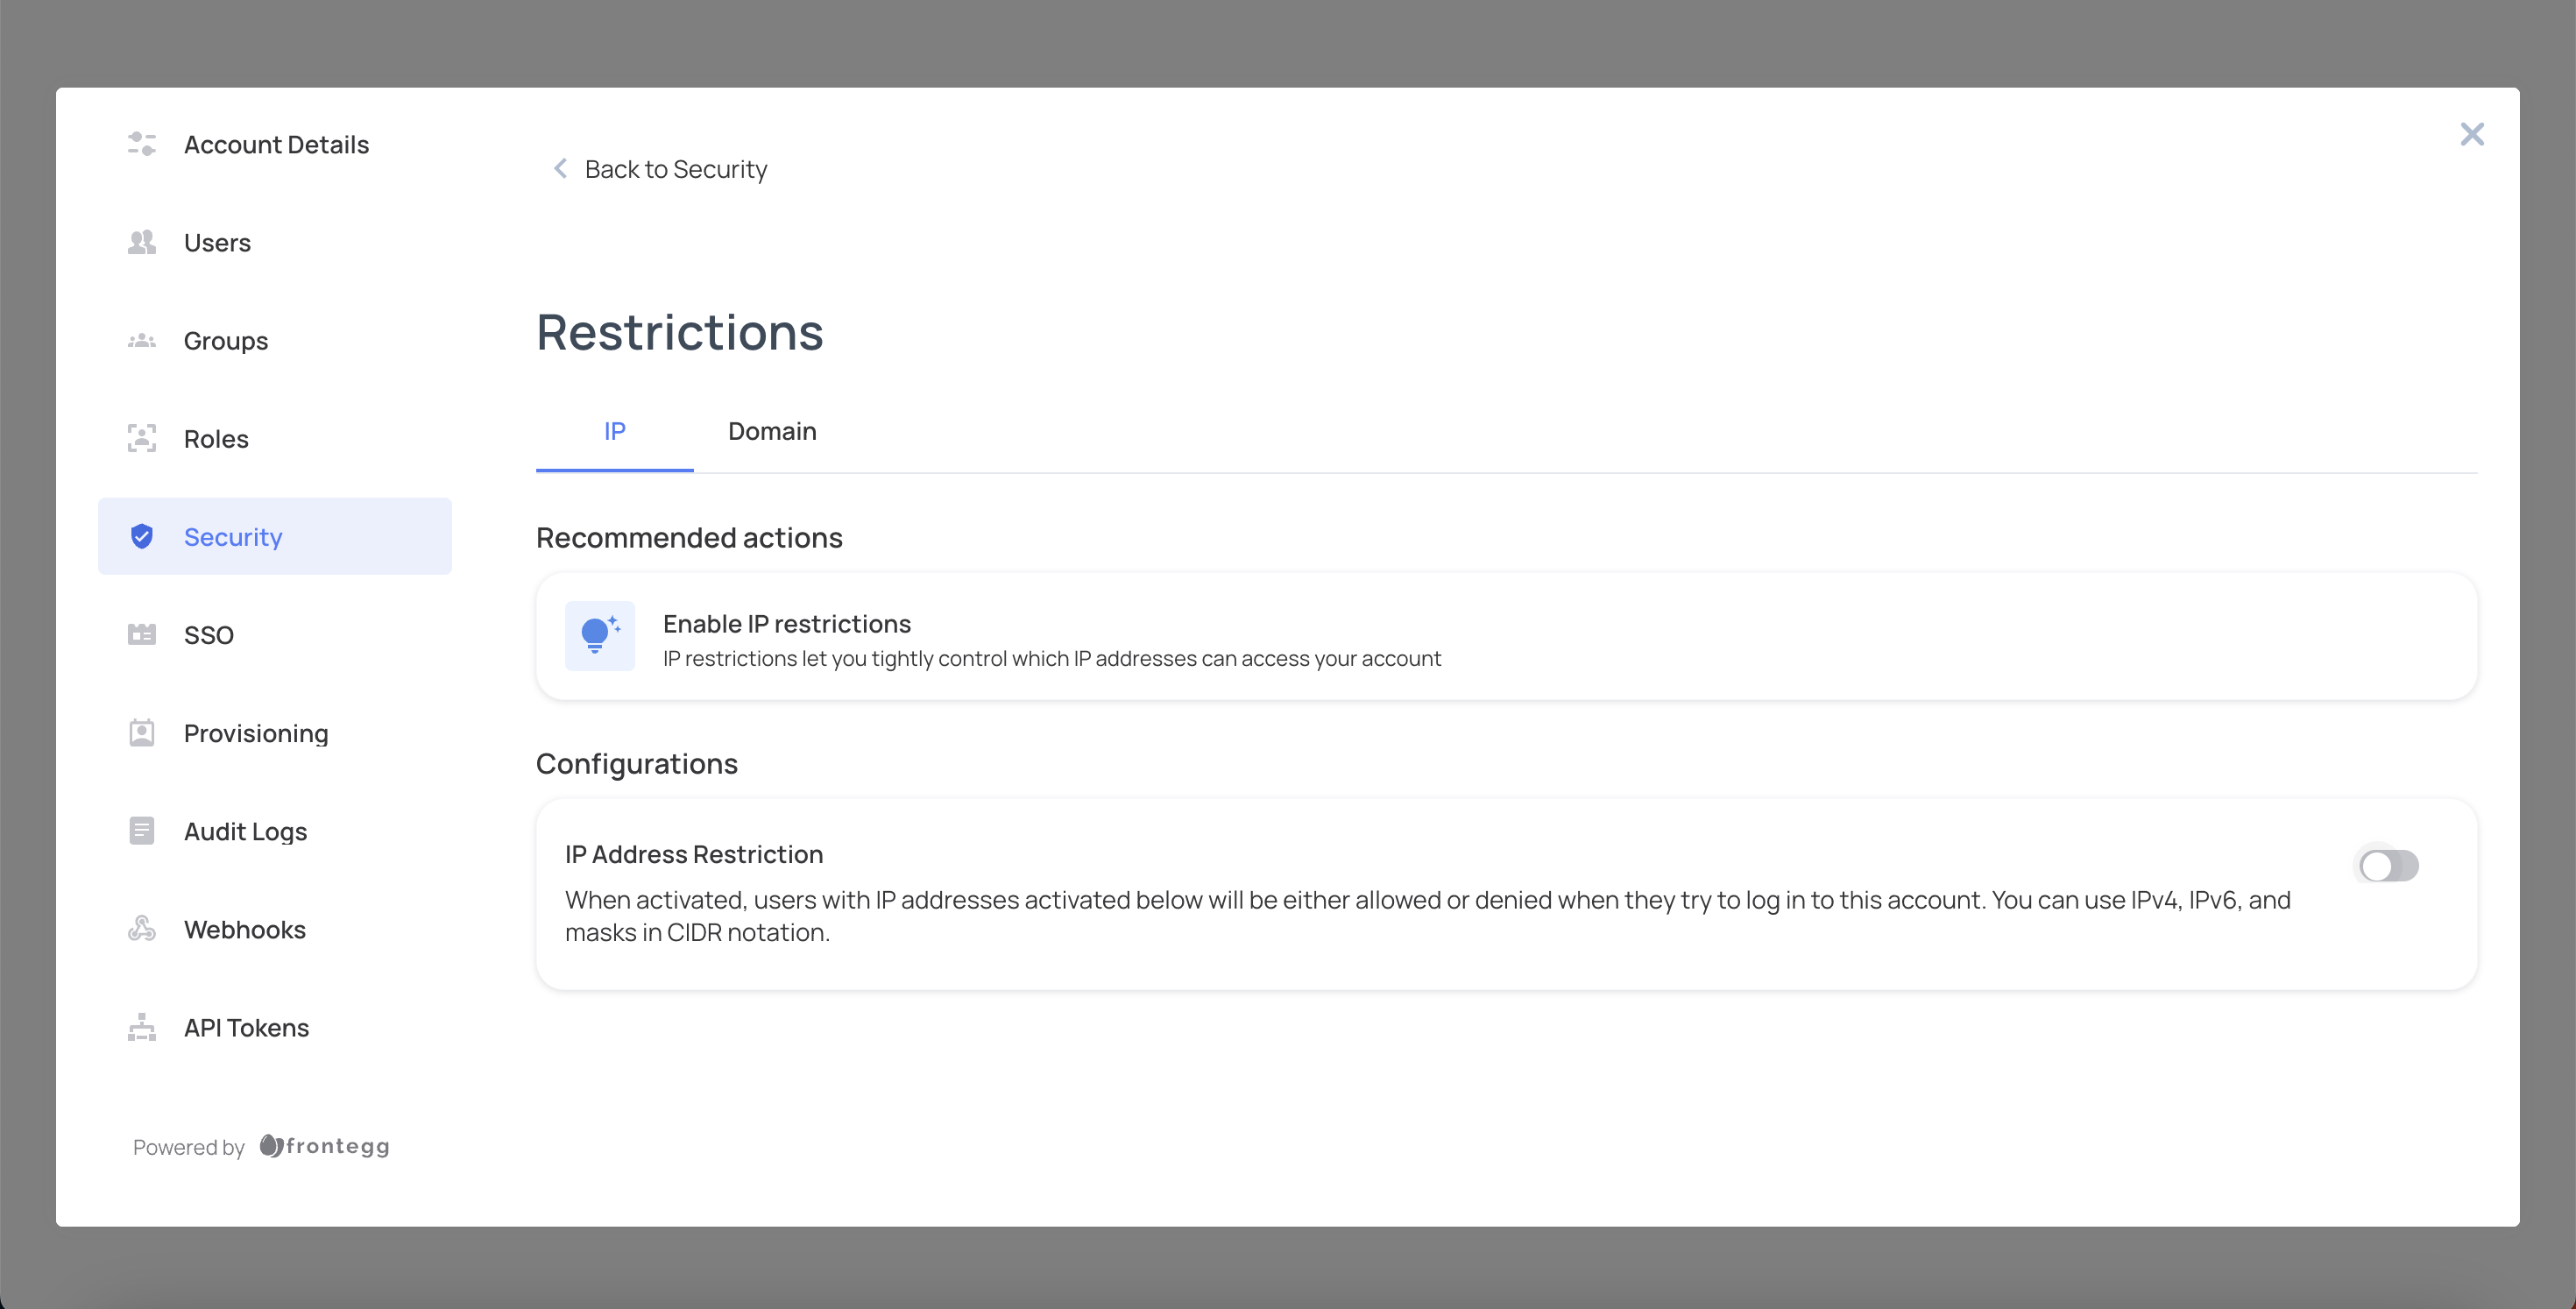
You can restrict access to your application based on IP addresses. IP restrictions apply to sign-up and logging in, meaning users accessing from a blocked IP will be denied access.
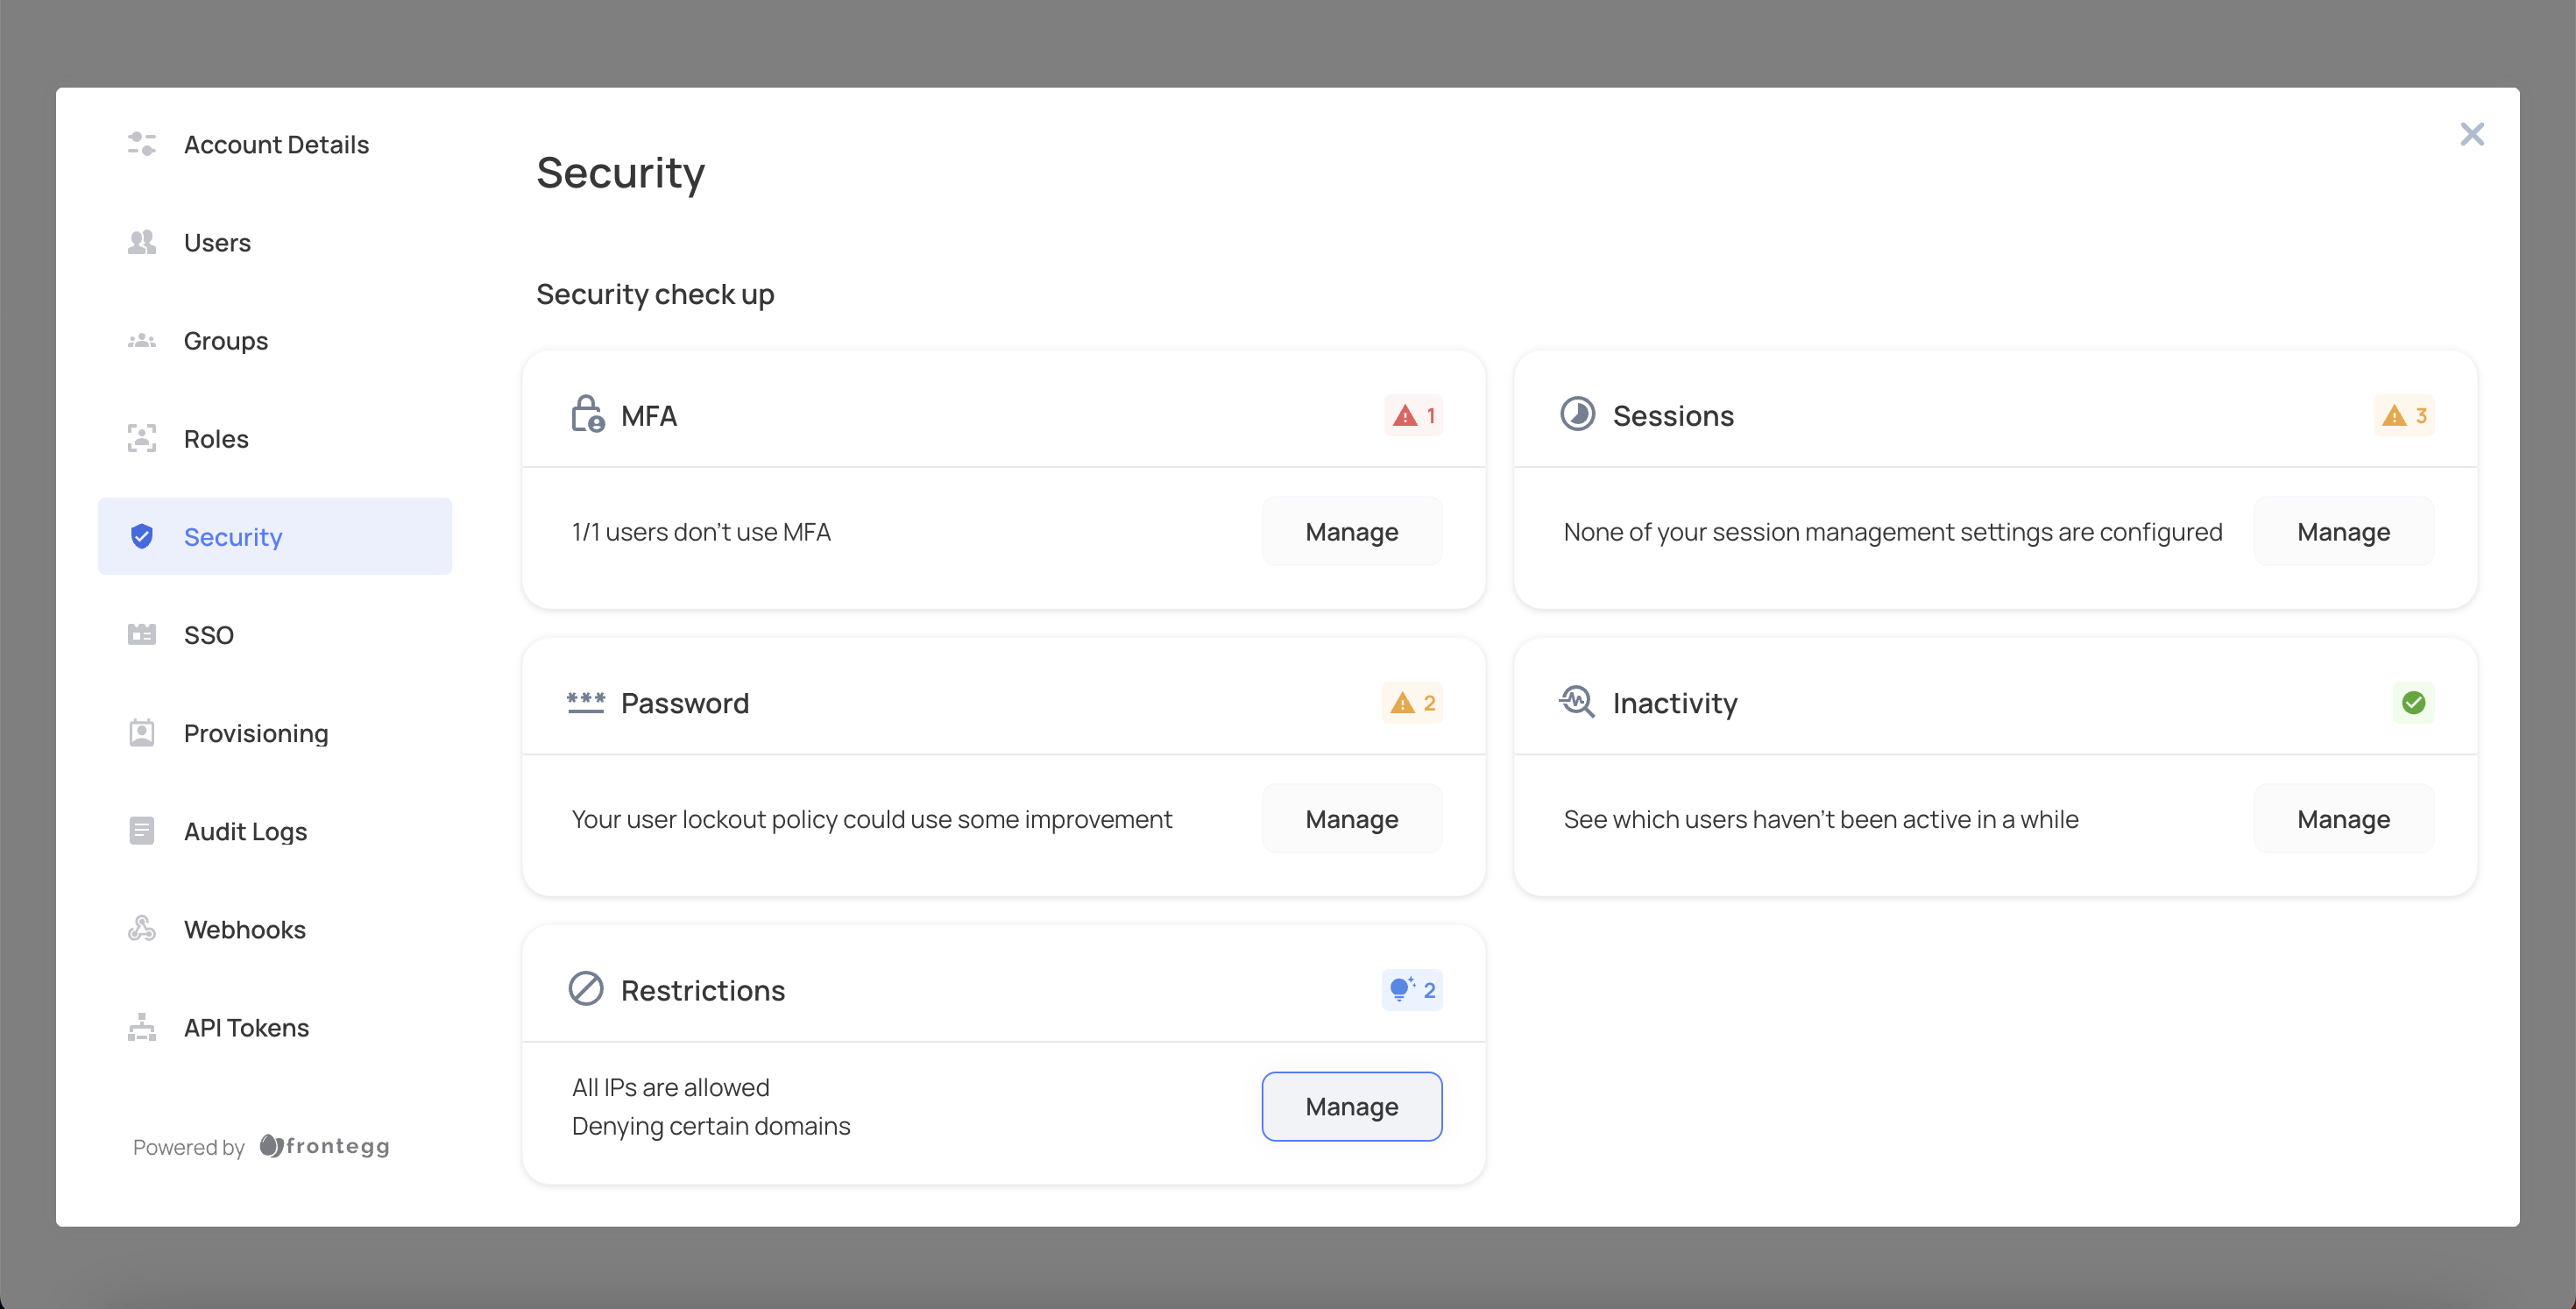
Log in to your application and in the Admin Portal navigate to the Security tab.
Scroll down to the Restriction section and click Manage.
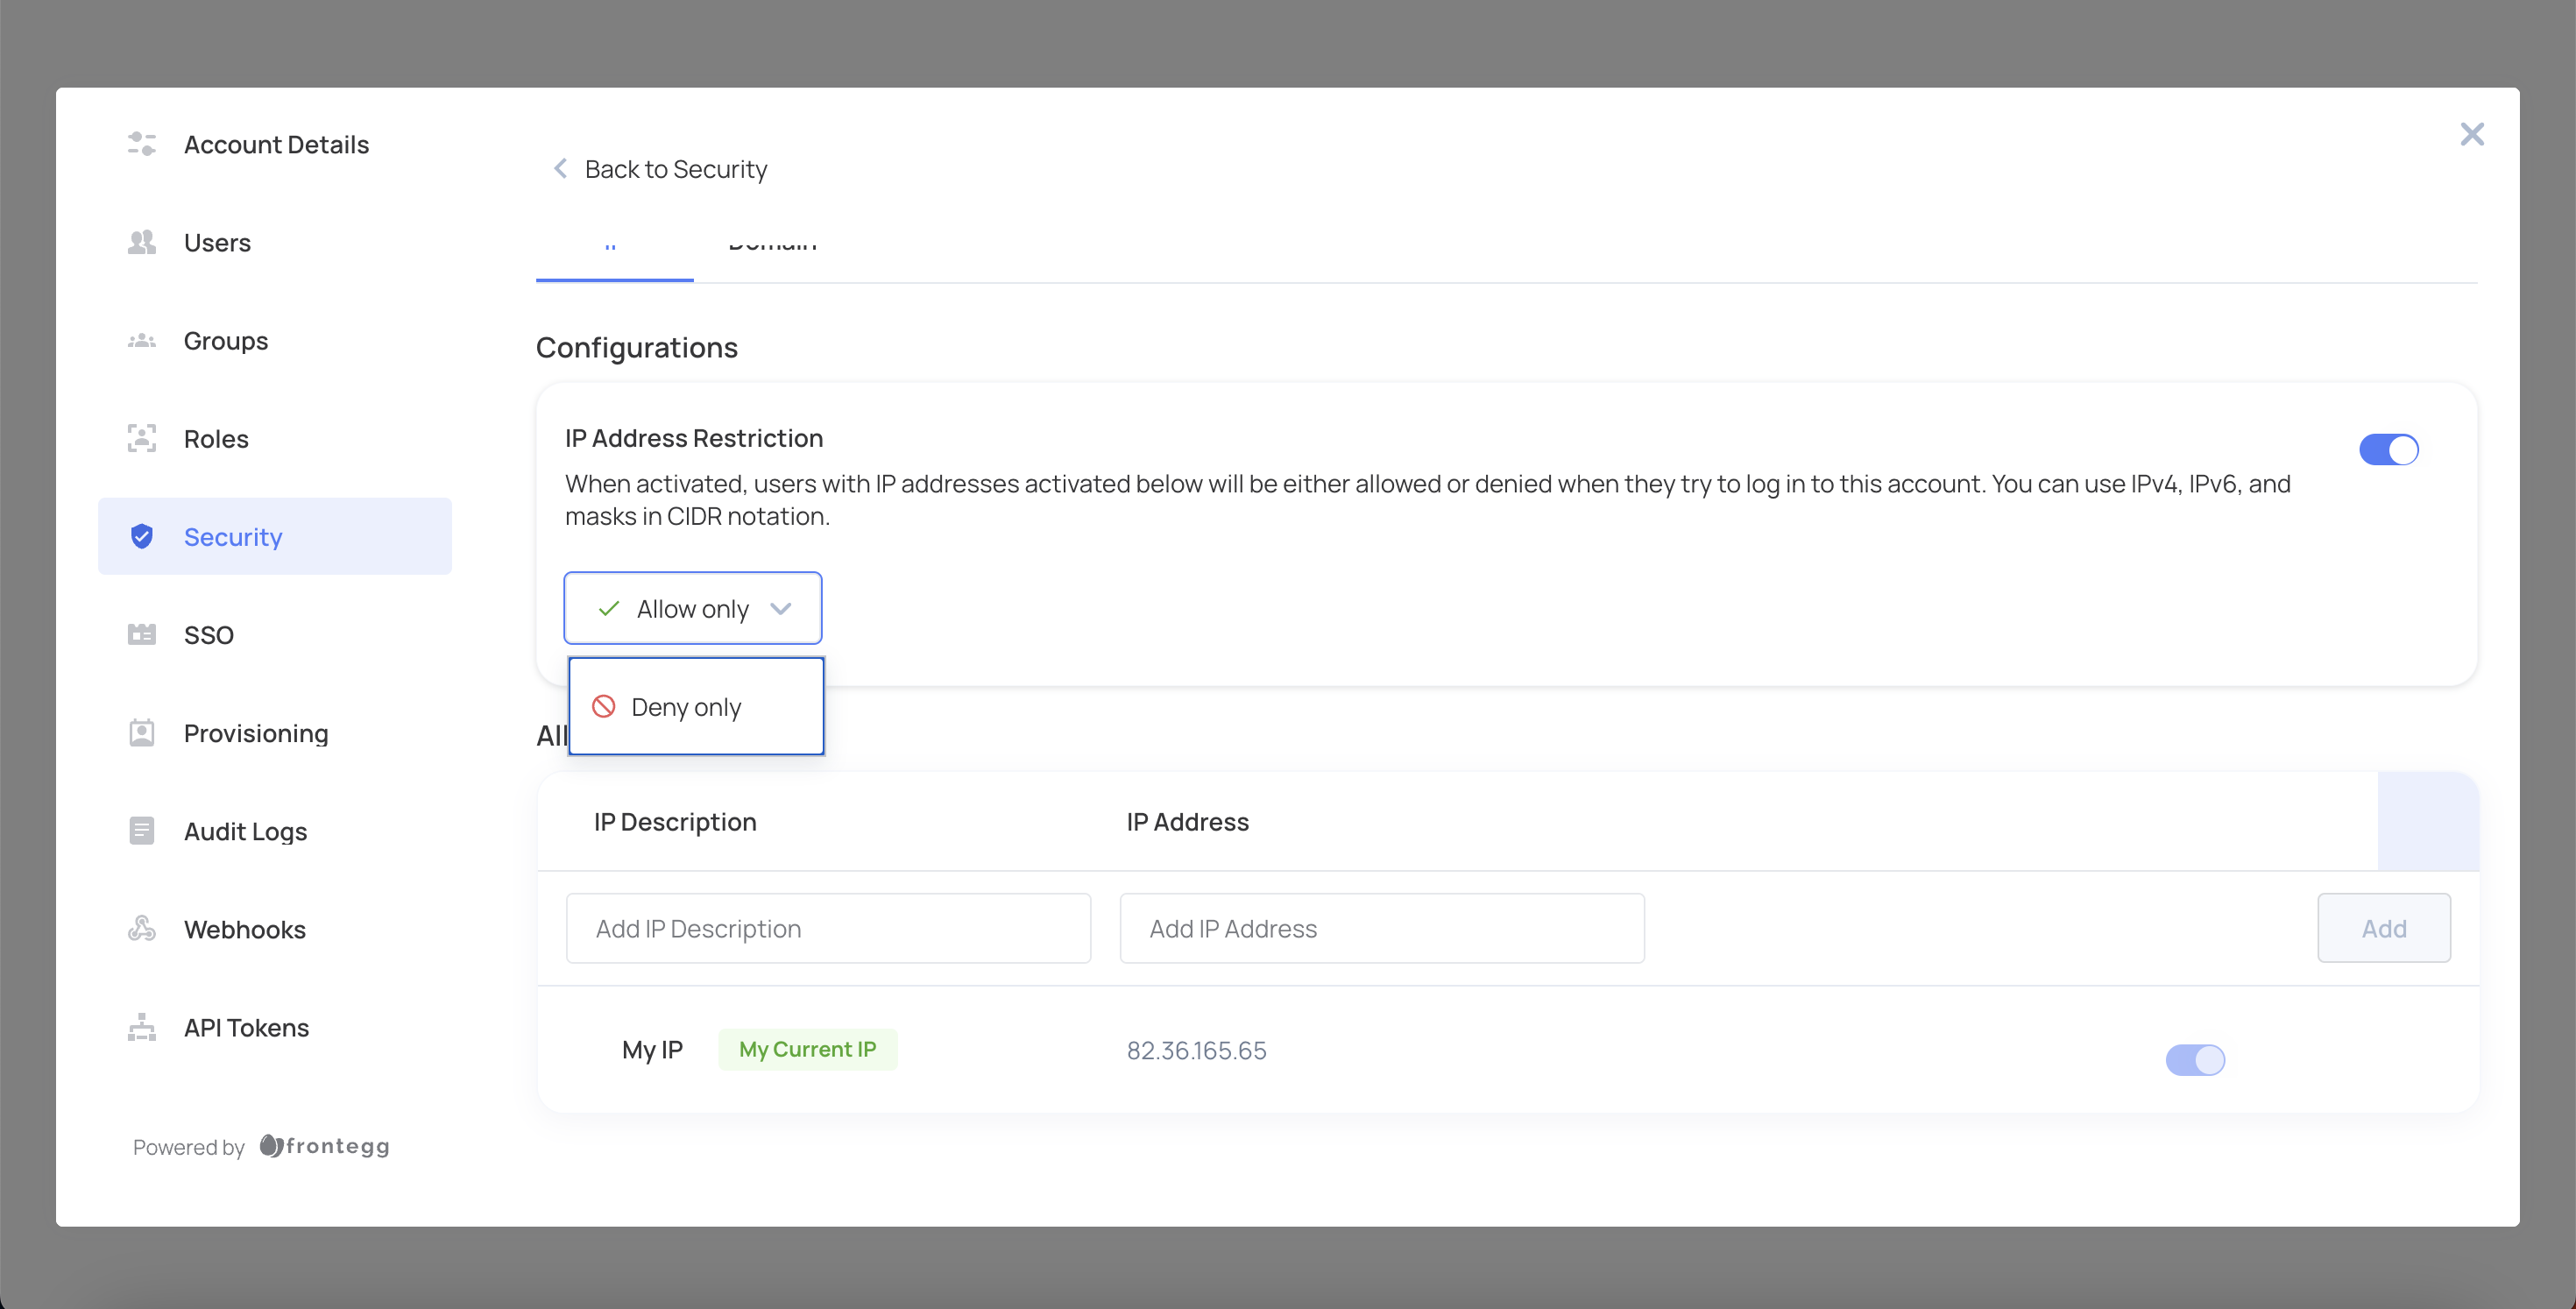
Enable IP Address Restriction by toggling the switch.
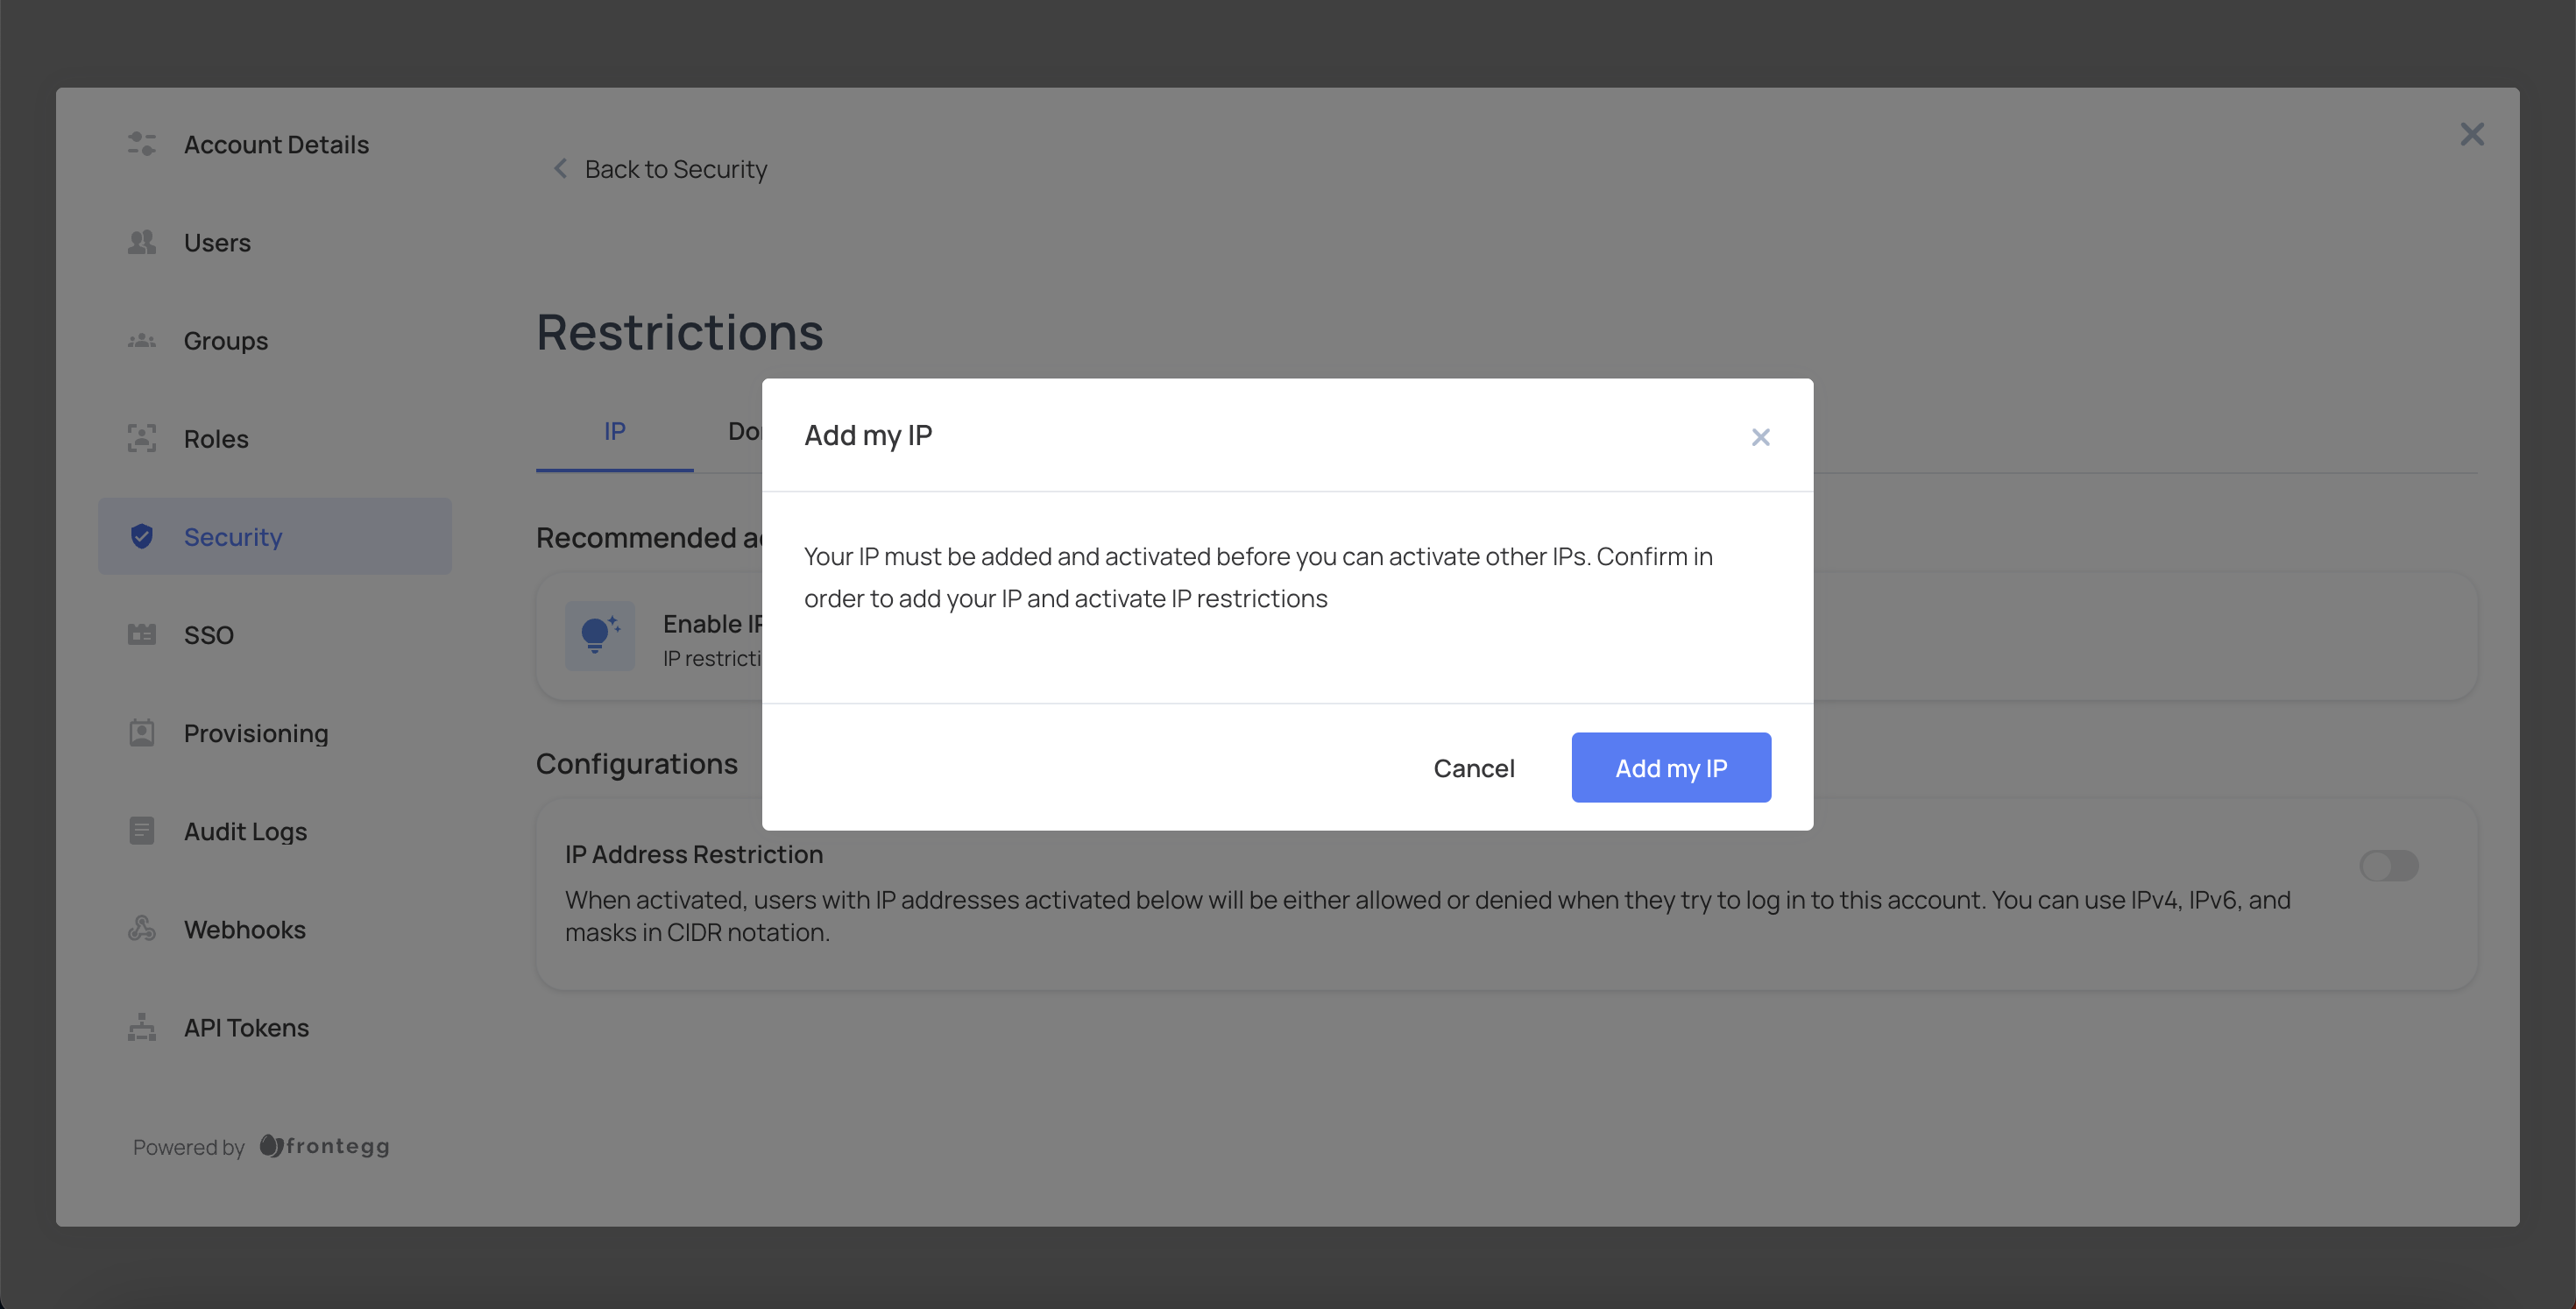
Click Add my IP to add your own IP address to the list.
Select a restriction method from the dropdown menu: Allow only or Deny only.
Enter a description for the IP address in the IP Description field.

Enter the IP address in the IP Address field.
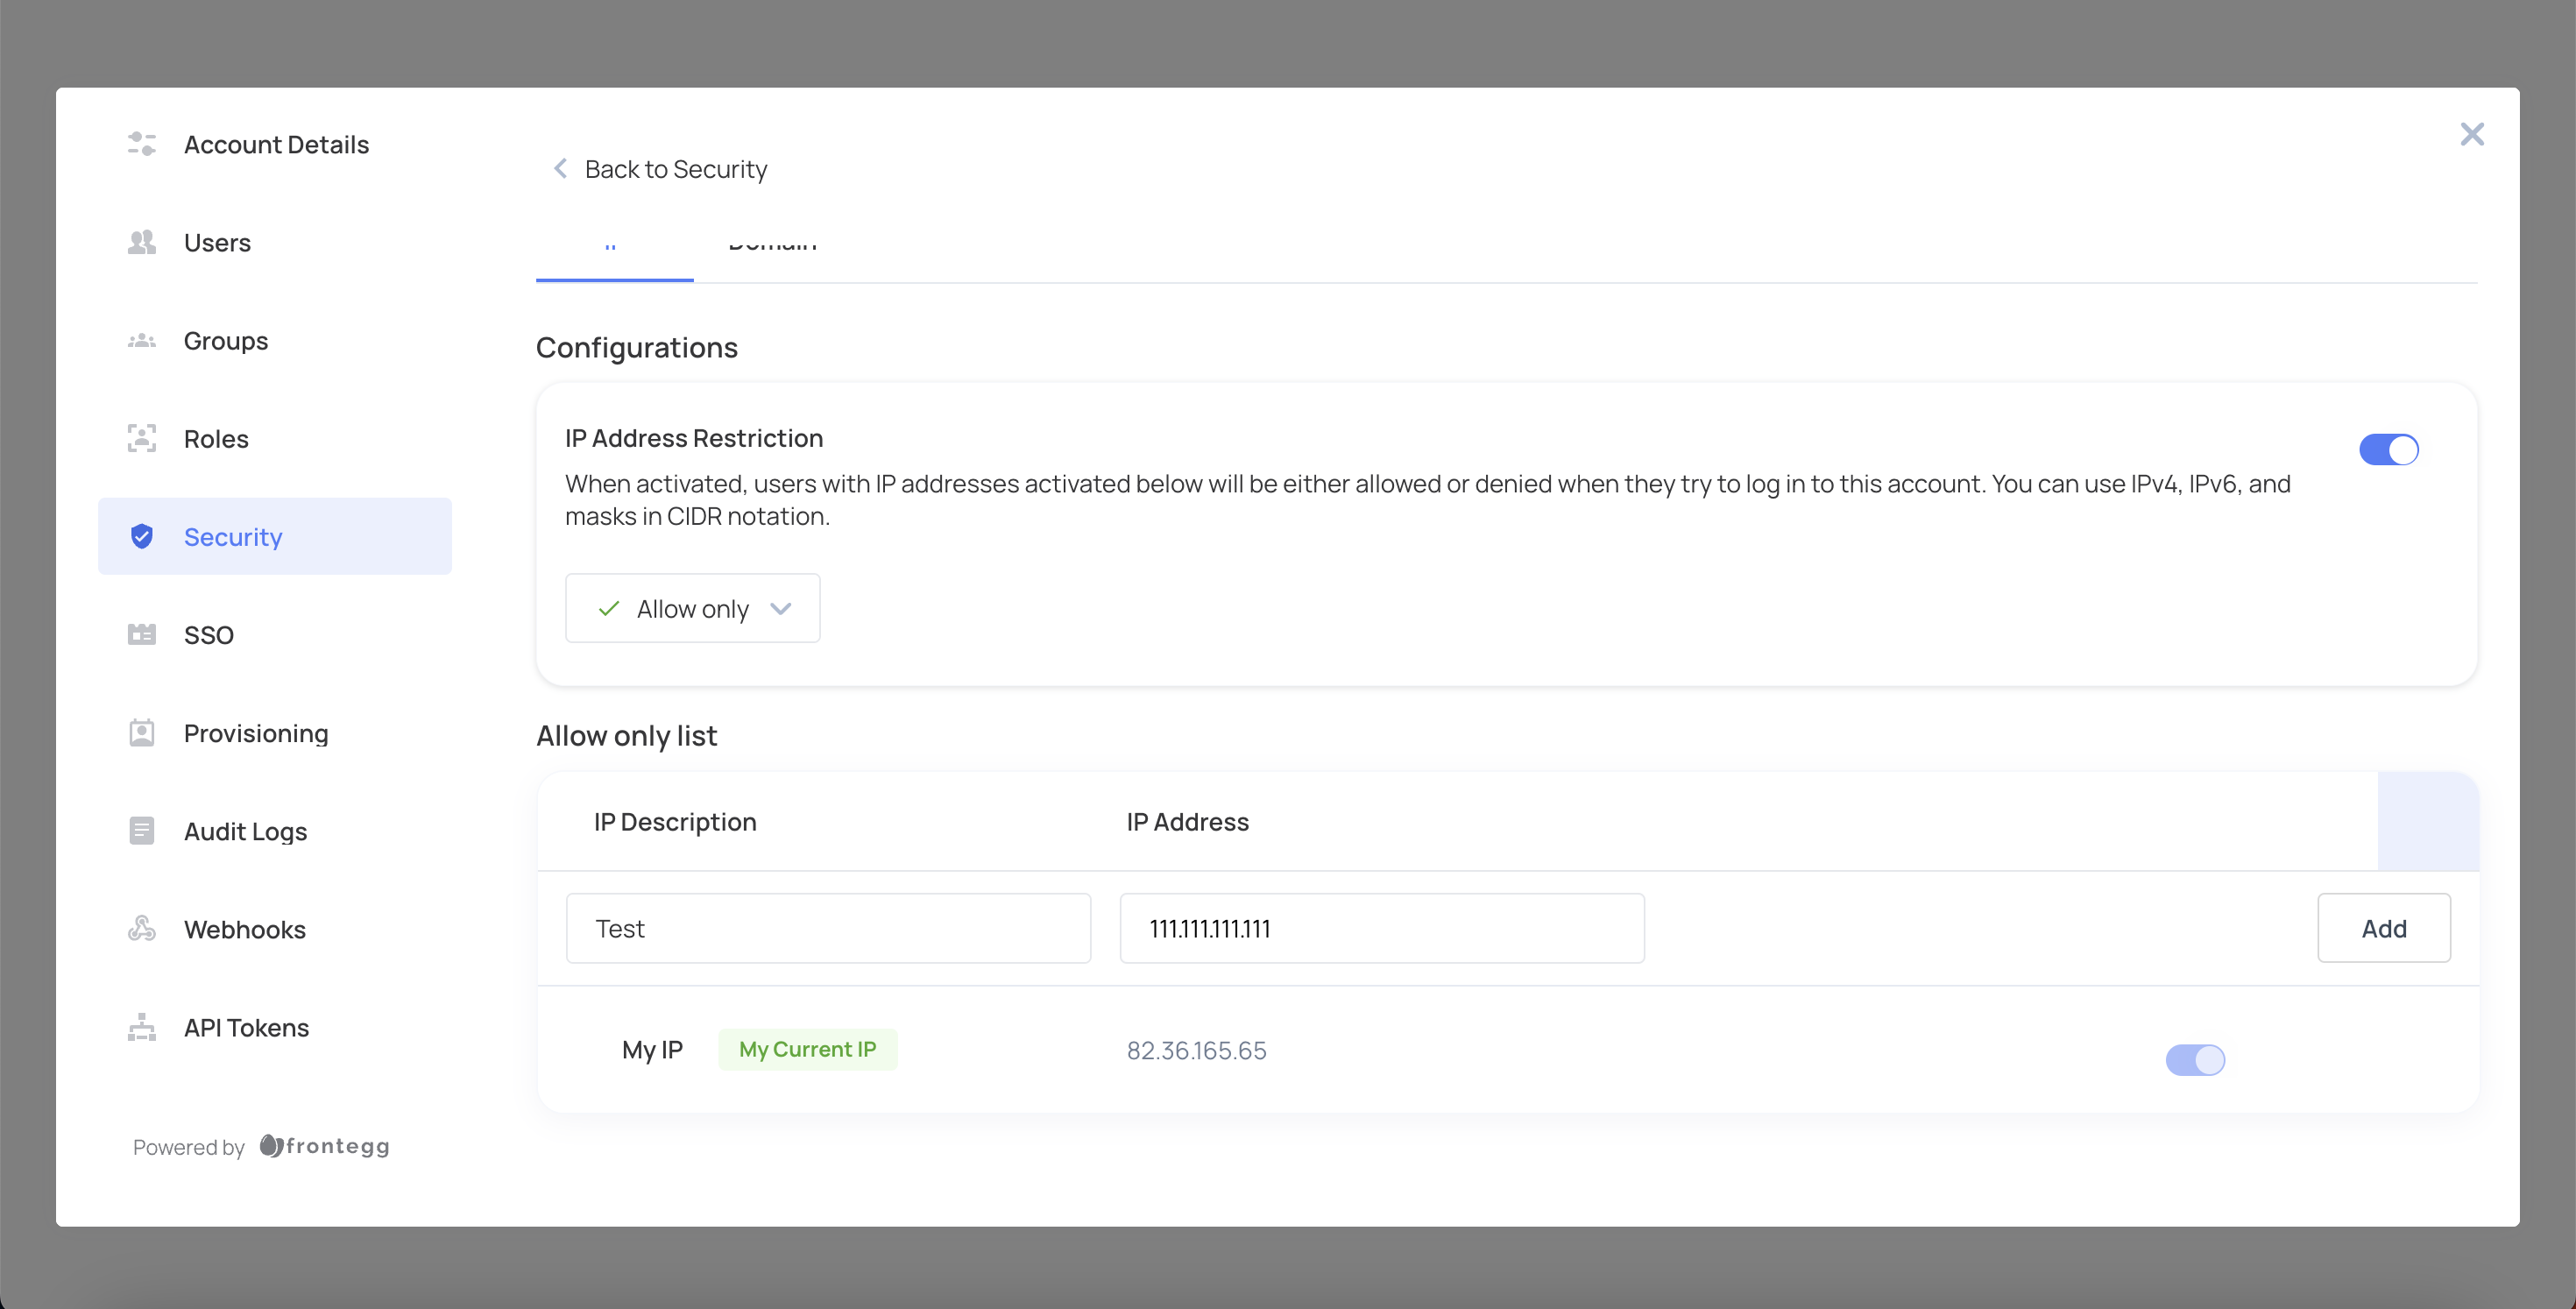
Click Add.
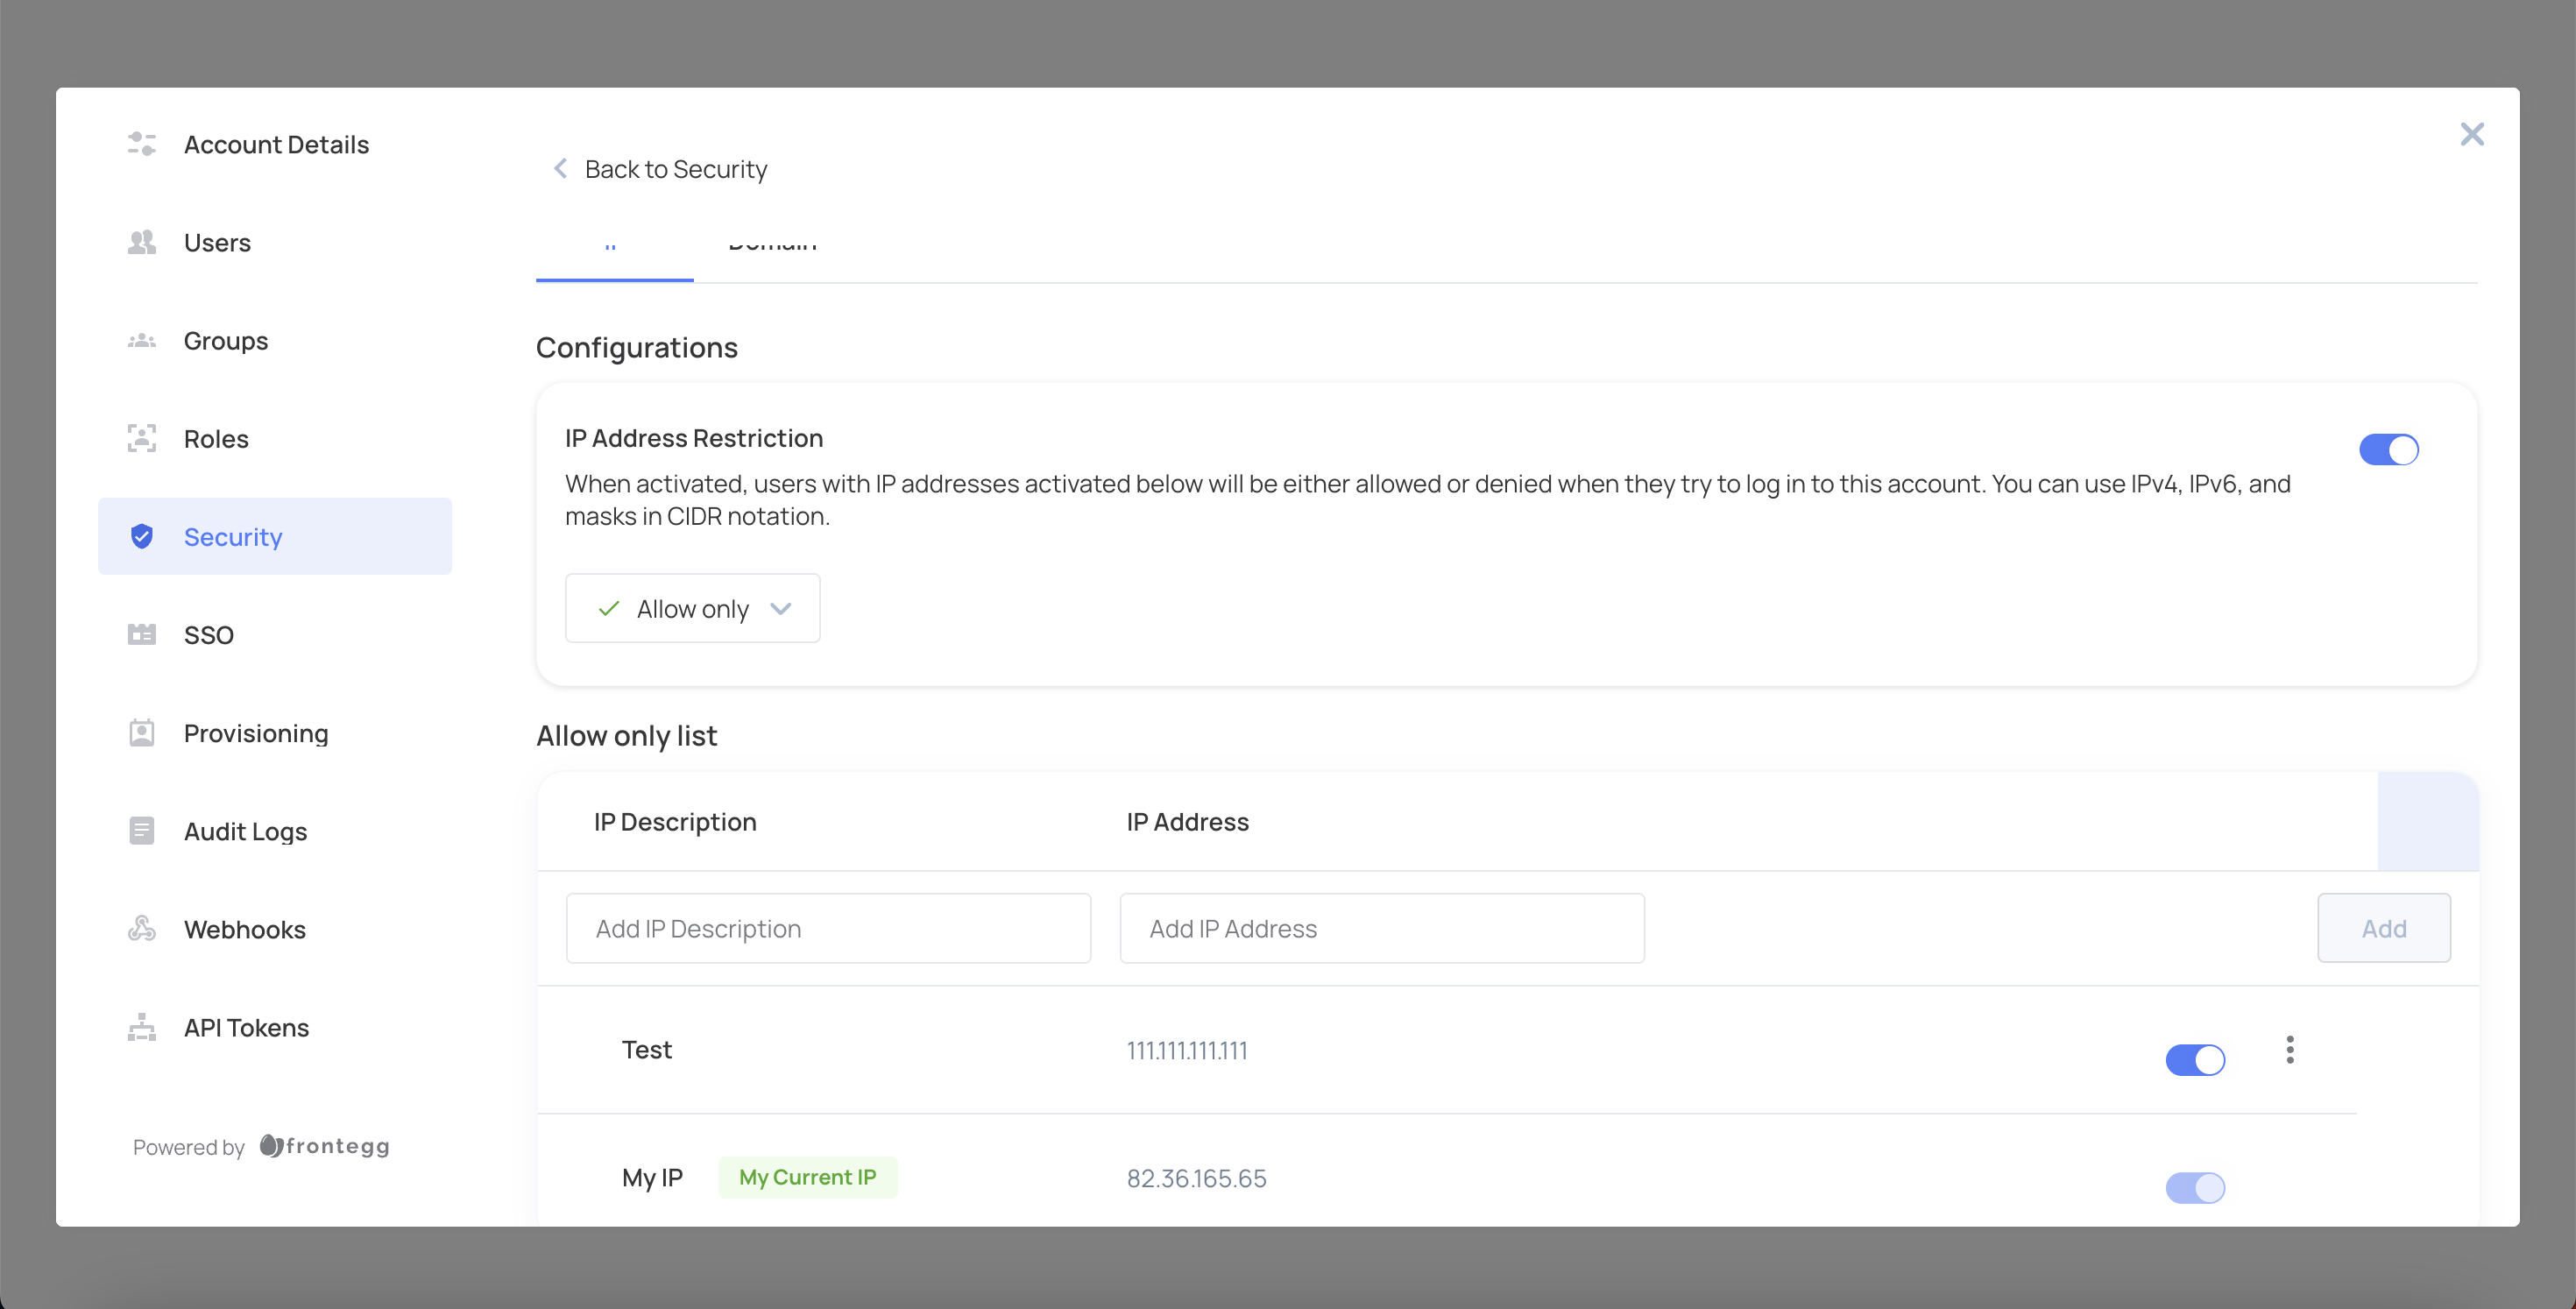
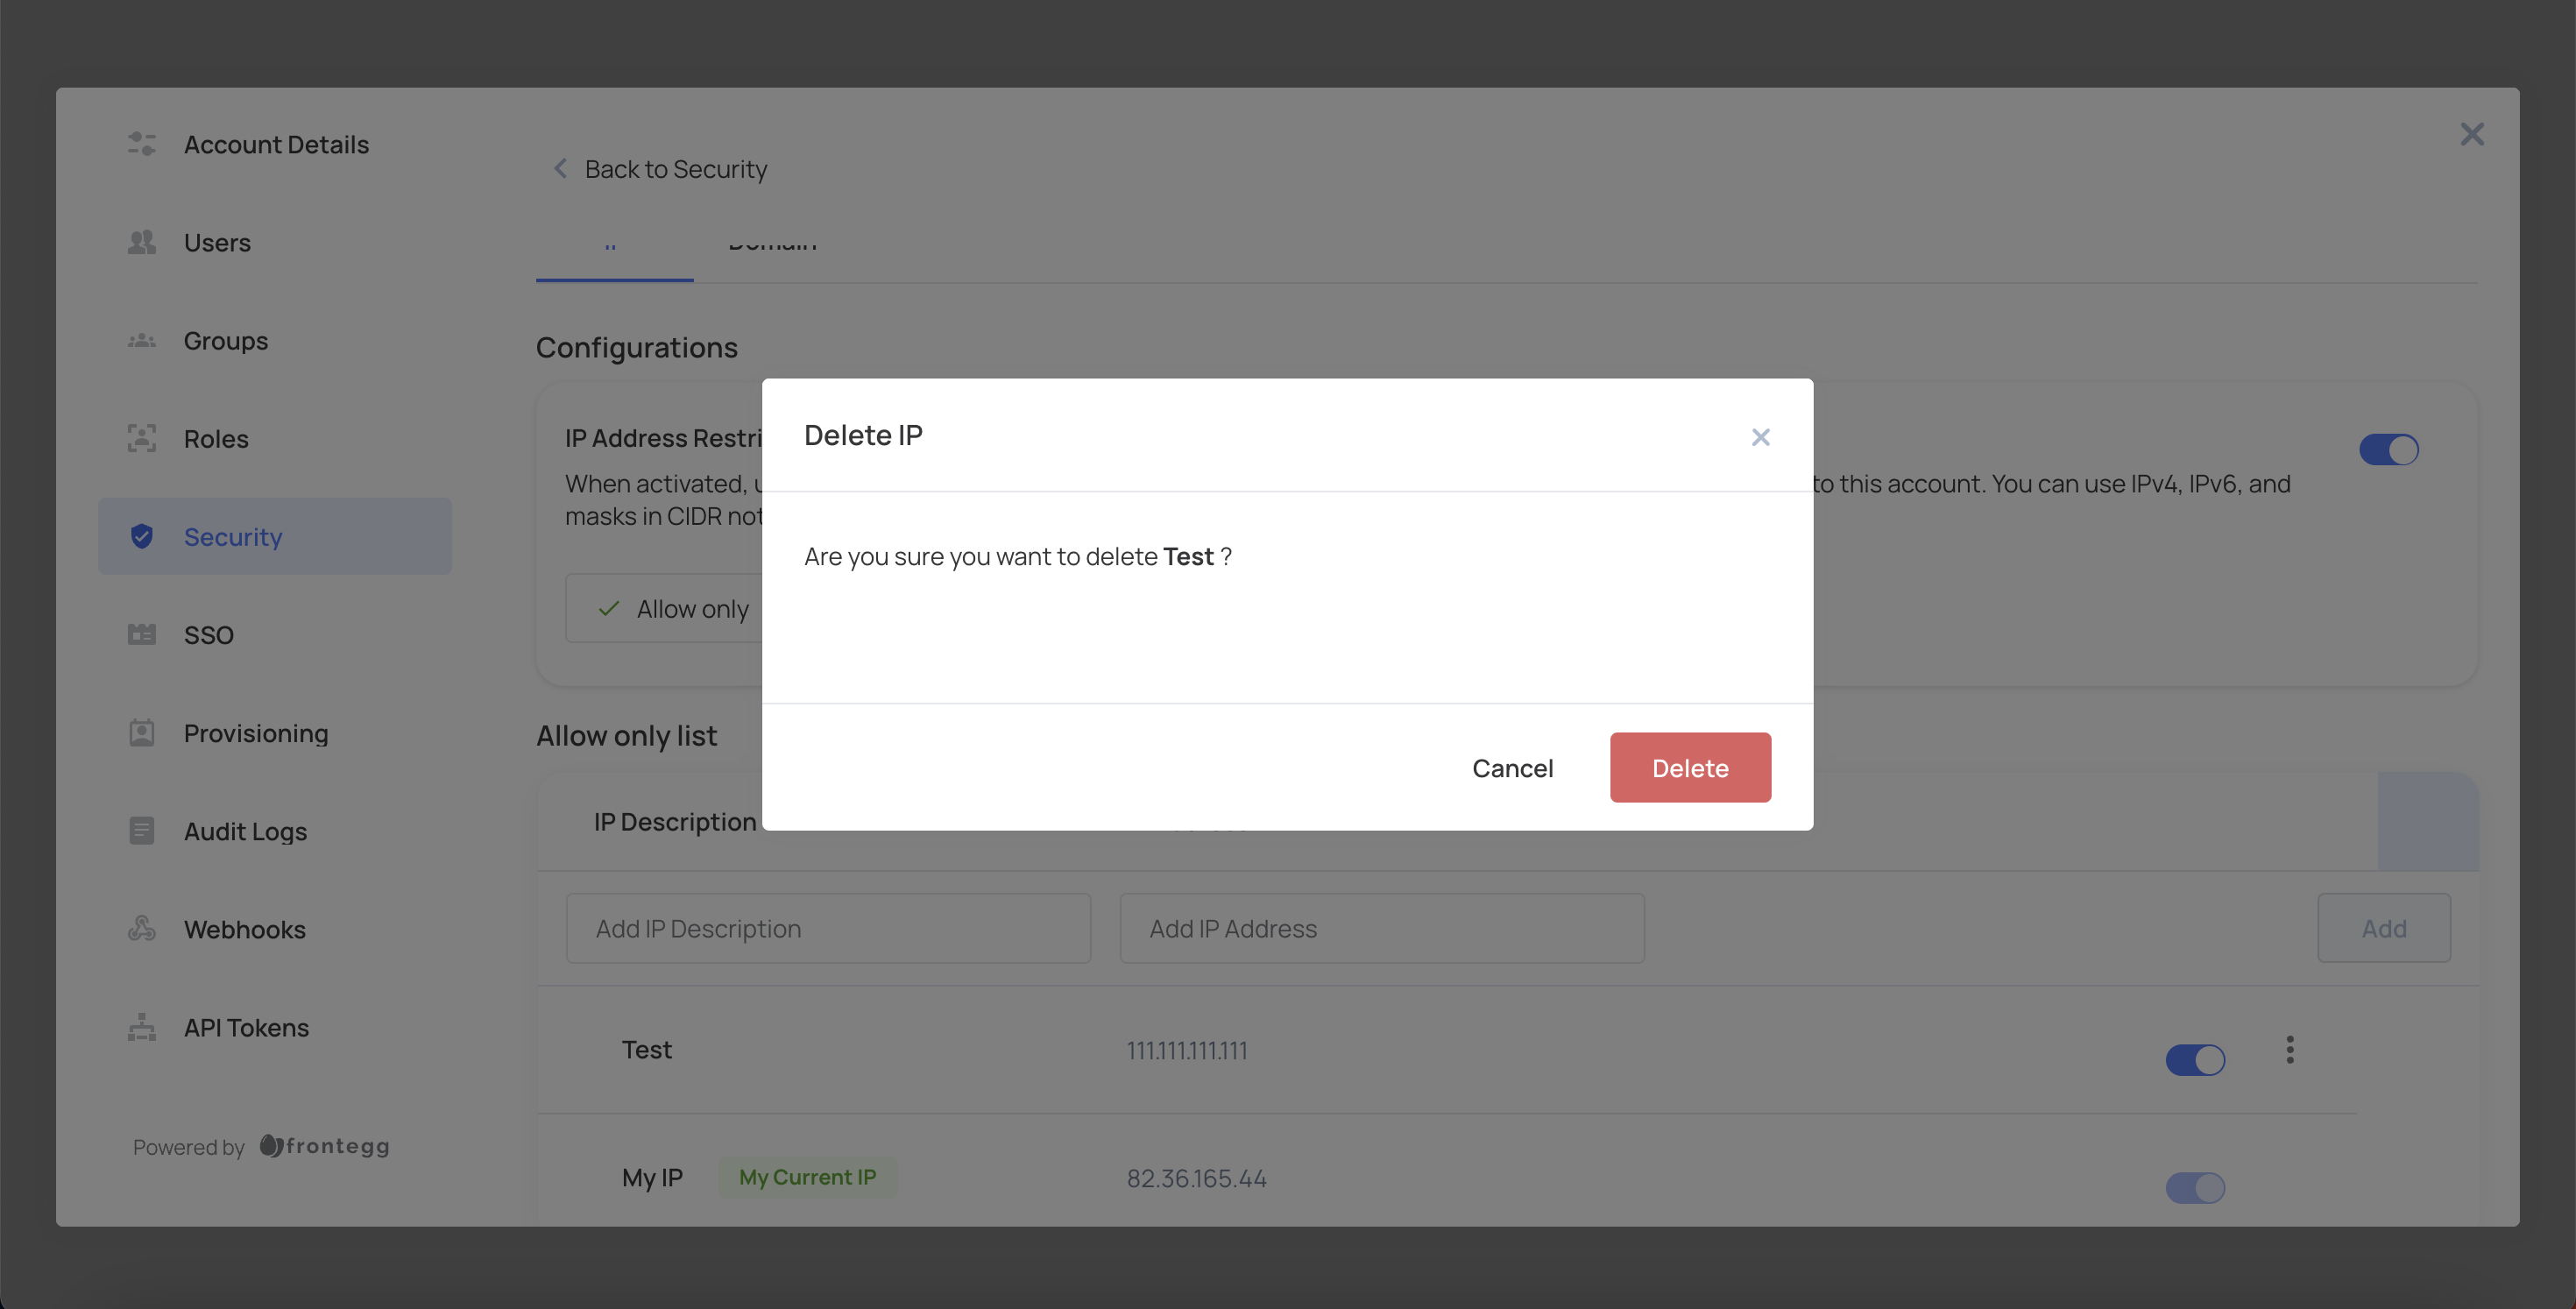
To delete an IP address from the list, click the three dots next to the IP address you want to remove.
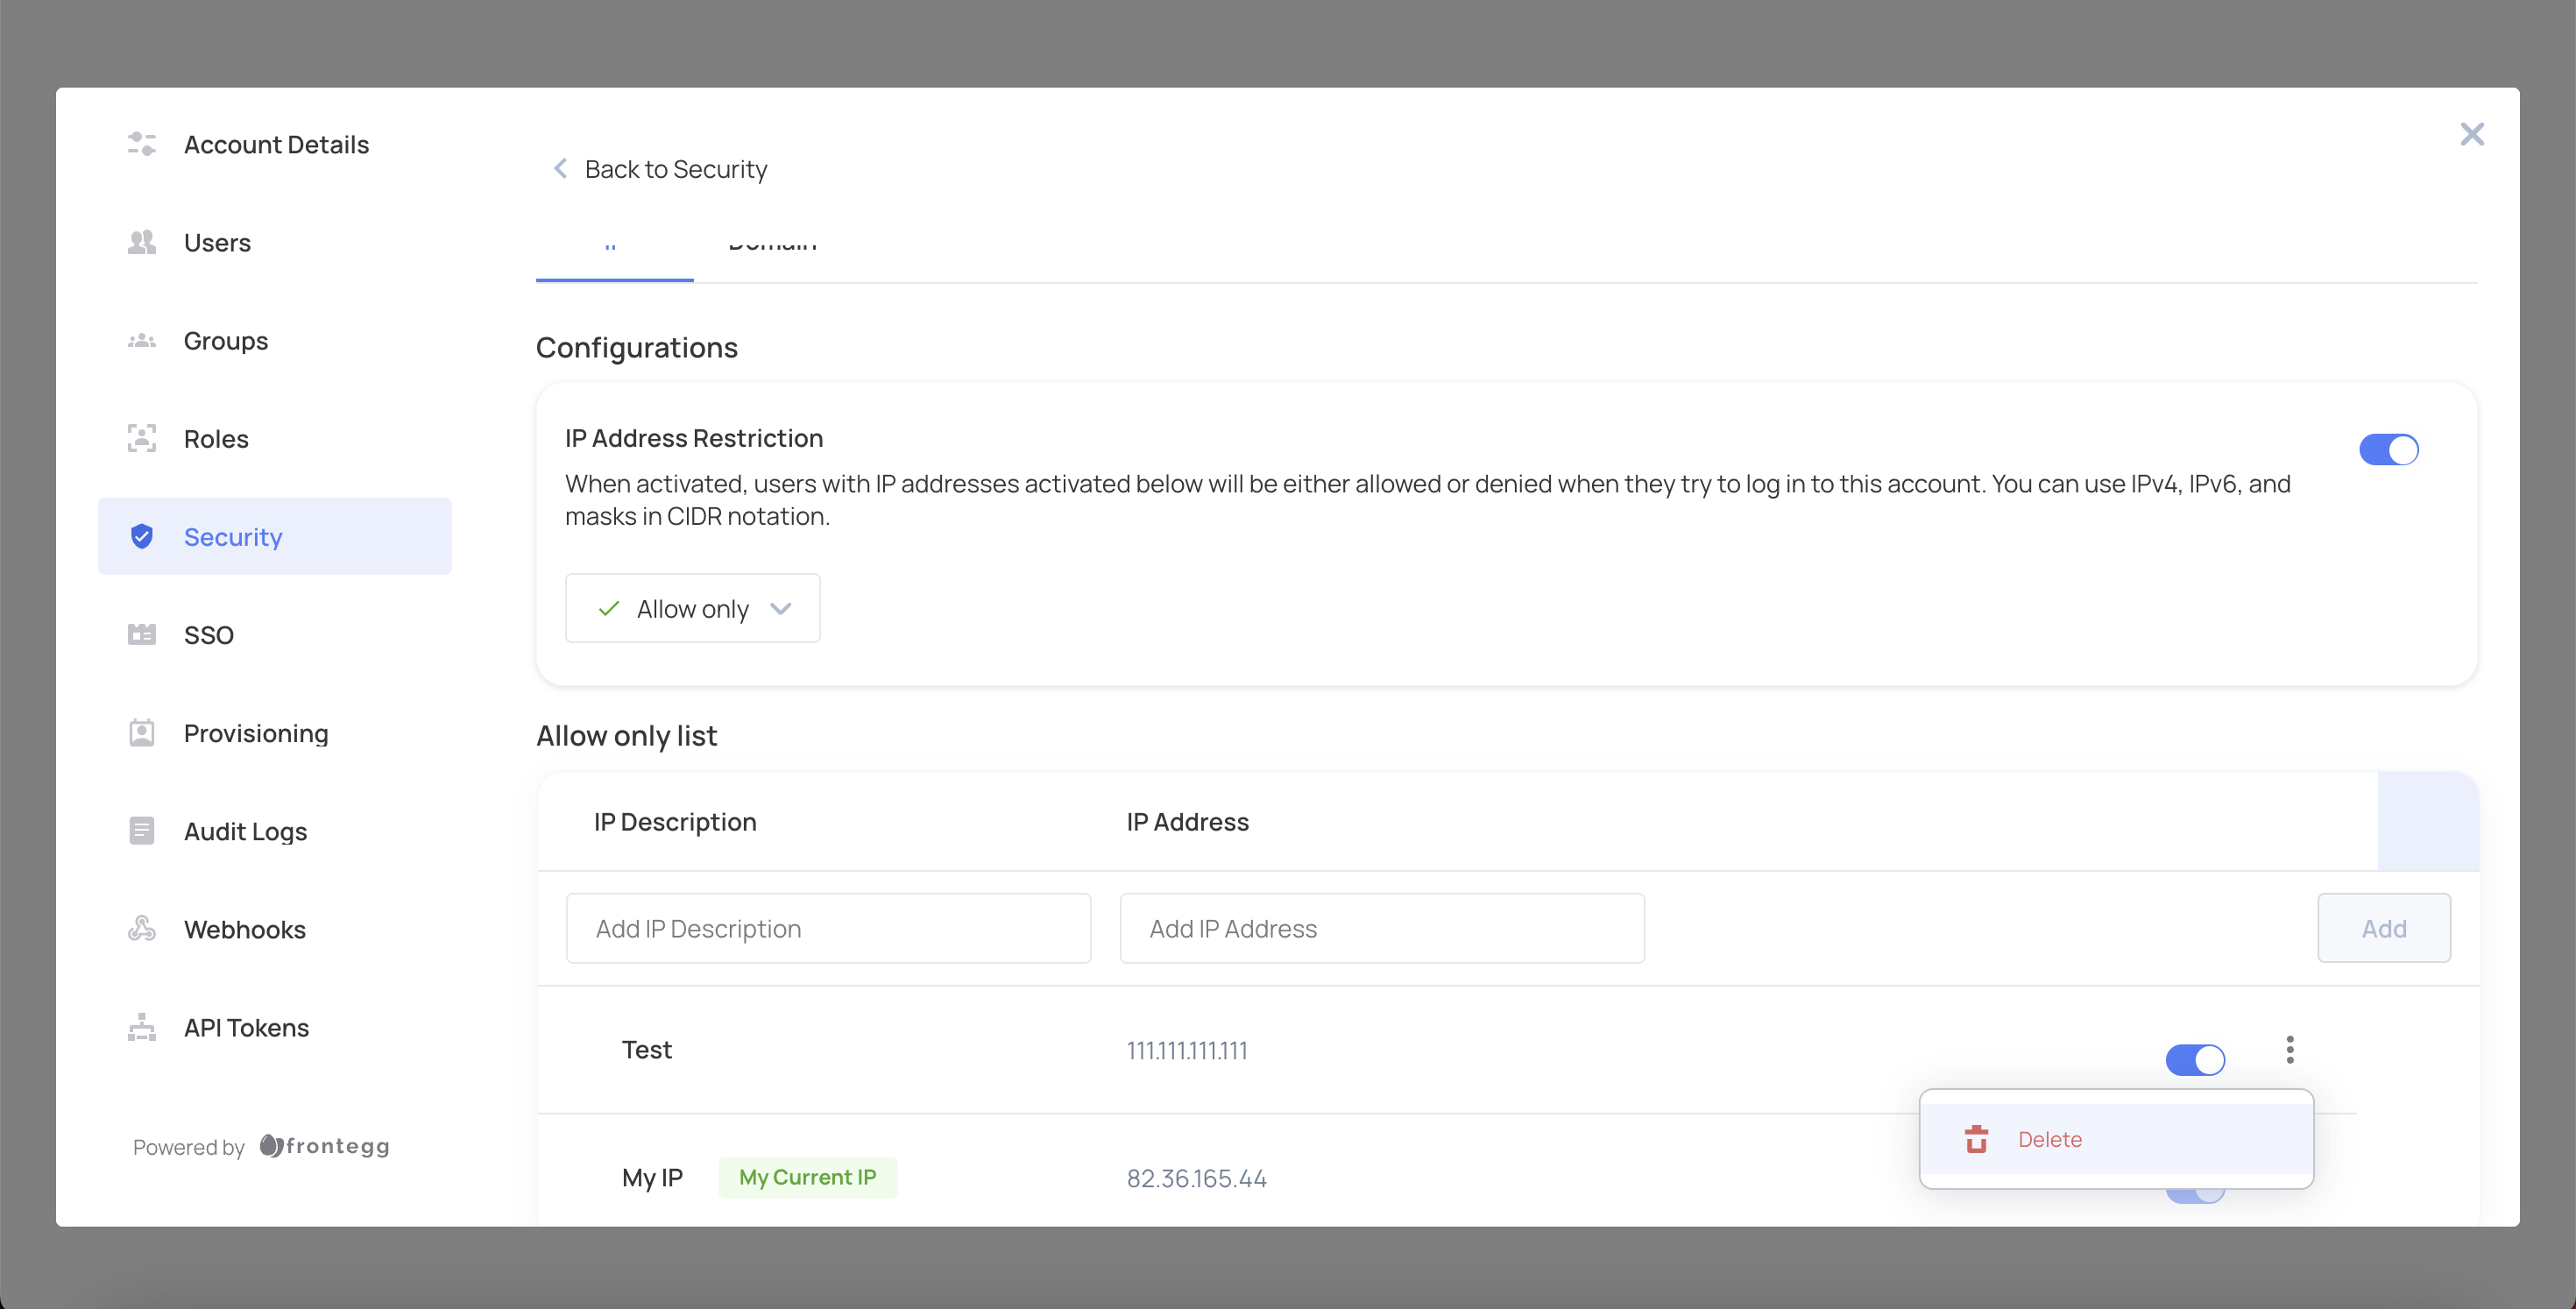
Click Delete.
Confirm the deletion by clicking Delete again.
To enhance security, you can restrict access based on domains. Domain restrictions apply to sign-up and invitation, meaning users with a blocked domain cannot register or be invited, but already activated users remain unaffected.
Log in to your application and in the Admin Portal navigate to the Security tab.
Scroll down to the Restriction section and click Manage.
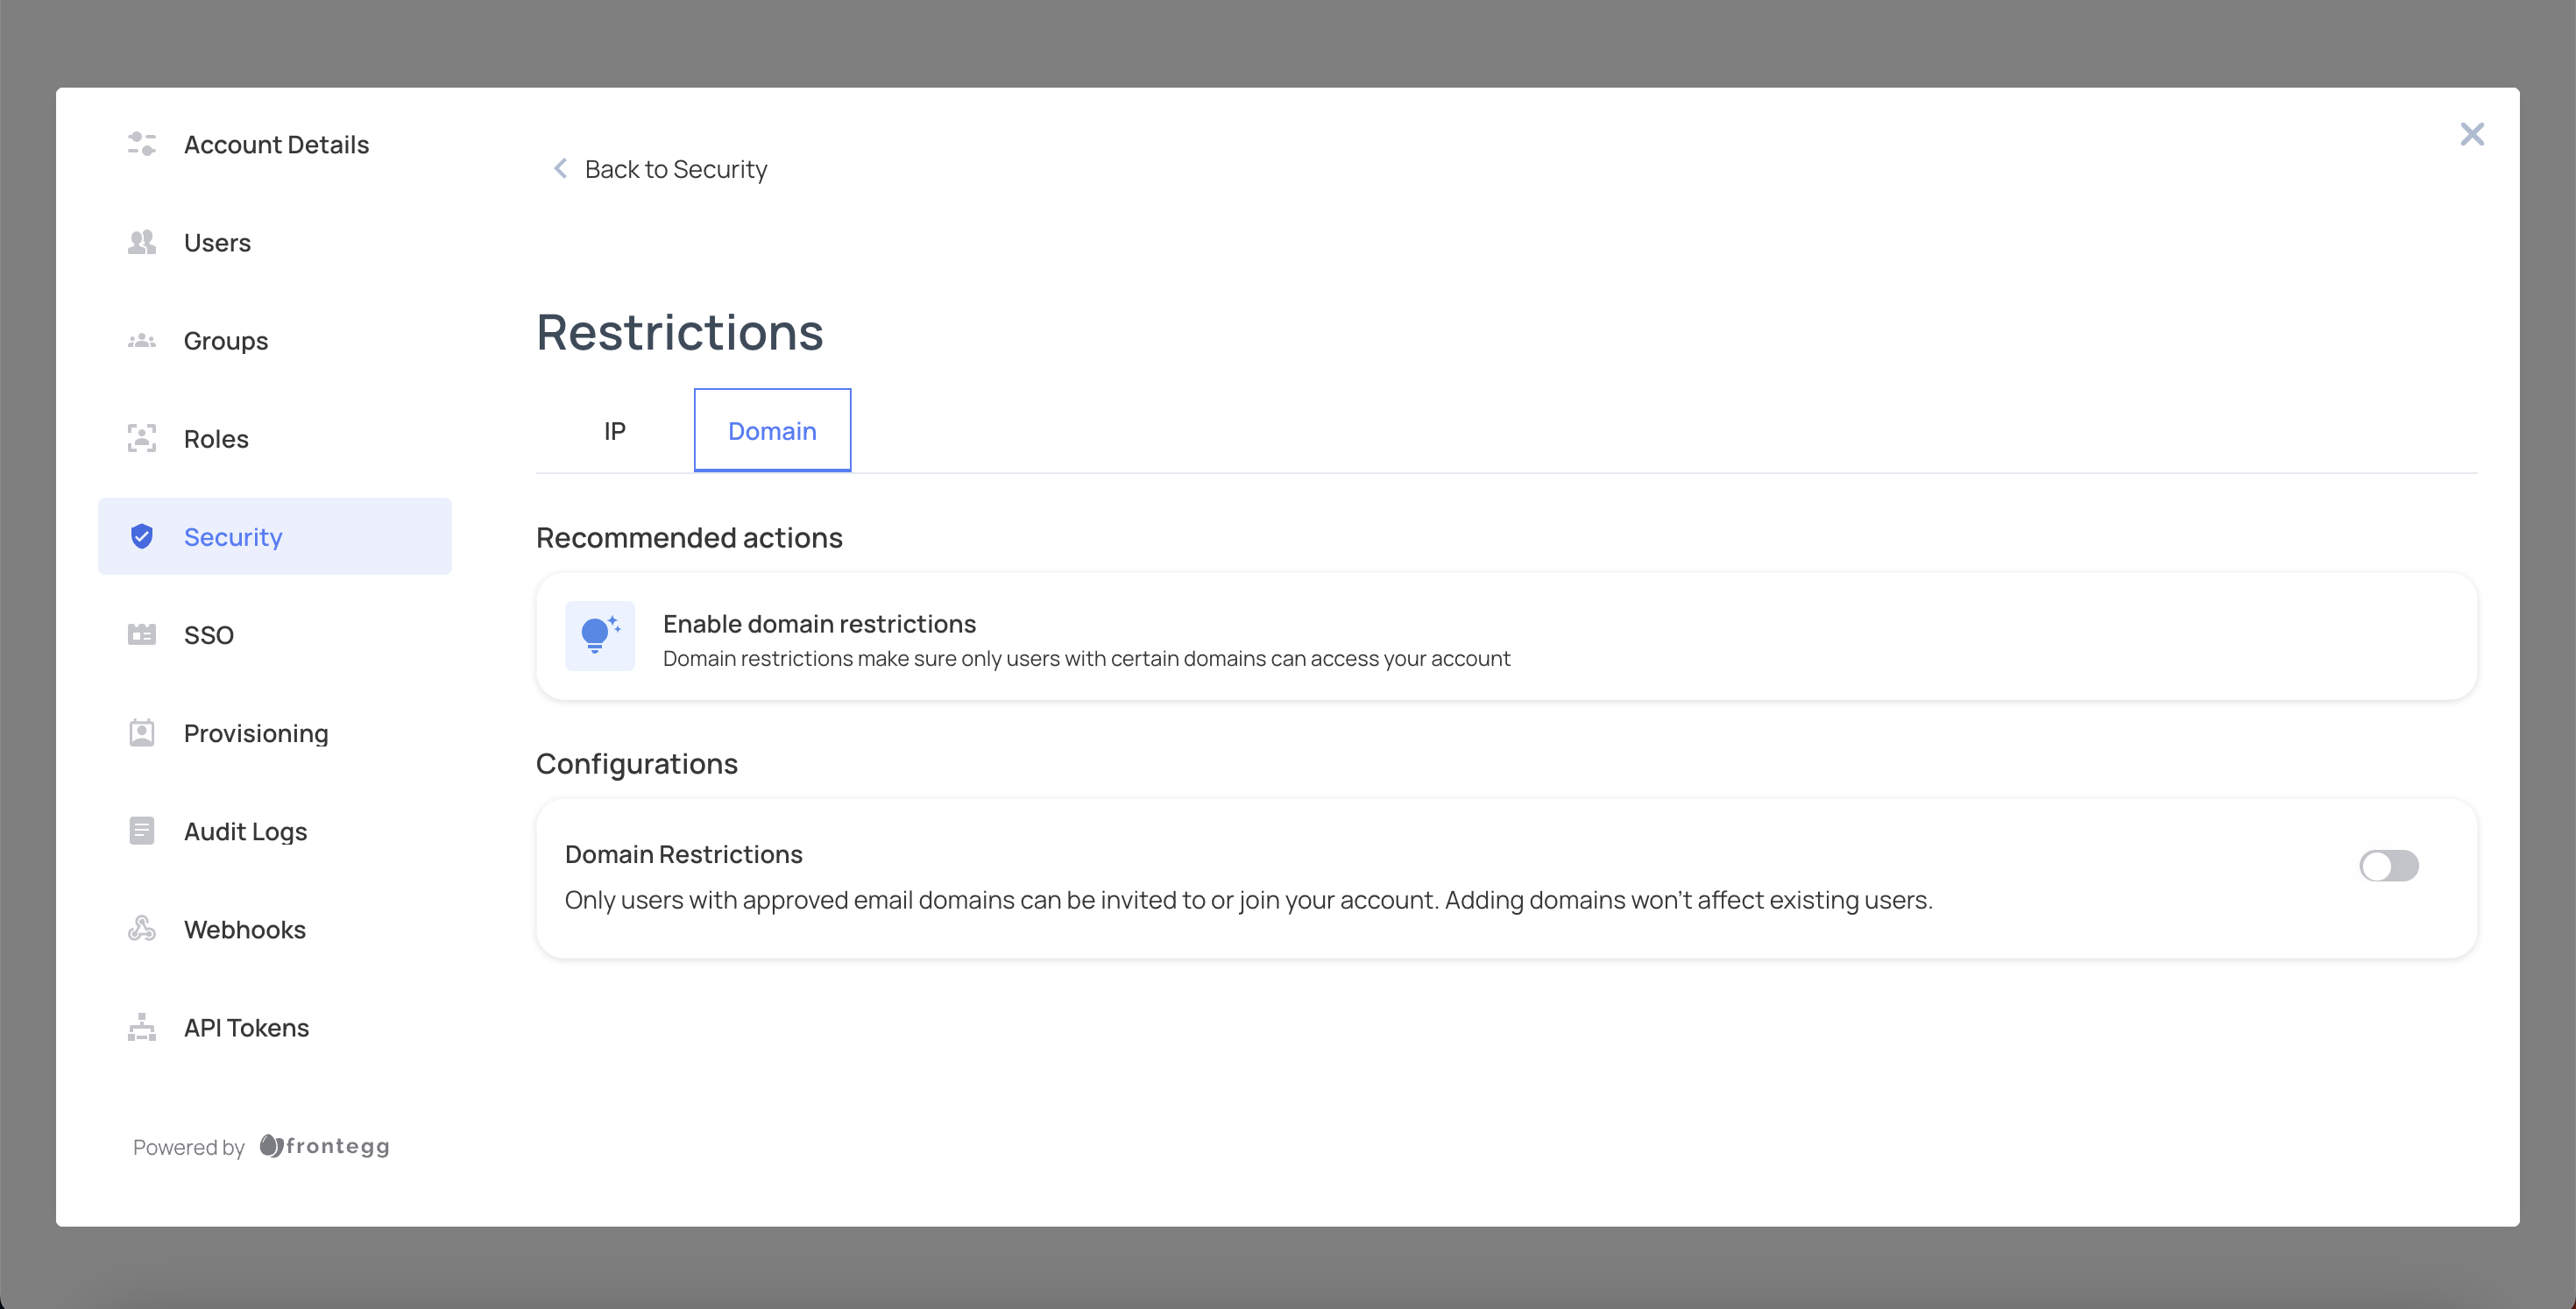
Click the Domain tab and enable Domain restriction by toggling the switch.
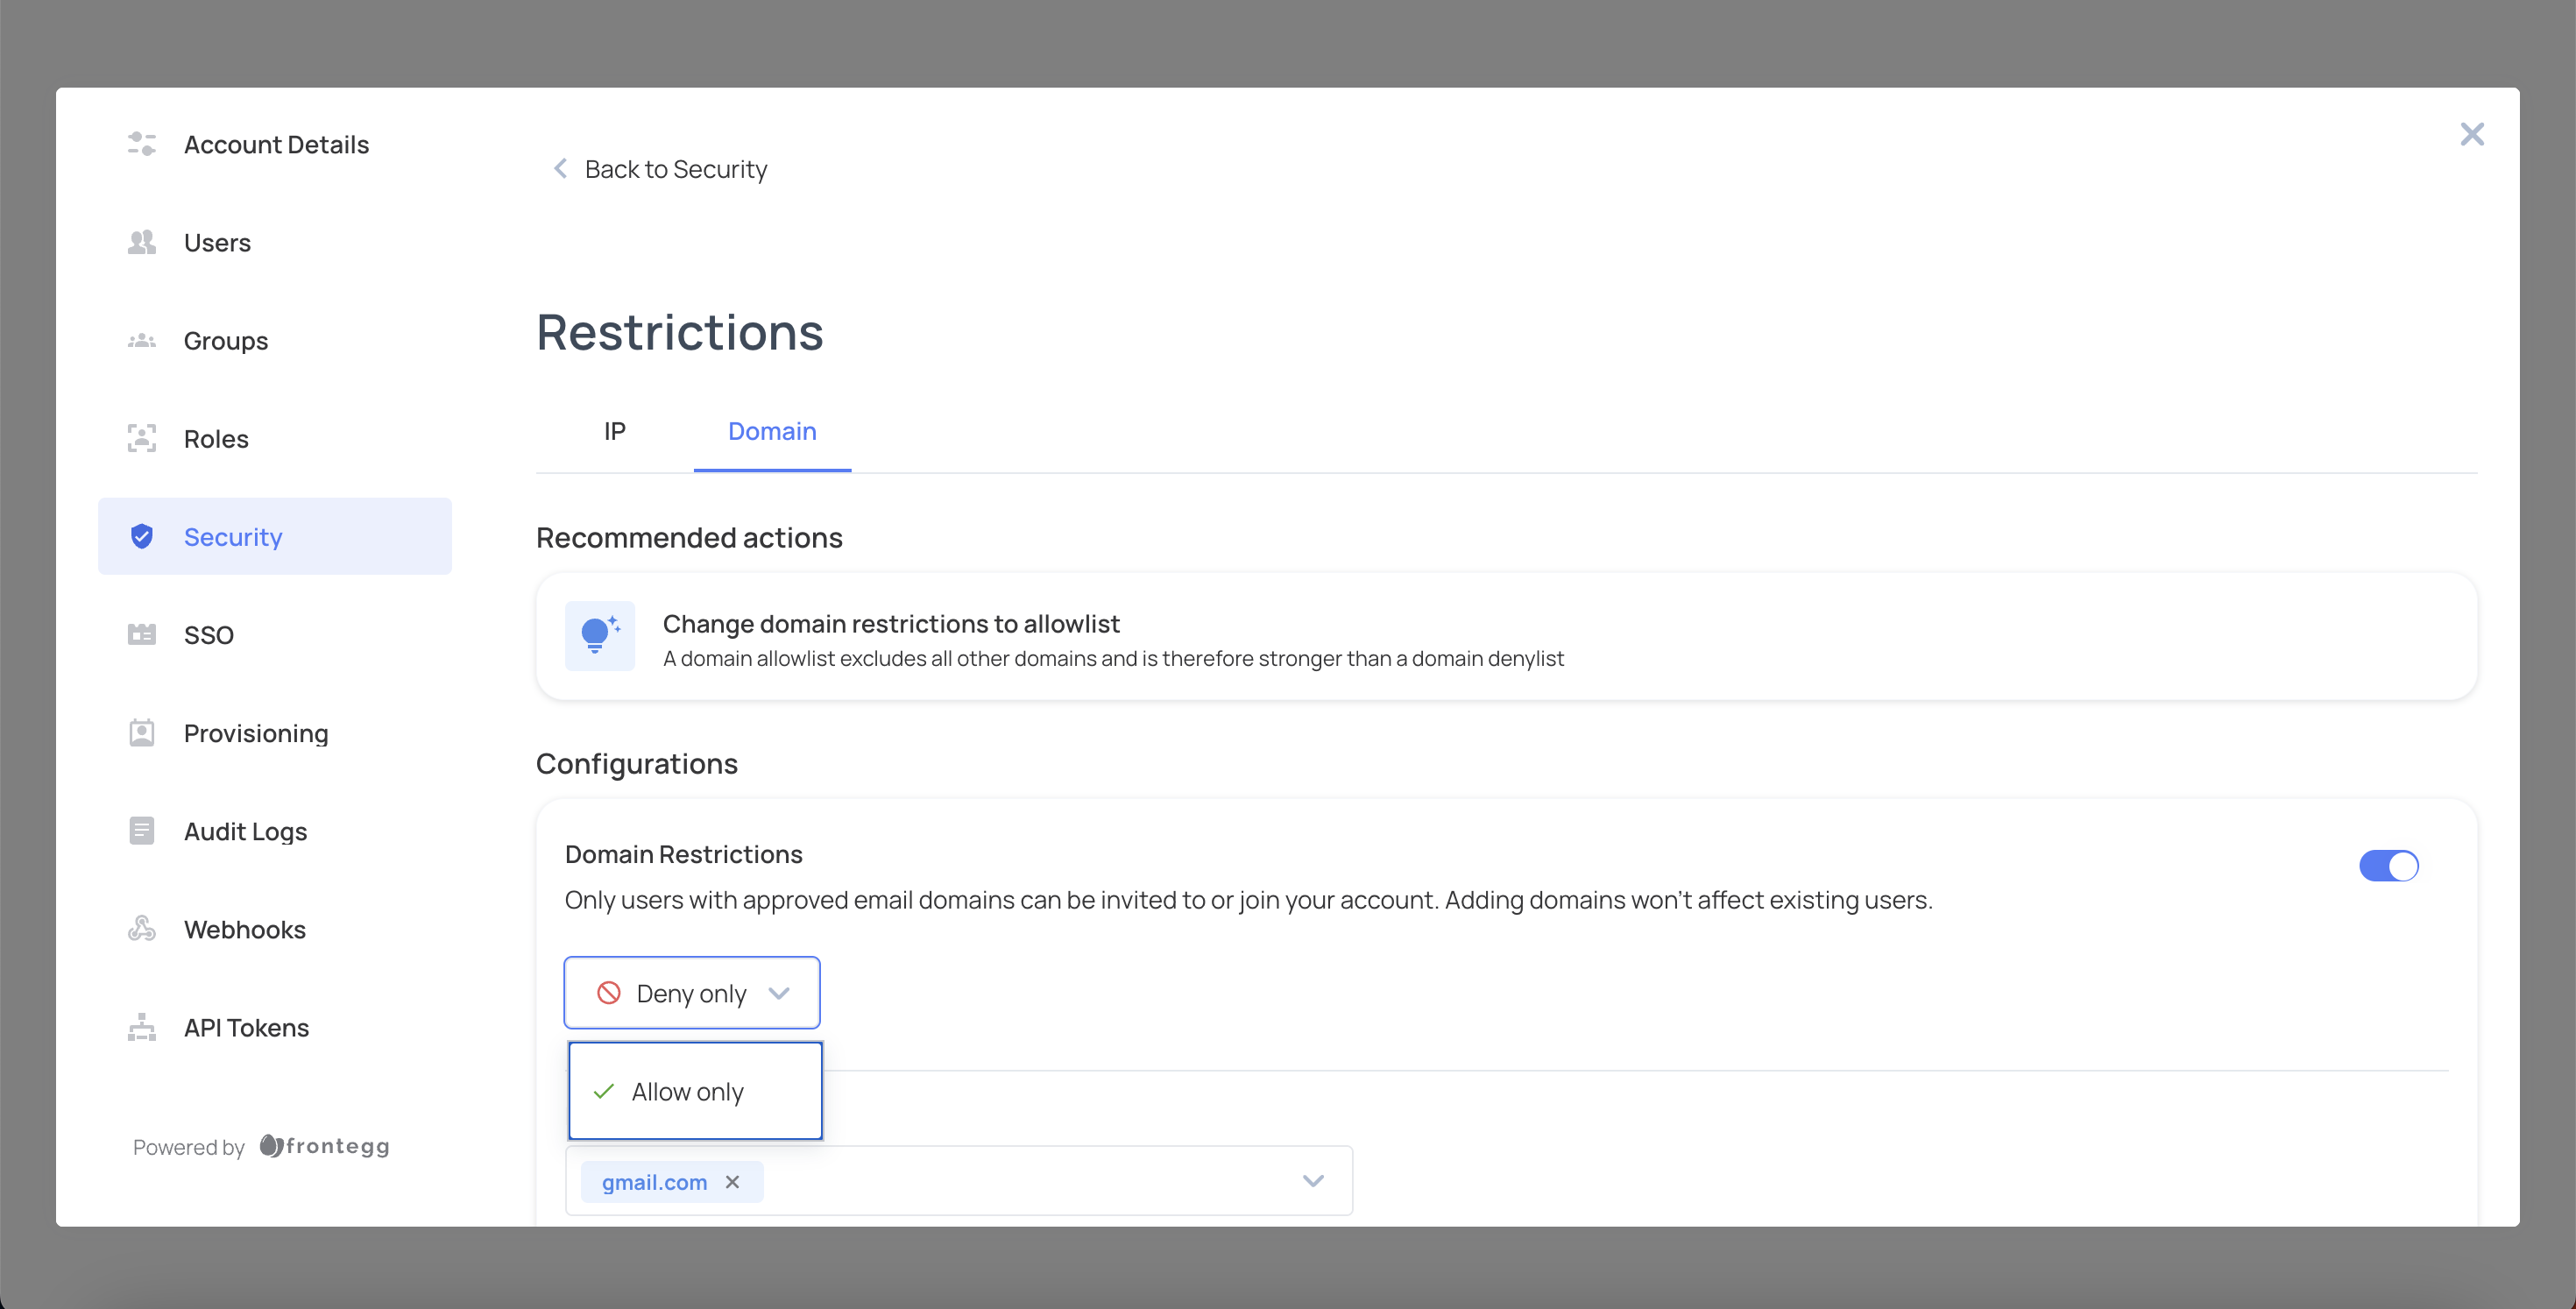
Select a restriction method from the dropdown menu: Allow only or Deny only.
Enter the domain you want to restrict in the list.
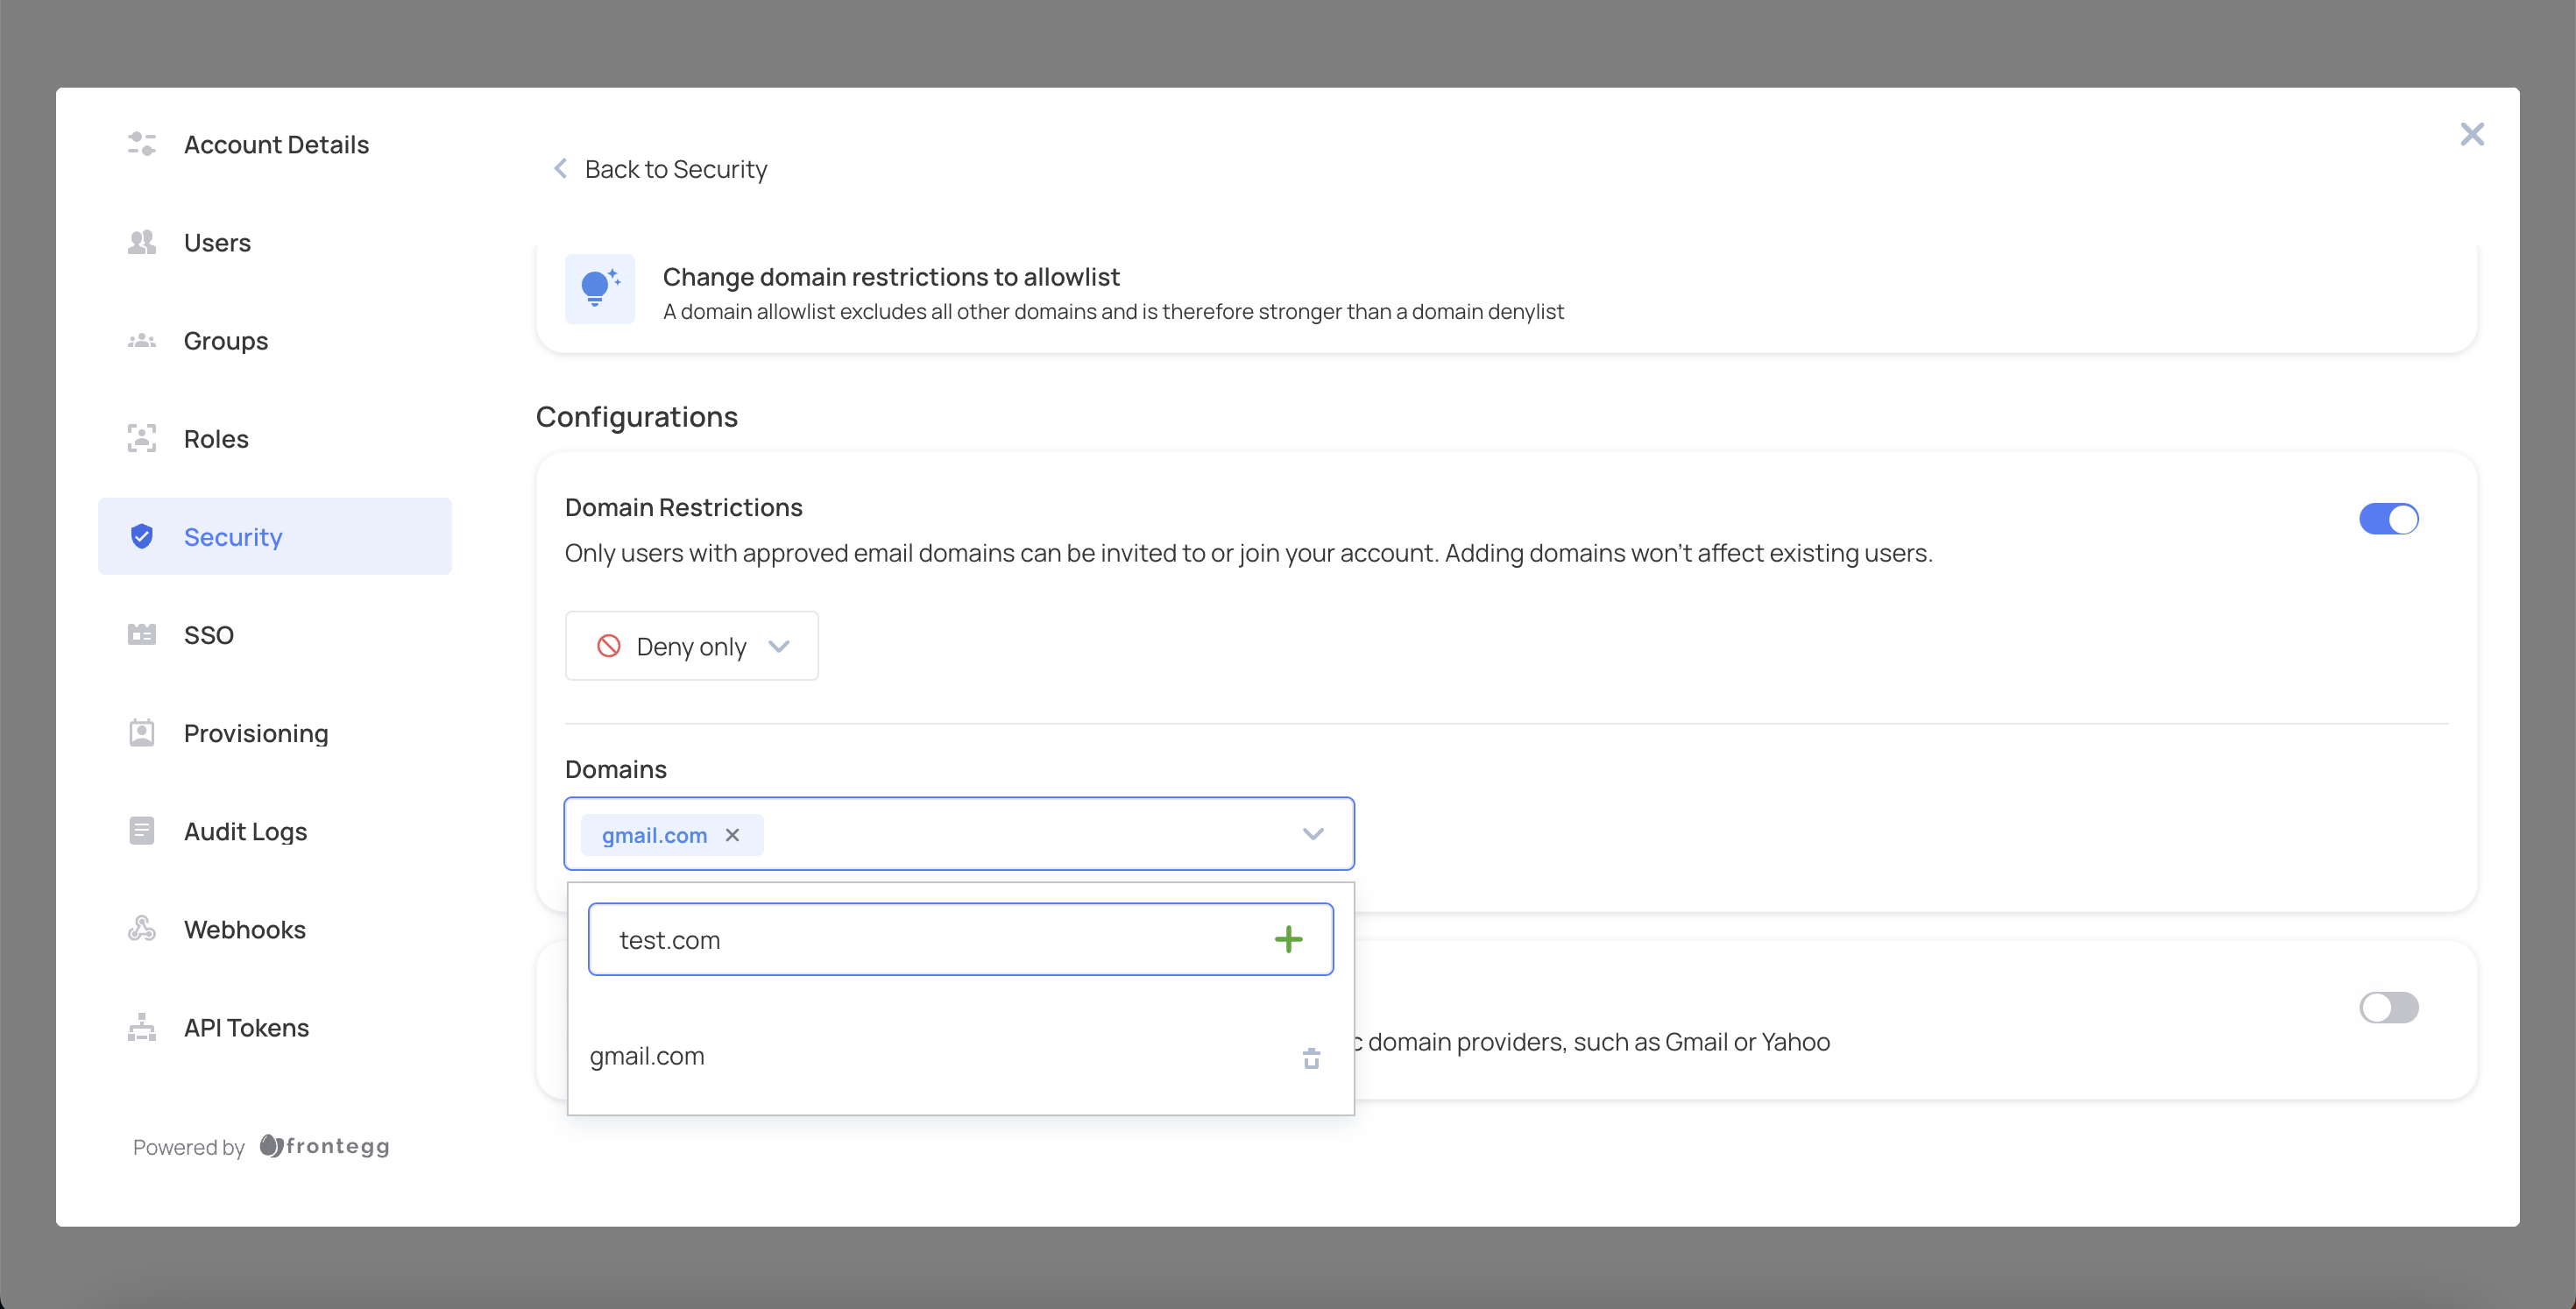
Click the green plus button to add the domain.
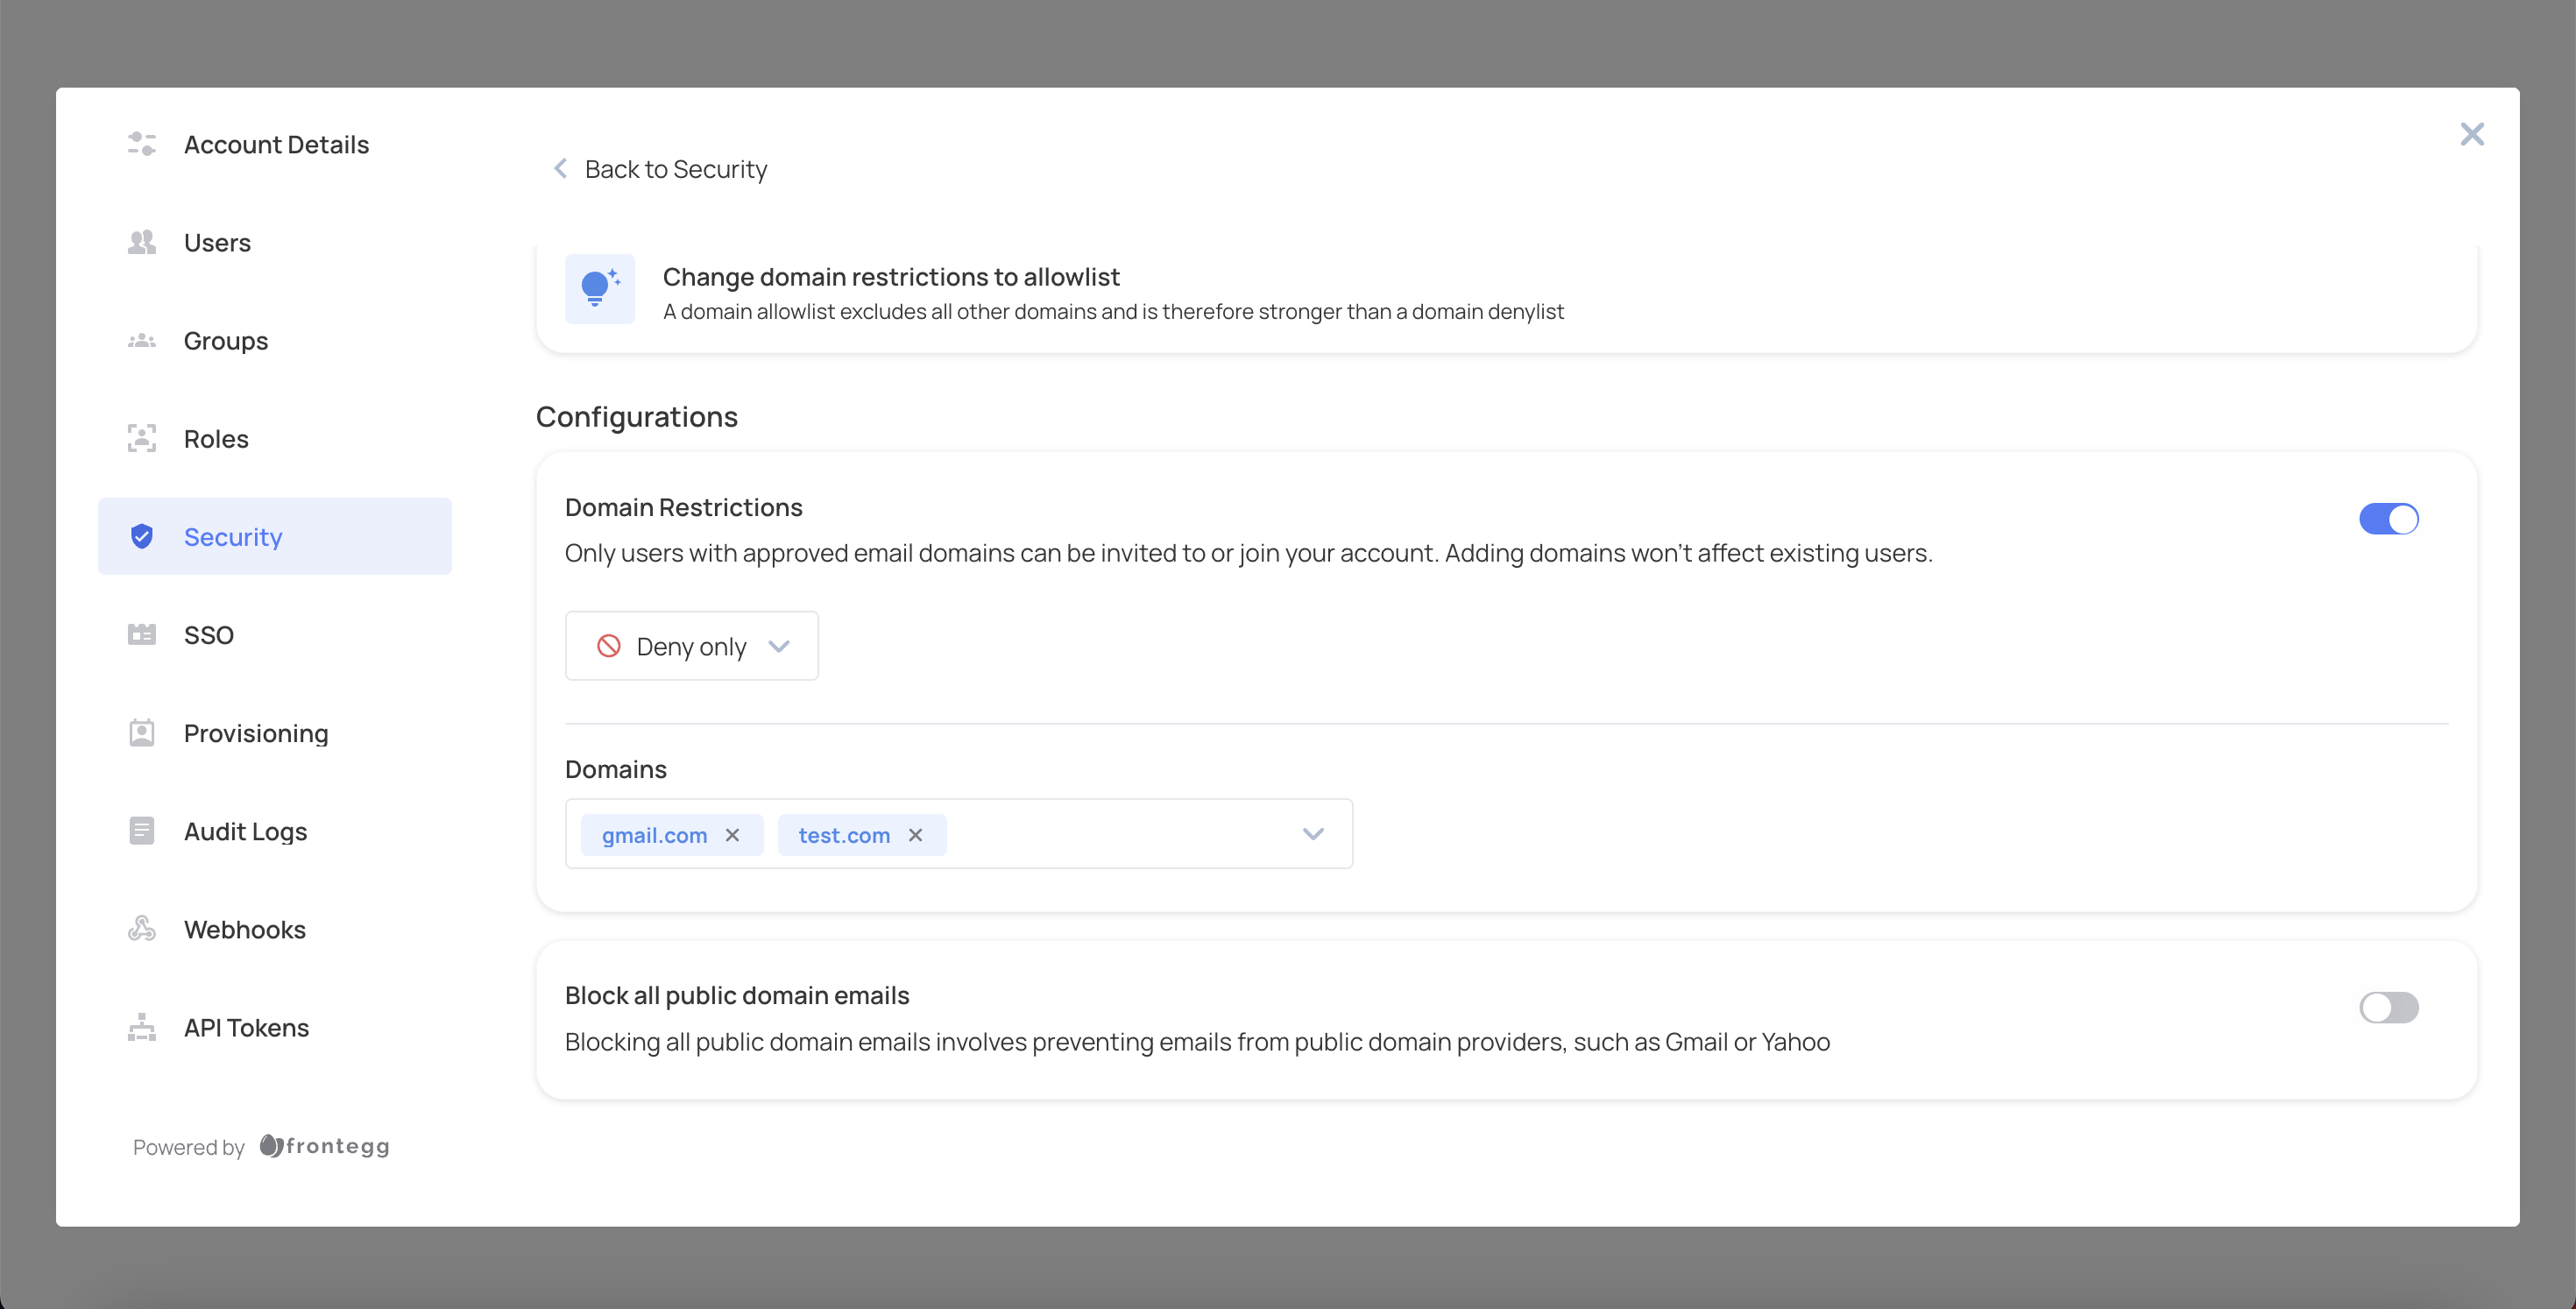
To delete a domain from the list, click the X icon next to the domain you want to remove.
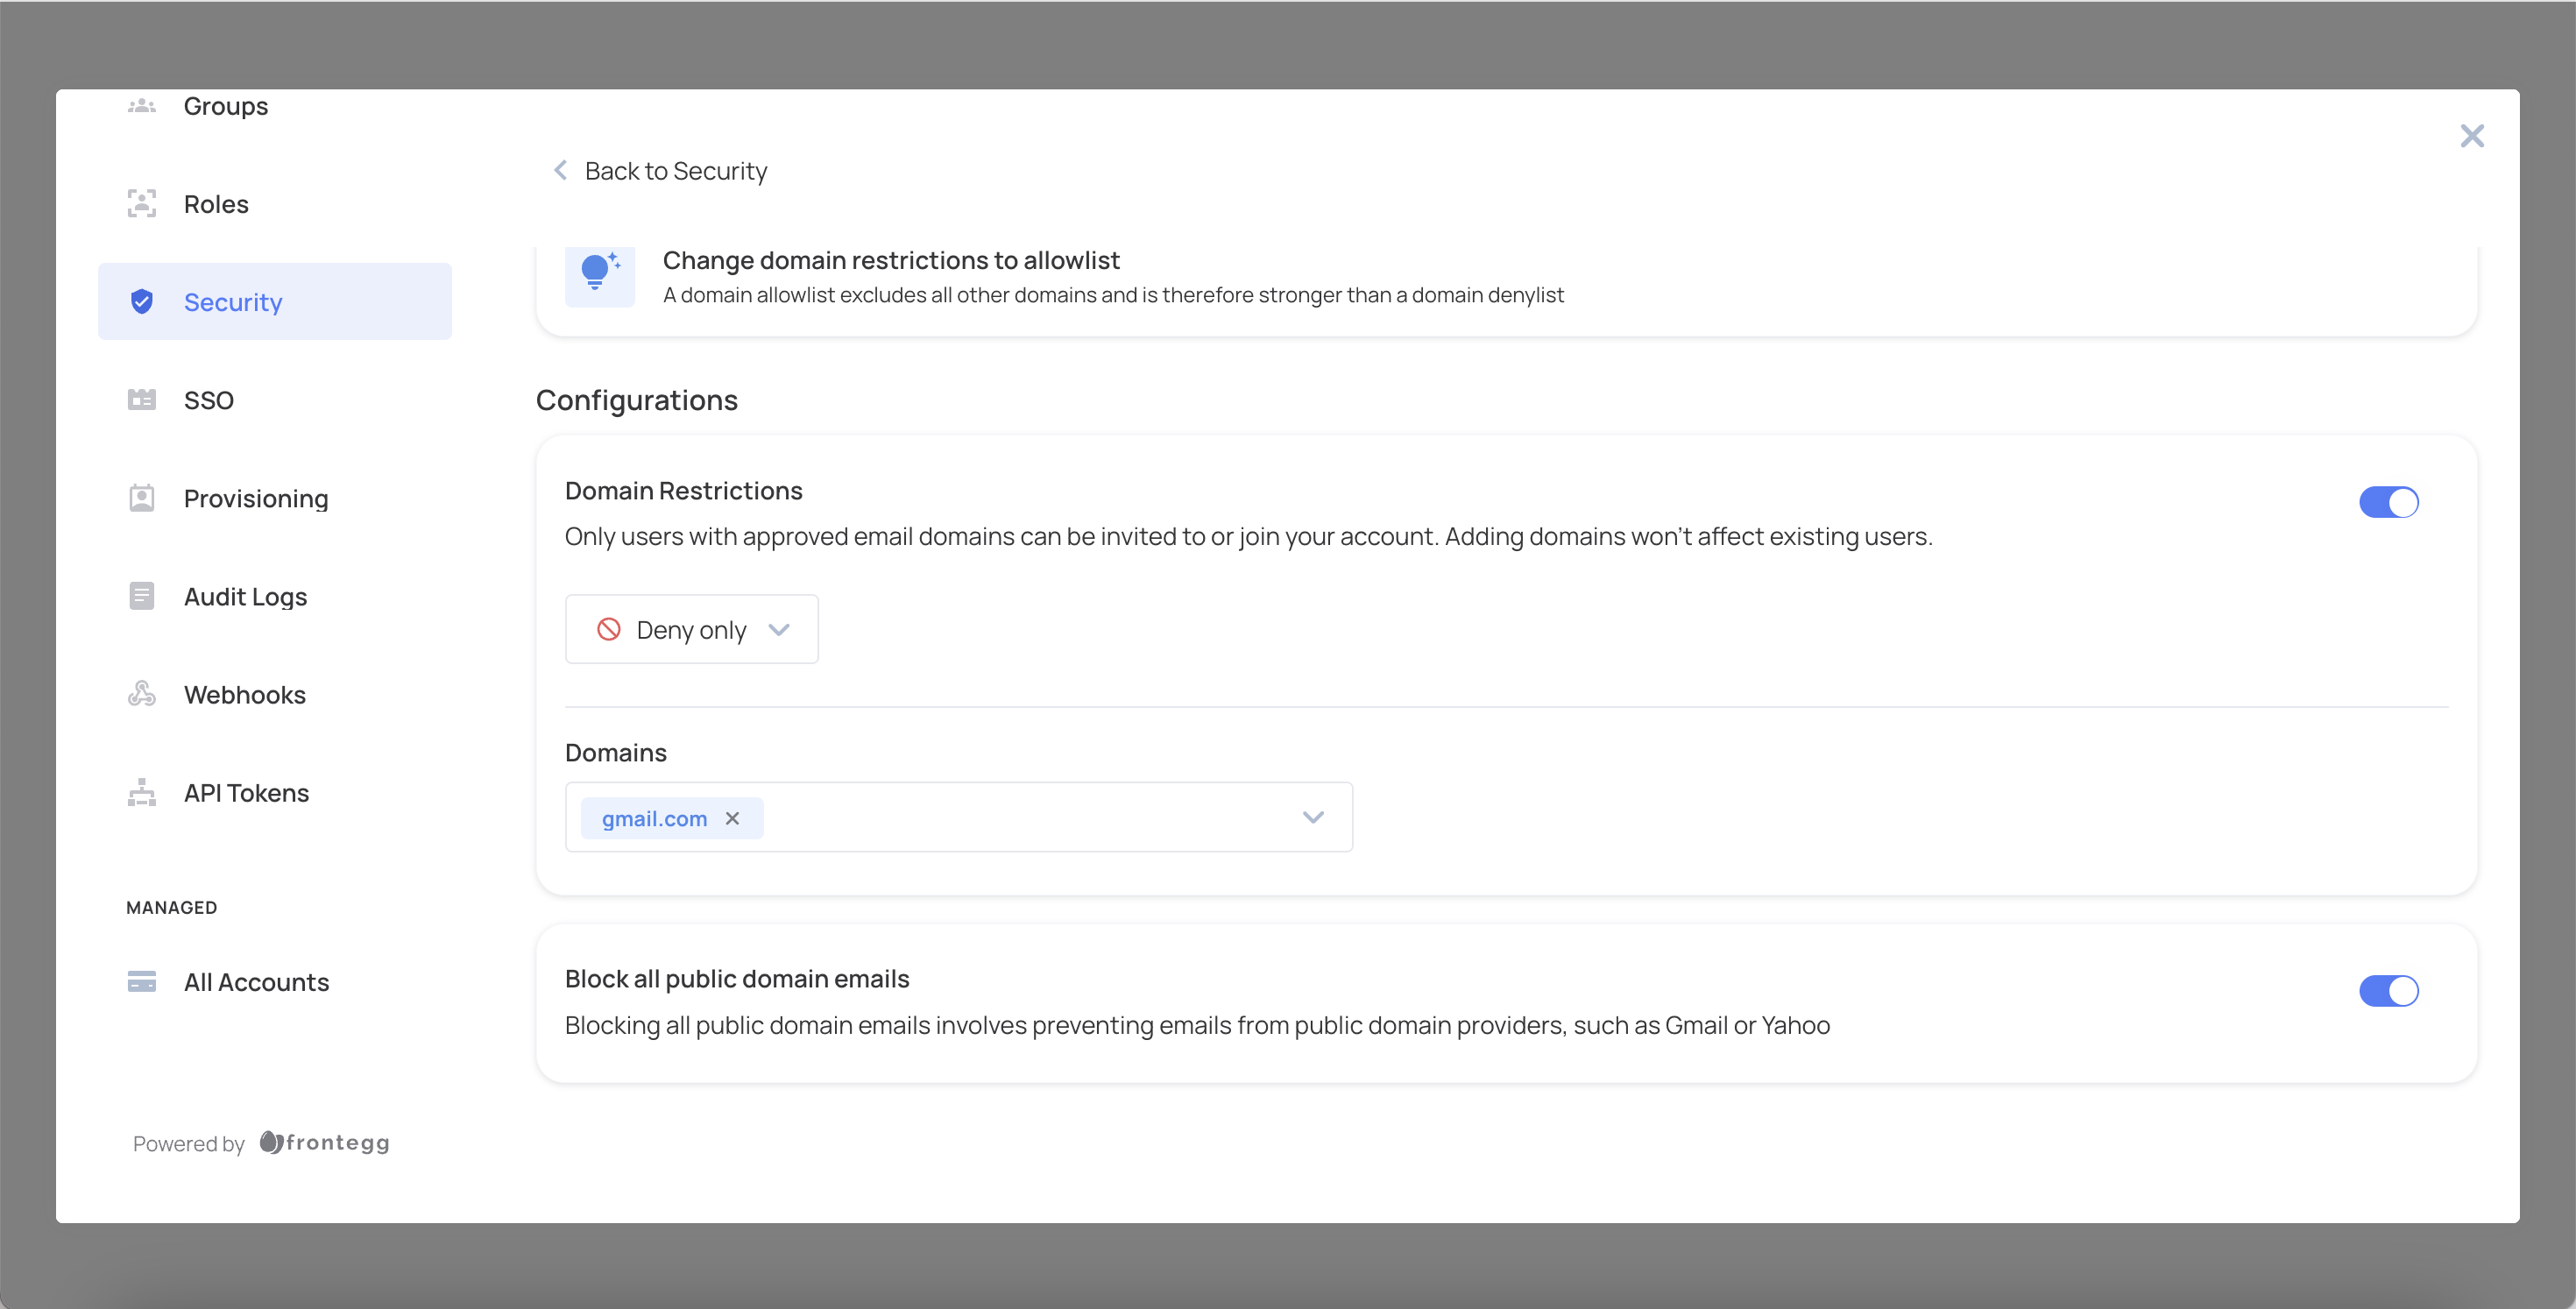
To block all public domain emails, toggle the Block all public domain emails switch on.
To enhance security, you can restrict sign-up and login access based on countries. Country restrictions can be configured as an allow list or a block list. With an allow list, users can sign up and log in only from countries on the list. With a block list, users are denied access when their sign-up or login request is resolved to one of the listed countries.
Country restrictions are evaluated during sign-up and login. Already logged-in users are not re-evaluated until their next login attempt.
Log in to your application and in the Admin Portal navigate to the Security tab.
Scroll down to the Restriction section and click Manage.
Click the Country tab and enable Country restriction by toggling the switch.
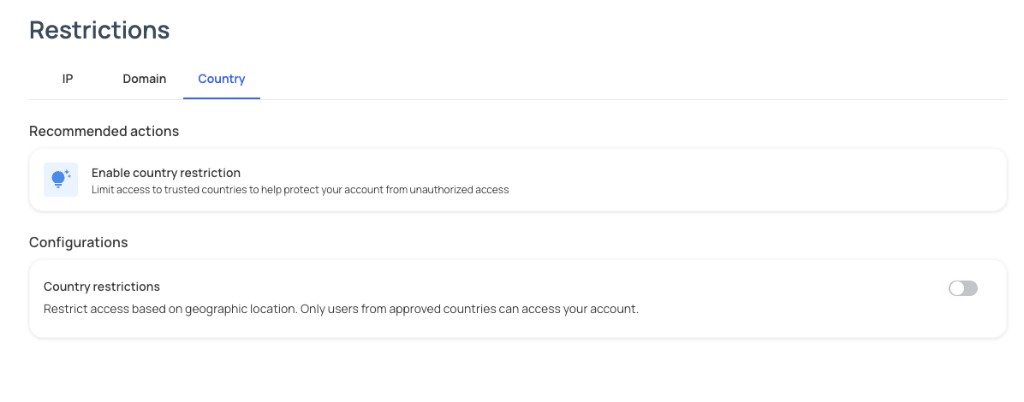
Select a restriction method from the dropdown menu: Allow only or Deny only.
Click Add country.
Select the country from the country list. Countries are stored as ISO 3166-1 alpha-2 country codes.
Click Add to add the country to the configured list.
To remove a country from the list, click the removal control next to the country you want to remove and confirm the deletion.
To disable country restriction, turn off the Country restriction toggle.