Creating a custom prehook can be done in several easy steps:
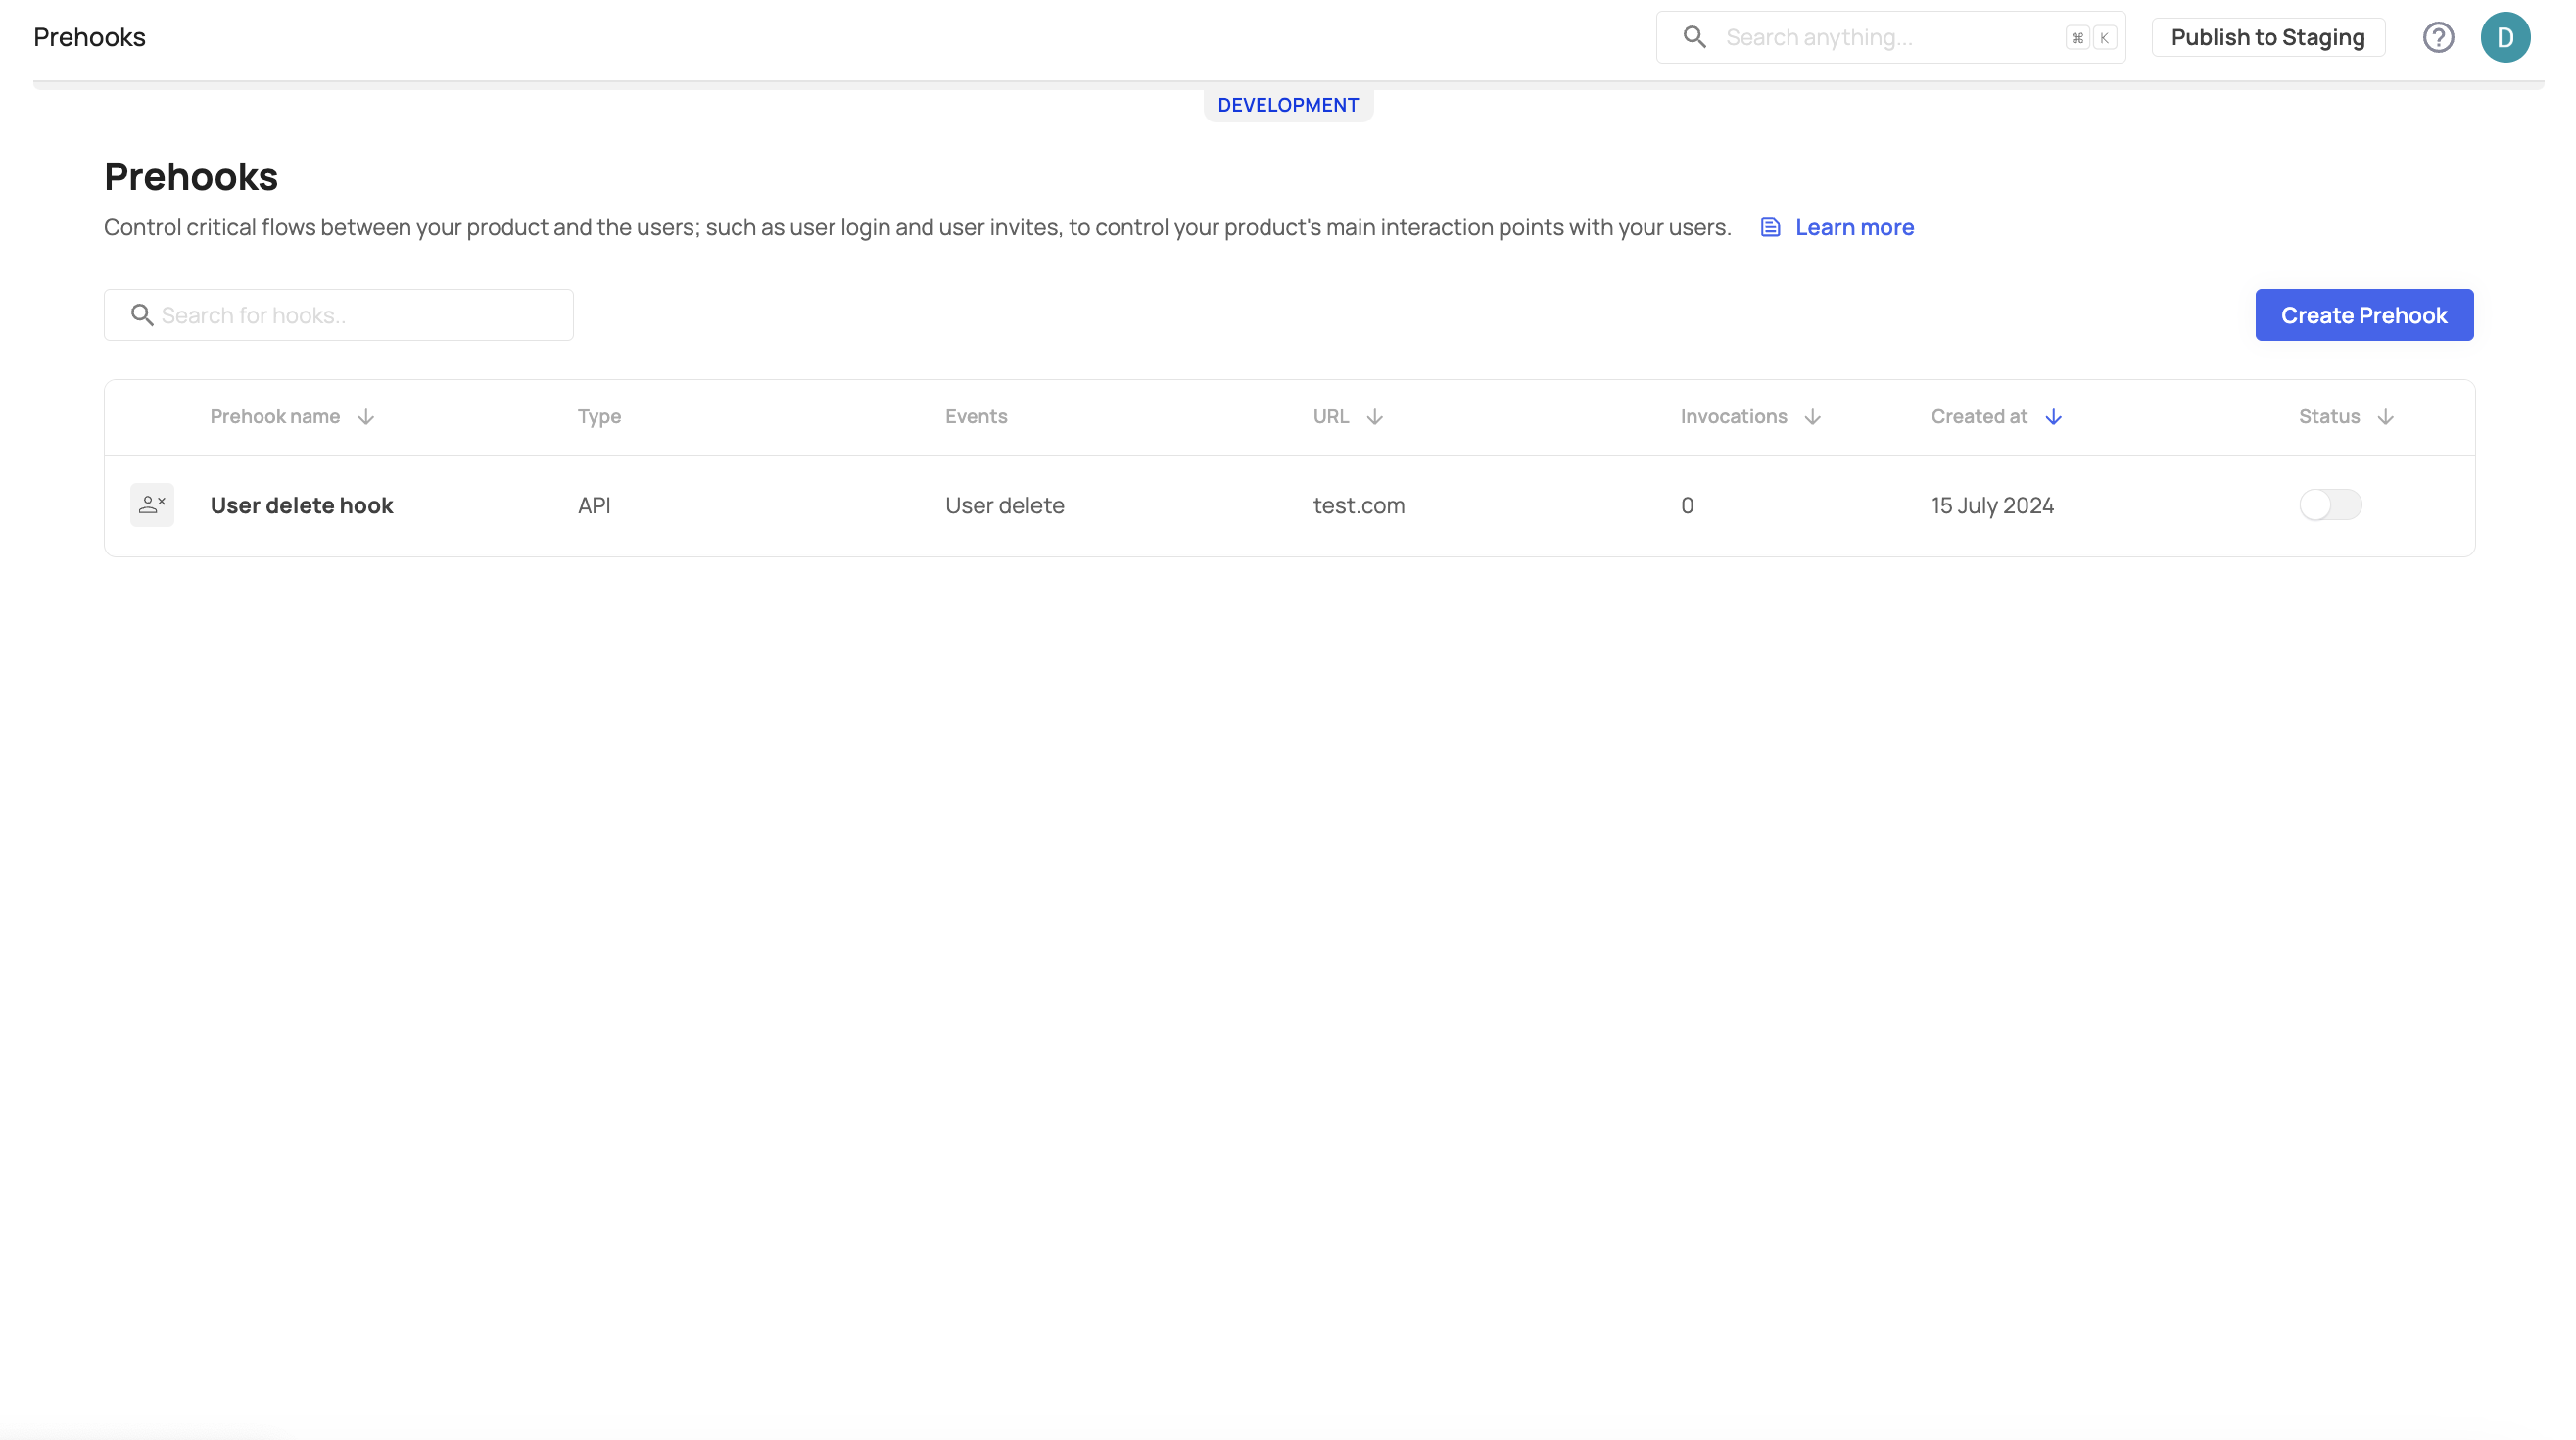
- Head over to your prehooks tab [ENVIRONMENT] → Prehooks, and press the Create Prehook button to create a new prehook.
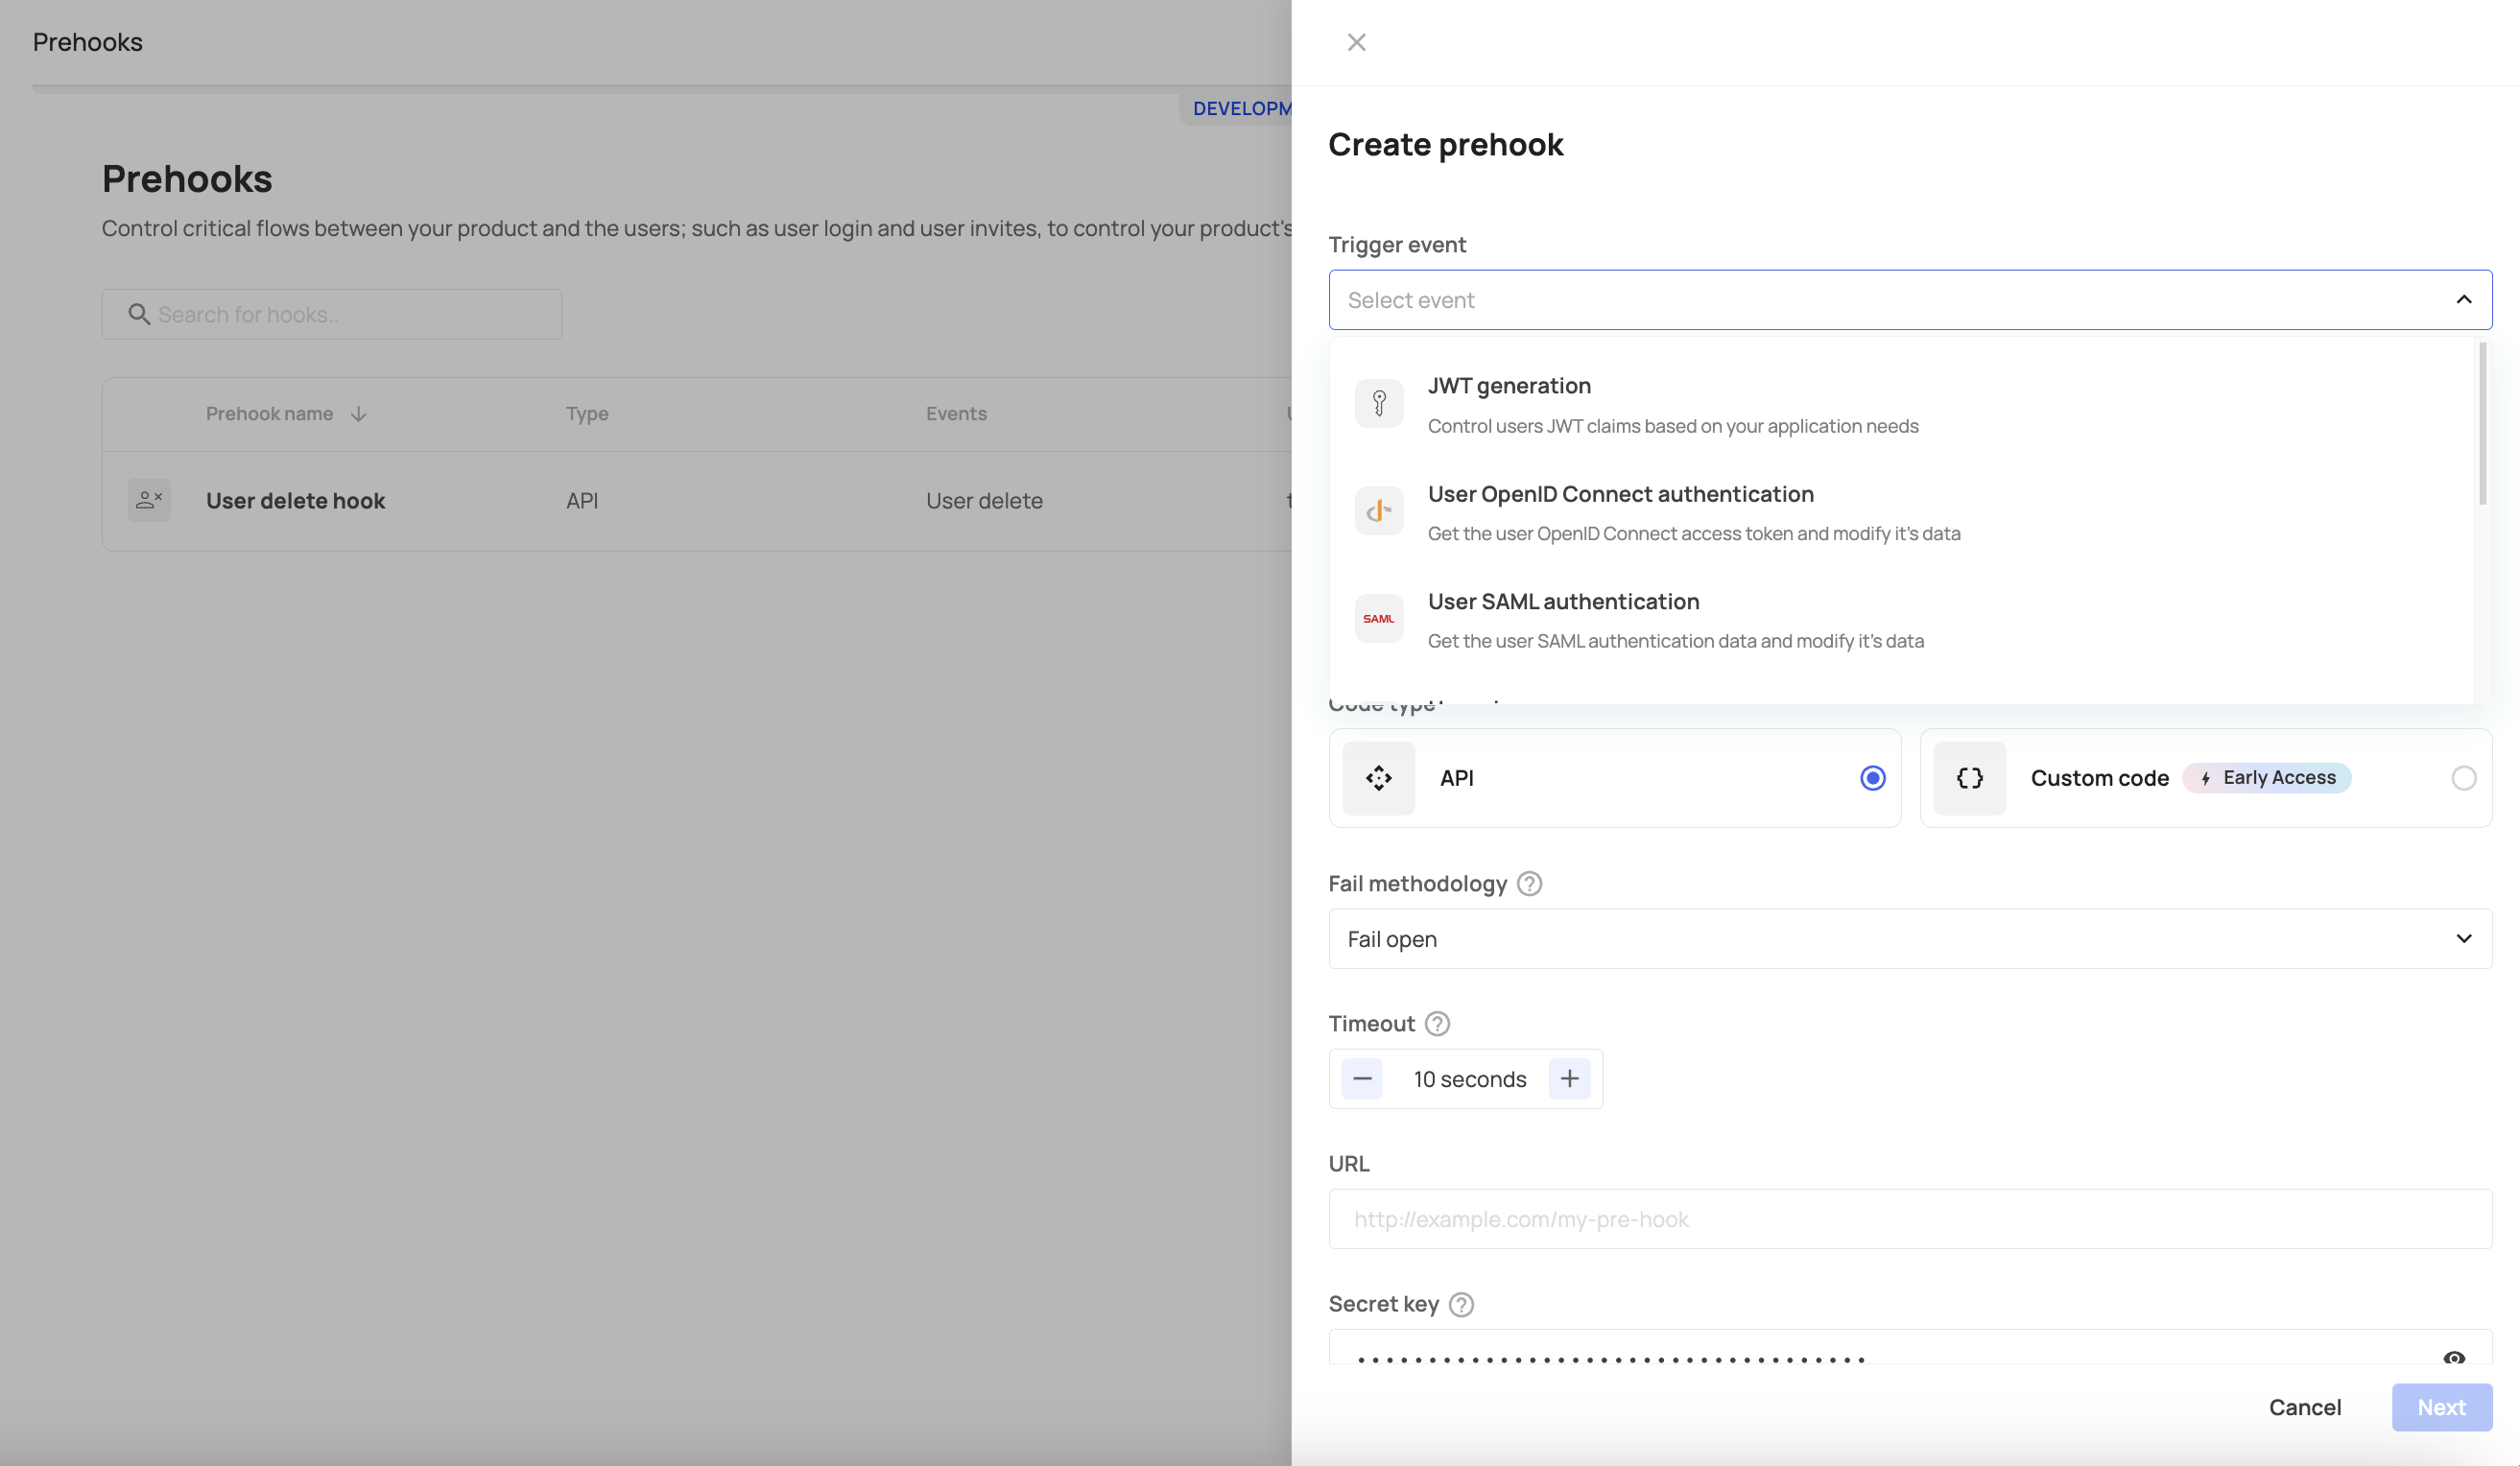
- Define your required settings, e.g., trigger event, prehook type (in our case, it would be a Custom code prehook), the prehook's timeout, etc.
- Test your prehook before activation.
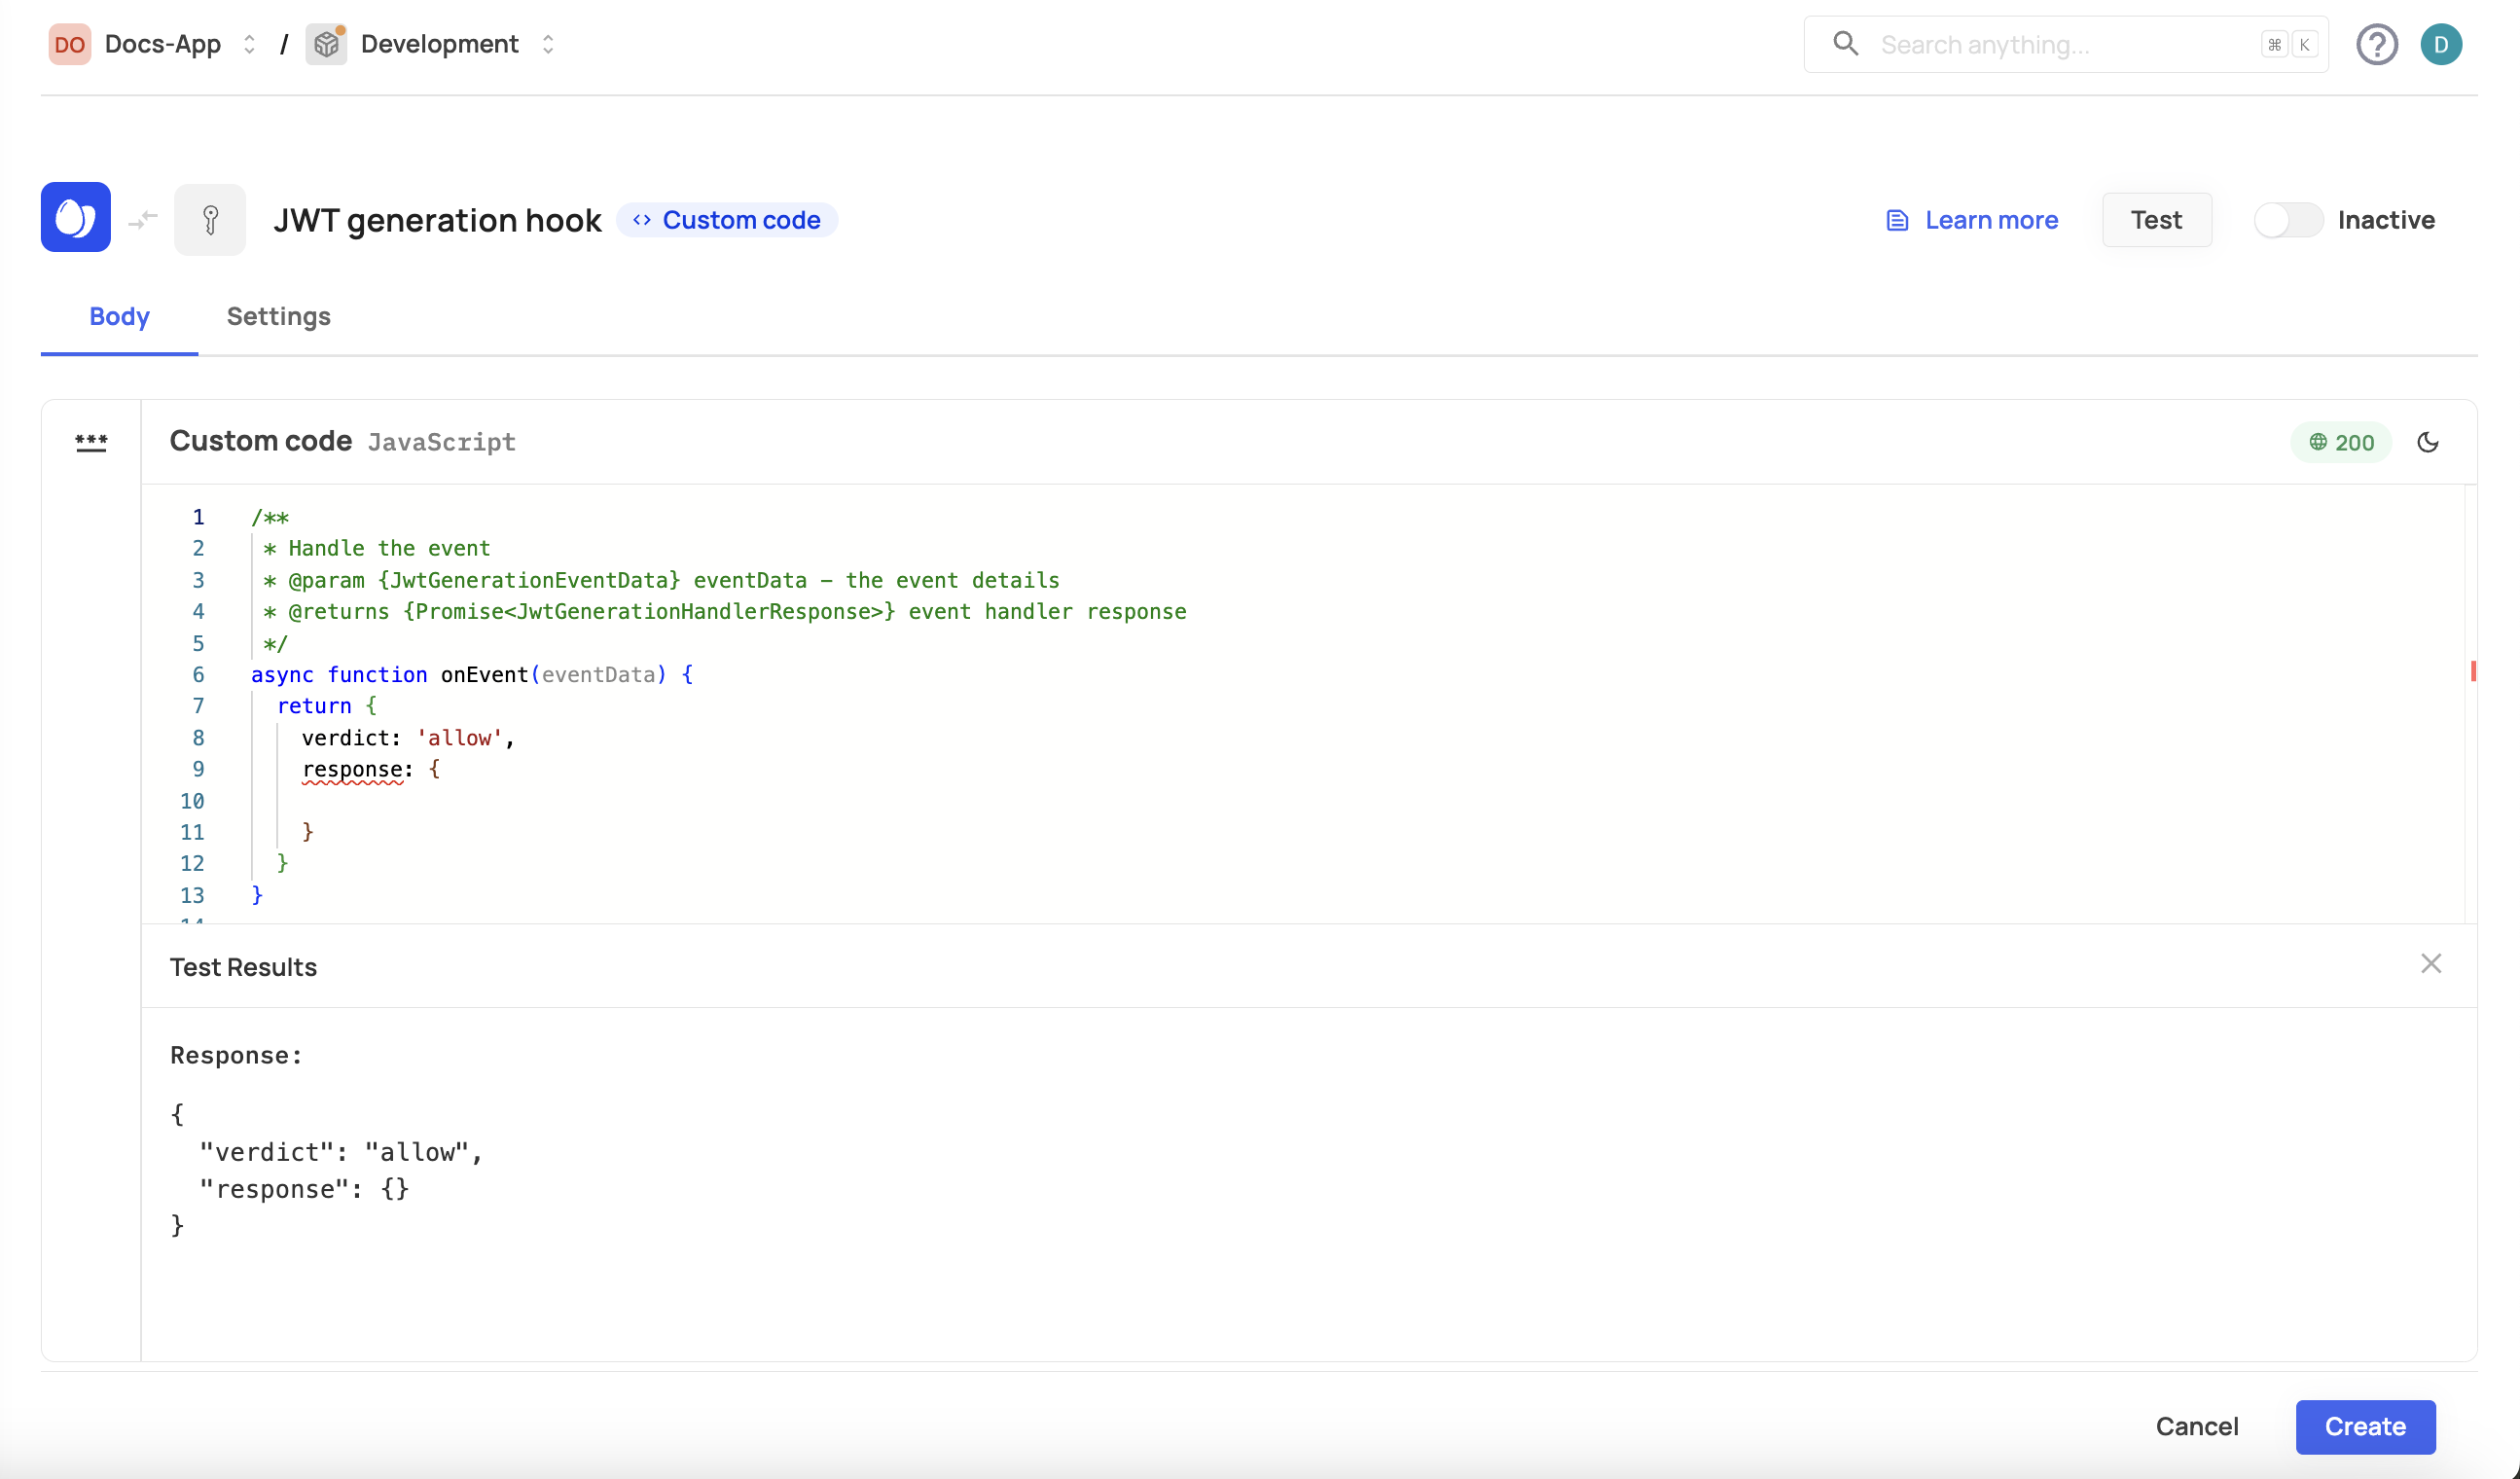
Custom prehooks extend your existing Frontegg flows to allow you to customize your user journey further. The following example demonstrates how to customize a prehook for a user authentication flow with the ability to control the verdict (see possible verdicts in the prehooks topic) of the user after opting to log in. Note that this option has a predefined template that you can use.
The following code sample checks if an email address provided during a sign-up event is valid and belongs to an allowed domain. If the email is invalid or not from an allowed domain, it blocks the sign-up process; otherwise, it allows the user to proceed with the flow.
const ALLOWED_DOMAINS = ['gmail.com'];

/**
 * Handle the event
 * @param {SignUpEventData} eventData - the event details
 * @returns {Promise<SignUpHandlerResponse>} event handler response
 */
async function onEvent(eventData) {
   // ensure user email is present
   if (!eventData.data.user.email) {
      // note that userMessage (the second parameter) is displayed in red on the failed sign-up prompt
      return {
         continue: false,
         verdict: "block",
         error: {
            status: 400,
            message: ["Email is invalid"]
         }
      }
   }

   // ensure a reasonable format for the email
   const splitEMail = eventData.data.user.email.split('@');
   if (splitEMail.length !== 2) {
      // note that userMessage (the second parameter) is displayed in red on the failed sign-up prompt
      return {
         continue: false,
         verdict: "block",
         error: {
            status: 400,
            message: ["Email is invalid"]
         }
      }
   }

   // if the email domain is not explicitly in our allow list, deny access
   const domain = splitEMail[1].toLowerCase();
   if (ALLOWED_DOMAINS.indexOf(domain) < 0) {
      // note that userMessage (the second parameter) is displayed in red on the failed sign-up prompt
      return {
         continue: false,
         verdict: "block",
         error: {
            status: 400,
            message: ["Email is not allowed"]
         }
      }
   }

   return {
      continue: true,
      verdict: "allow",
      response: {}
   }
}

exports.onEvent = onEvent;
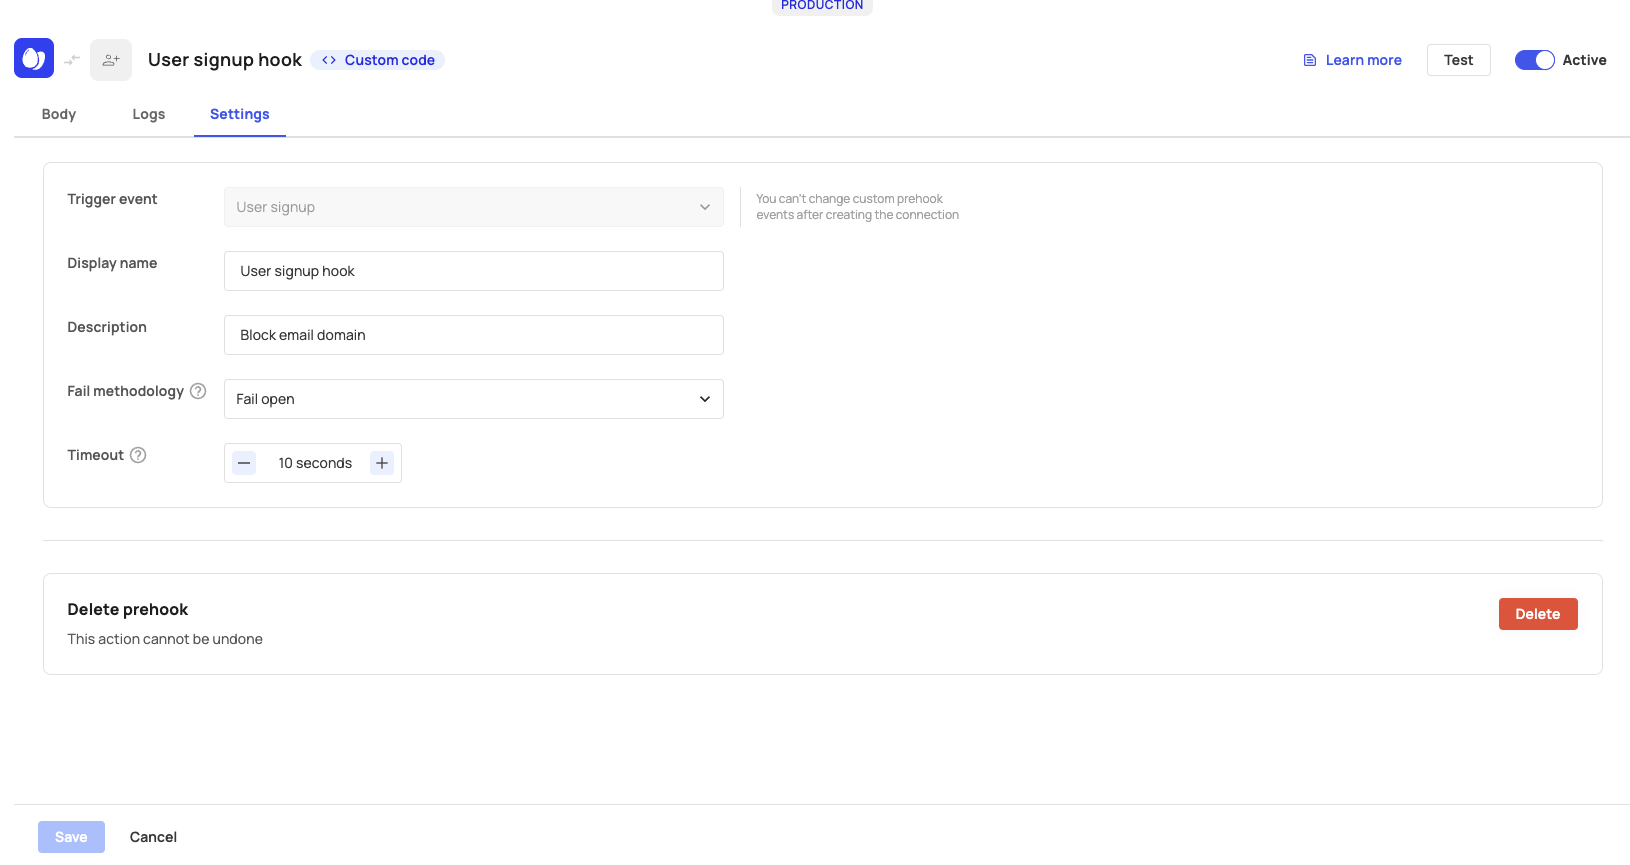
After testing and creating your prehook, you can view/change its settings and monitor its performance.
Trigger event change
Trigger event change
Note that you can't change your hook's trigger event after initiating its connection.