This guide outlines the steps to create and configure a SAML application in Okta, including setup, user assignments, and metadata submission.
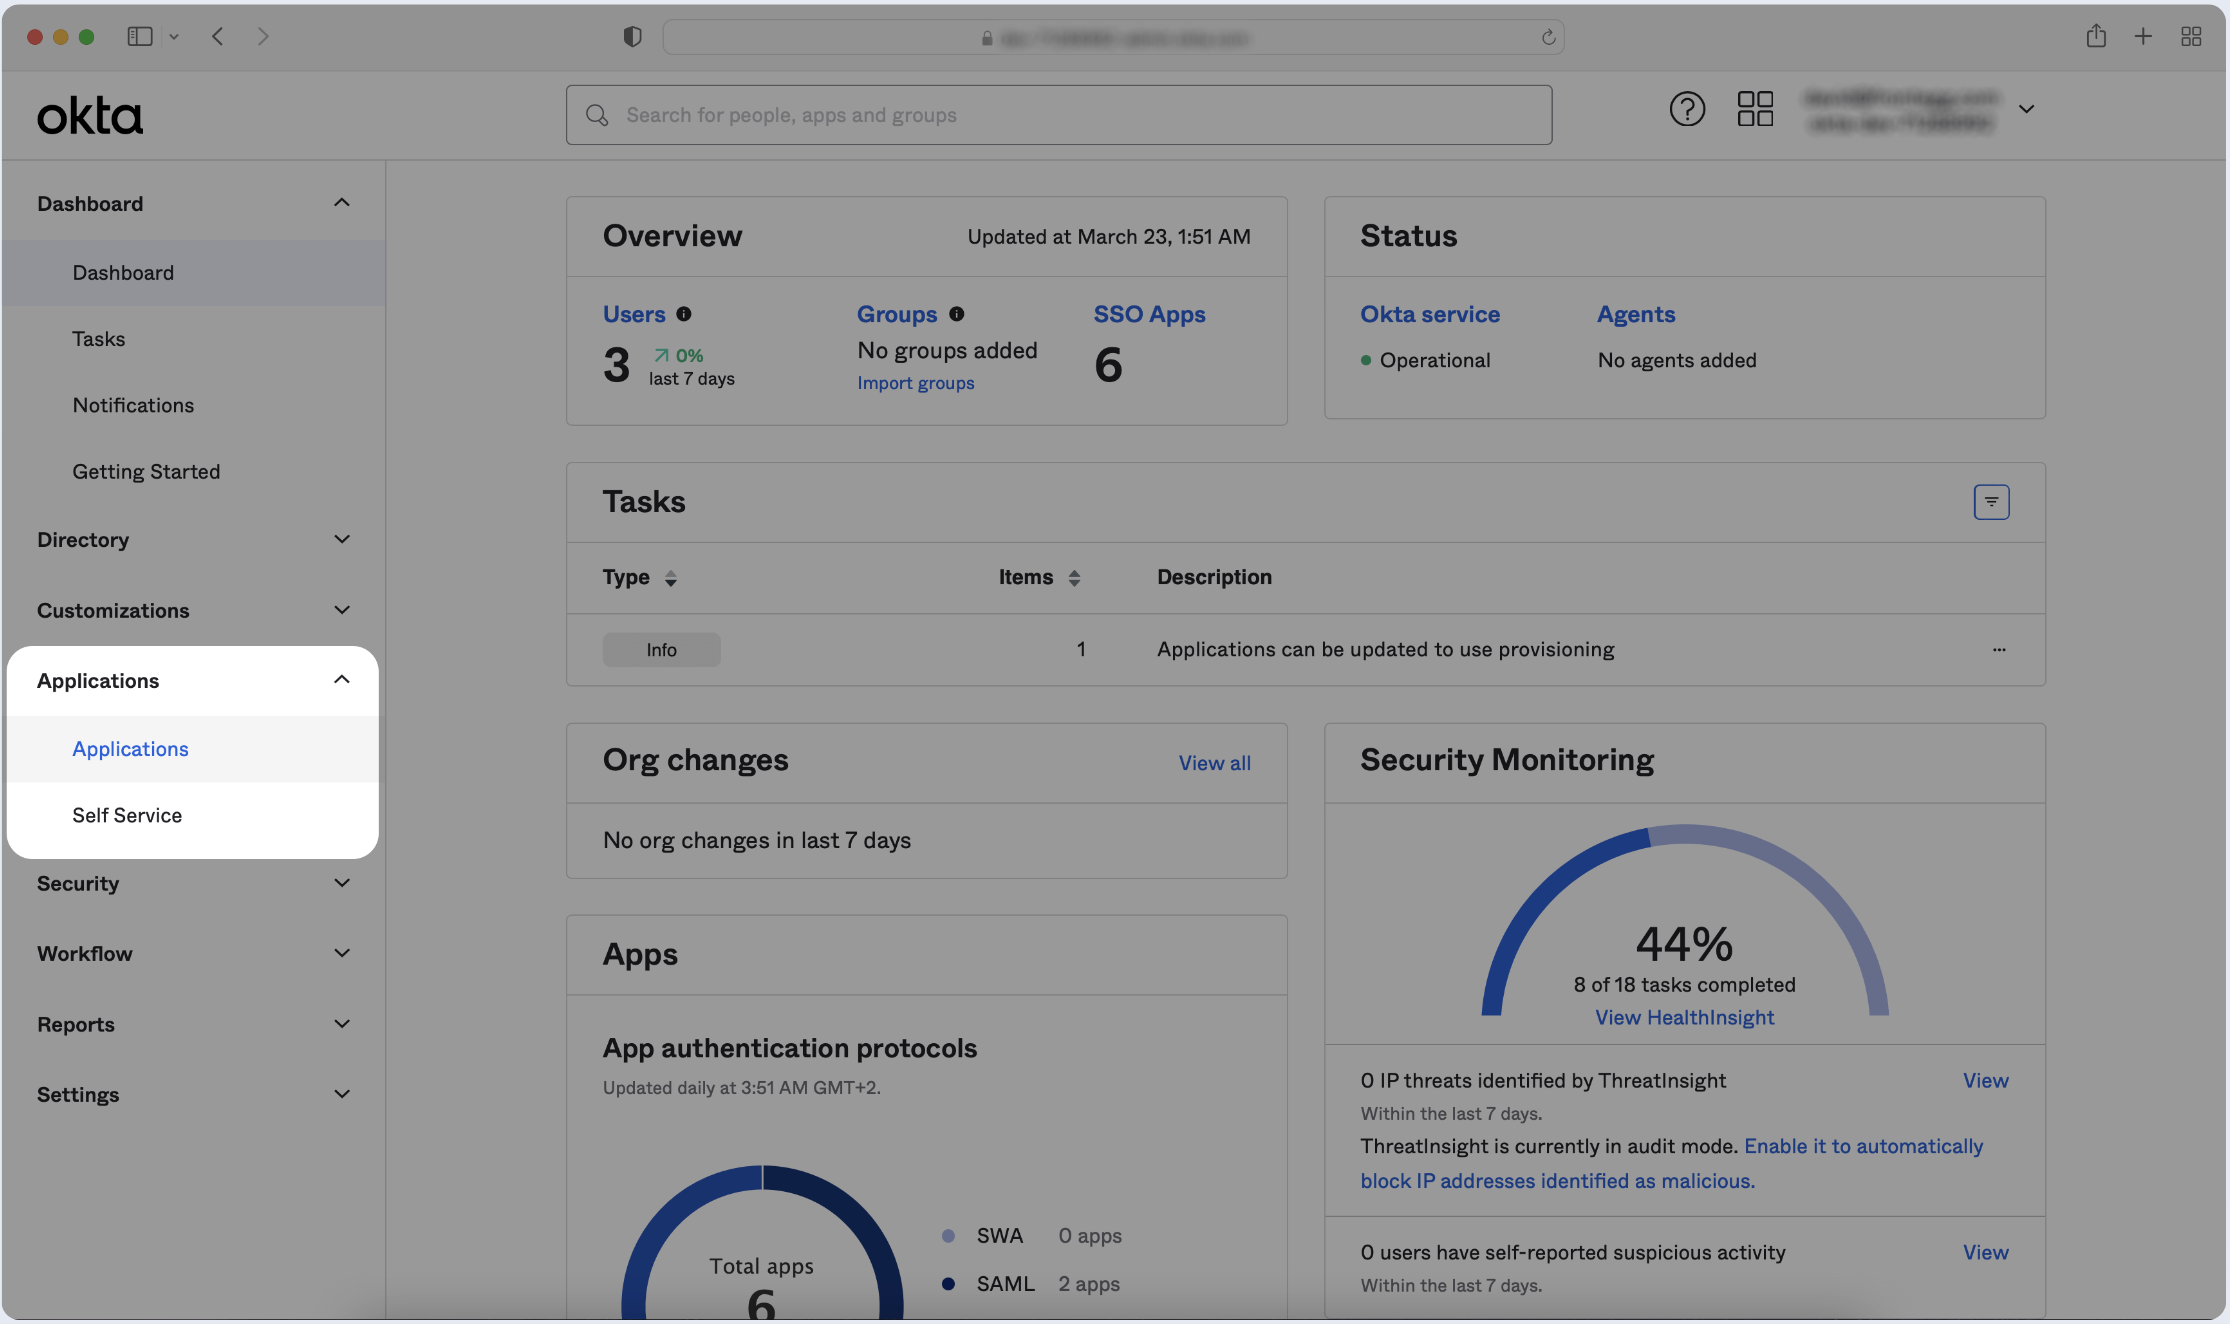
- Log in to your Okta Application Dashboard and click Applications in the sidebar.
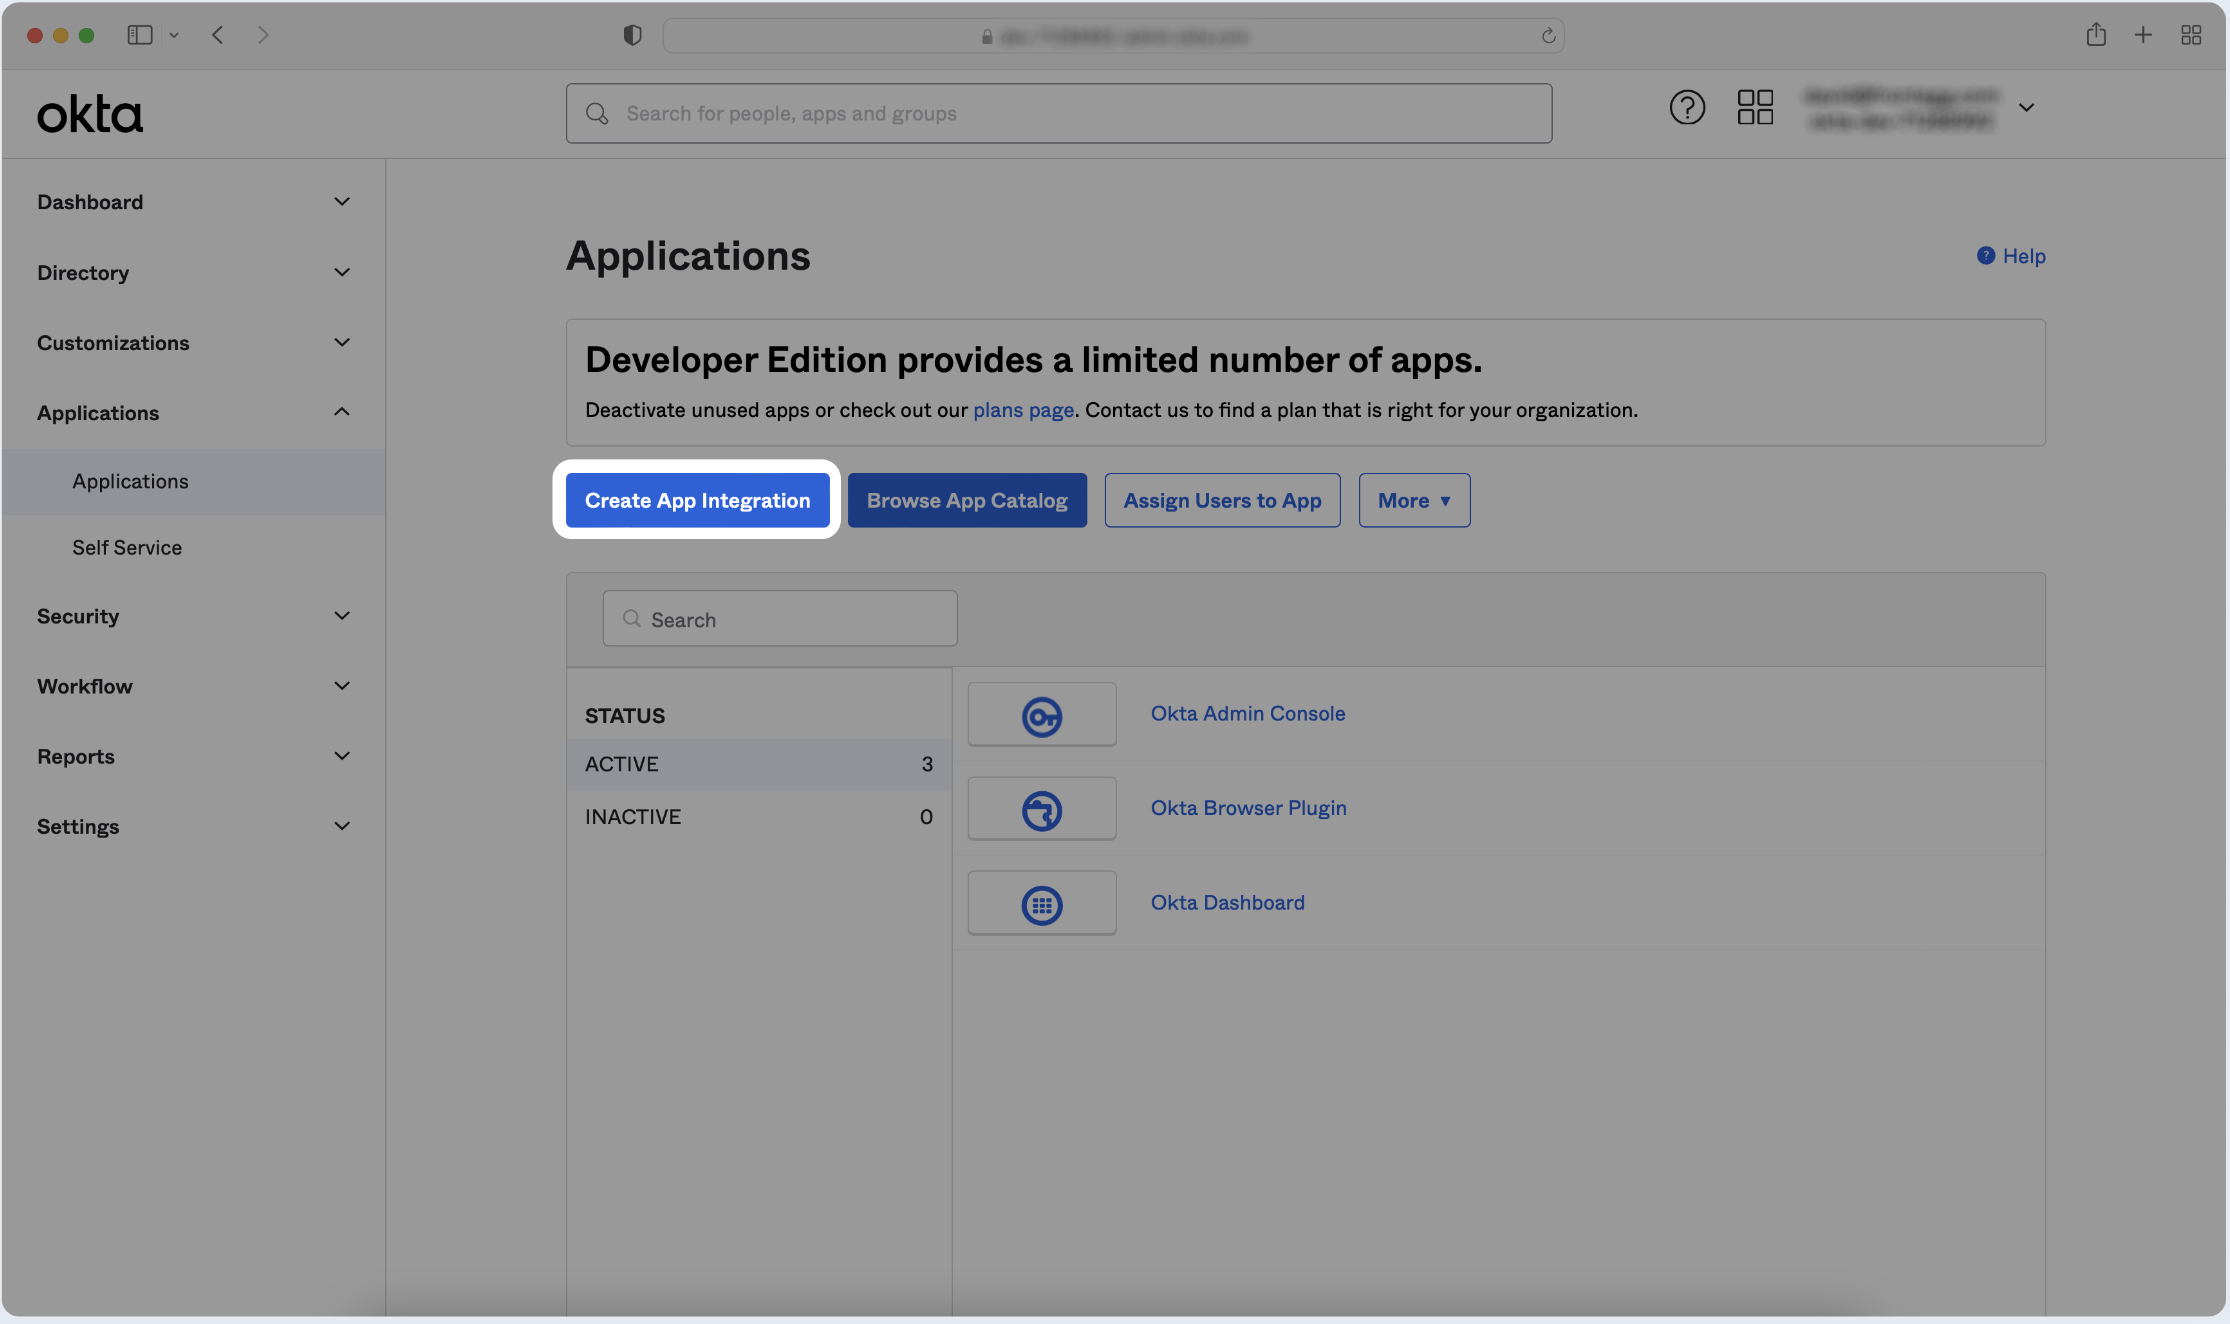
- Click Create App Integration.
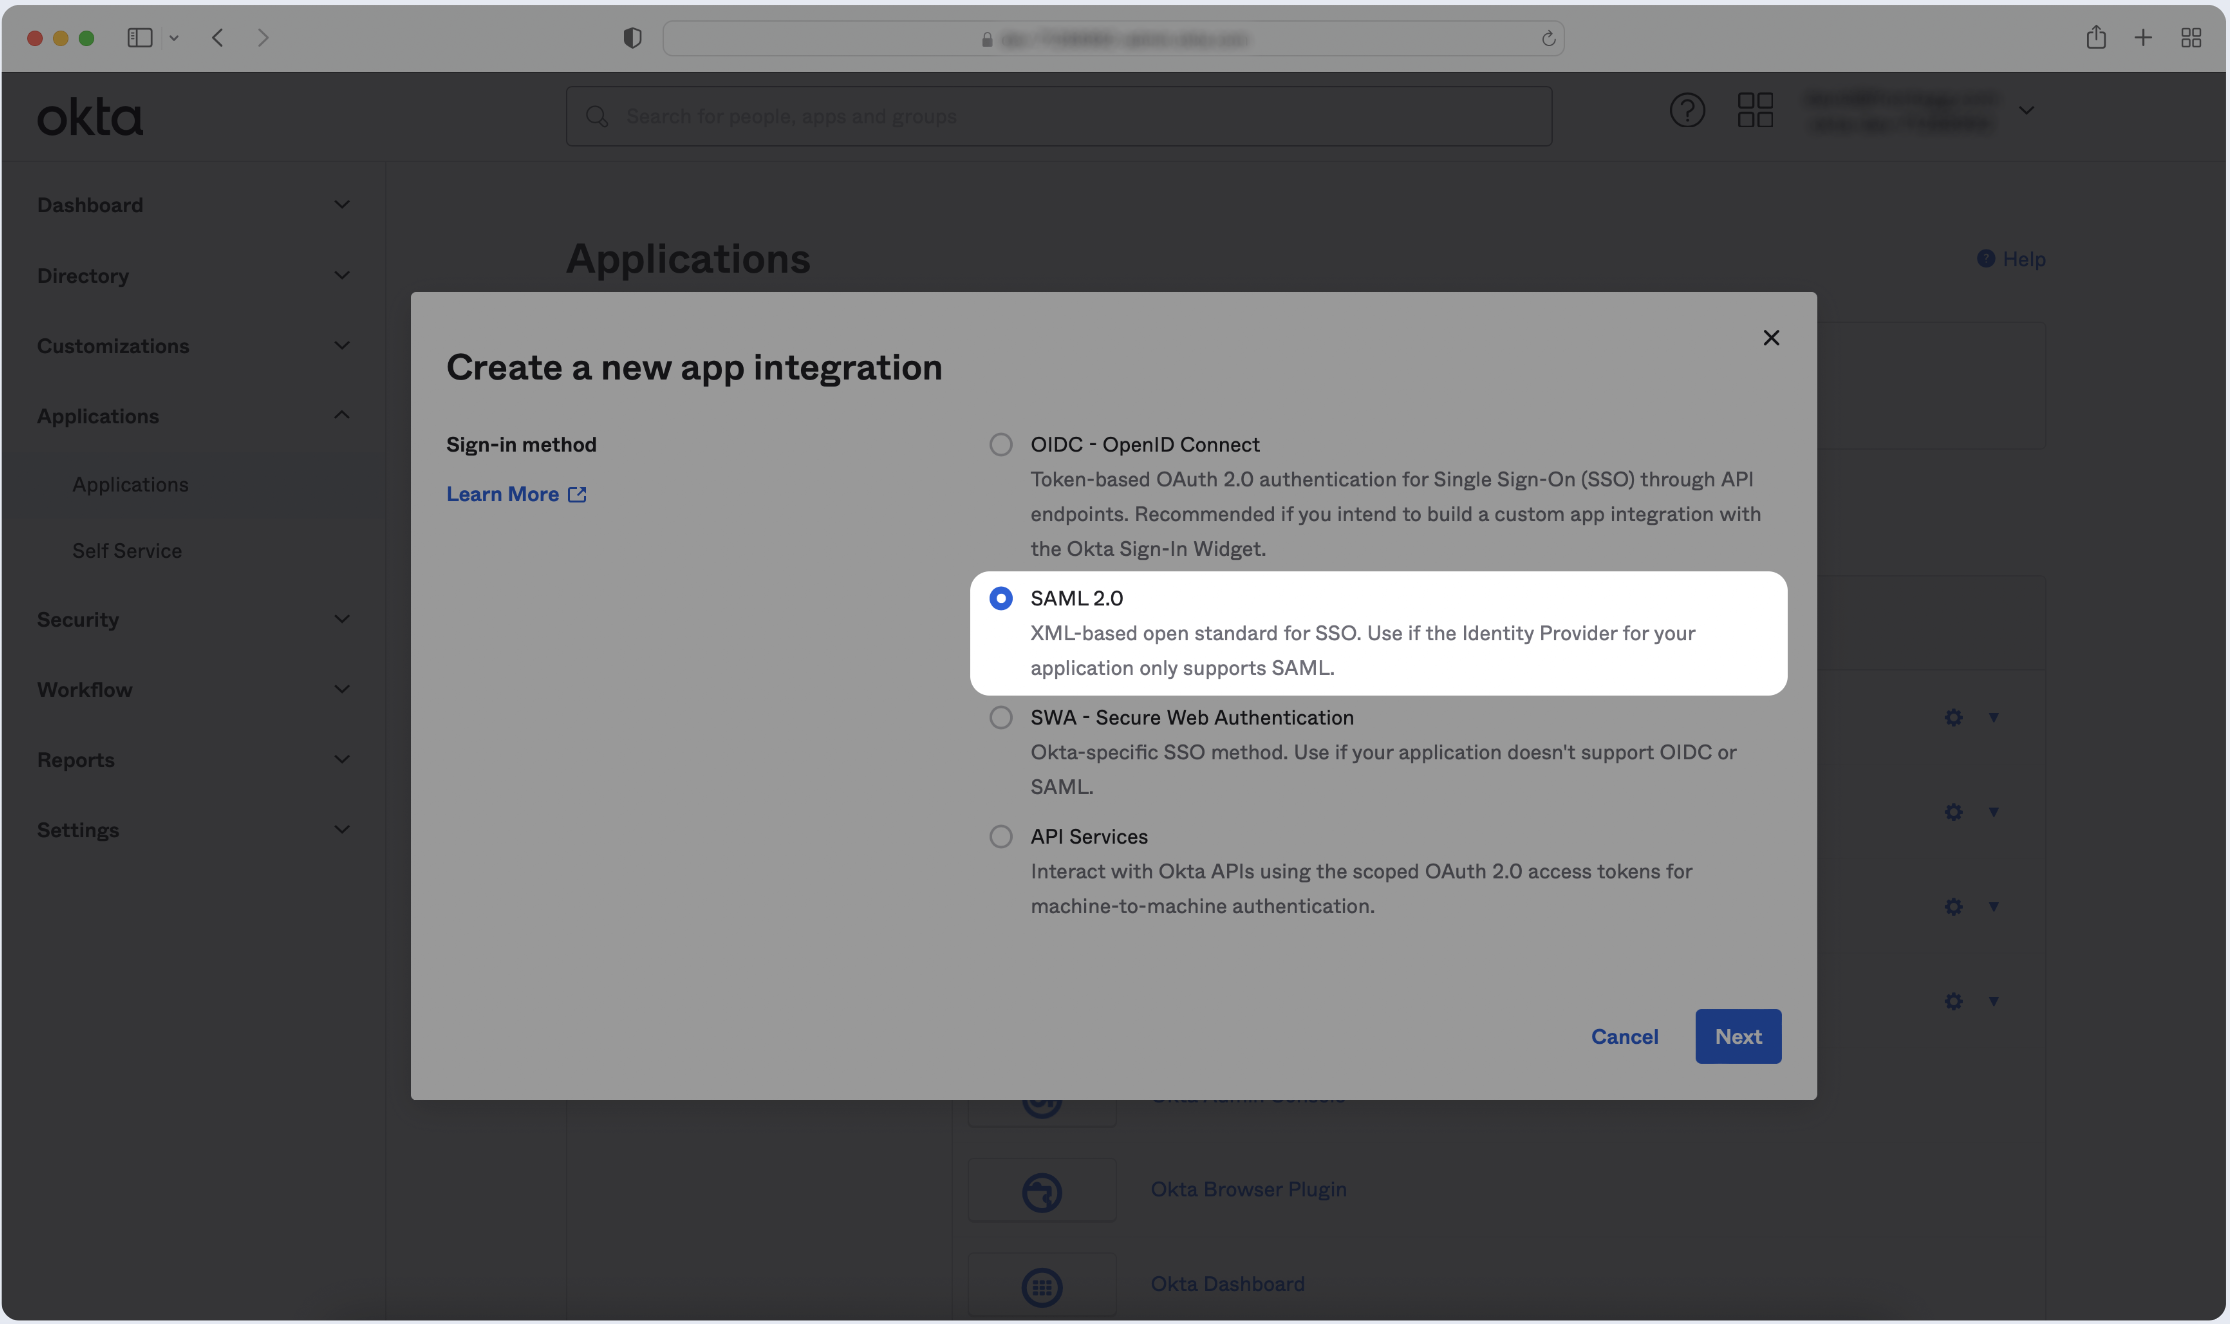
- Click Create New App and choose SAML 2.0 as the Sign-in method. Then, click Next.
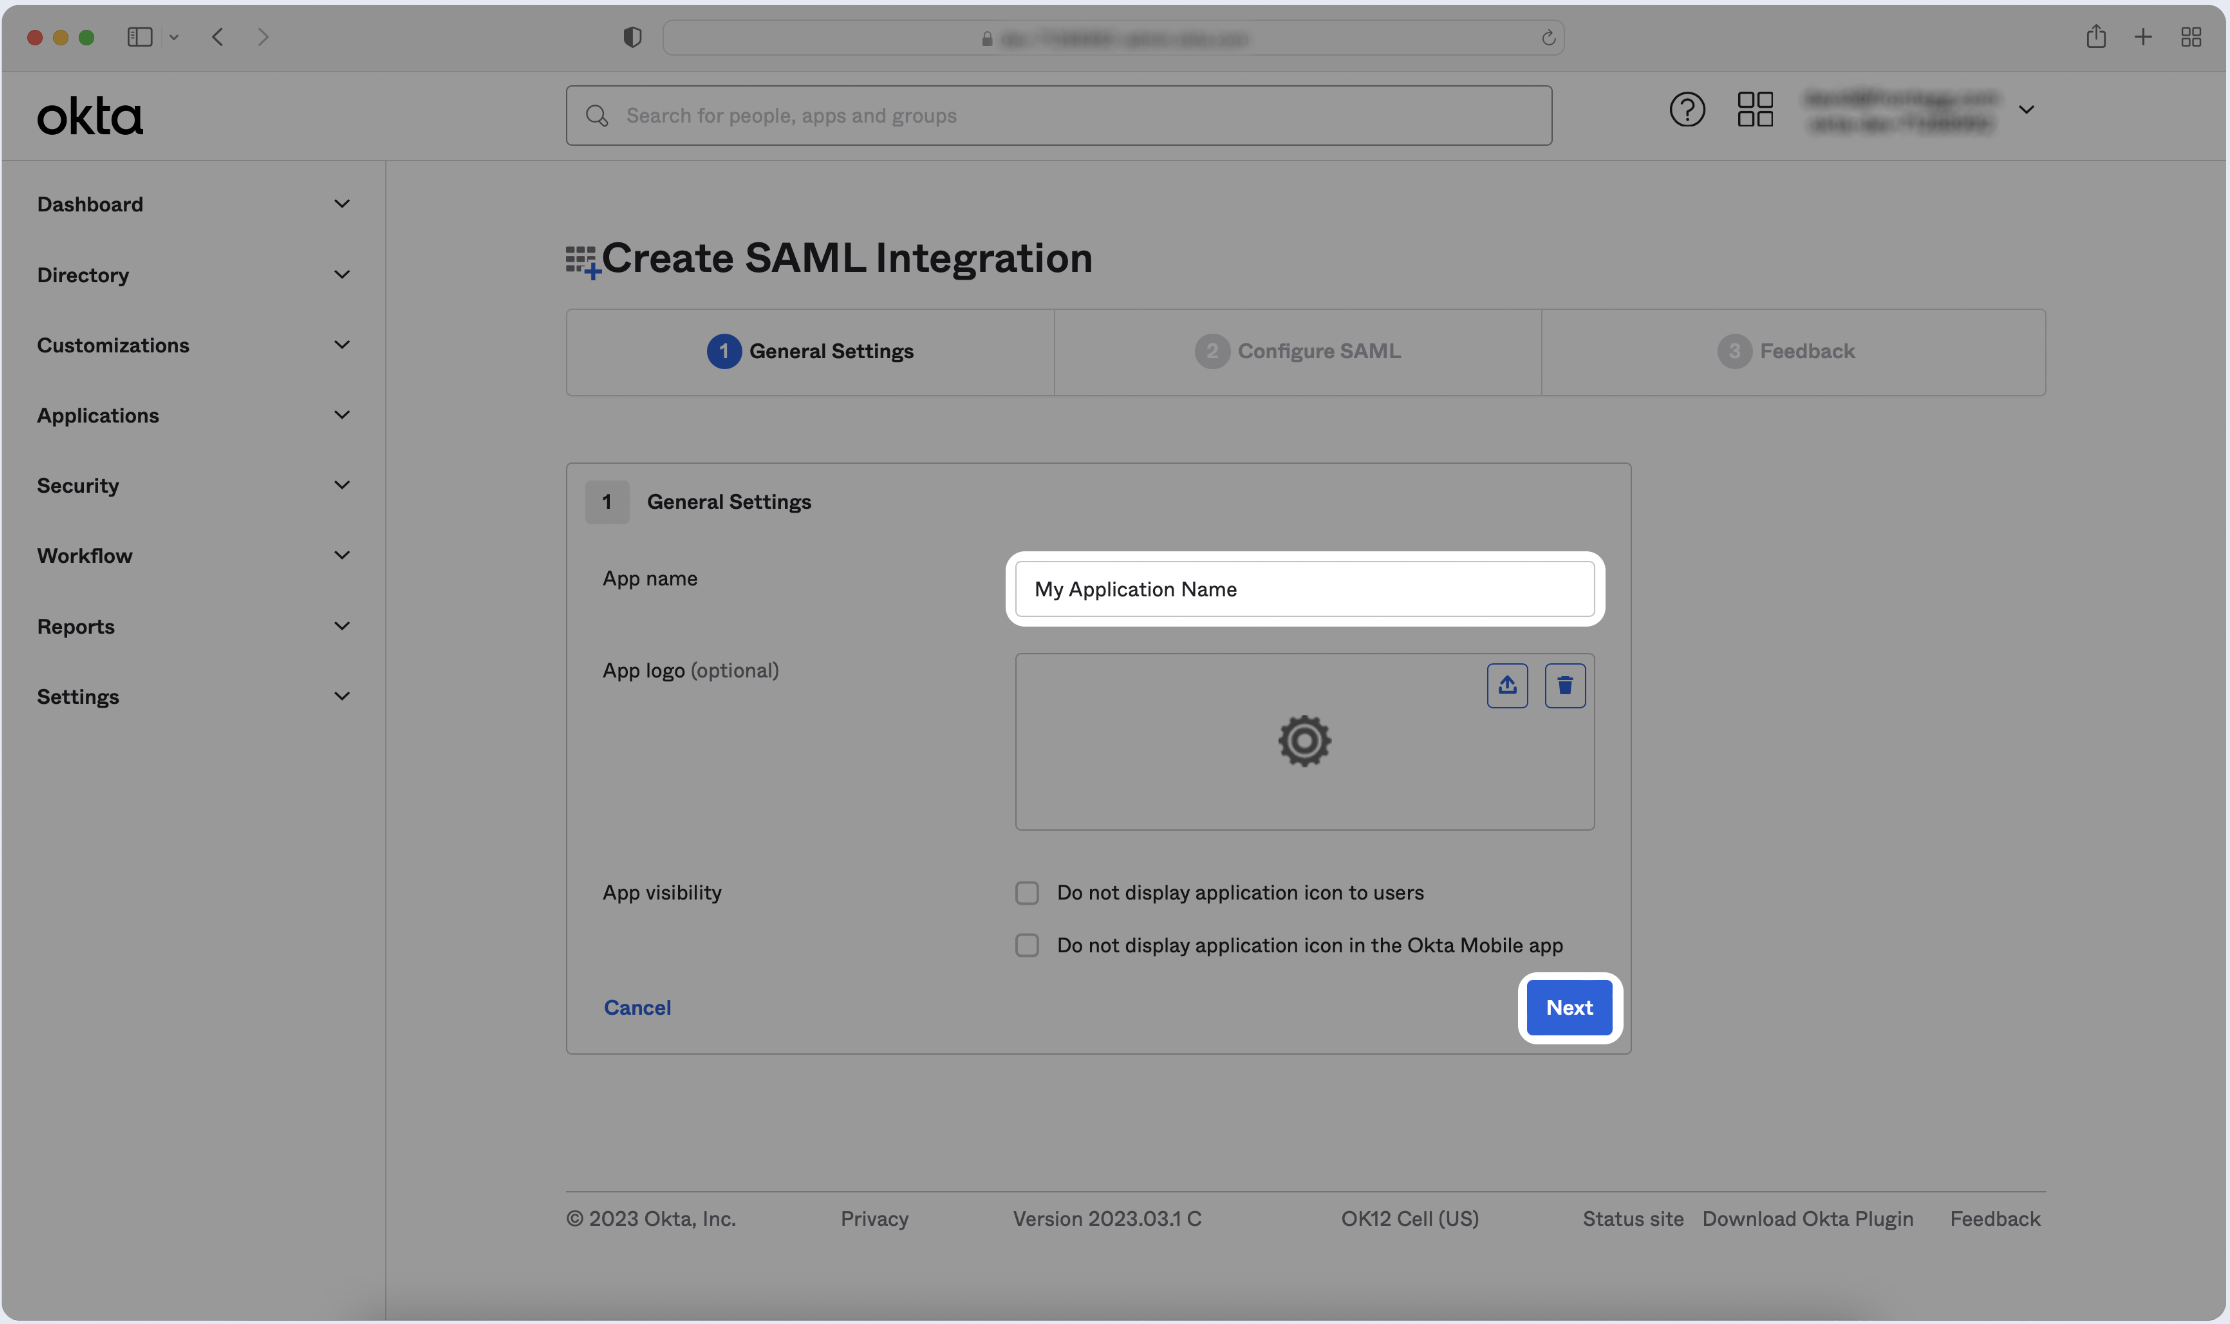
- Enter the name of your application, then click Next.
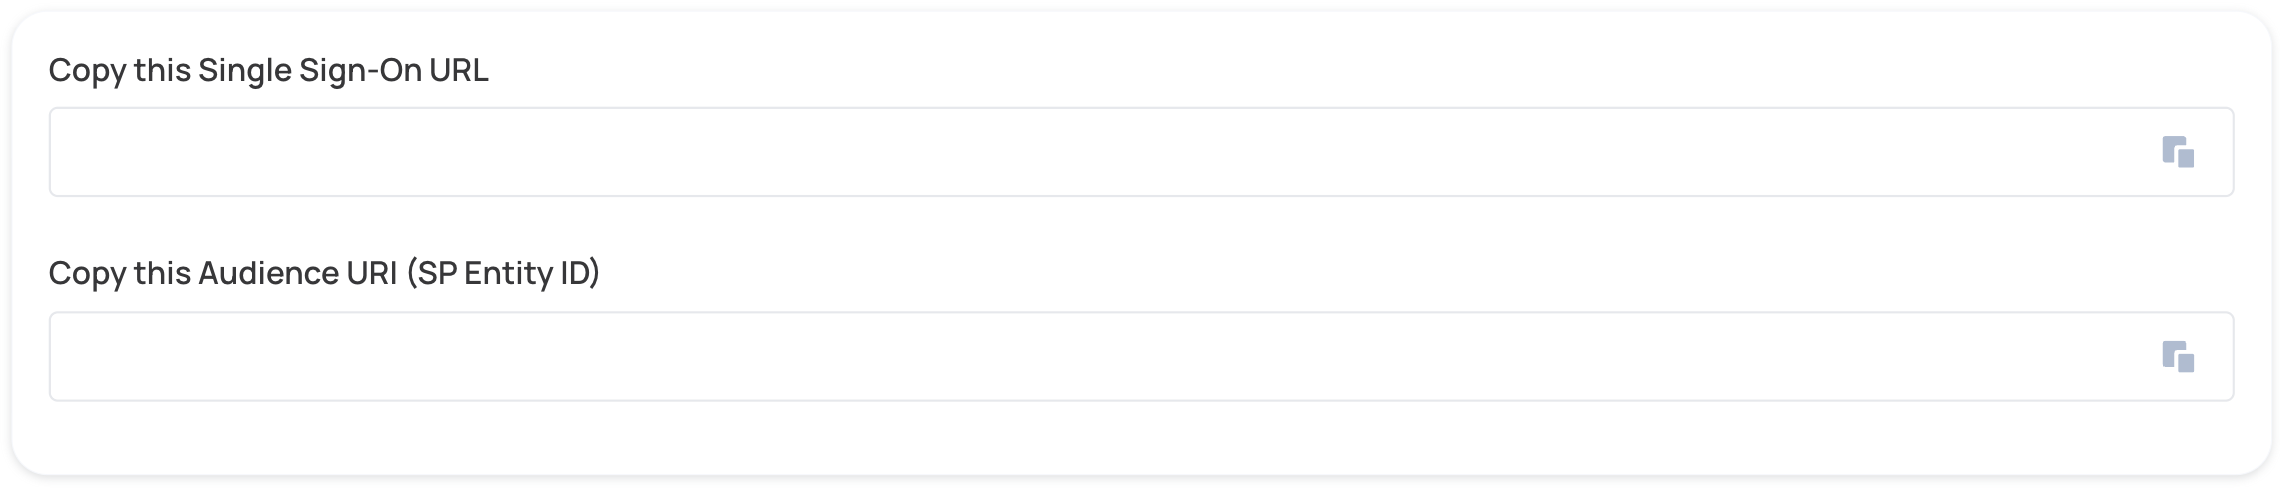
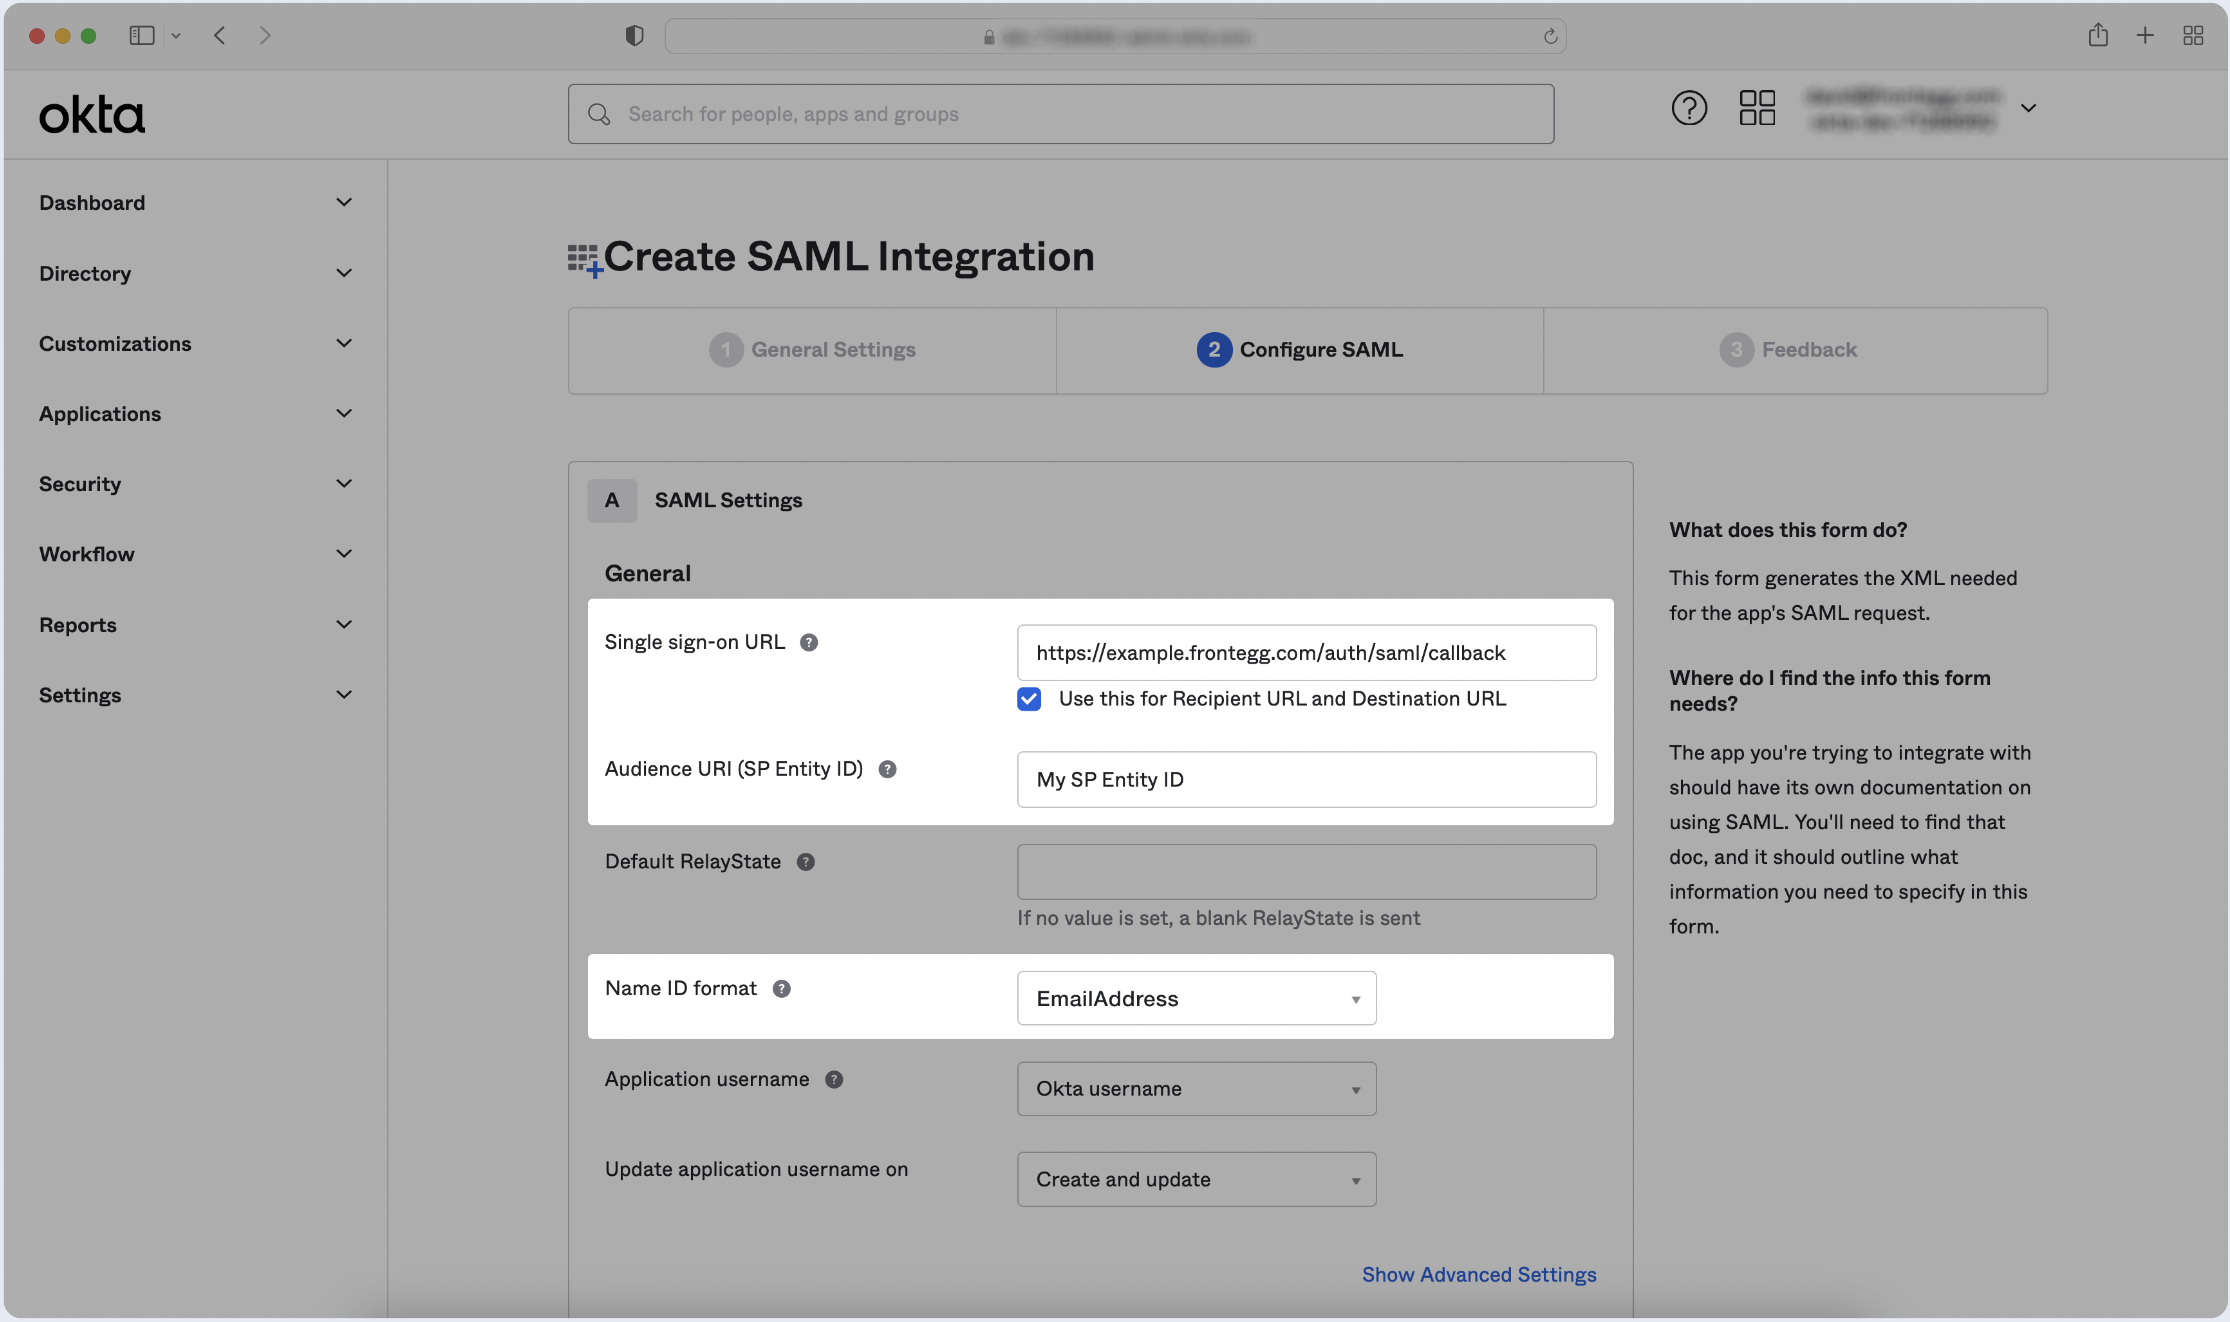
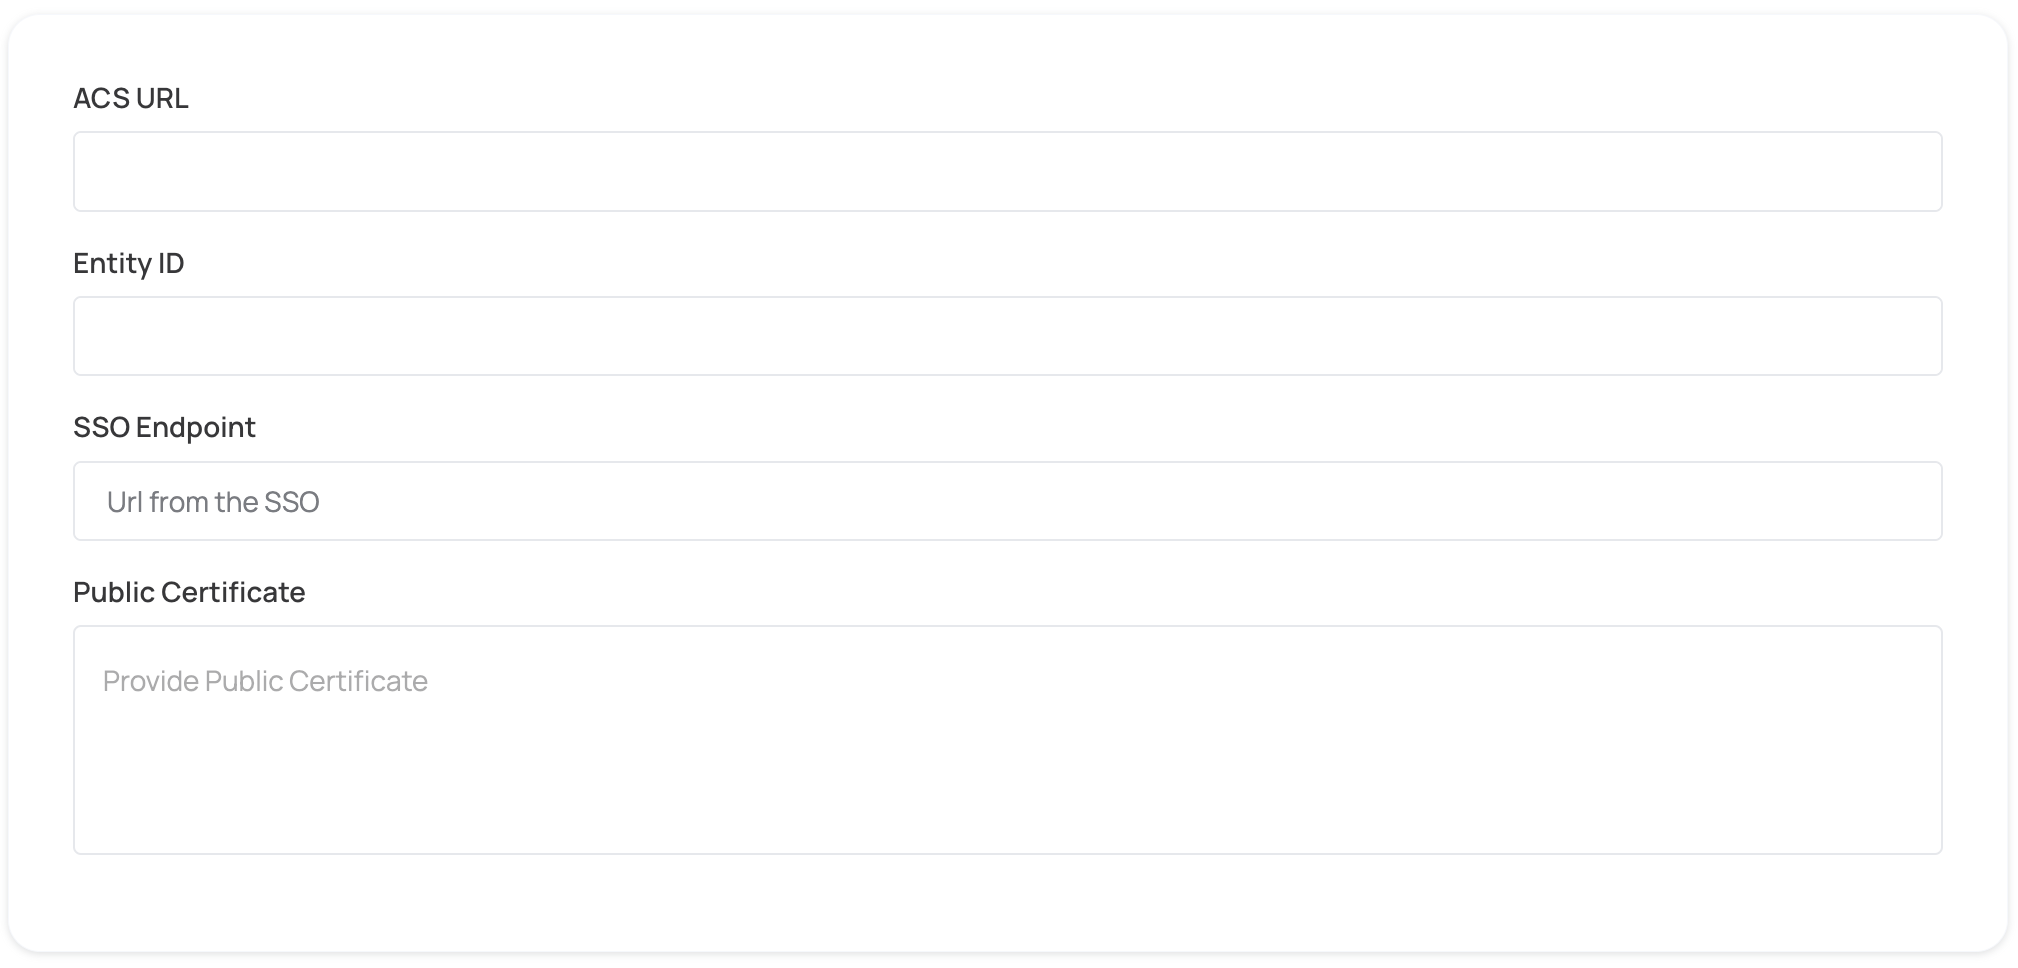
- Copy and paste the values into the relevant fields in the SAML Settings section.
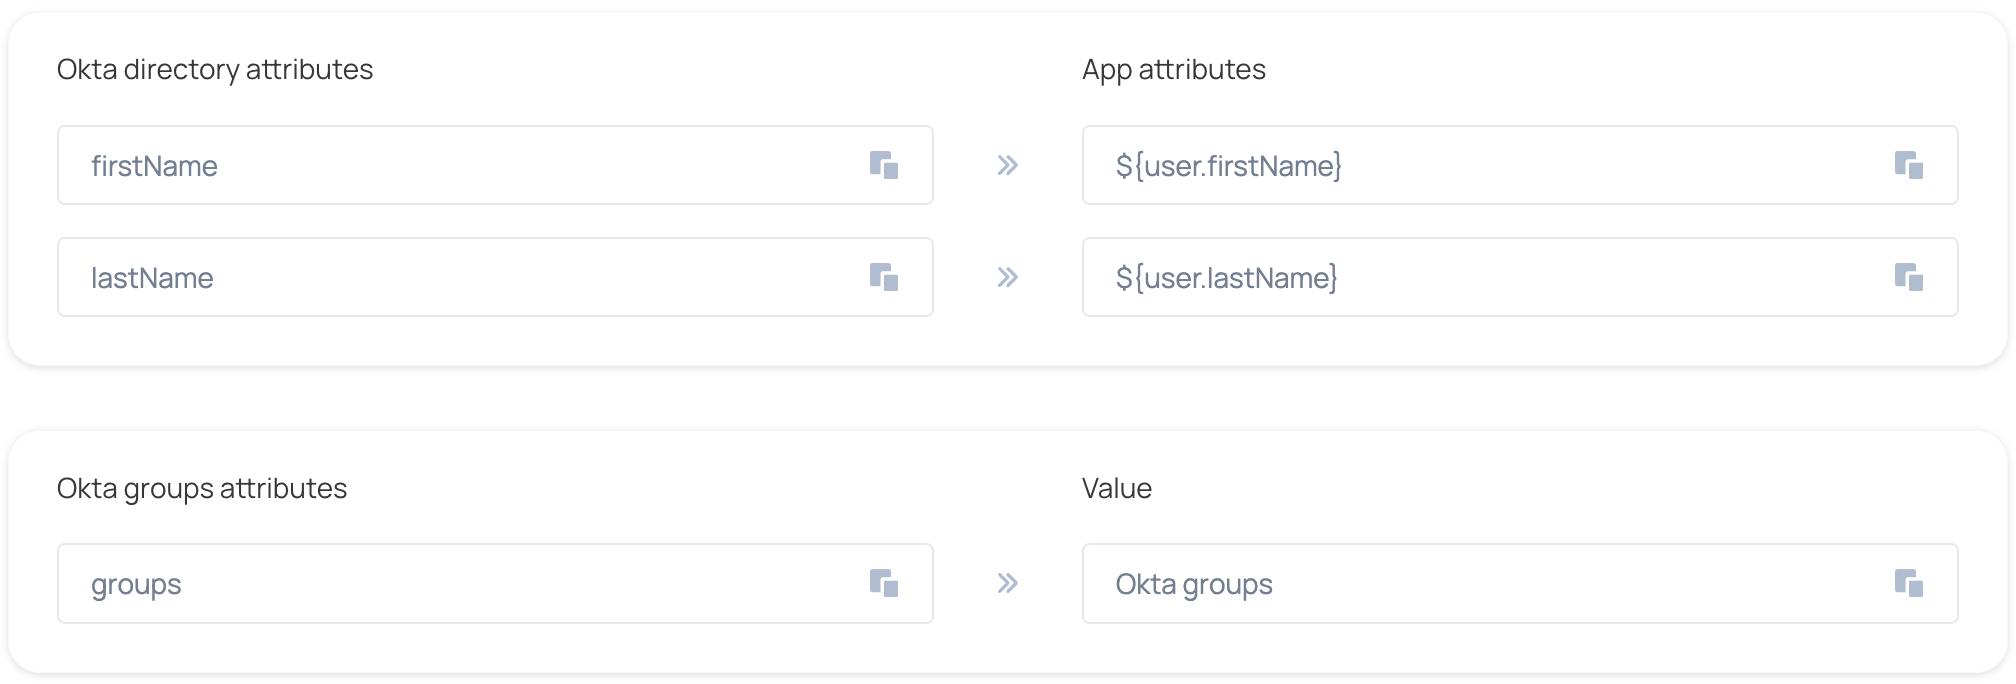
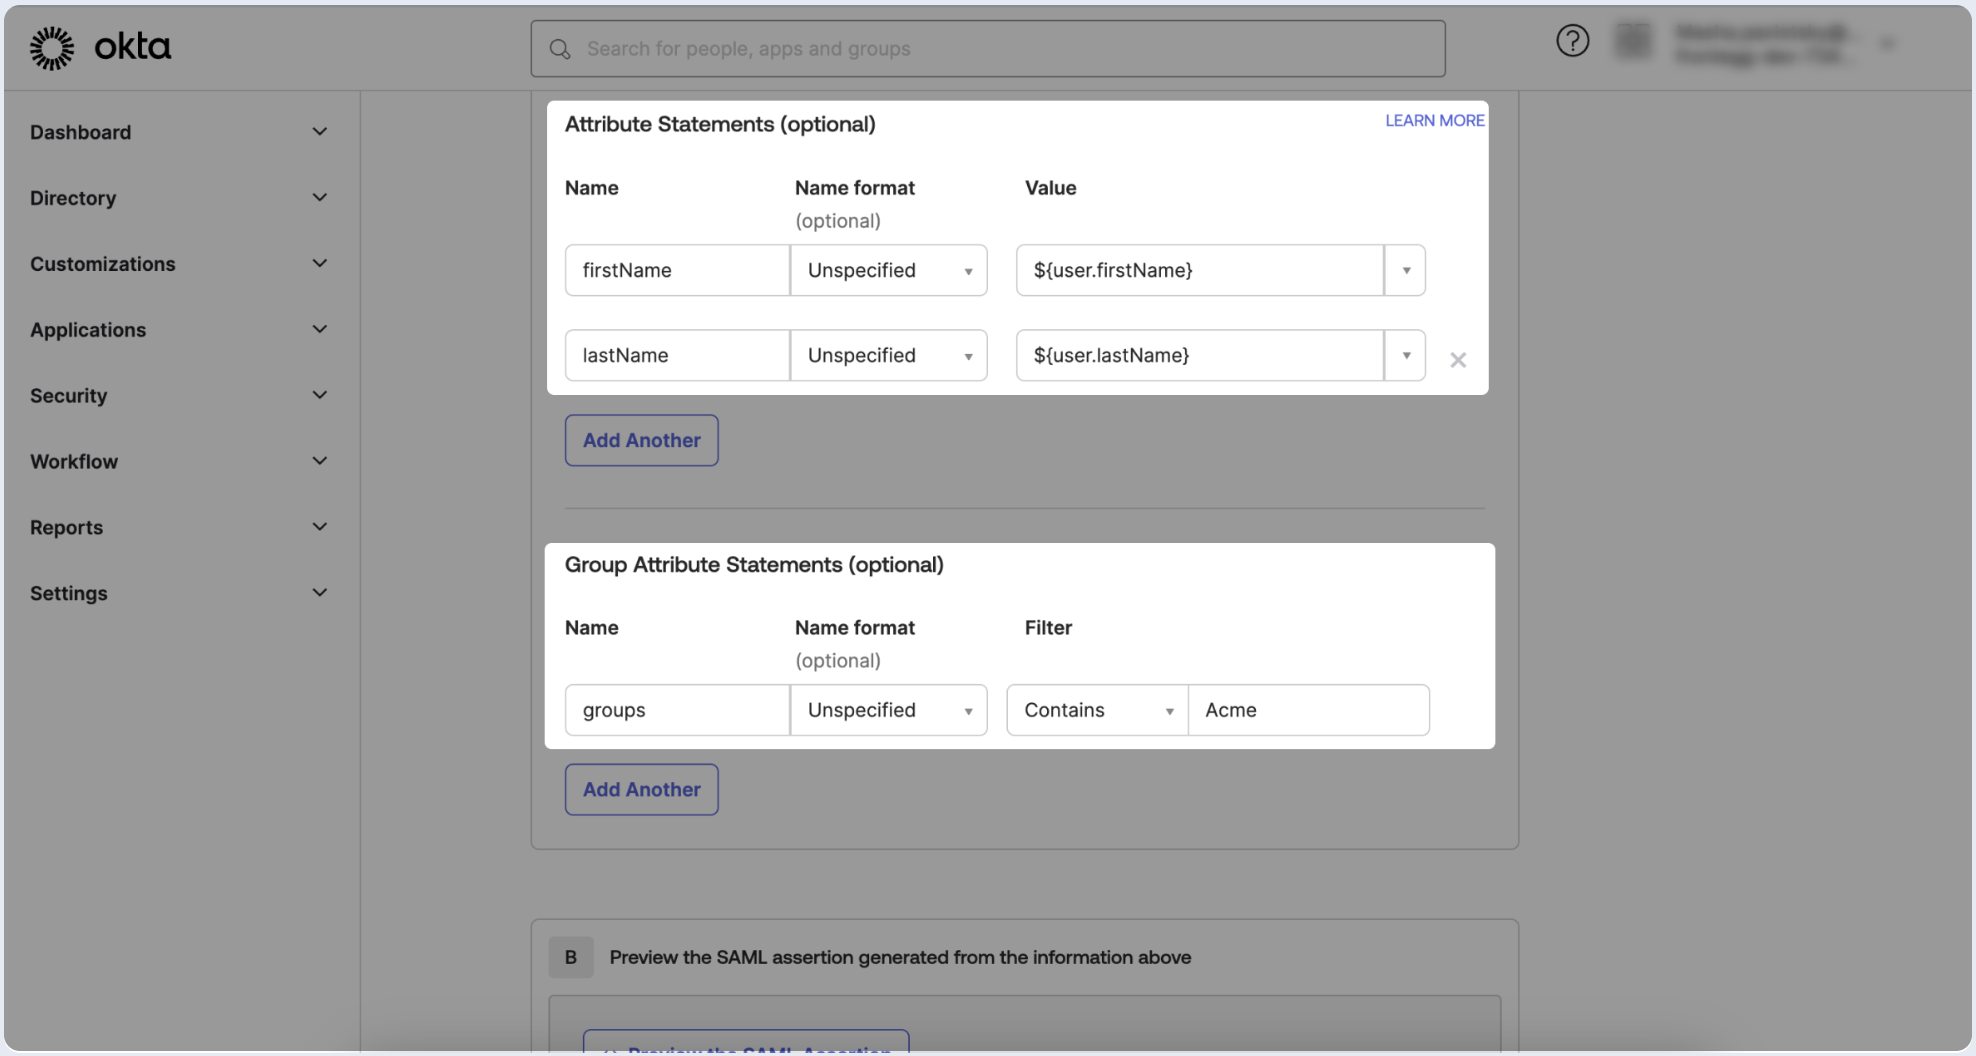
- Go Attribute Statements (optional) configuration in SAML Settings, fill in the following Attribute Statements and click Next:
- To complete the app creation process, proceed to the next page and skip or fill out the survey. Click on Finish.

Define which groups should be allowed to log in via SAML SSO in Okta using the app you've created.
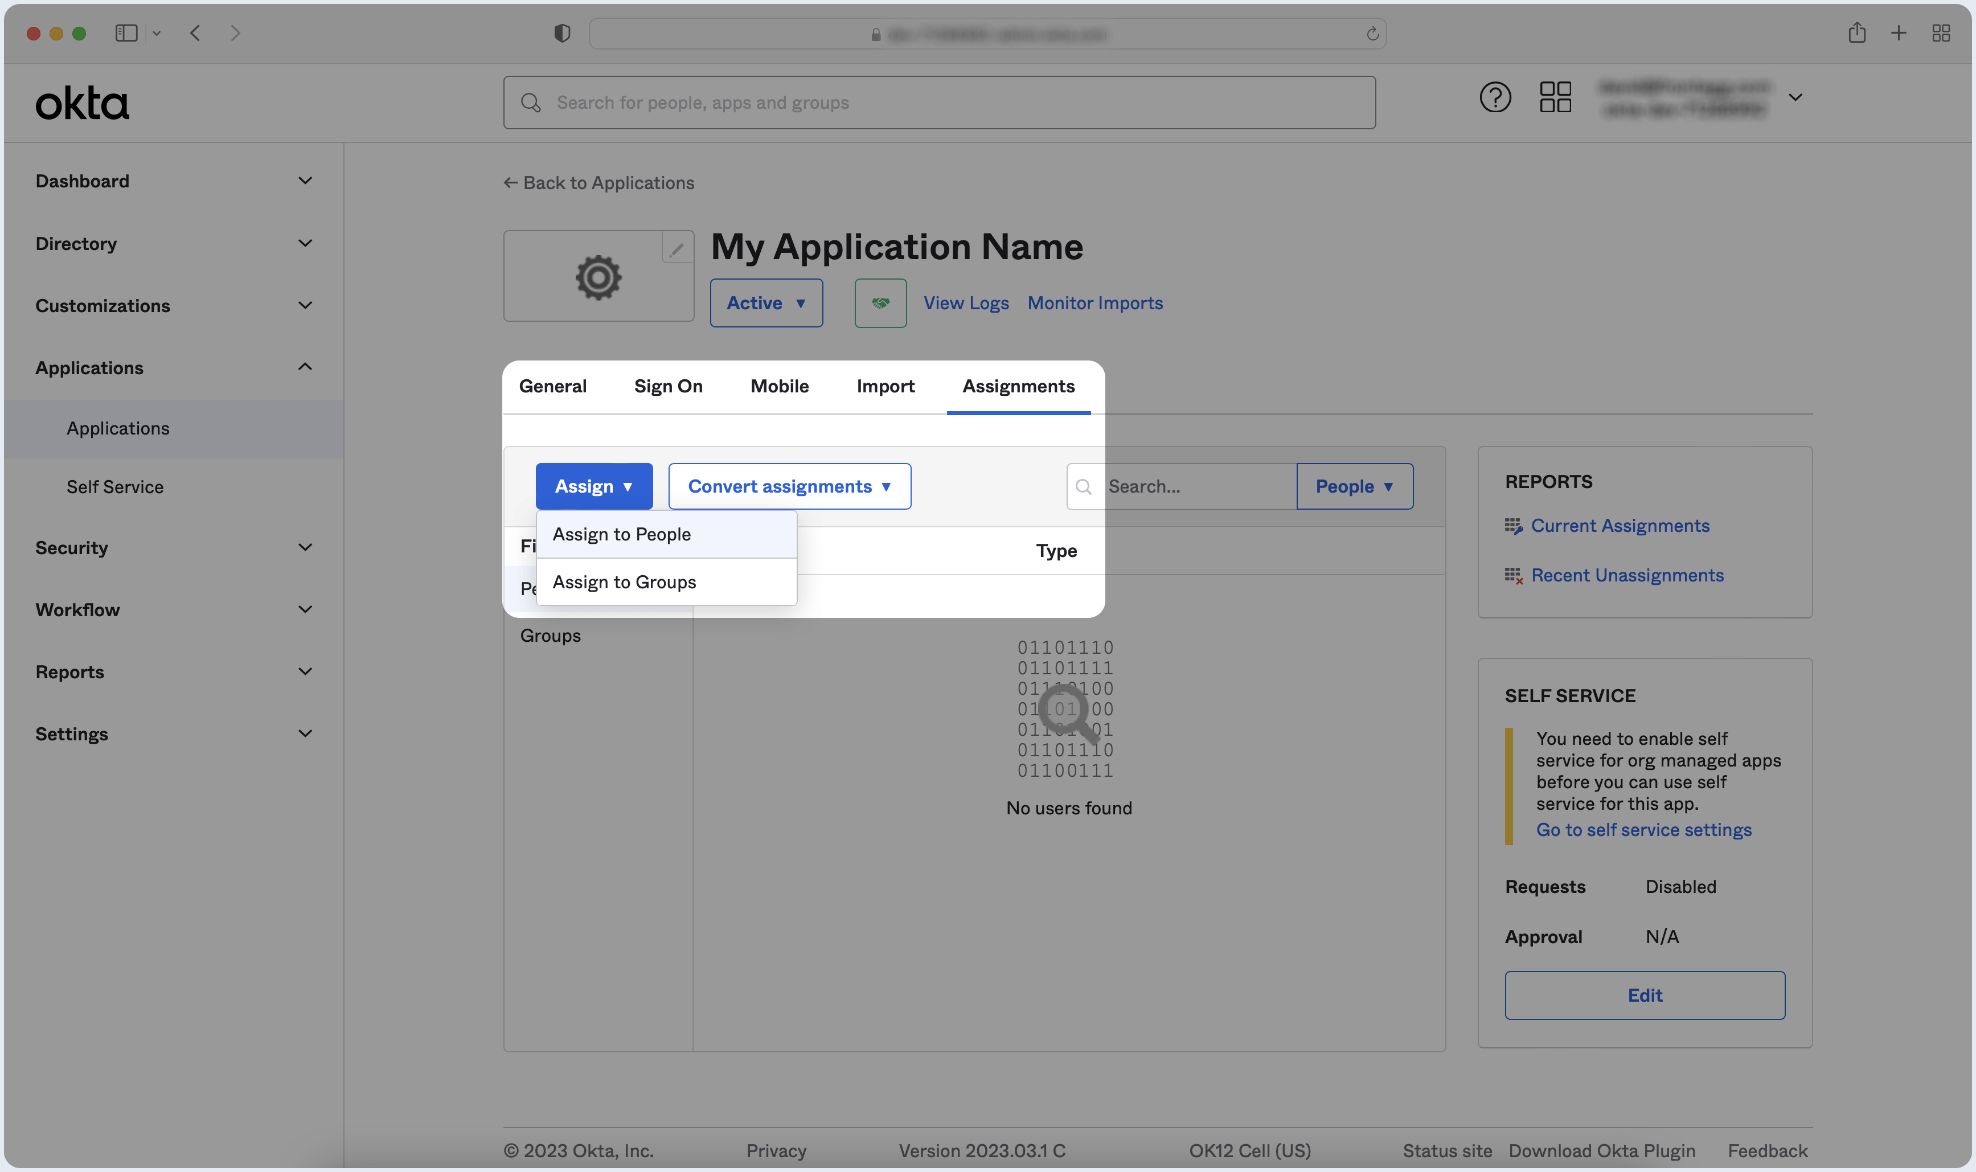
- Switch to the Assignments tab, click Assign, and choose Assign to Groups.
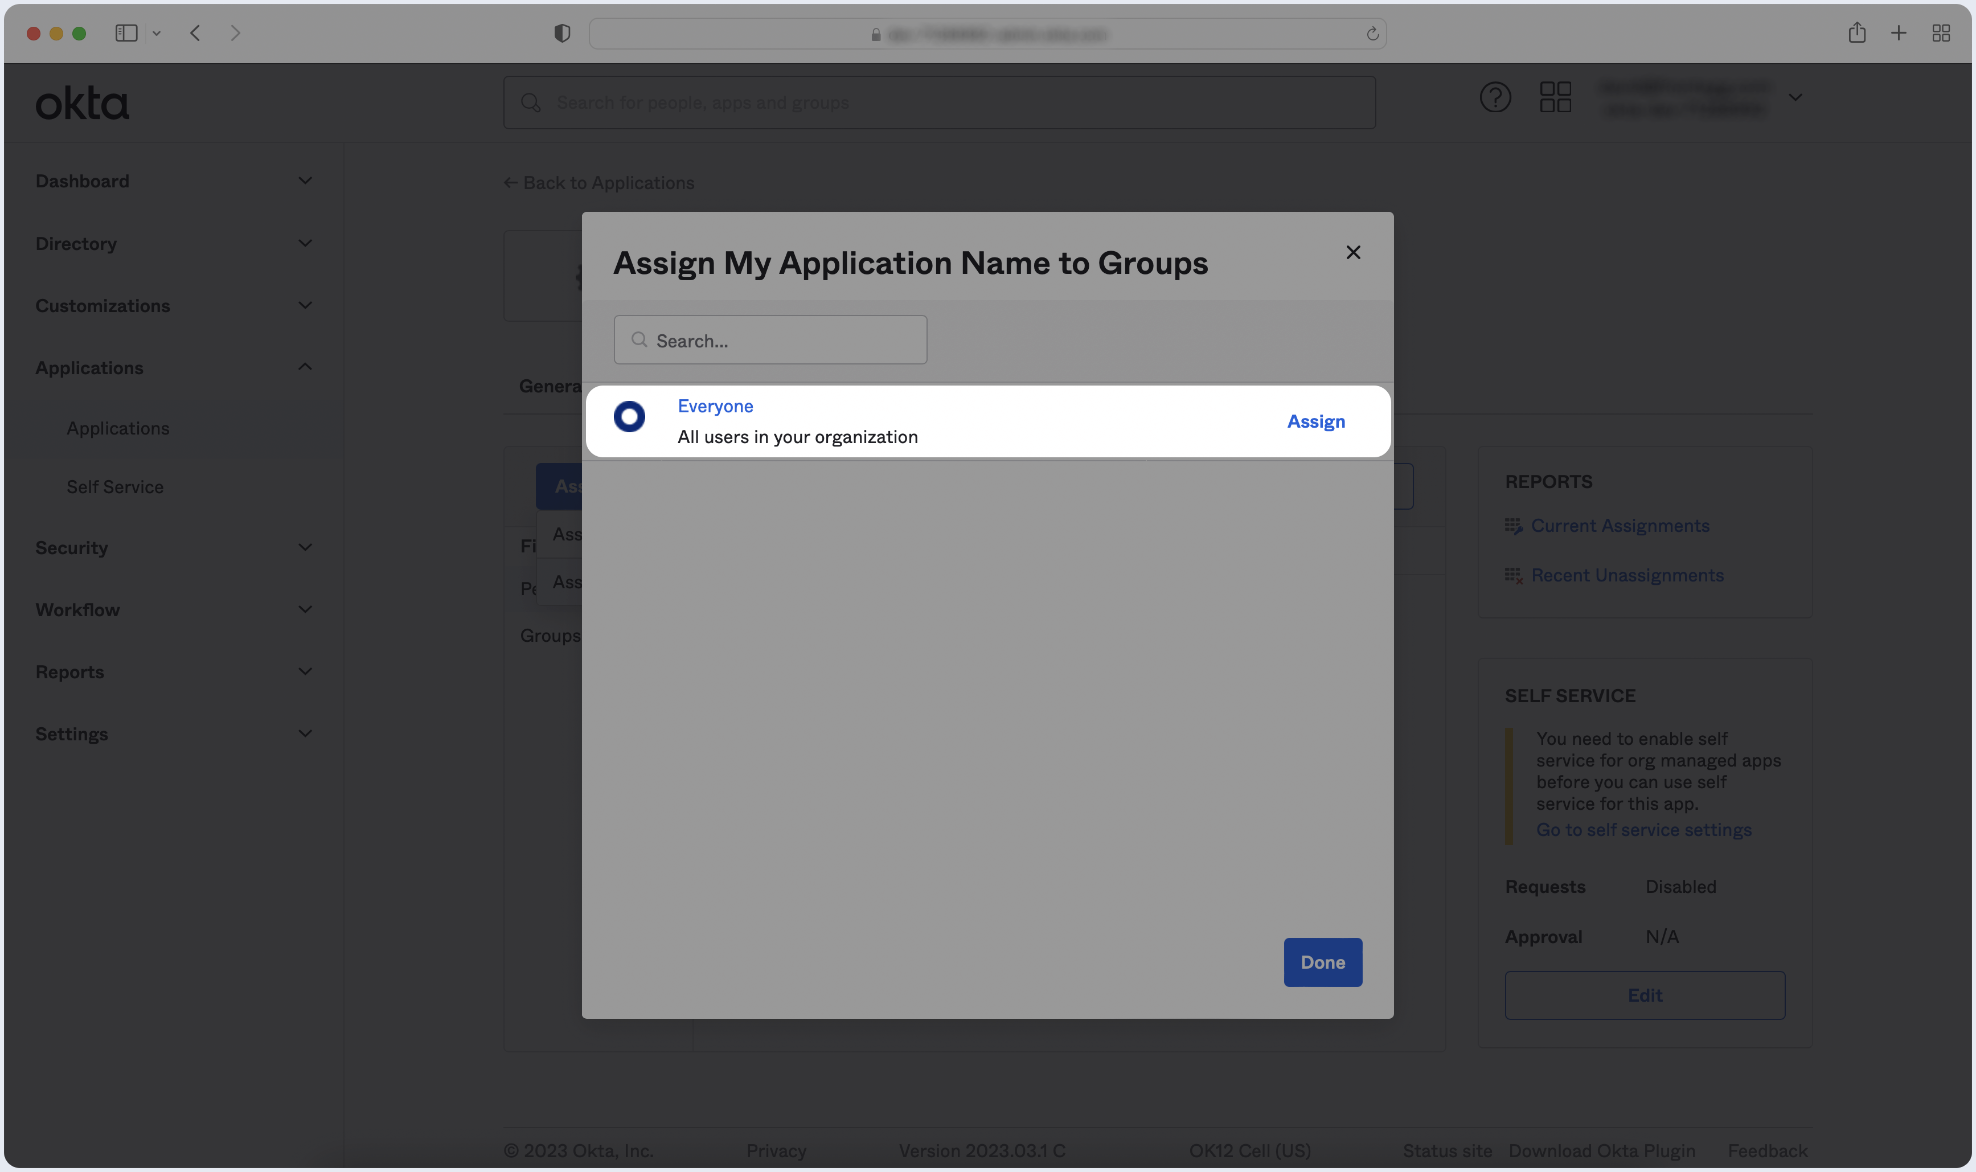
- Locate the specific group(s) you wish to assign to the app and click Assign next to each of them. Once finished, click Done.
To complete the implementation of SAML SSO, you need to provide the application with your identity provider's metadata.
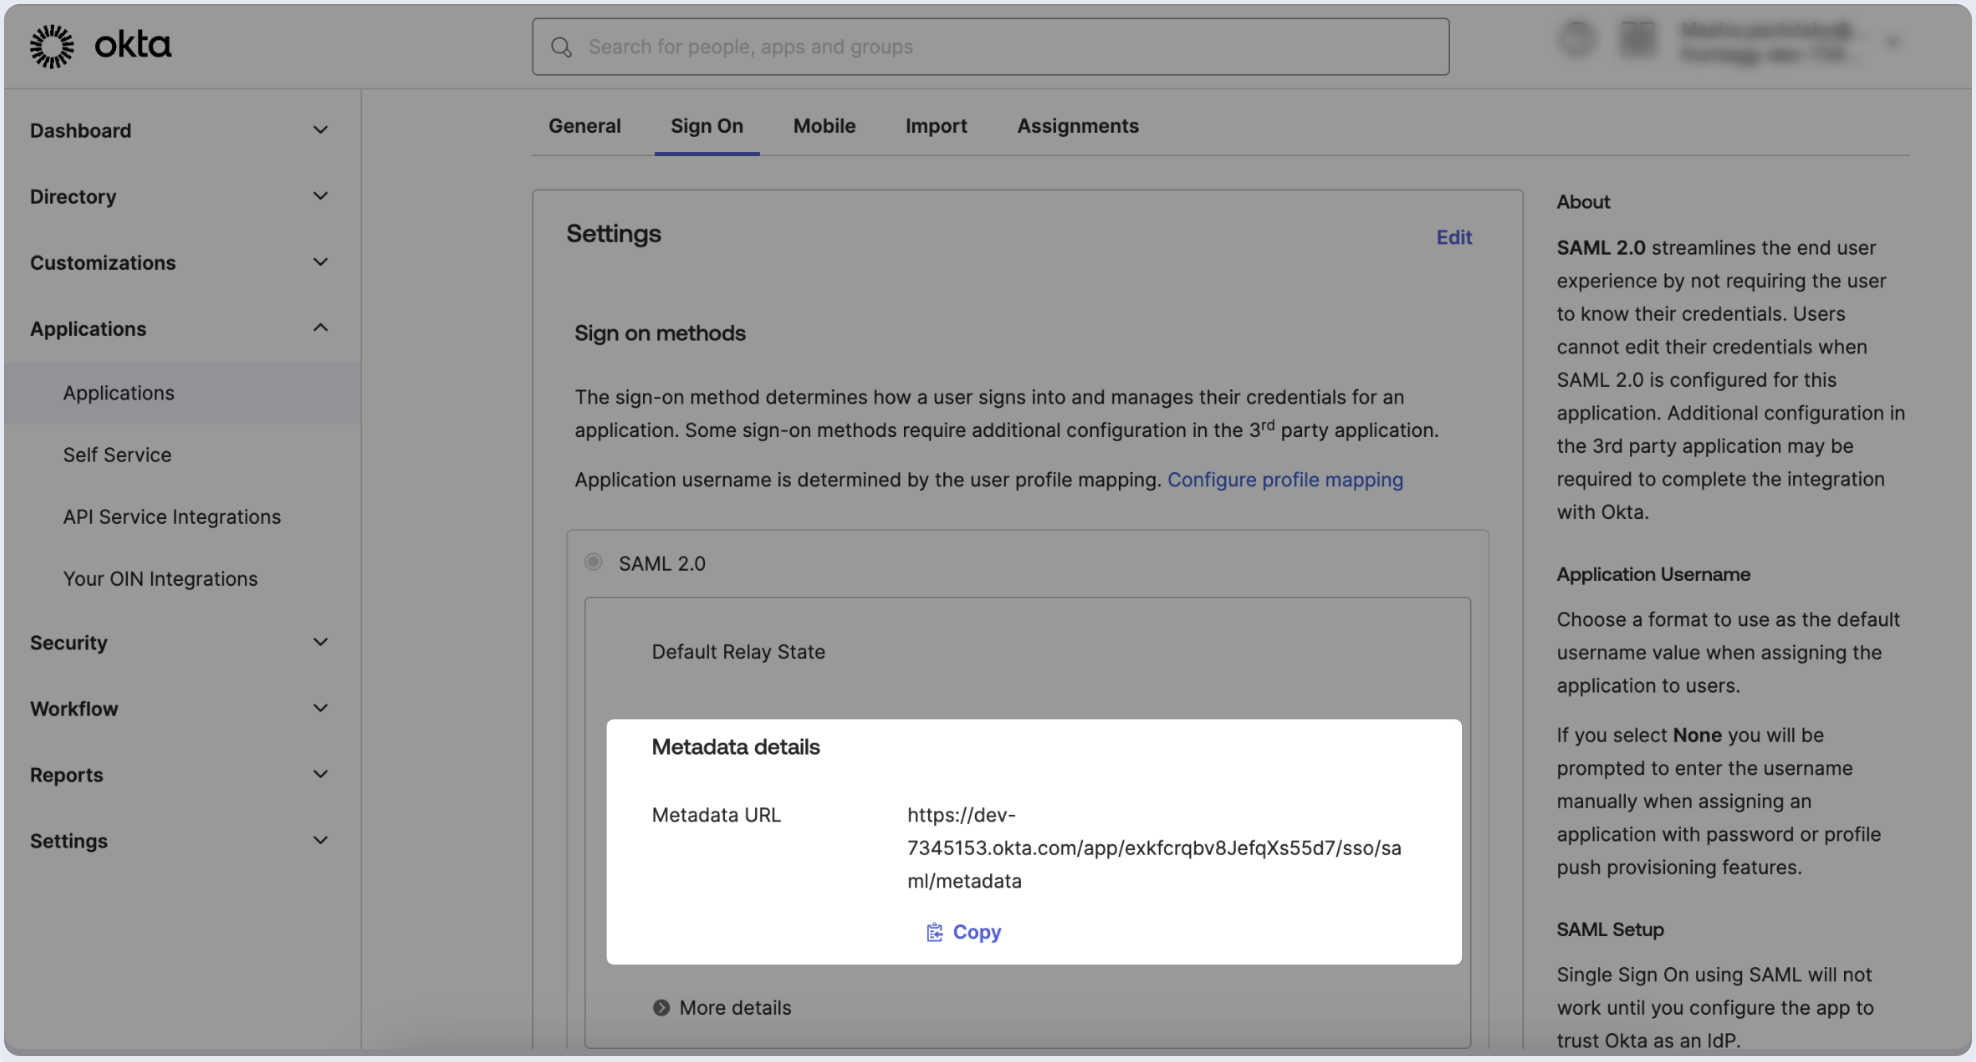
- Click on the Sign On tab of the SAML app you just created.
- Copy the Metadata URL and paste it below.

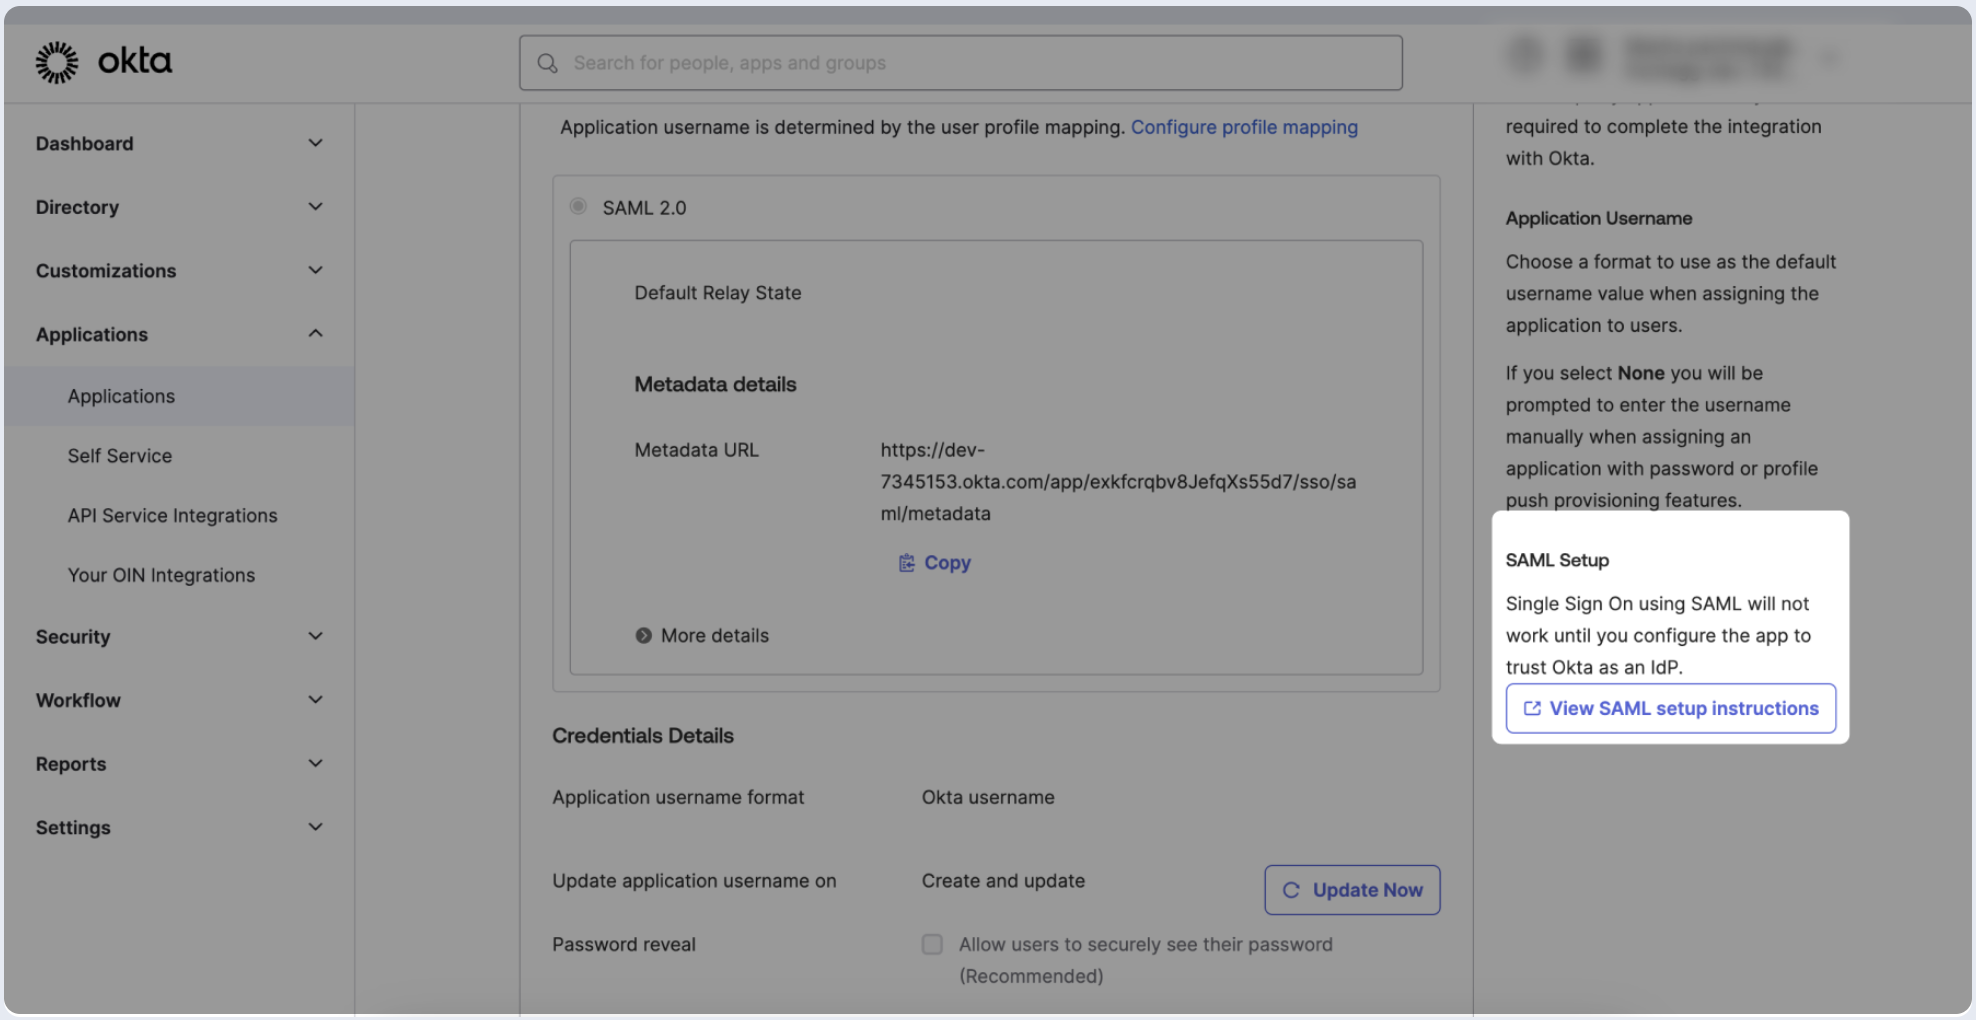
- Click on the Sign On tab of the SAML app you just created.
- Click on View SAML setup instructions.
- Copy the value of the Identity Provider Single Sign-On URL and X.509 Certificate fields, and then paste them into the appropriate fields in the form below.
- Click on Proceed with domain claiming and role assignment to confirm the completion the configuration of the IDP form.
- Follow the instructions in the Self-service SAML configuration guide to complete this step and manage authorization.