Machine-to-machine authentication
Frontegg provides robust Machine-to-Machine (M2M) authentication to enable secure interactions through multiple sources, such as CLI tools. With this capability, your customers can log in using these tools and manage their API tokens via the self-service portal. This is achieved through User (Personal) Tokens and Tenant (API) Tokens. Read on to learn more.
Client credentials' token authentication
Client credentials' token authentication
Note that authenticating with a client credentials token enforces a rotation mechanism for refresh tokens associated with client credentials. It limits each token to a maximum of 100 refresh tokens simultaneously. When a client authenticates using the same API token for the 101st time, the earliest refresh token is automatically invalidated.
The guide's screenshots refer to a configuration where the Client Credentials token type was selected for the environment. For Access Tokens, the flow is entirely similar, but the outcome will be an Access Token instead of a clientId and secret.
Access tokens and client credentials
Access tokens and client credentials
IMPORTANT - Use the correct header for each token type:
- Access Tokens: Pass the token in the
X-API-KEYheader. - Client Credentials Tokens: Pass the token bearer in the
Authorizationheader.
Creating user and account (API) tokens
Tokens can be created for both individual users (personal tokens) and accounts (tenant tokens). Depending on your use case, you can generate either type of token through the following methods:
- The self-service portal (end-user-facing, for personal tokens; requires appropriate permissions for account tokens): If the self-service portal is embedded in your application, users can generate their own tokens. The type of token created (Access Token or Client Credentials Token) is determined by the configuration under M2M Tokens in the Frontegg portal. For more details about this, click here.
- An API call (see the Account (tenant) token creation via API documentation here and the Personal token creation via API documentation here).
Personal tokens are tied to individual users, allowing them to authenticate securely. Account (tenant) tokens are linked to the account and support account-wide authentication and authorization.
Creating personal tokens via the self-service portal
After embedding the self-service portal, allow your users to generate tokens for themselves by following the API Tokens guide. The type of the token that will be created is defined by what is chosen under M2M Tokens.
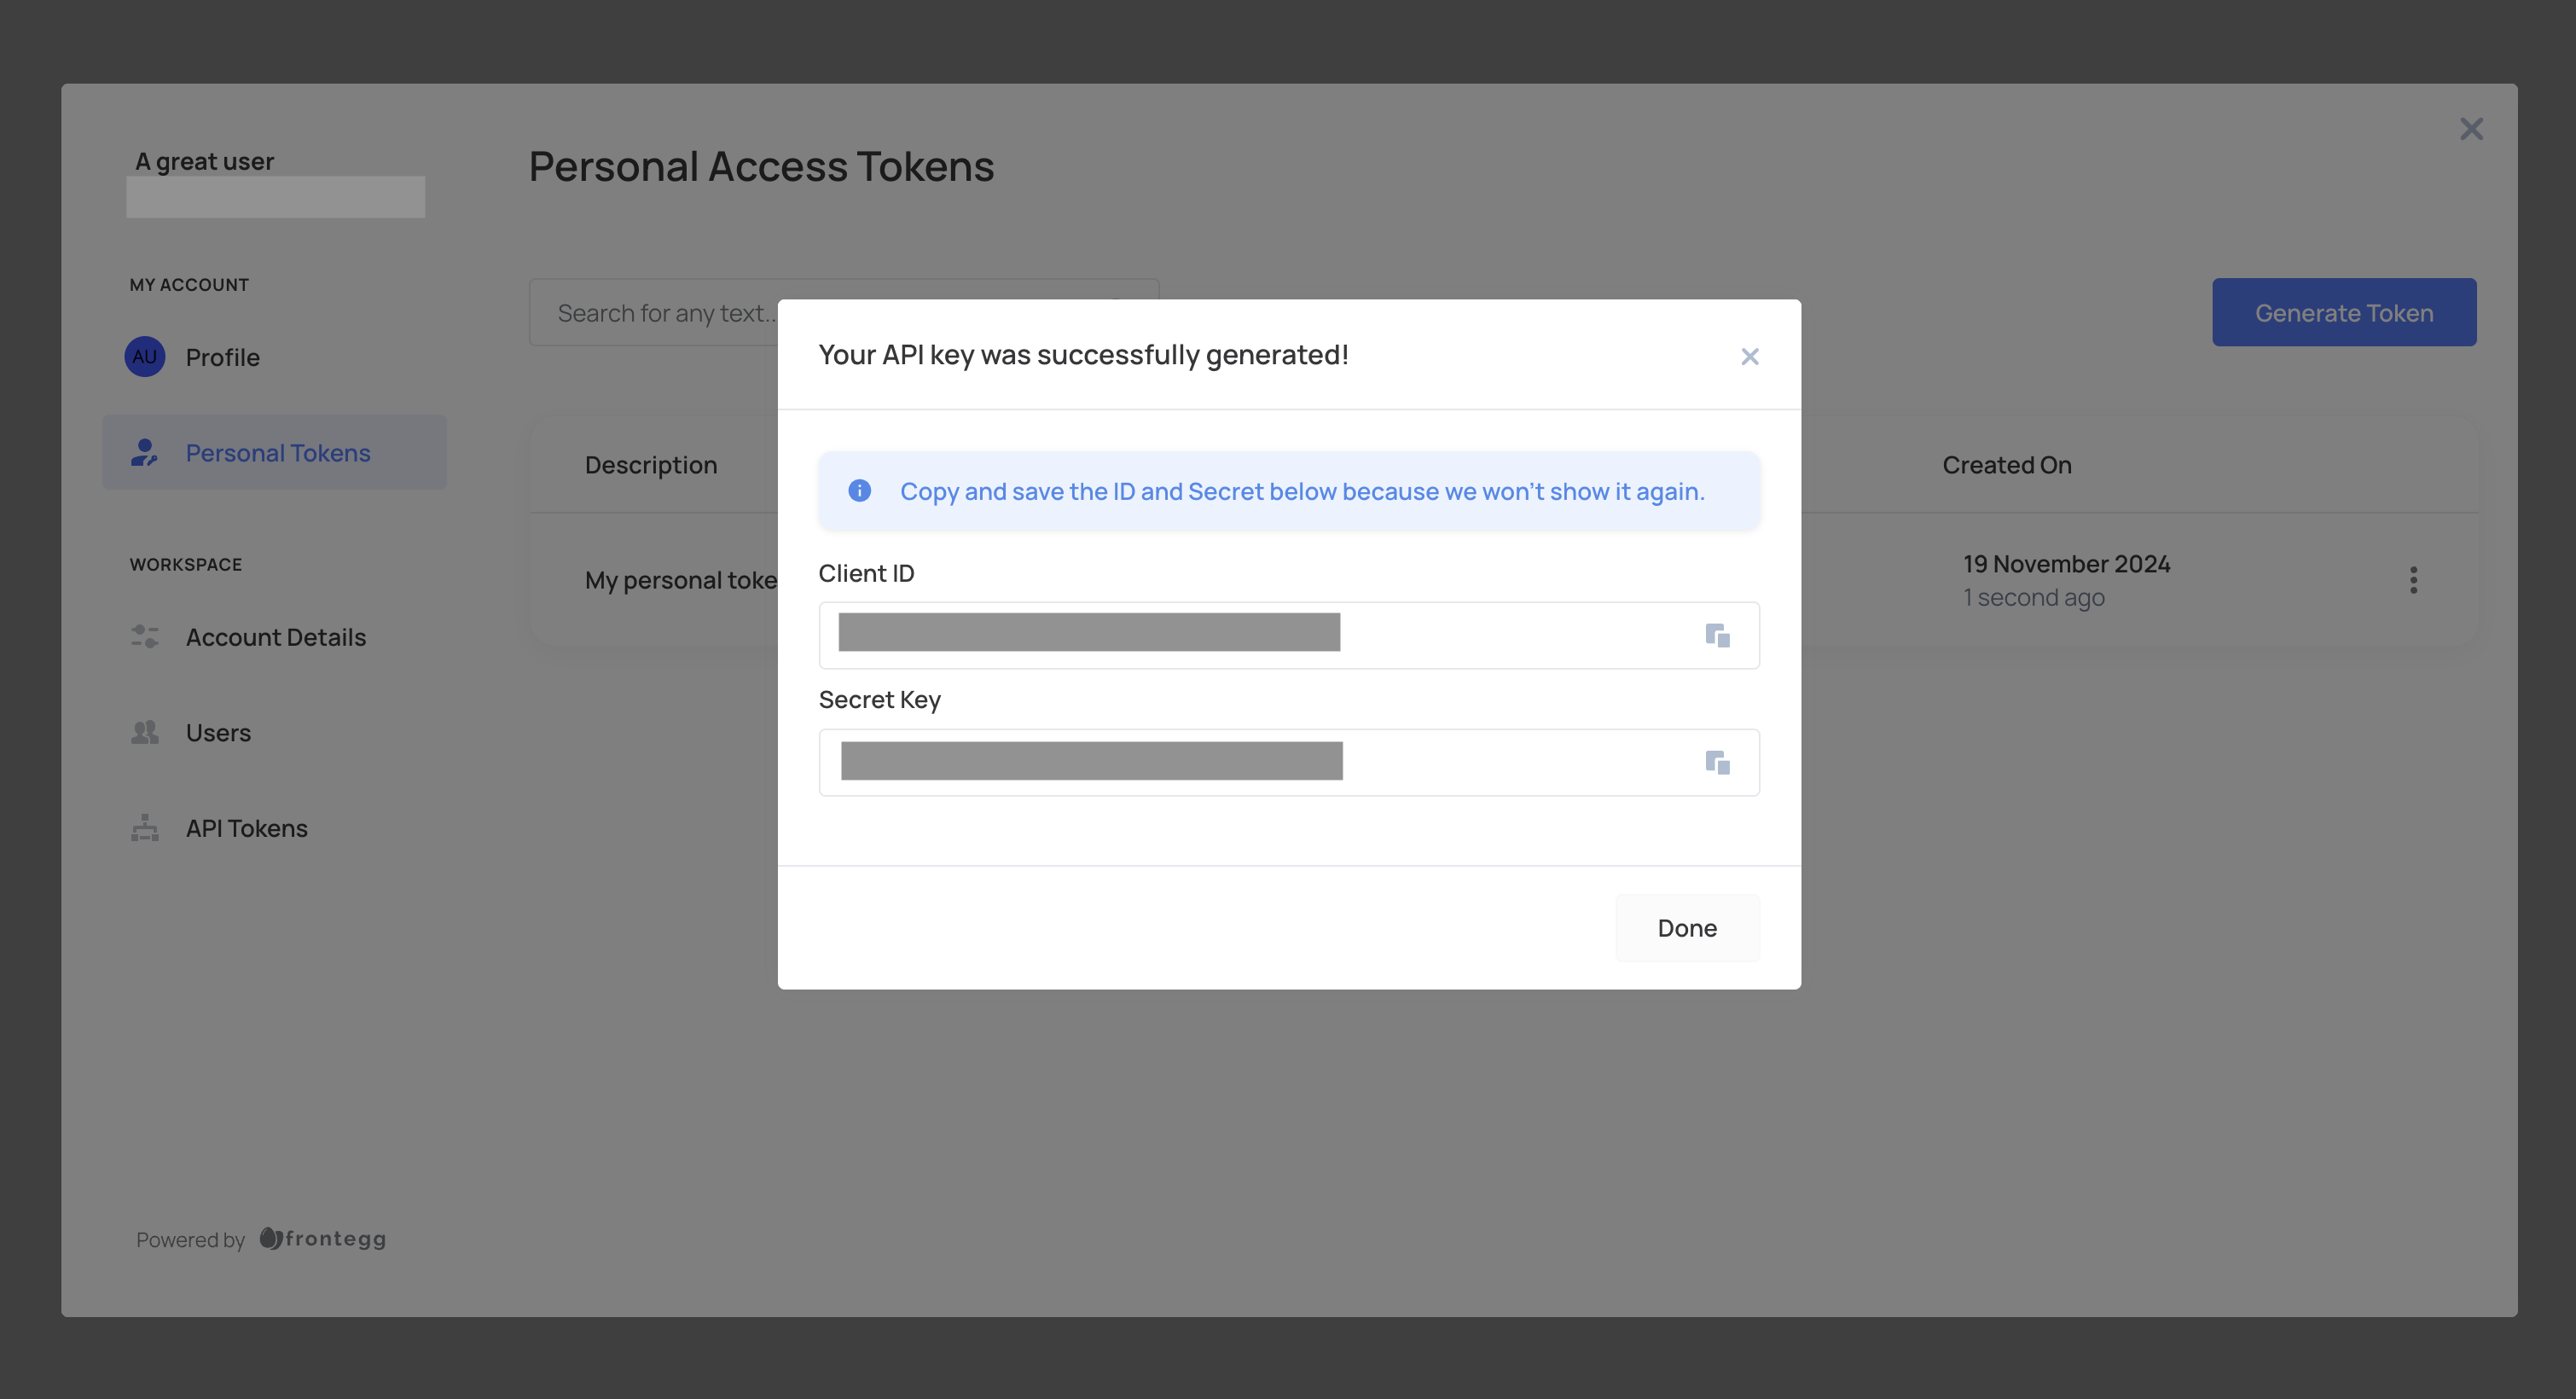
The guide's screenshots reflect a configuration where the Client Credentials Token type was selected for the environment. For Access Tokens, the process is identical, but the result will be an Access Token instead of a clientId and secret.
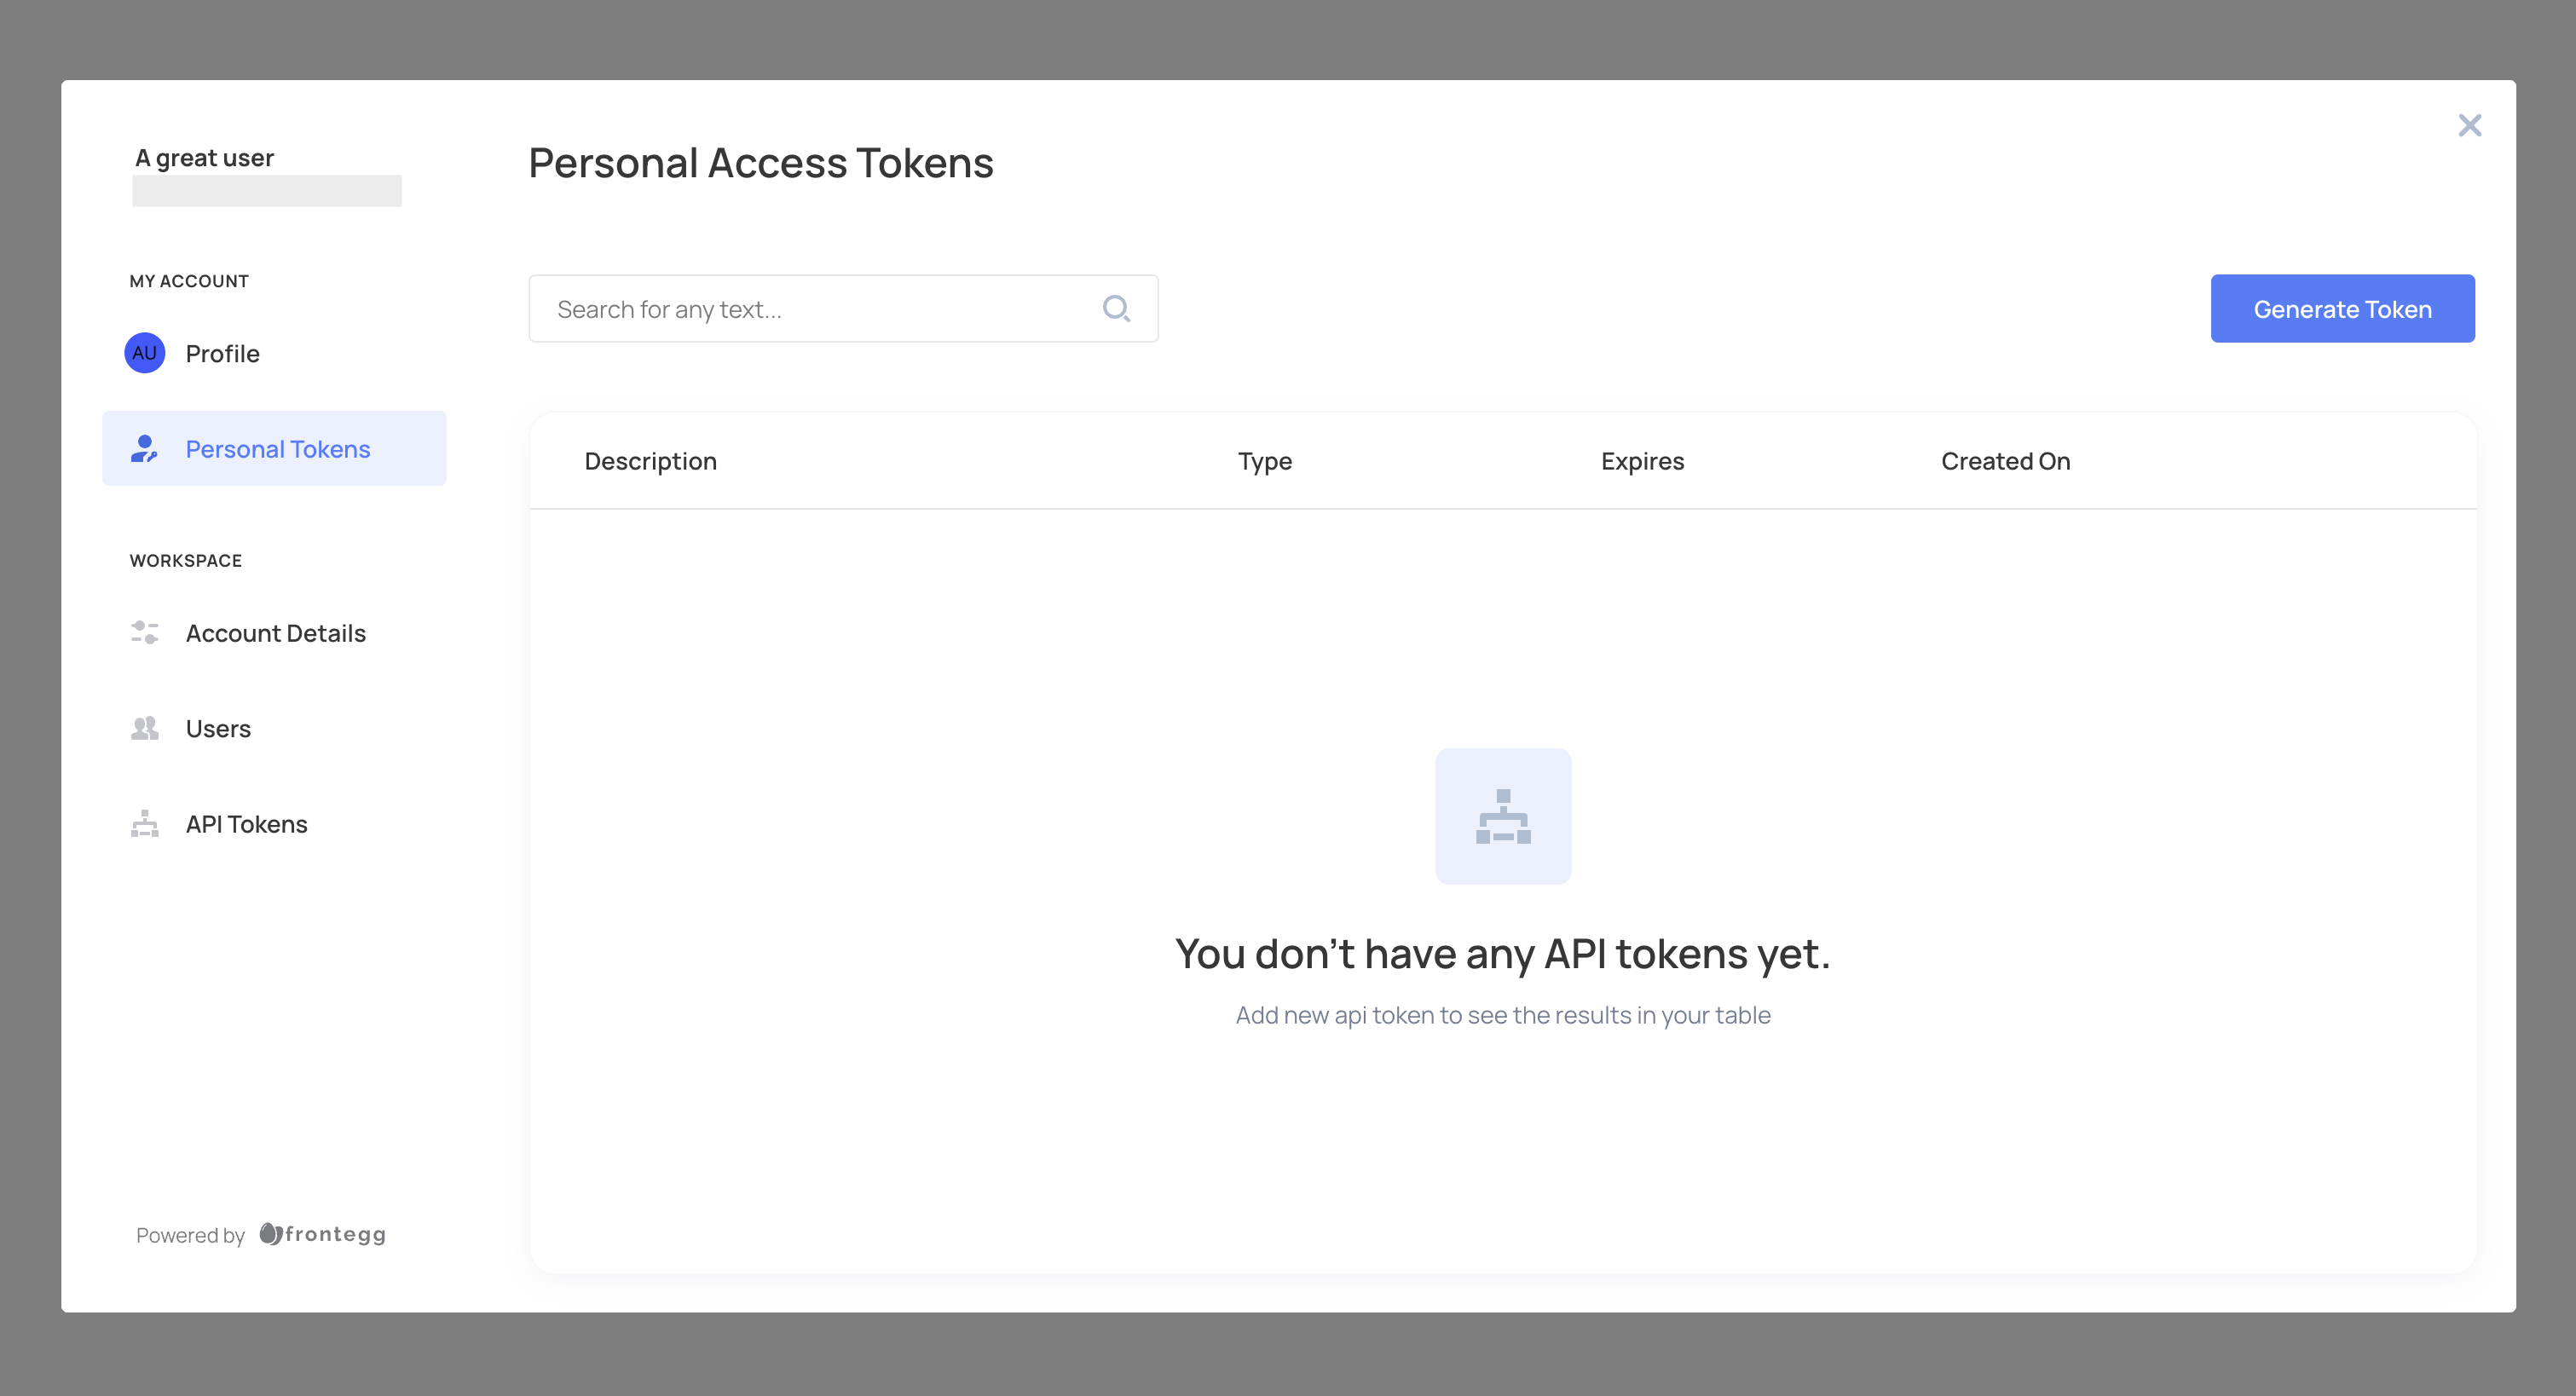
- Log in to your application and go to the self-service portal, then navigate to the Personal Tokens tab.

- Click Generate Token, provide a description, and set an expiration time (or choose no expiration).
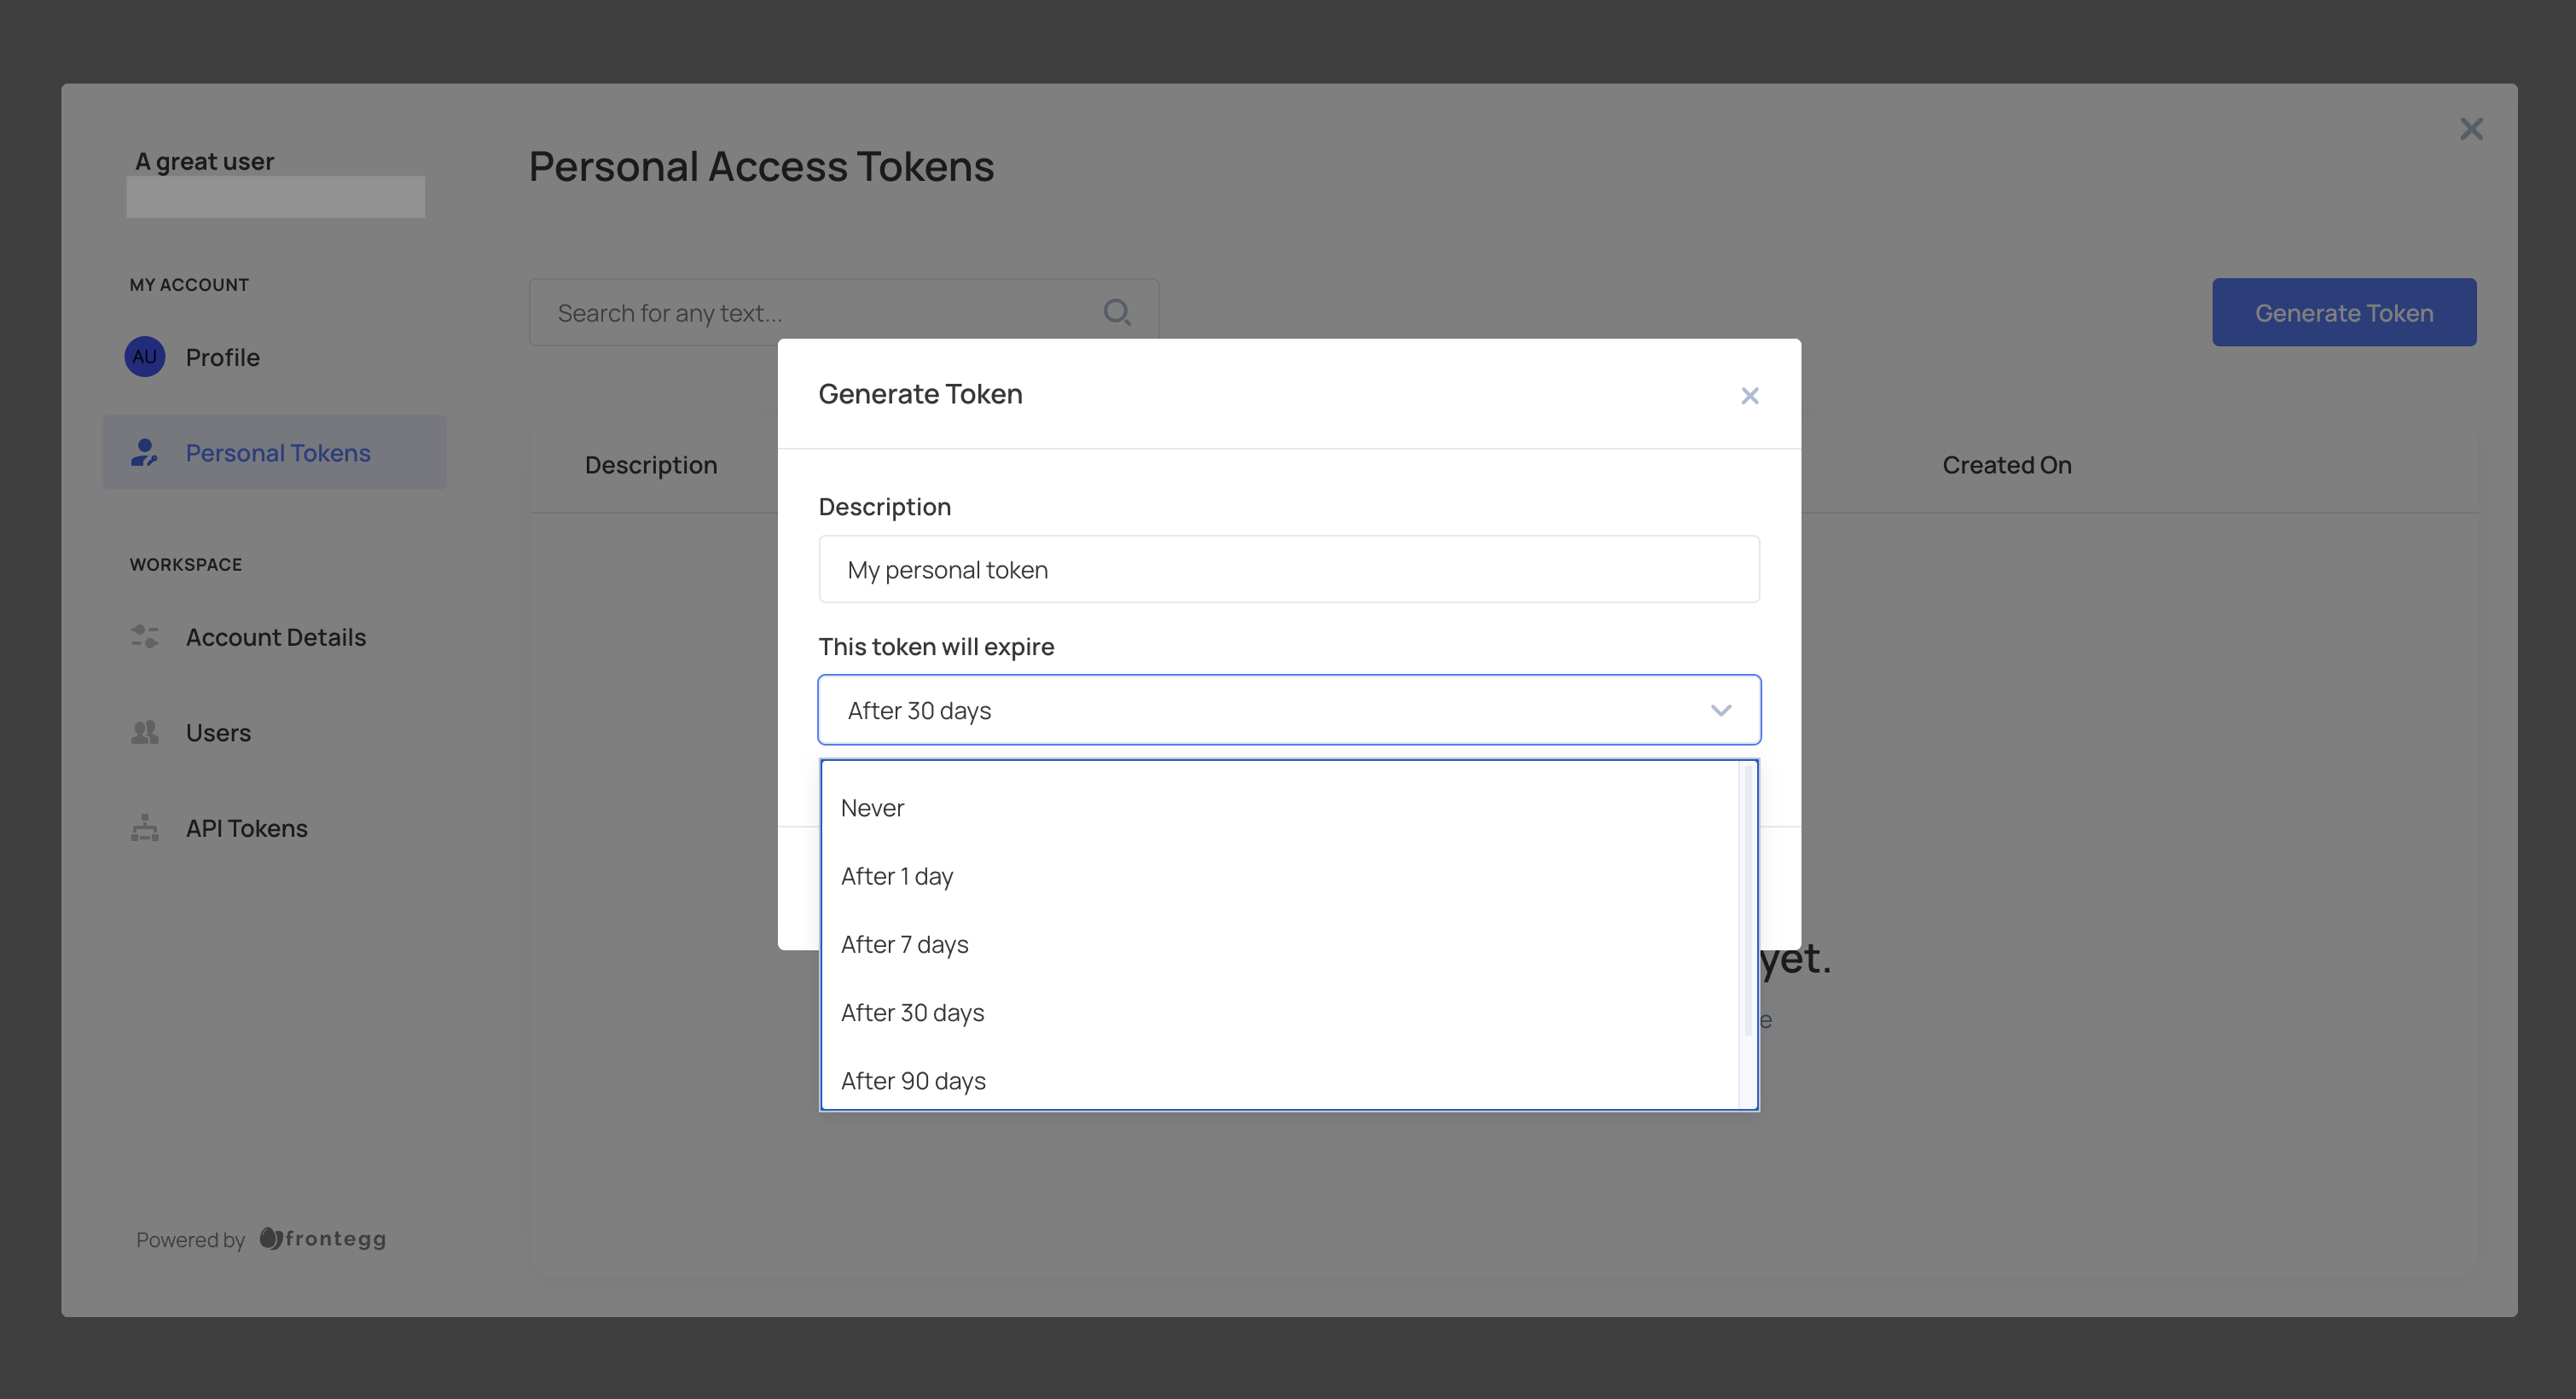
- Click Create and copy the token for secure storage. Tokens are displayed only once.
Creating tenant tokens via the self-service portal
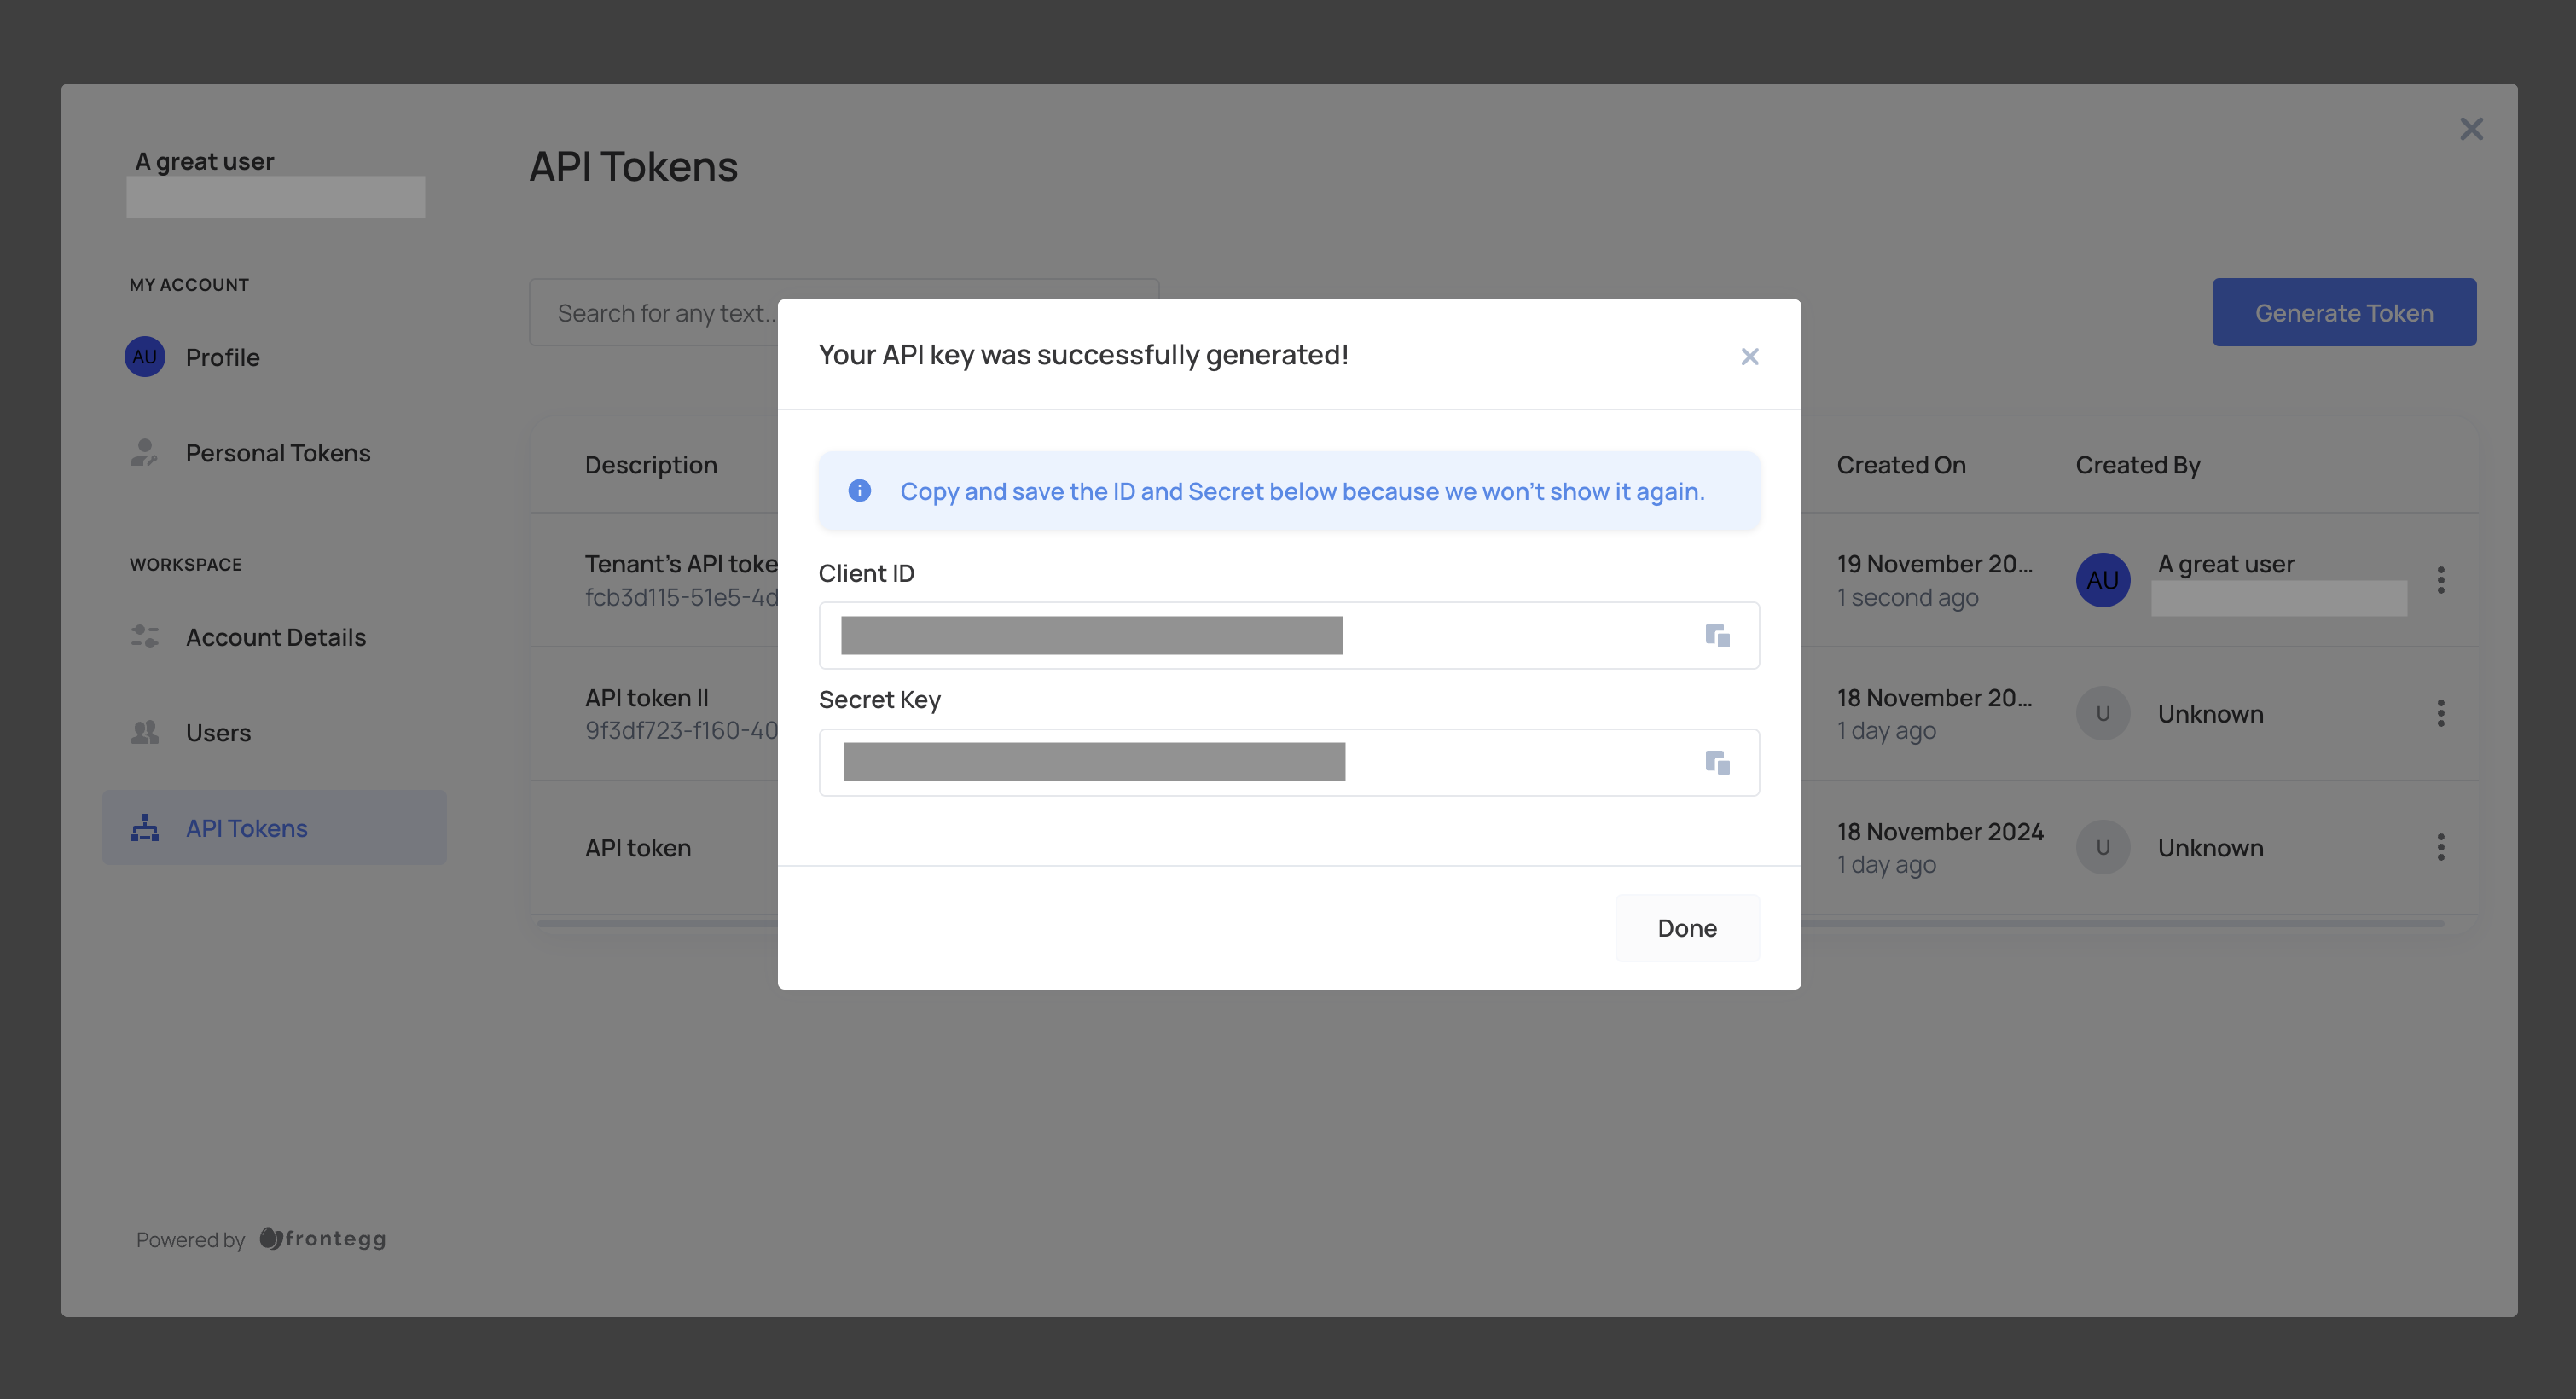
After embedding the self-service portal, allow your account admins to generate account (API) tokens by following the API Tokens guide. The type of token generated will depend on the Access Token type selected for the environment in the Frontegg portal.
- Log in to your application and go to the self-service portal, then navigate to the API Tokens tab.
- Click Generate Token, provide a description, attach the relevant roles for the token, and set an expiration time (or choose no expiration).
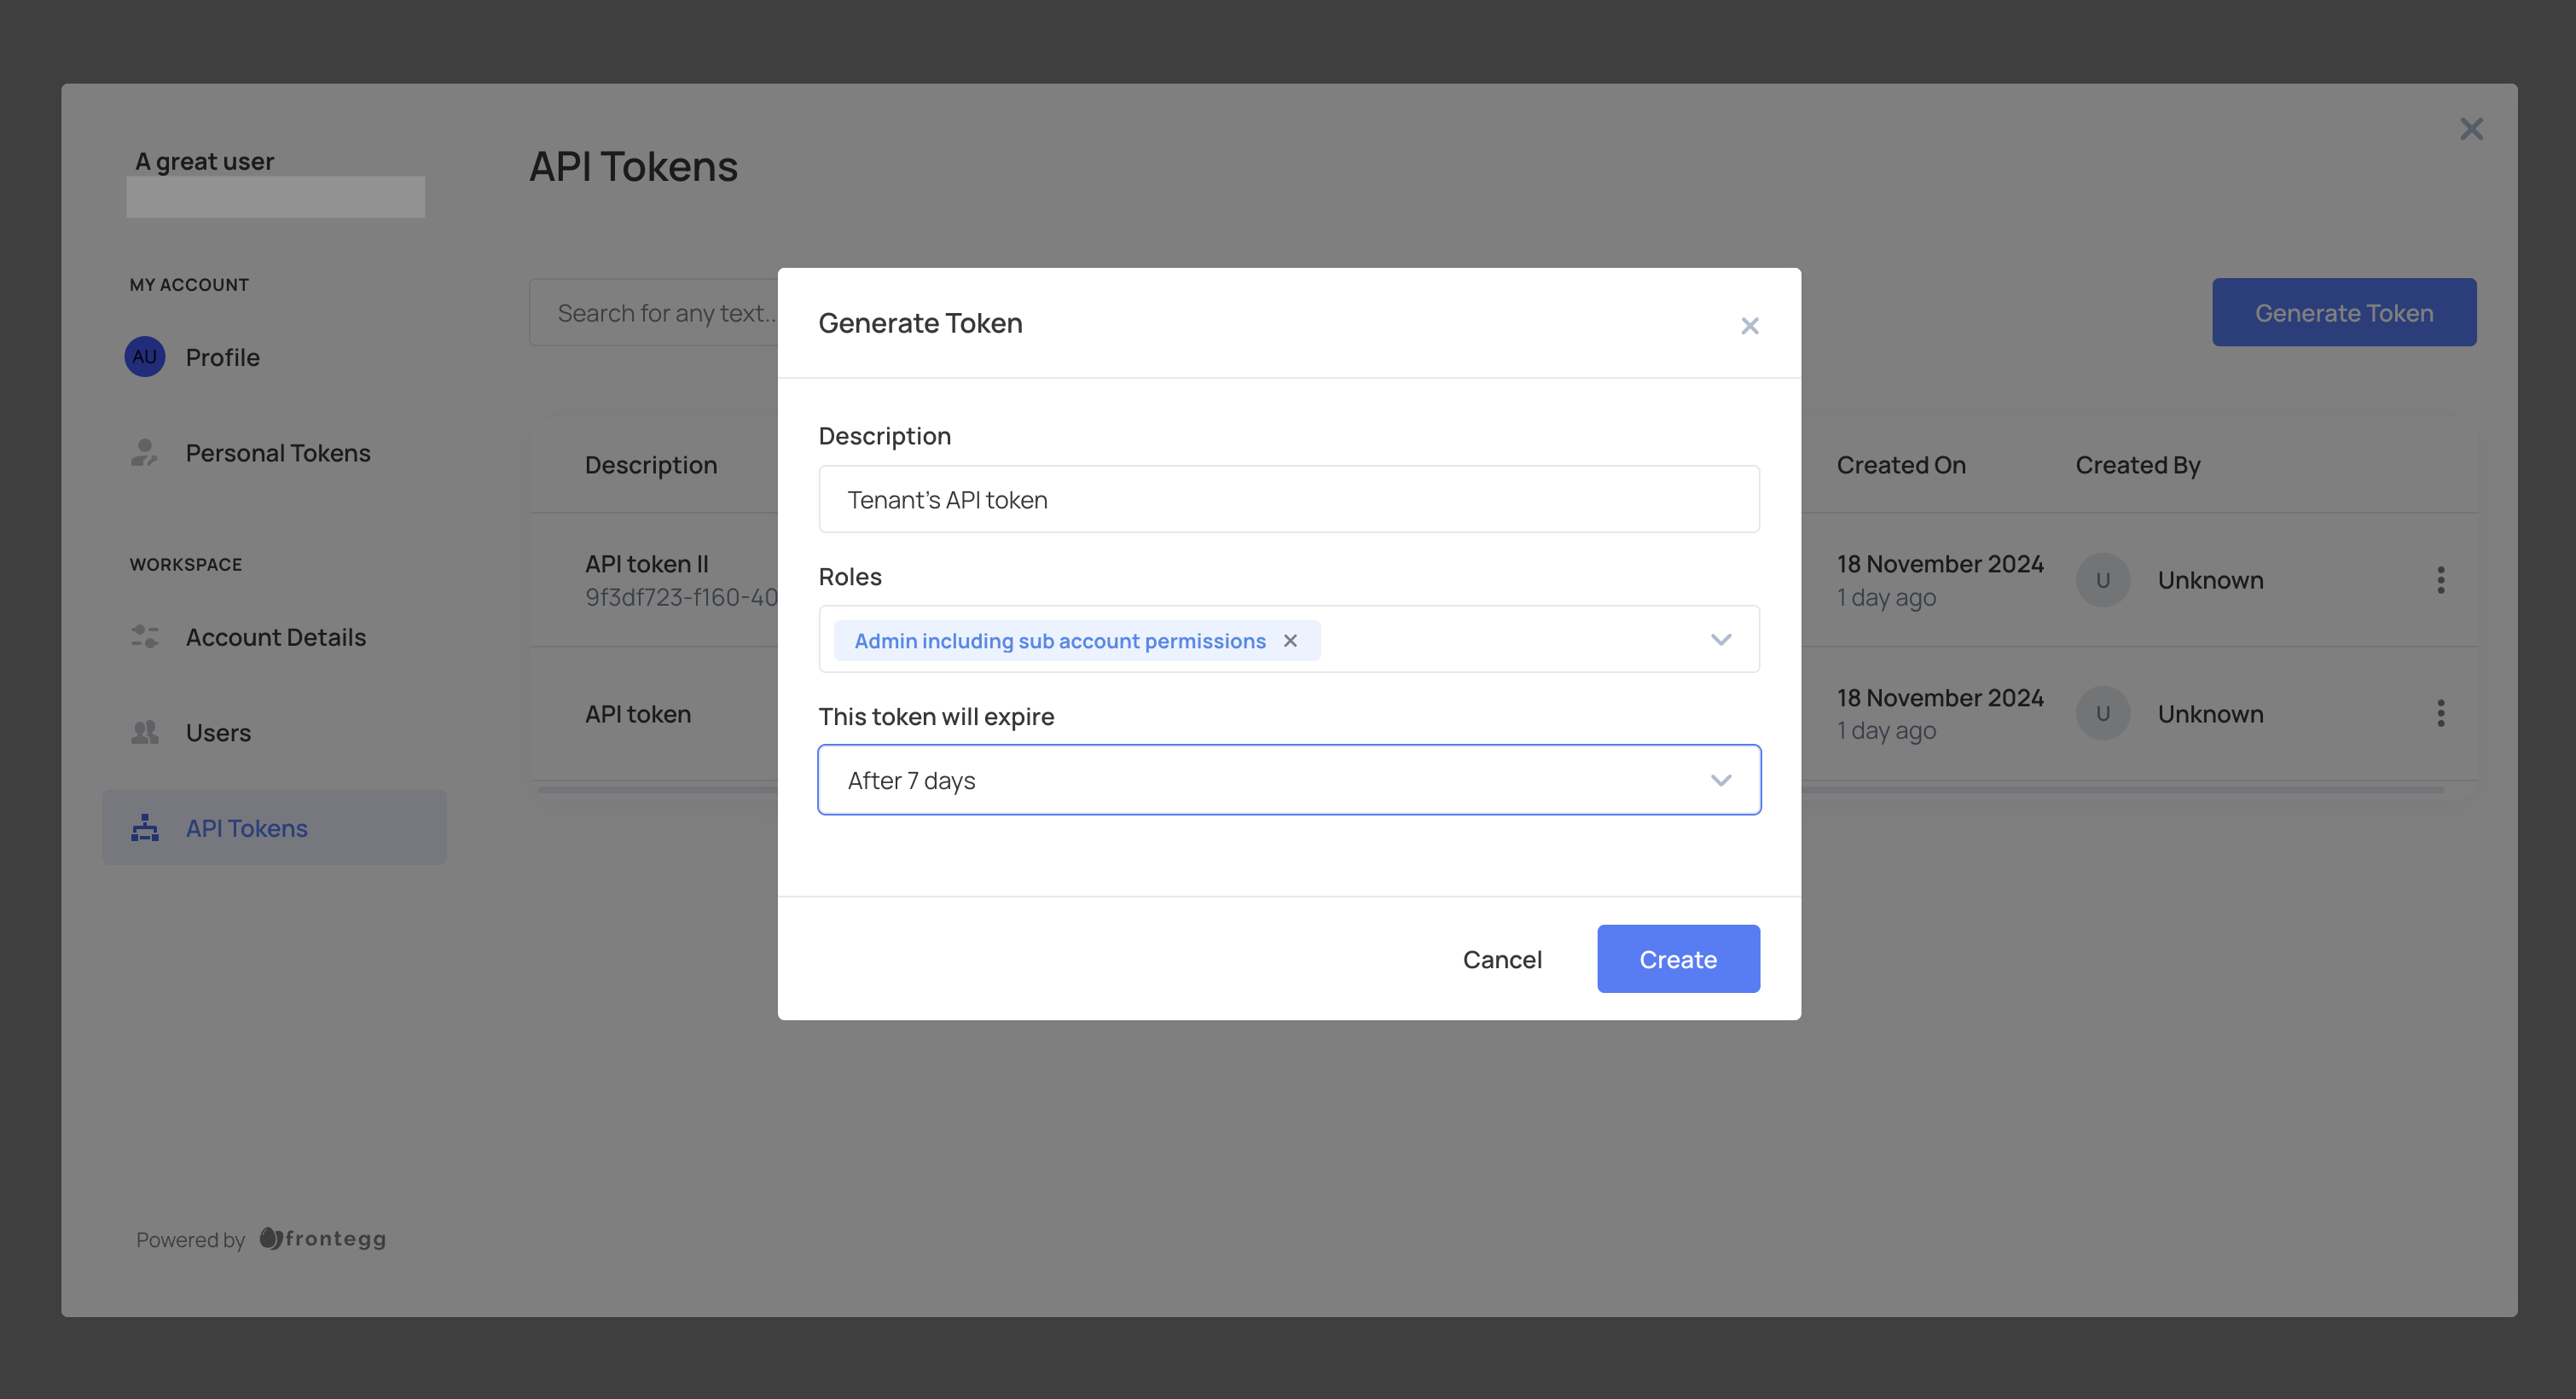
- Click Create and copy the token for secure storage. Tokens are displayed only once.
Get roles for access tokens
Extracting roles from access tokens
Extracting roles from access tokens
Access tokens are permanent and therefore do not contain role information directly.
If you're not using the Frontegg Backend SDKs but are using Frontegg Roles & Permissions, follow these steps to access the roles associated with the token:
- Get the access token from Frontegg.
- Verify the token with your environment’s public key.
- Extract the
subclaim from the token — this is the{id}. - Send a request to either:
https://api.frontegg.com/identity/resources/vendor-only/users/access-tokens/v1/{id}https://api.frontegg.com/identity/resources/vendor-only/tenants/access-tokens/v1/{id}
We recommend caching these responses on your end to avoid repeated calls.
If you are not using Frontegg Roles & Permissions, verify the token’s validity by making a request to:
https://api.frontegg.com/identity/resources/vendor-only/users/access-tokens/v1/activehttps://api.frontegg.com/identity/resources/vendor-only/tenants/access-tokens/v1/active
This ensures that the token is still valid, even without role information.
Authenticate your API token
Once you have the clientId and secret from the token creation step, you can exchange them for a signed JWT. This JWT can then be used to authenticate your requests securely.
For detailed steps on how to authenticate your API token, refer to the API documentation for token authentication.